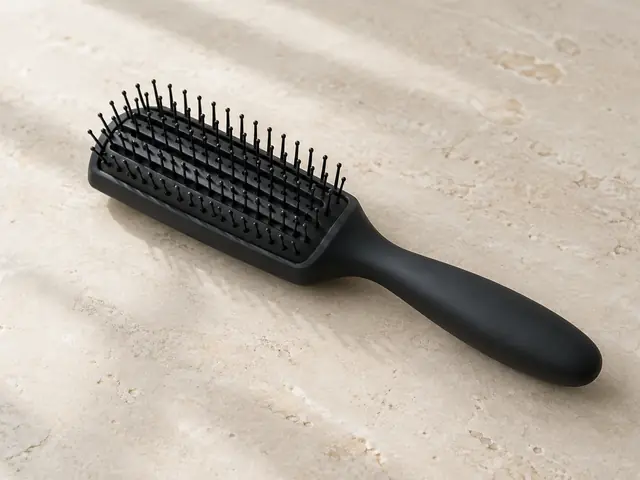
Cushioned row brush
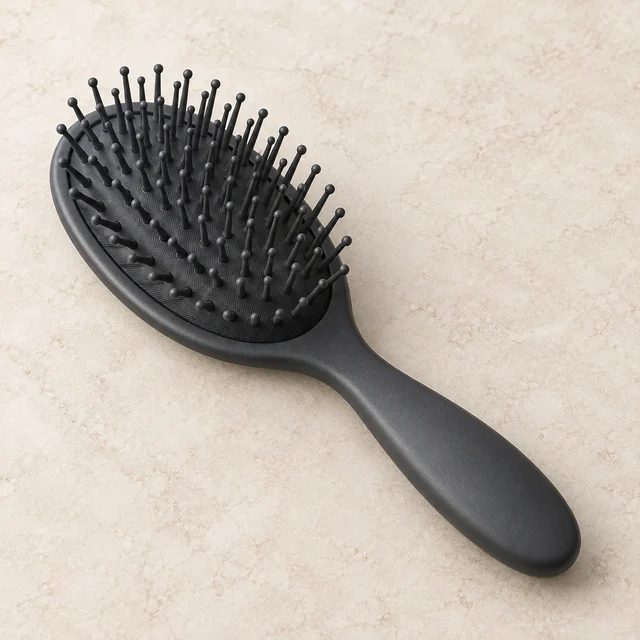
Rows of smooth nylon pins set in a rubber cushion. On many models the rows lift out, so you can change how many groups each pass makes.
Best for: Waves and curls; adjustable definition by removing rows.
Reach for a curl styling brush on wash day, after detangling and applying your styler, when you want waves, curls or coils to dry in neater, more even groups. It shapes wet sections; it is not for detangling or dry hair.
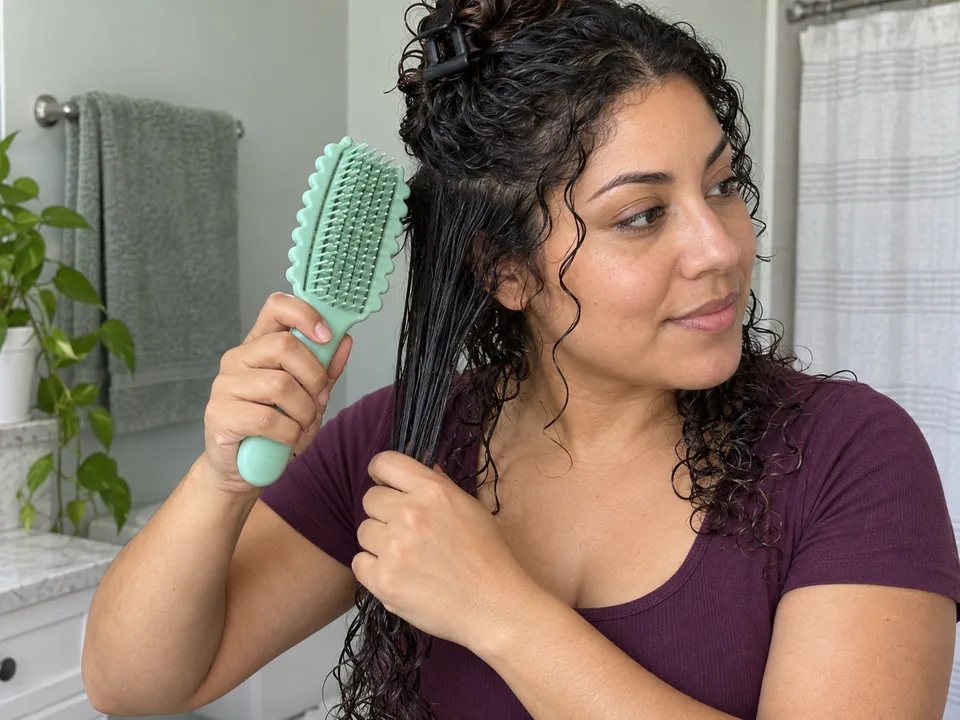
The basic method. Your model’s own directions come first for heat, attachments and starting state.
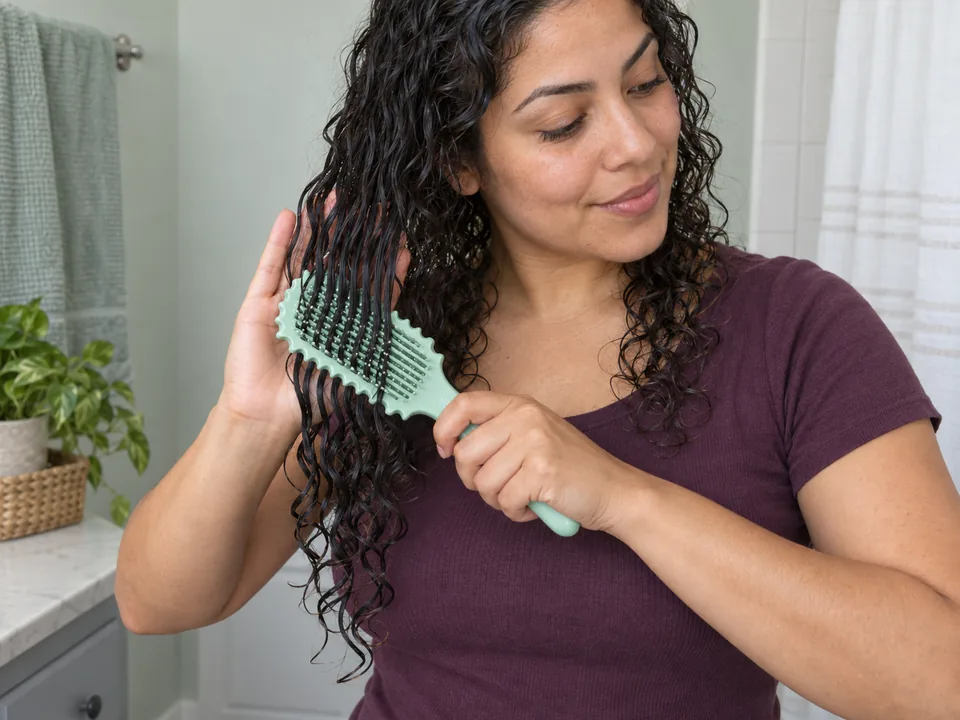
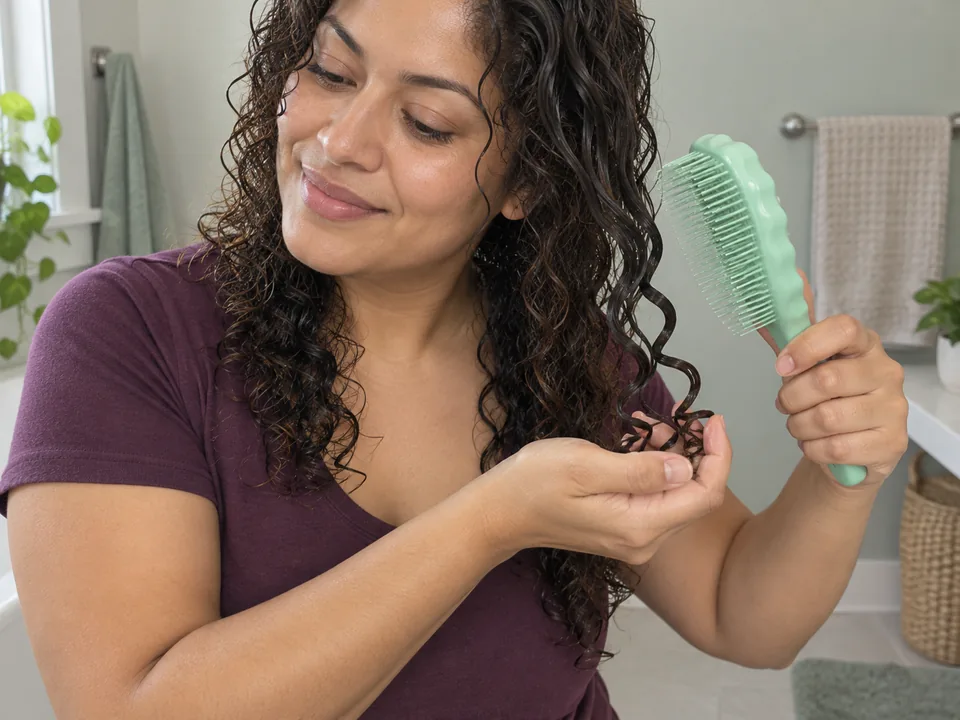
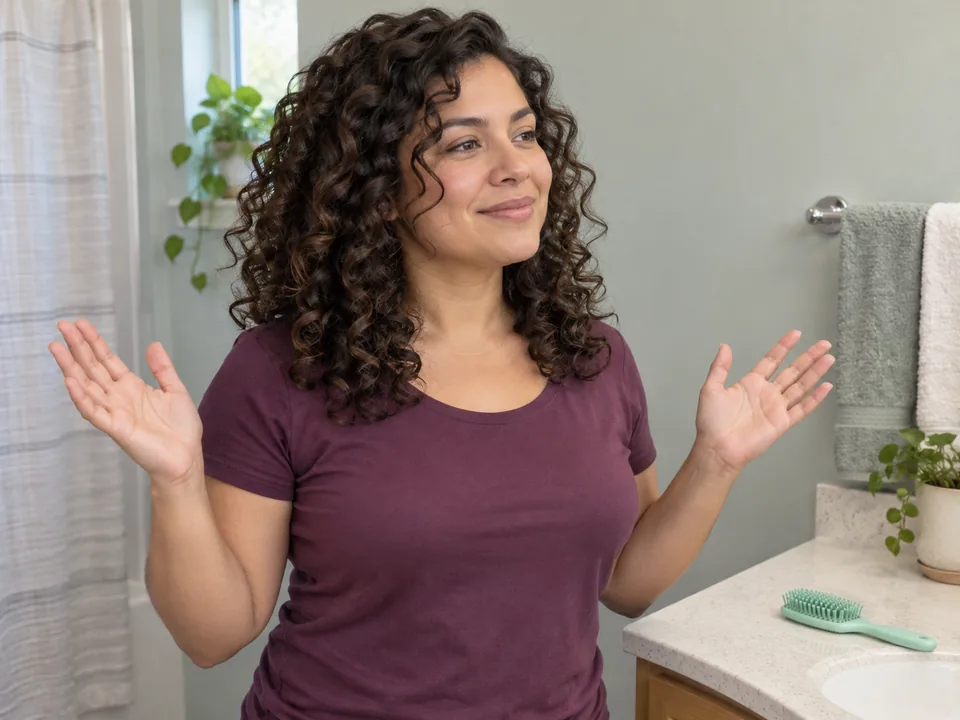
Each wet section goes through the brush once without snagging, falls into even groups when you let go, and is left alone until it has dried.
What each kind does, and who it suits.
Rows of smooth nylon pins set in a rubber cushion. On many models the rows lift out, so you can change how many groups each pass makes.
Best for: Waves and curls; adjustable definition by removing rows.
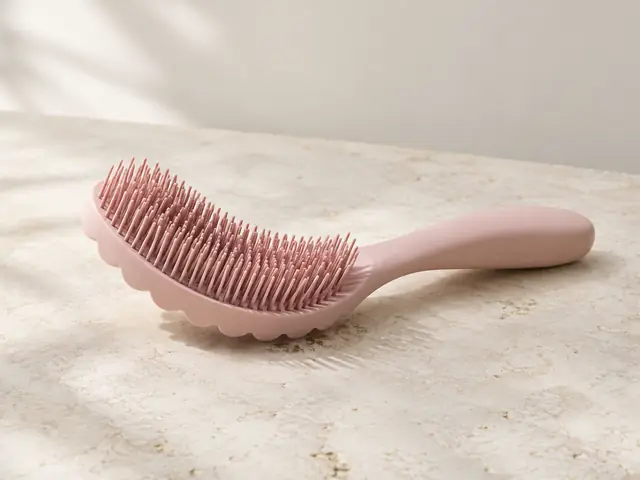
Dense flexible bristles on a curved or grooved head. You tilt it so hair falls into the grooves, and the edges split the section into groups as you glide.
Best for: Wavy, curly and coily hair long enough to hold through a full pass.
An open, flexible detangling brush used for one smoothing pass after product. It groups less than a row brush and gives a softer, looser finish.
Best for: Loose waves and anyone wanting light grouping with one tool.
The controls worth understanding before you change anything.
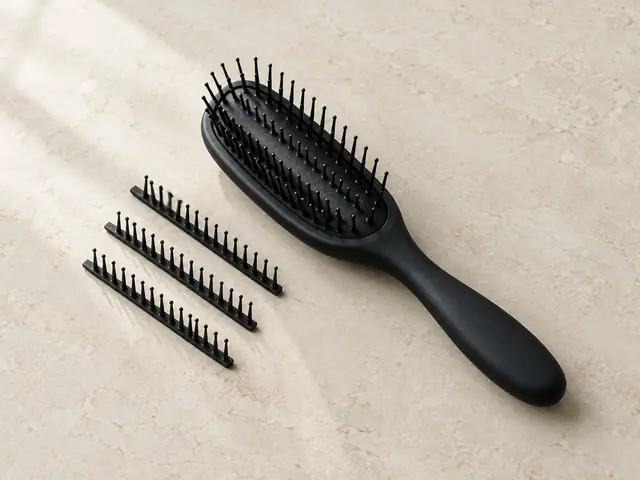
Fewer rows make fewer, larger groups with less tension; more rows make finer groups. Taking out every other row is a common first adjustment, if your brush allows it.
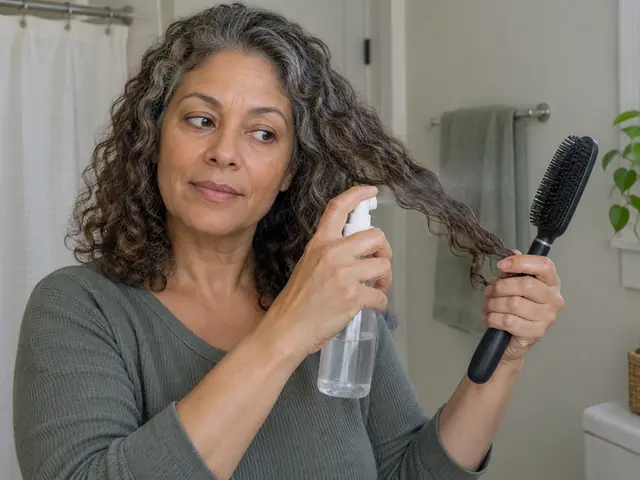
Brush while sections are still fully wet. Brushing hair that has started to dry lifts frizz; re-mist a section with water before brushing it.
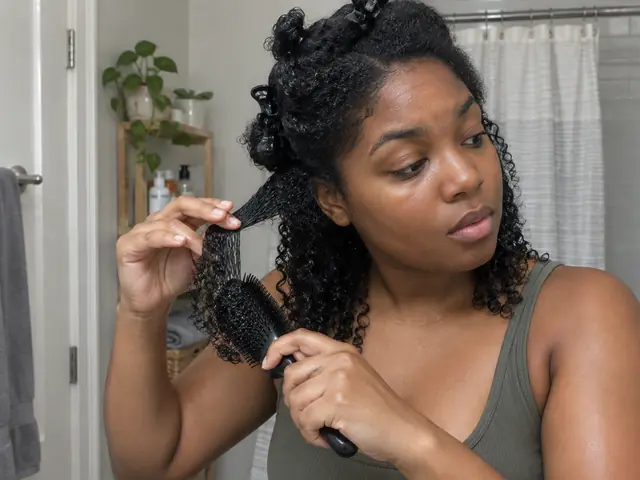
Smaller sections form smaller, more numerous groups; very large sections come out as one flat clump. The denser or tighter the pattern, the smaller the section.
Once the basics feel easy, these moves change the result.
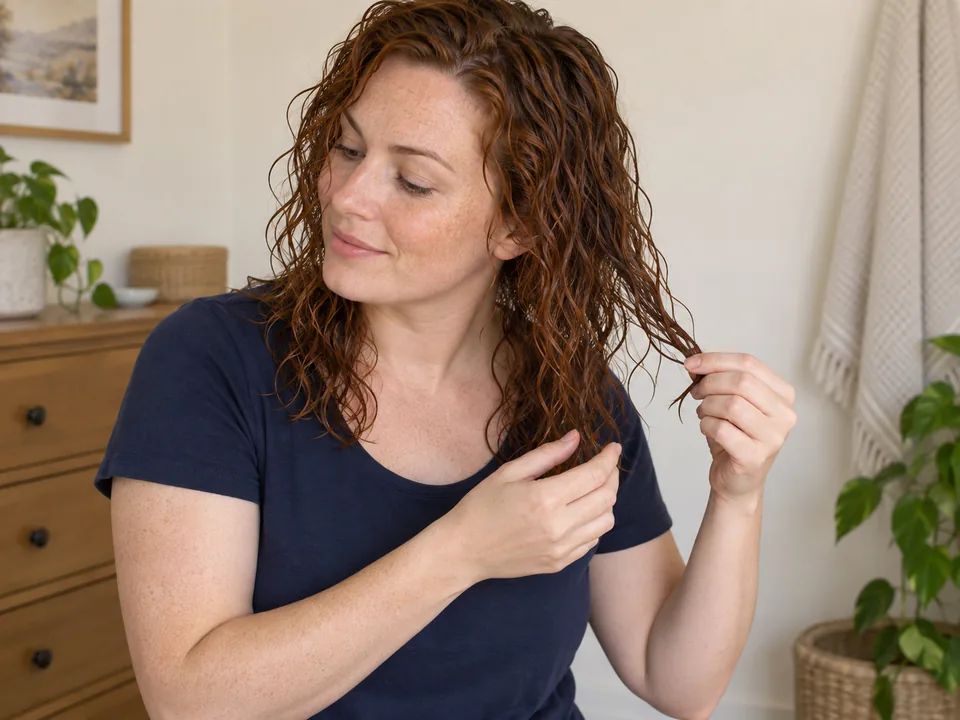
Rake product through with your fingers and shake each section gently first, then brush only the sections that did not group well. Fewer brush passes, same definition.
Full guide: Style curls with rake-and-shake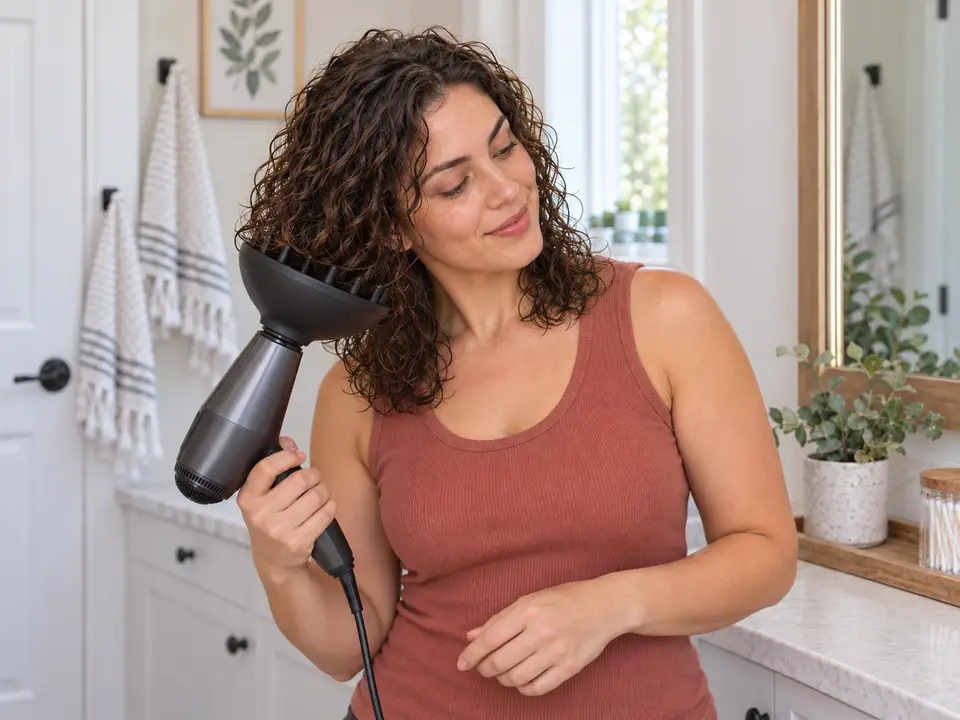
Cup the brushed groups in a diffuser bowl and hold still rather than moving it through the hair, so the groups dry in the shape the brush gave them.
Full guide: Dry waves and curls with a diffuser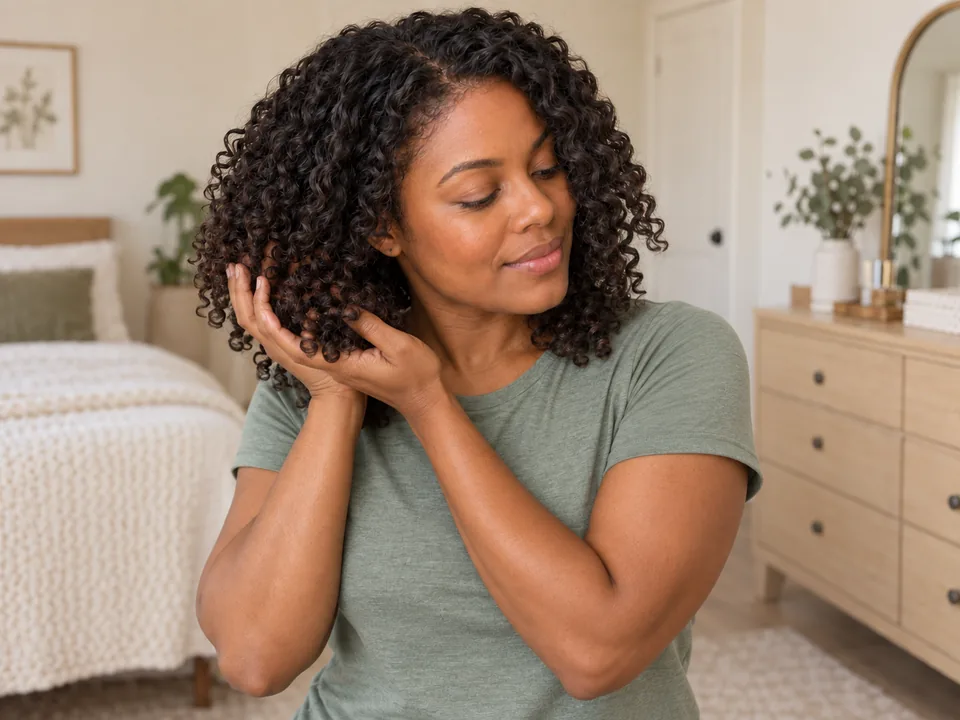
If your styler dries firm, scrunch the cast out only when every section is fully dry, with empty hands. Brushing dry groups would undo them.
Full guide: Soften a dry gel cast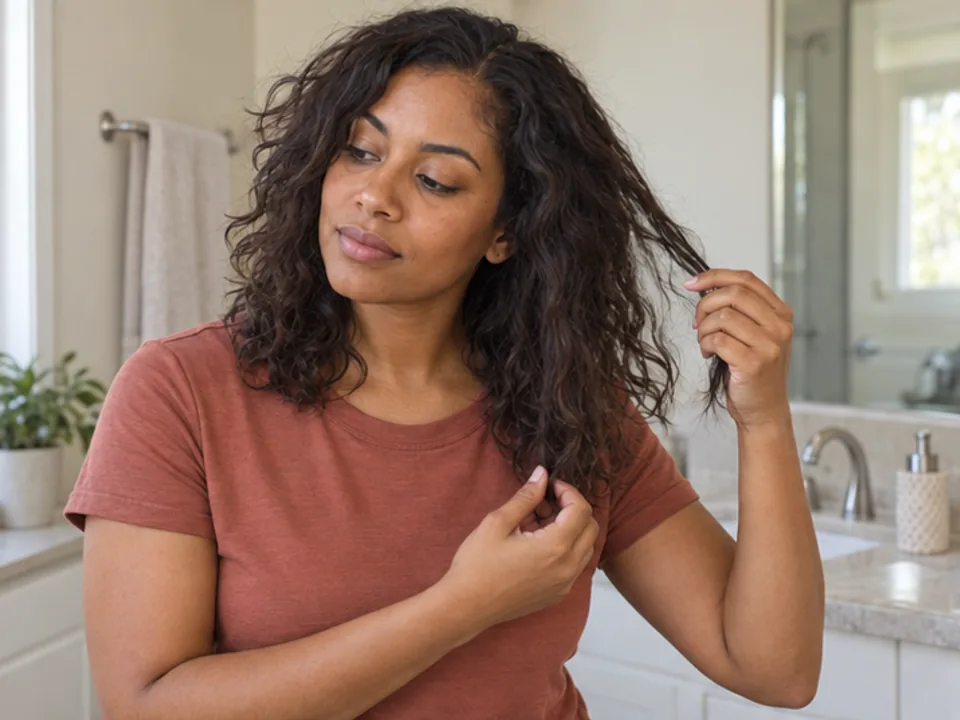
Choose only the disrupted section, re-wet it fully, and reshape it with your hands or one brush pass instead of rebrushing your whole head.
Full guide: Refresh waves and curls between washesWhat goes wrong most often, and what to do instead.
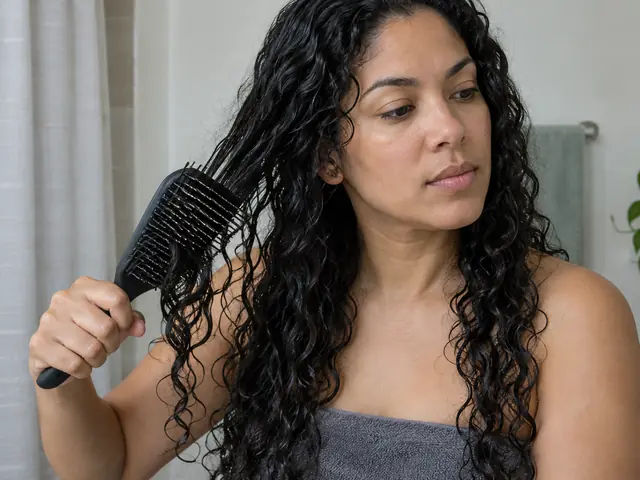
Dense styling bristles grip knots and tug. Detangle first with fingers, a wide-tooth comb or a detangling brush, then use the styling brush only to shape.
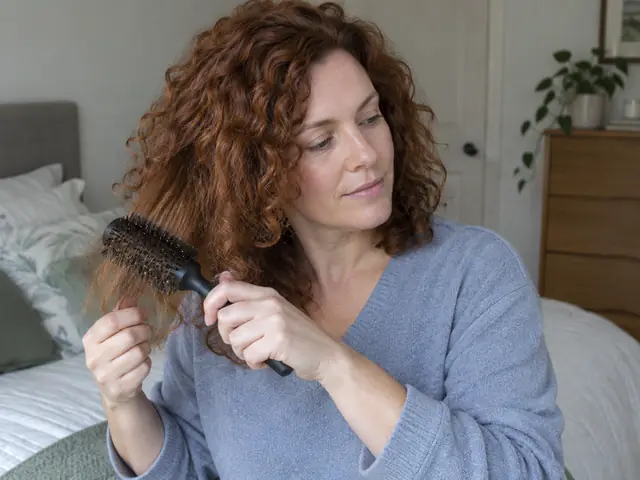
Half-dry sections pull apart into frizz instead of grouping. Re-mist the section with water, or leave it and scrunch.
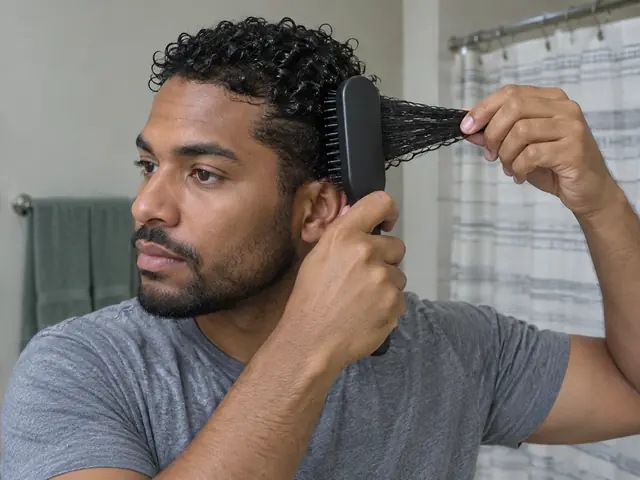
Pressing the brush into the scalp or stretching the section taut adds strain for no extra definition. Its maker advises light, steady pressure; let the rows do the work.
Claims you’ll see online, answered plainly.
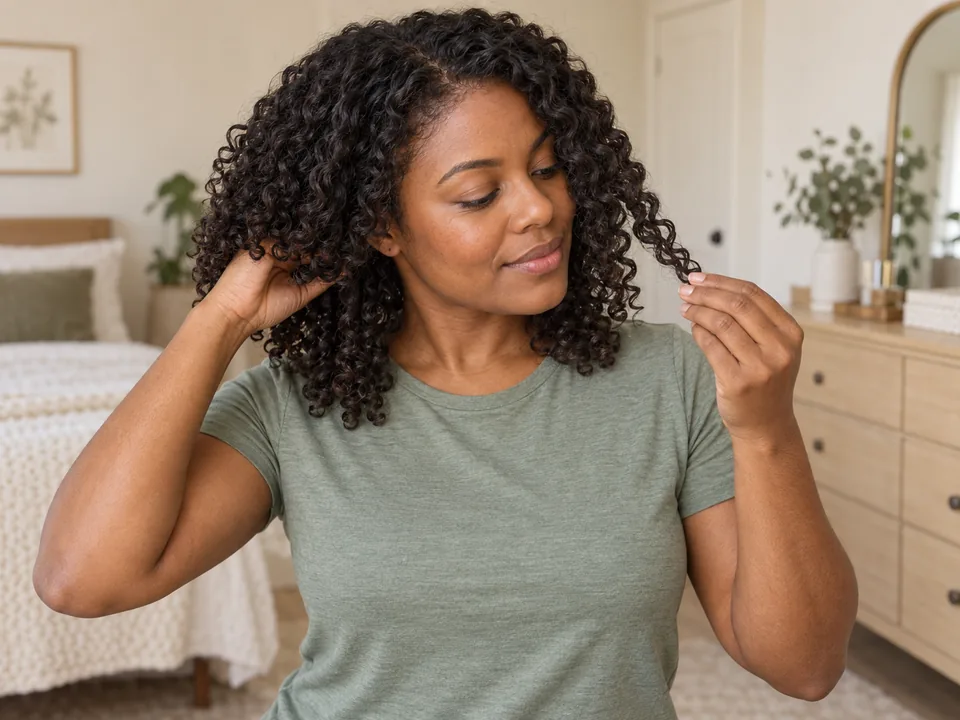
It depends on when you brush. Brushing dry curls breaks up the groups and adds frizz. One pass through wet, detangled, product-coated hair does the opposite for many people: it forms groups.
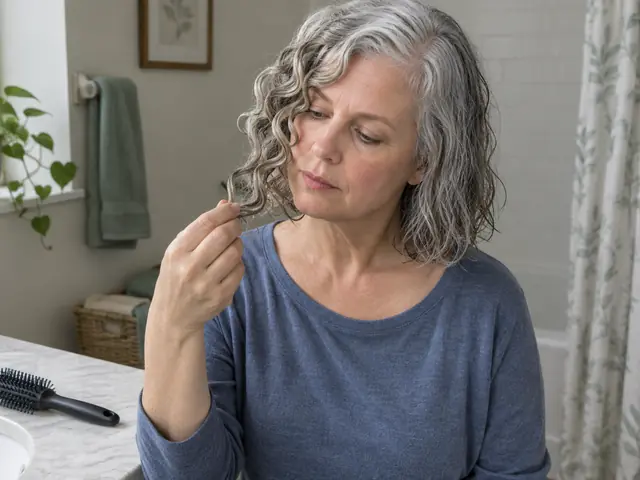
No. Results depend on your pattern, density, product and section size. Some get neat groups; others get clumps too large or waves that fall flat. Try one side first before committing.
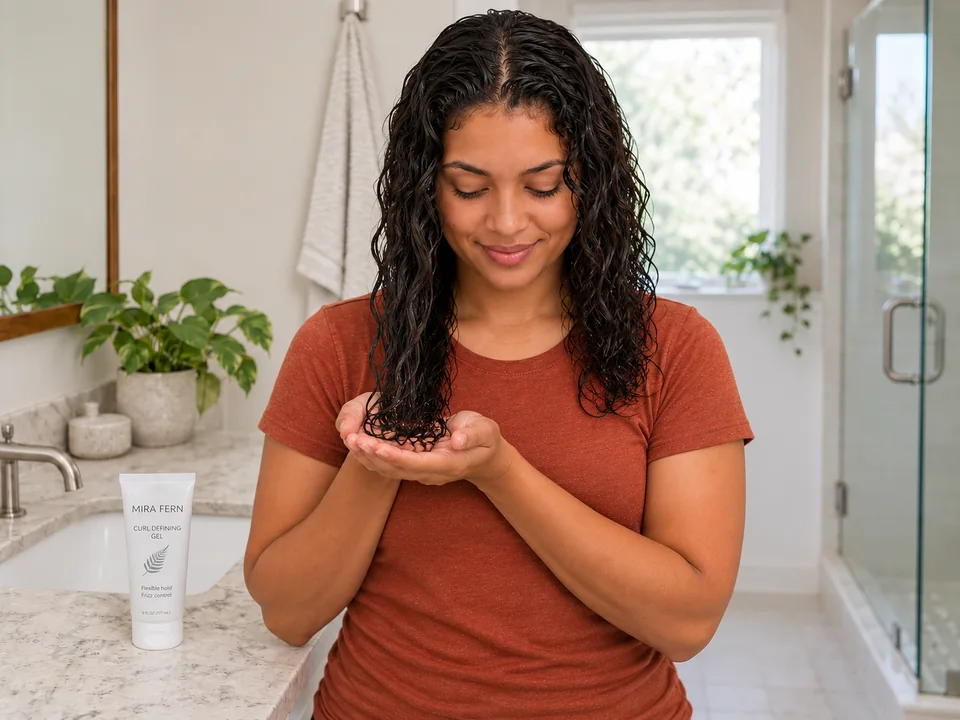
Partly. Brushing hair that has started to dry does lift frizz, so work while sections are fully wet. Dripping is not required; re-mist any section that has begun to dry.
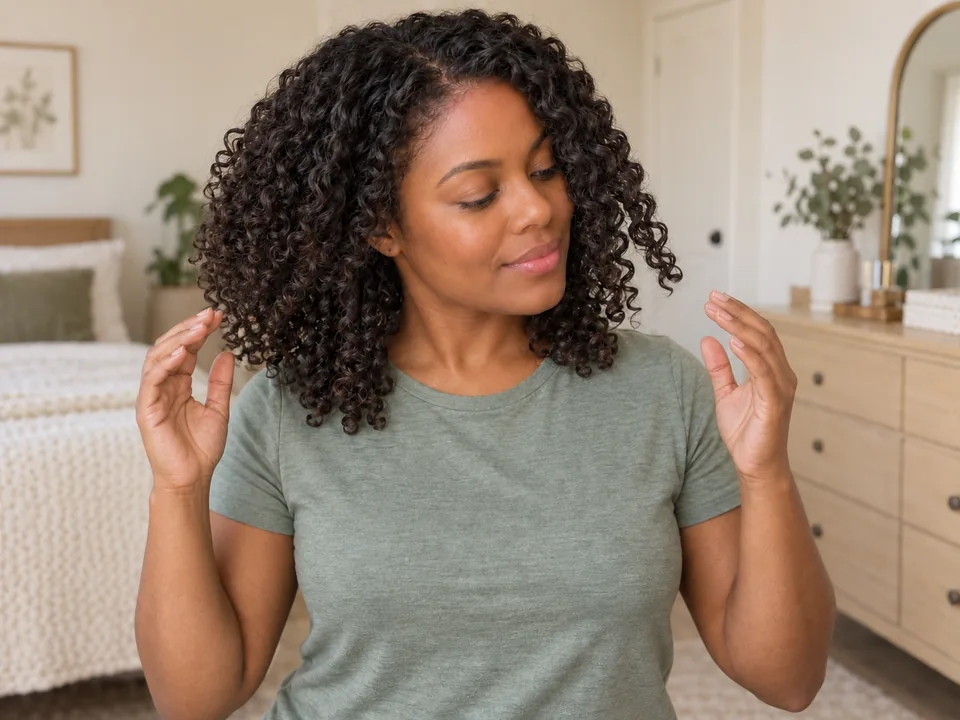
No. The first pass forms the groups; each extra pass pulls them apart again and adds friction. Its maker warns repeated force can add wear. One pass, then leave it.
Keep it clean, safe and working the way it should.
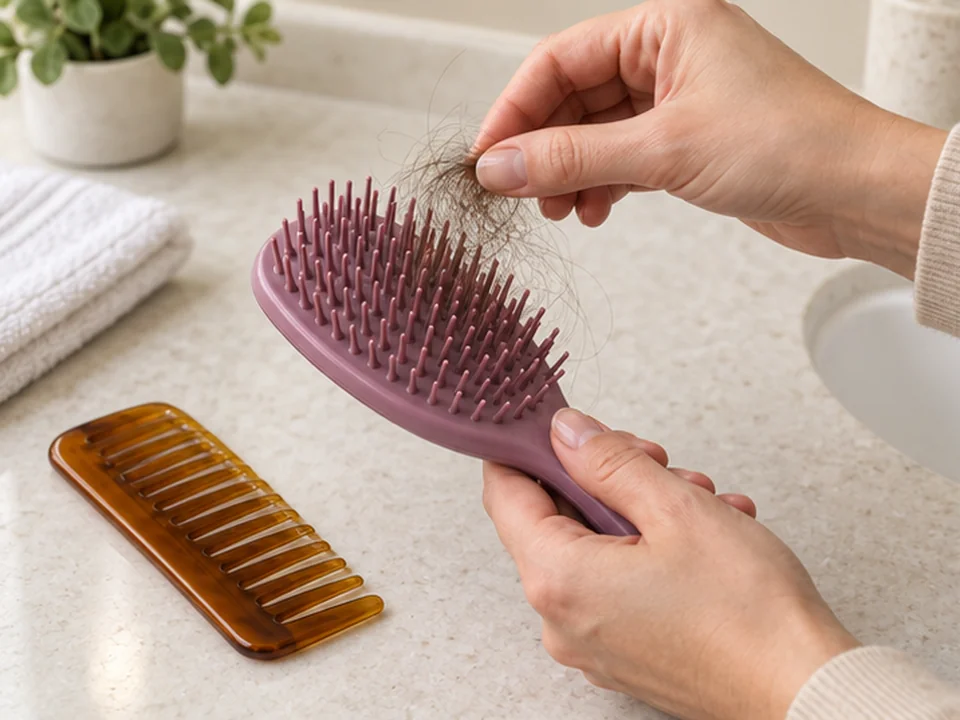
Lift hair out with your fingers or a comb before styler dries in the rows. Built-up product makes bristles grip and snag.
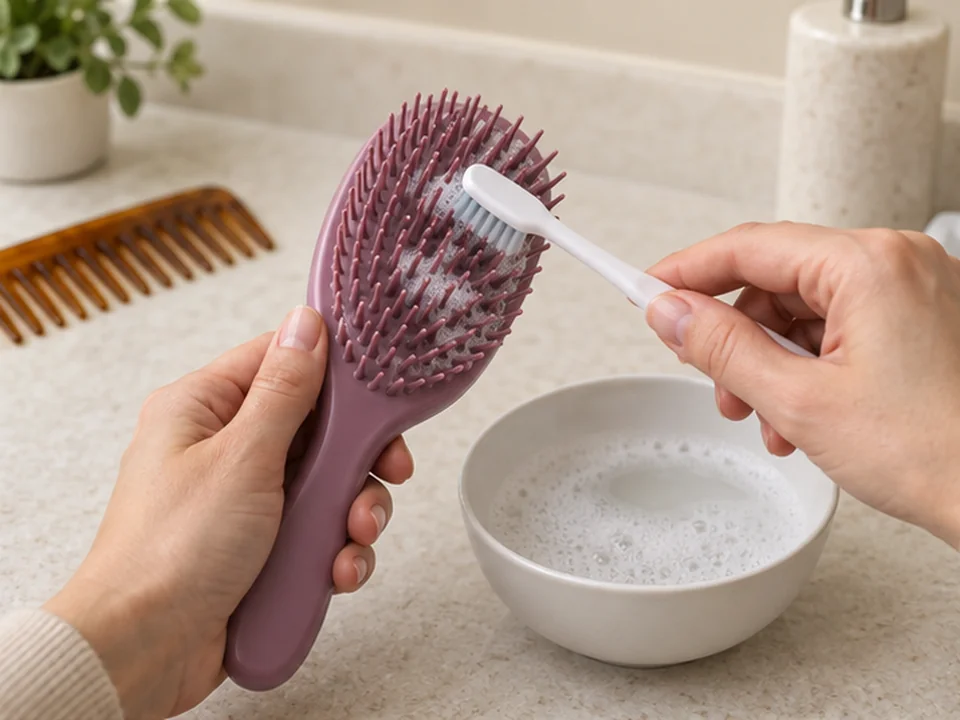
Many styling brushes can be washed with mild shampoo and a soft cleaning brush. Keep water away from any part its care directions say must stay dry.
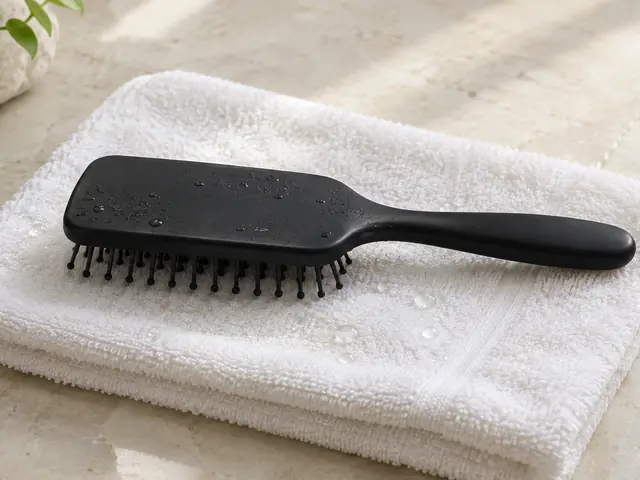
Air-dry completely before storing, bristles facing down if its maker says so, so water drains out of the cushion rather than pooling inside.
Photo-by-photo techniques that use this tool.
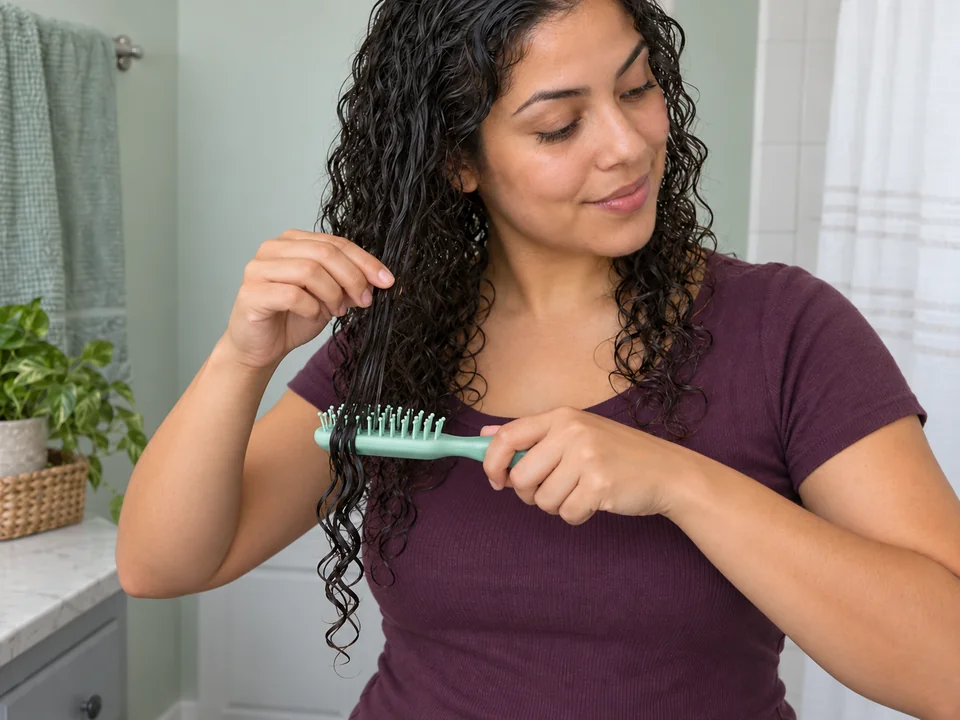
Brush styling uses the bristles and shaped outer edge of a curl-defining brush to gather wet hair into groups that dry together.
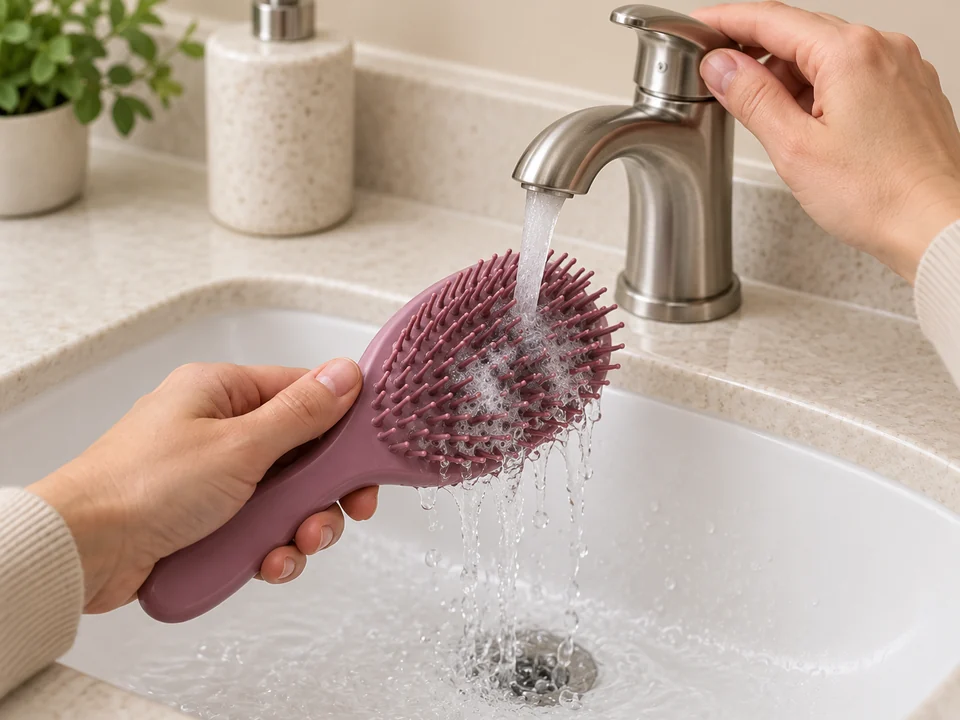
Brush and comb cleaning removes shed hair, oil and styling residue from the teeth or bristles. The tool’s care instructions determine whether to wash it or wipe it.
Add it to your tools and your routine will use what you own.
More in brushes and combs.
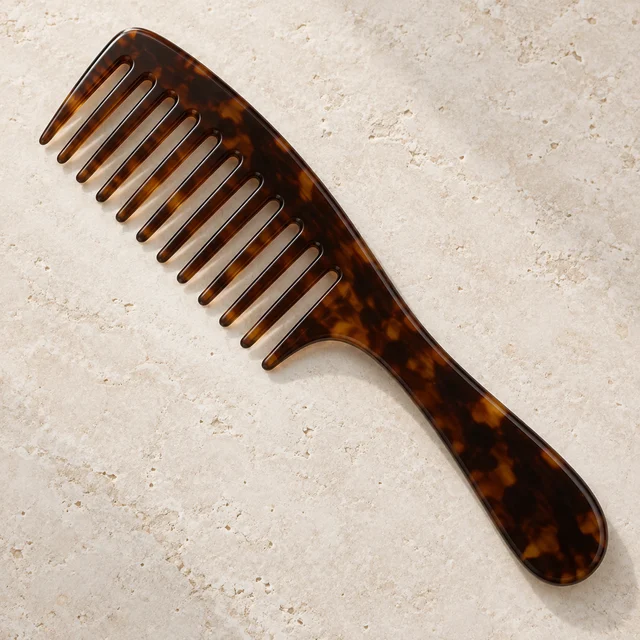
A comb with broad, widely spaced teeth that separates tangles and carries product through the lengths while your other hand supports the section. Shower combs, picks and saw-cut combs are variations.
A hairbrush with flexible, spaced bristles that bend around tangles instead of hooking them. Paddle, cushion and loop brushes are related shapes with different jobs.
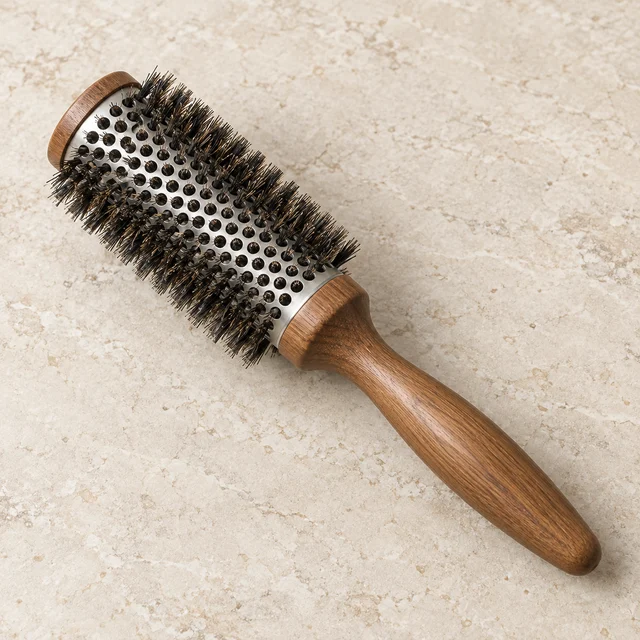
A brush with bristles set all the way around a cylindrical barrel. Held under a section while a dryer's airflow passes over it, it guides hair smooth or into a gentle bend.