Dry waves and curls with a diffuser
When you want to dry loose waves or curls with gentler, spread-out airflow, a diffuser can help you work around the head without a concentrated stream. Use low heat and low airflow, and let your dryer’s manual control the setup.
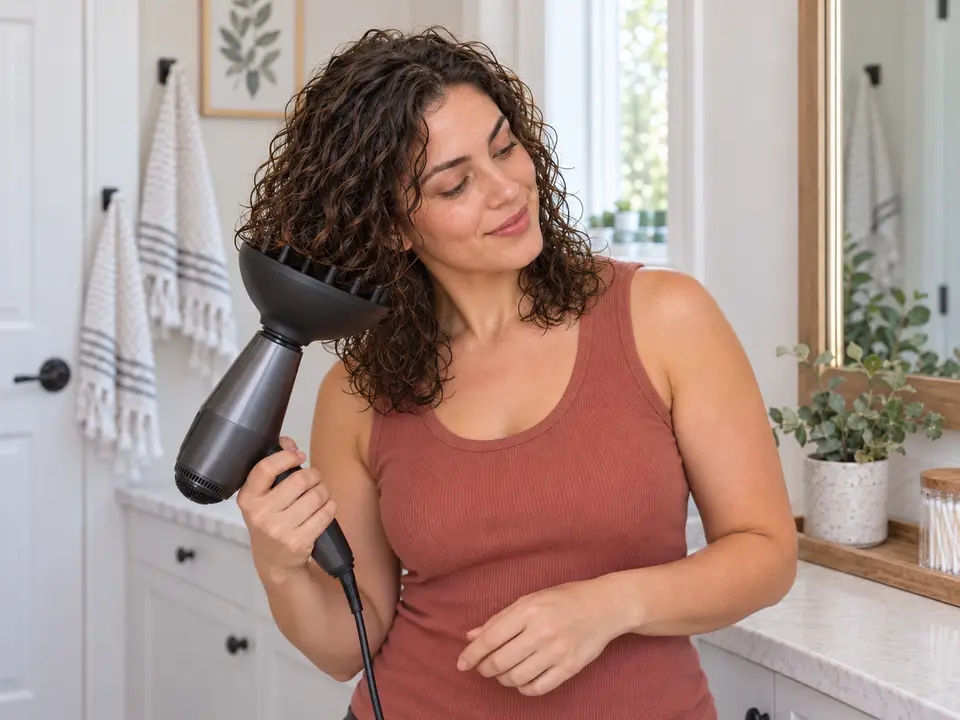
Step by step
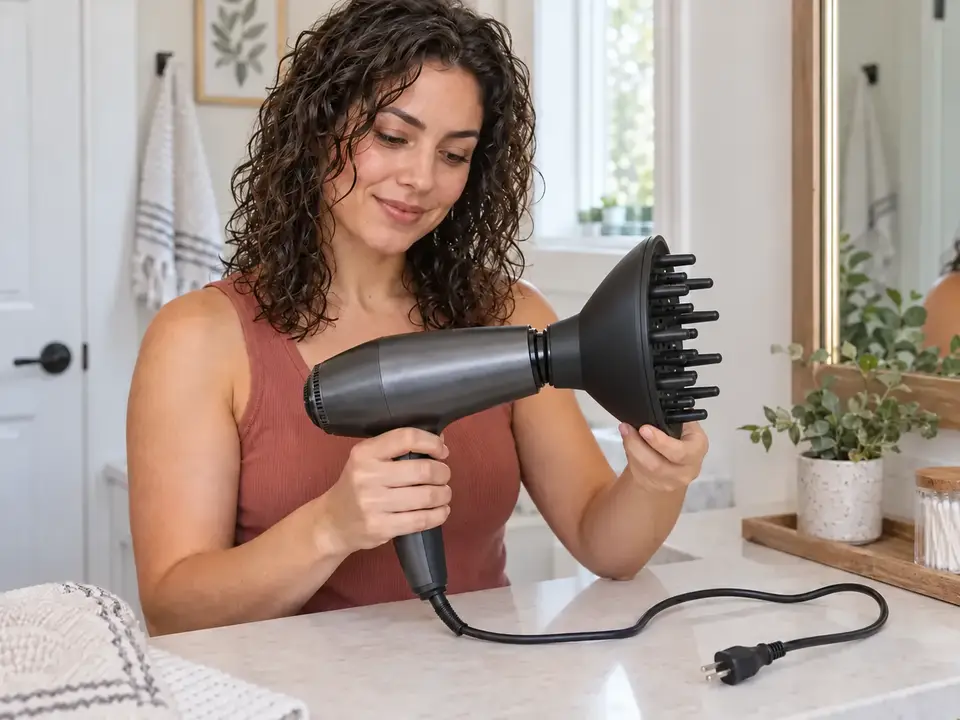 STEP 1 OF 4
Attach the diffuser and set up
- Remove excess water so the hair is damp, not dripping, if that fits your routine and product directions.
- If your routine includes heat protectant or a styler, apply it exactly as its label directs before you pick up the dryer.
- With the dryer switched off and unplugged, attach its compatible diffuser securely. Do not use it if the fit is loose.
- Keep the cord away from water and the intake clear. Plug in only after the attachment is secure, then select low heat and airflow.
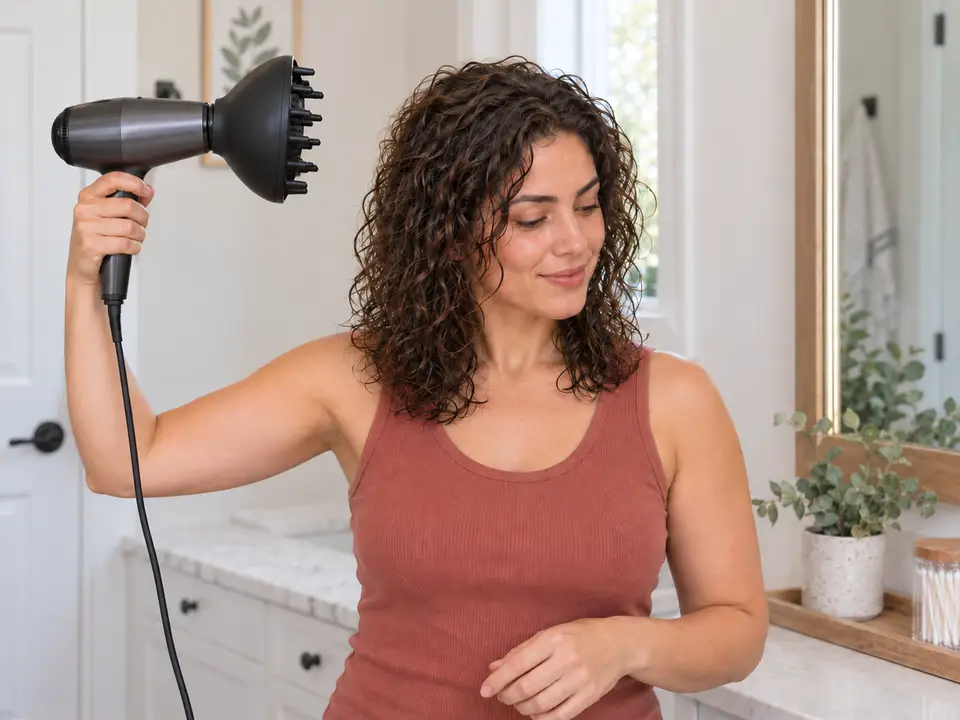 STEP 2 OF 4
Hover around the roots and surface
- Hold the diffuser several inches from the hair, with airflow aimed at hair rather than directly at the scalp.
- Move around the roots and outer lengths. Tilt your head gently to reach each side and the back without bending your wrist sharply.
- Keep the dryer moving instead of heating one place. Stop and let it cool if the air or attachment feels uncomfortably hot.
- STEP 3 OF 4
Support one section at a time
- Only if your attachment manual teaches bowl support: switch the dryer off and settle the ends and lower curls into the bowl.
- Lift the bowl toward the roots without pressing it against your scalp, then turn the dryer on at the same low settings.
- Keep each hold brief, switch off before lowering the bowl, and move to another section. Use hovering where cupping feels awkward.
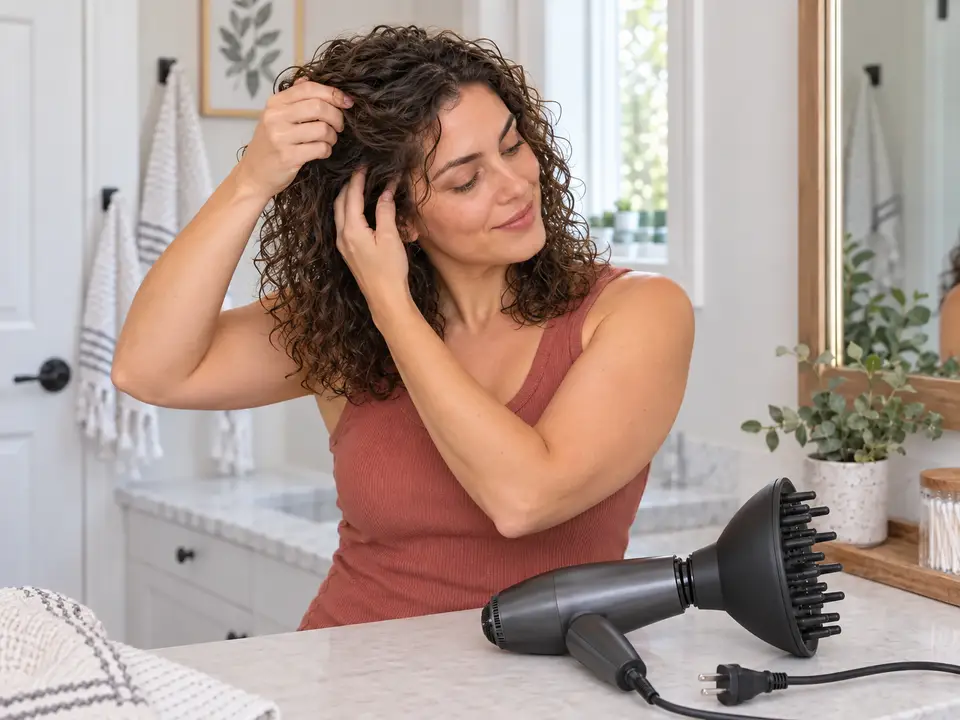 STEP 4 OF 4
Check the roots and inner layers
- Switch the dryer off and set it on a dry, heat-safe surface before checking with clean fingers.
- Feel the crown, nape and inside of each side. Revisit damp areas on low settings; a fixed clock time cannot confirm dryness.
- When the hair is dry, unplug the dryer and let the diffuser cool before removing or storing it.
About 15–45 min hands-on for attachment setup, whole-head handheld diffusing, dry checks and cleanup. Start after product application on damp hair. Add breaks and tool cooling.
You’re done when…
The roots and inner layers feel dry as well as the surface, the dryer is unplugged, and the diffuser is cooling on a dry, heat-safe surface.
Related techniques
Connected steps for your routine.
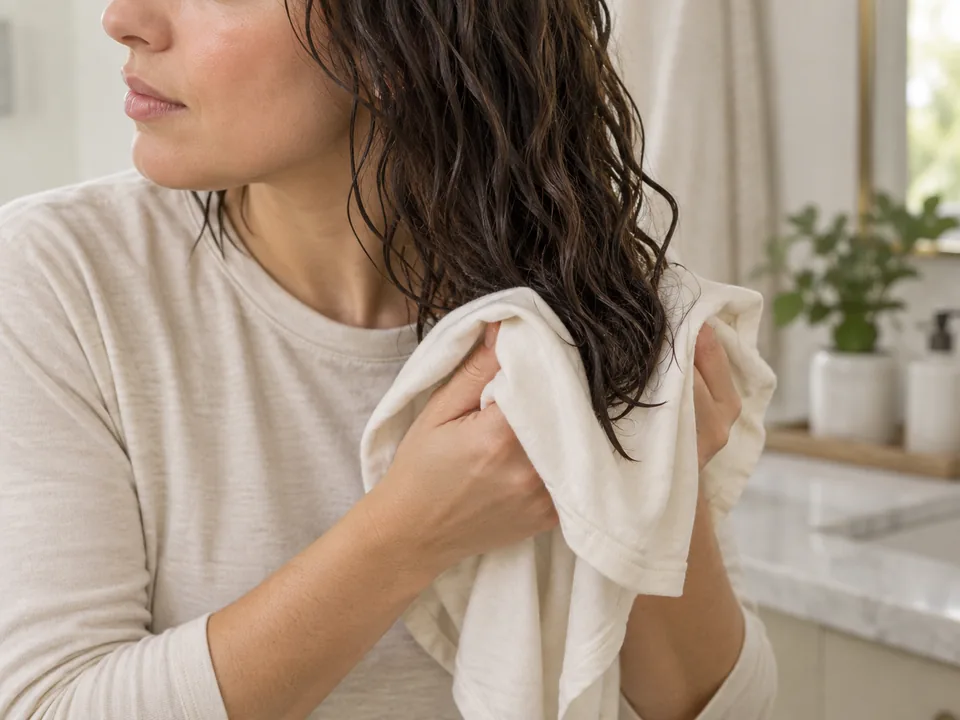
Dry hair gently with a cotton T-shirt
For loose hair that is still dripping. Gentle T-shirt blotting can remove excess water before low-setting diffuser drying.
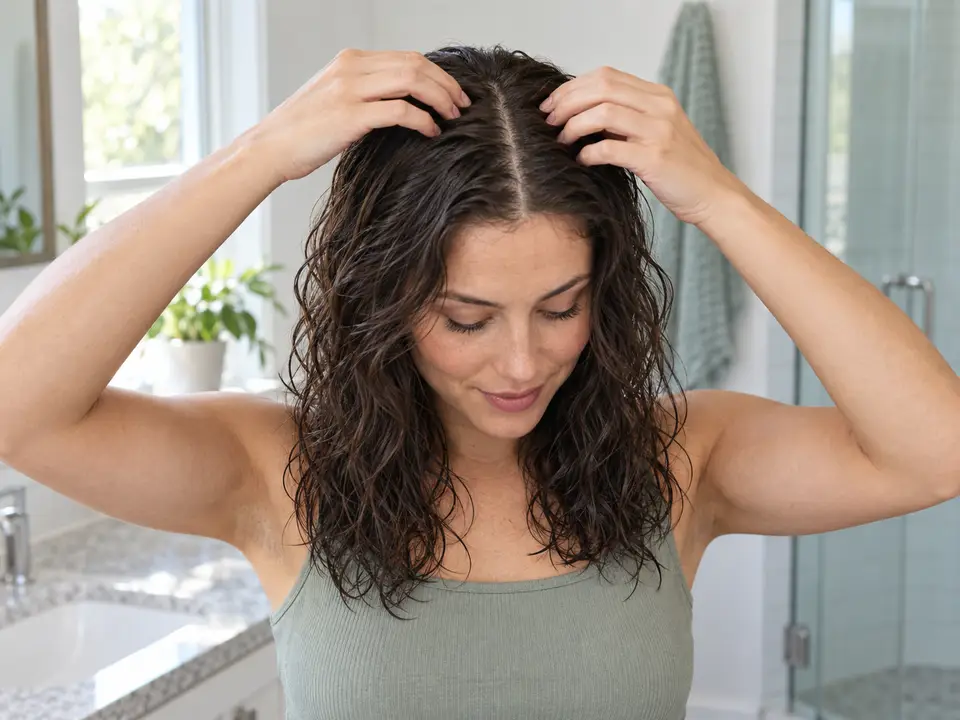
Air-dry your hair
For days when you have time to skip the dryer. Air-drying offers a complete loose-hair finish without a heated styling tool.
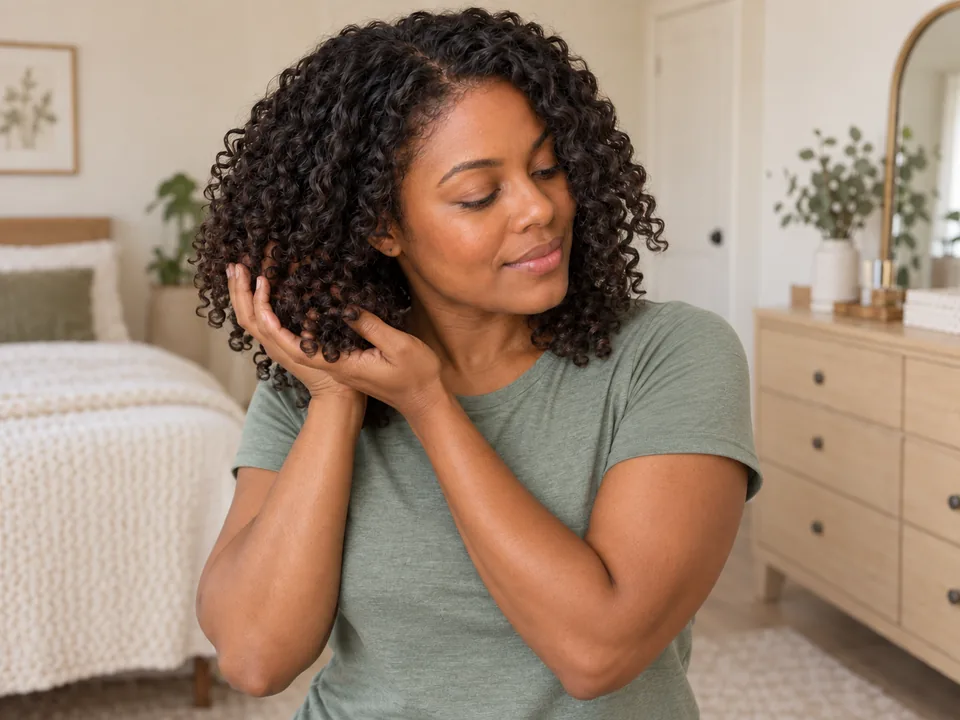
Soften a dry gel cast
If your styling gel leaves a firm cast, wait until every area is fully dry before gently softening it with dry hands.