Style curls with rake-and-shake
Try rake-and-shake when you want to arrange wet waves, curls or coils with your fingers. Work through one detangled section, gently shake its ends, then let the curl groups settle without more raking.
Step by step
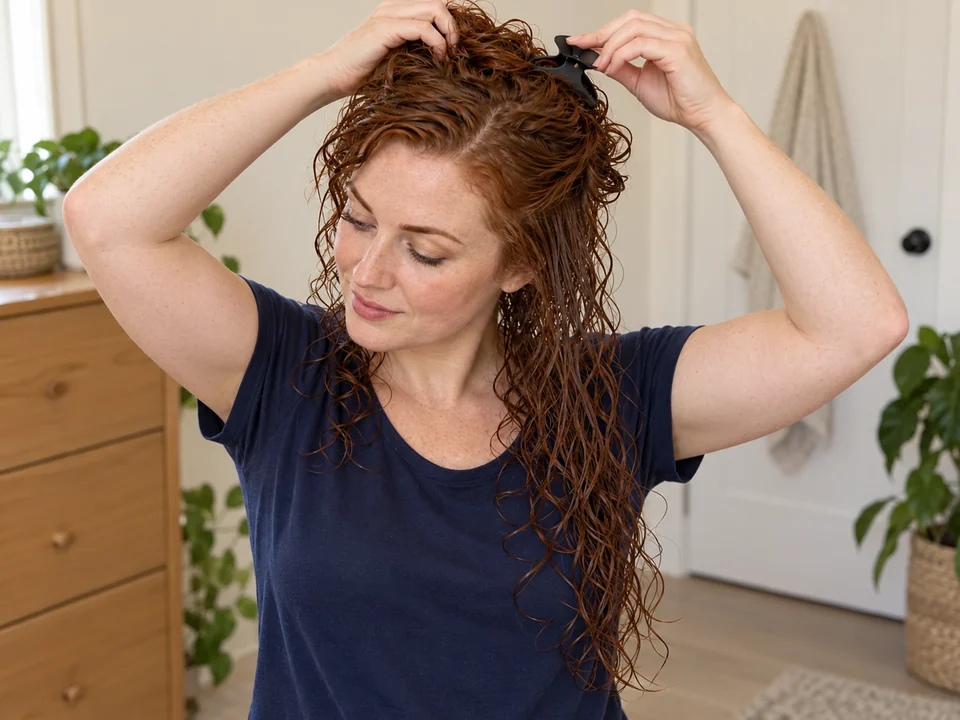 STEP 1 OF 8
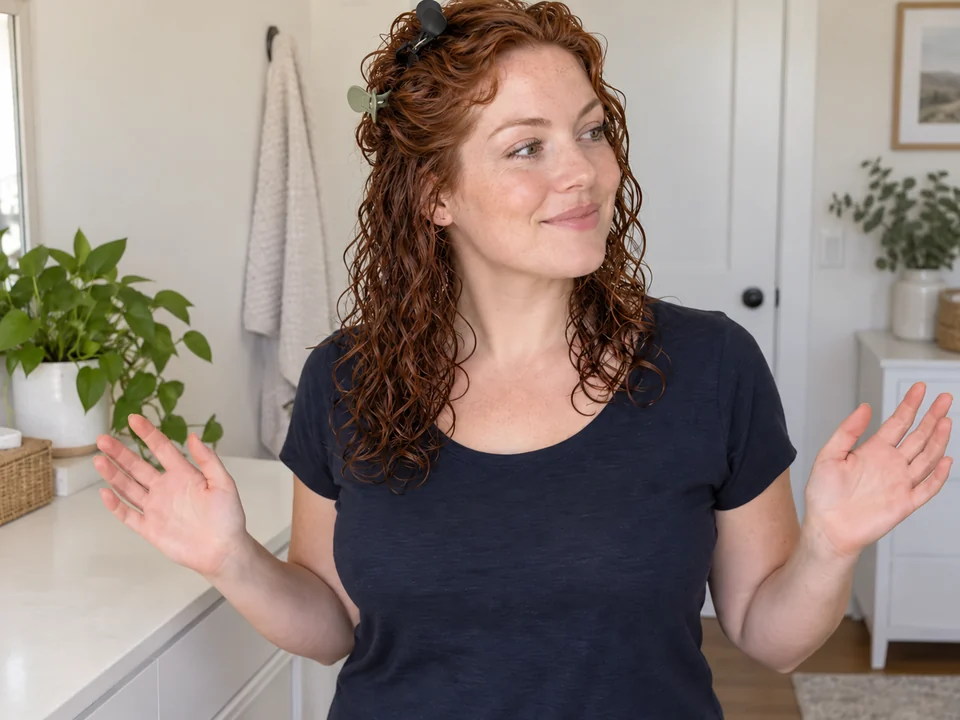
Move the unstyled hair aside
- Start with clean hands and fully wet, detangled hair. If you use a styler, its directions must allow wet-hair use and air-drying; follow them for amount and placement.
- Clip the upper hair loosely aside, leaving a lower side area free. Keep clips within reach so you can release the next area easily.
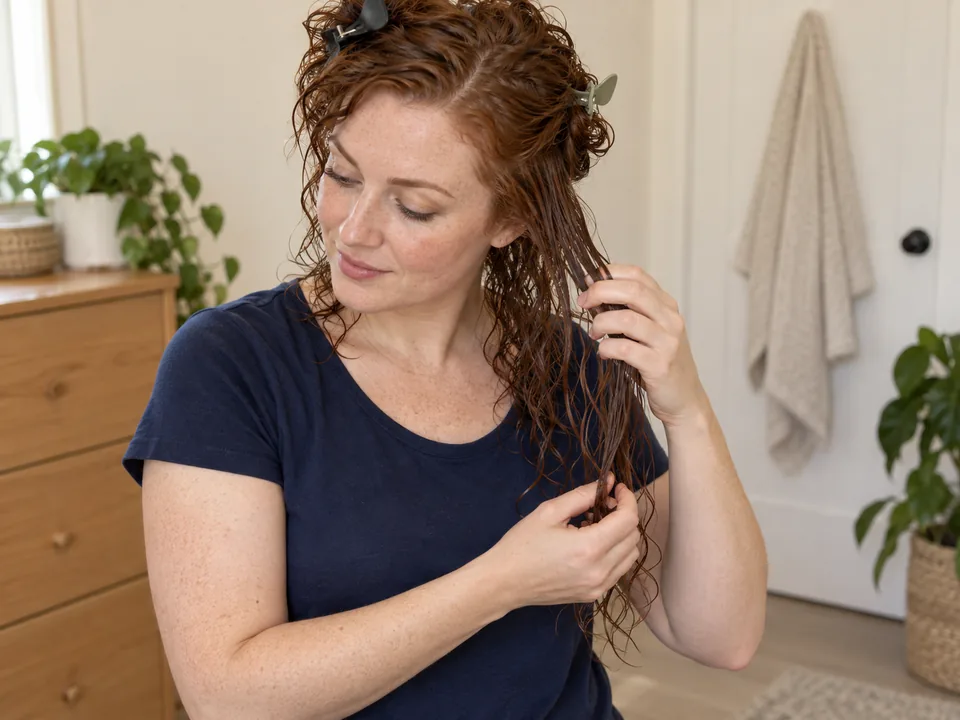 STEP 2 OF 8
Separate one reachable section
- Take a section narrow enough to fit between your spread fingers. Separate it from its neighbors all the way to the ends.
- Bring the lengths forward without pulling the roots. If the section starts to dry, wet it again before continuing, as any styler directions allow.
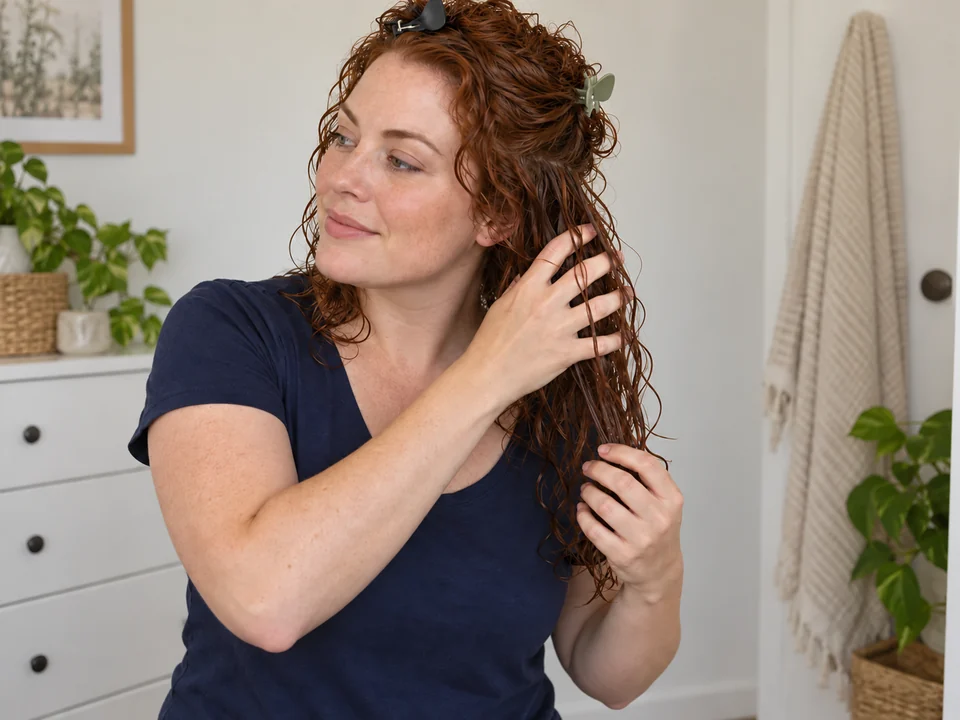 STEP 3 OF 8
Slide spread fingers down the section
- Spread the fingers of one hand through the hair just below the roots. Use the other hand to gather the lower lengths loosely.
- Slide the spread fingers toward the ends, letting hair move through your lower hand. Stop at any snag rather than squeezing or pulling through.
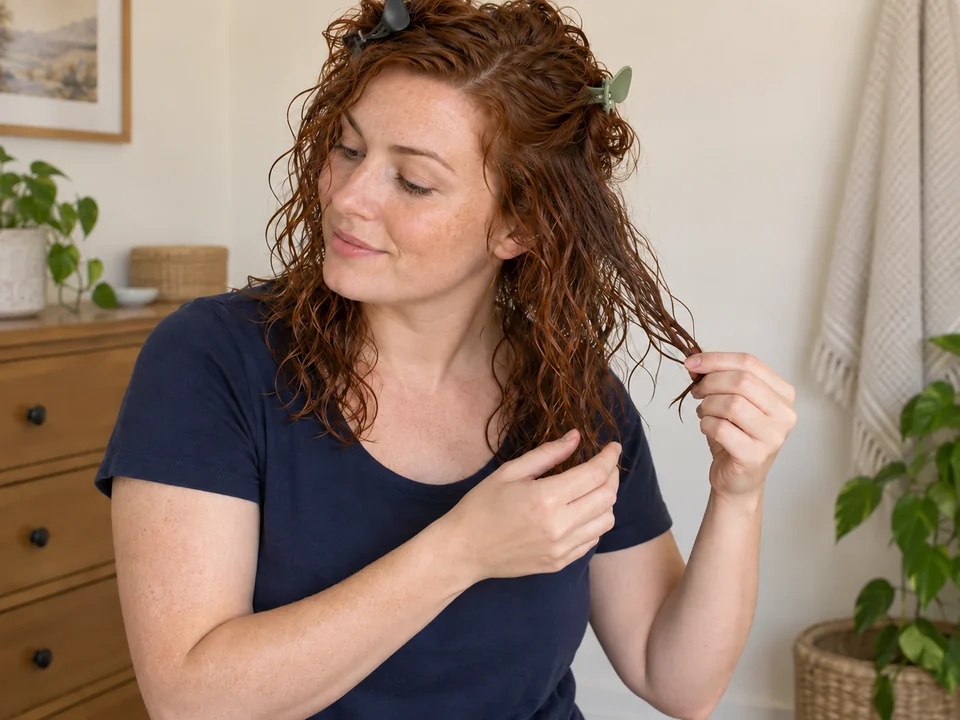 STEP 4 OF 8
Hold the ends and shake gently
- As the raking hand reaches the tips, let the other hand go. Hold just the ends lightly between your fingers.
- Move that hand a little from side to side so the hanging lengths sway. Keep slack between the hand and scalp; do not pull the section straight.
 STEP 5 OF 8
Let go before moving to the next section
- Open your fingers and let the ends fall. Move both hands away so the curl groups can settle.
- Repeat the same rake, shake and release on the sections you want to shape. Leave finished groups loose instead of clipping or raking them again.
 STEP 6 OF 8
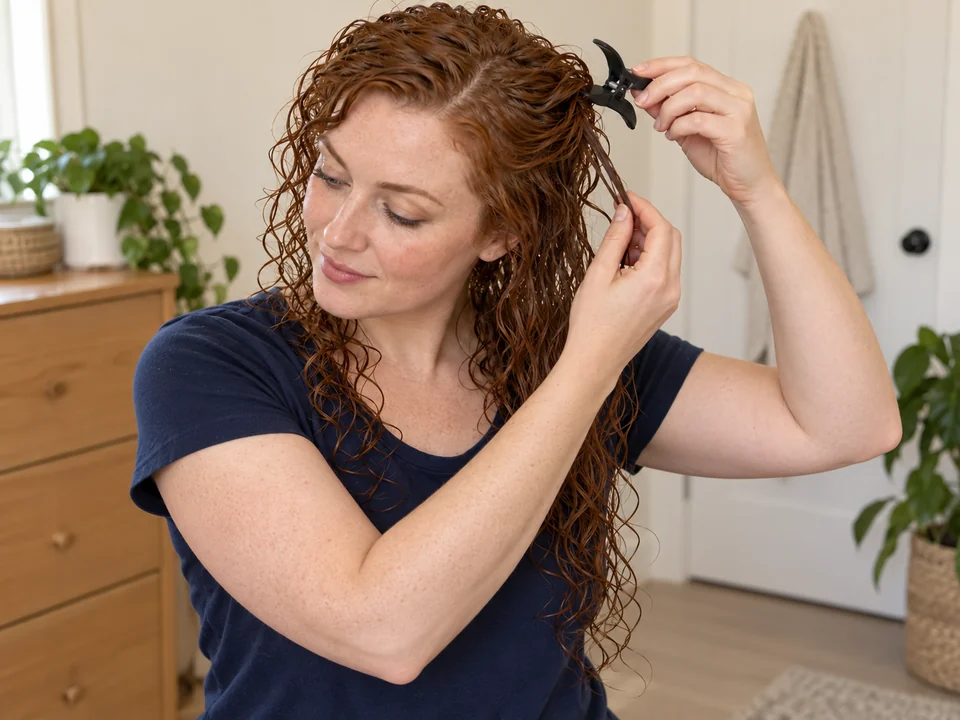
Remove the remaining clips
- Once you have shaped the sections you want, check for any clips still holding hair up.
- Open each clip fully and free any caught strands before lifting it away. Let all the lengths hang loose for drying.
 STEP 7 OF 8
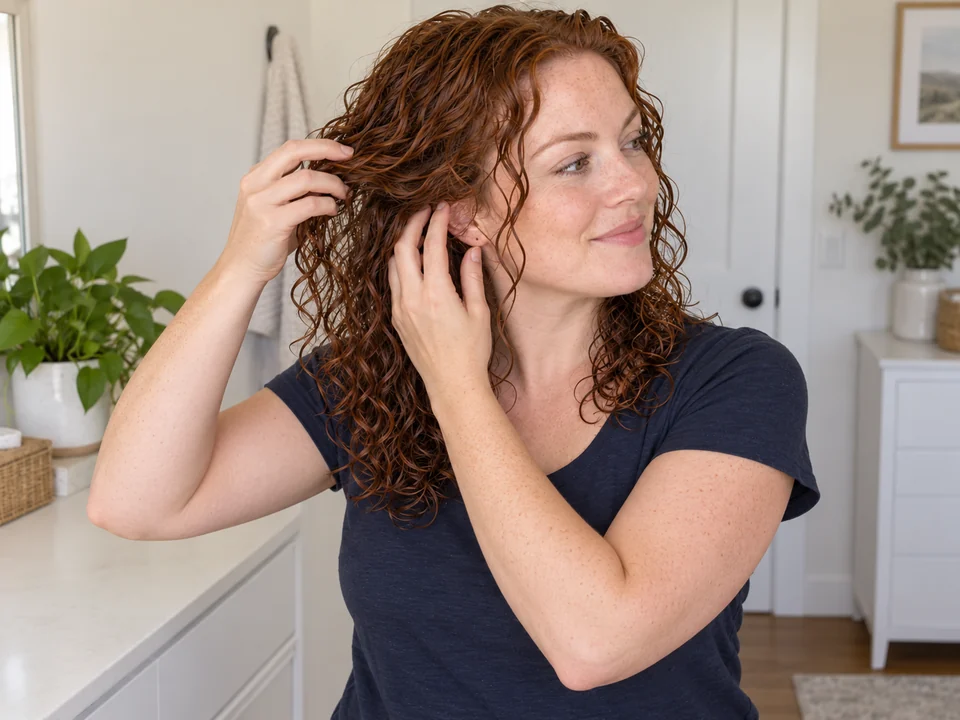
Let the hair dry, then check inside
- Air-dry the groups loose without more raking or shaking. Once the surface seems dry, check a few inner sections.
- Lift an outer group gently and feel near the roots, through the inner lengths and at the ends. Give any damp area more time before arranging it.
 STEP 8 OF 8
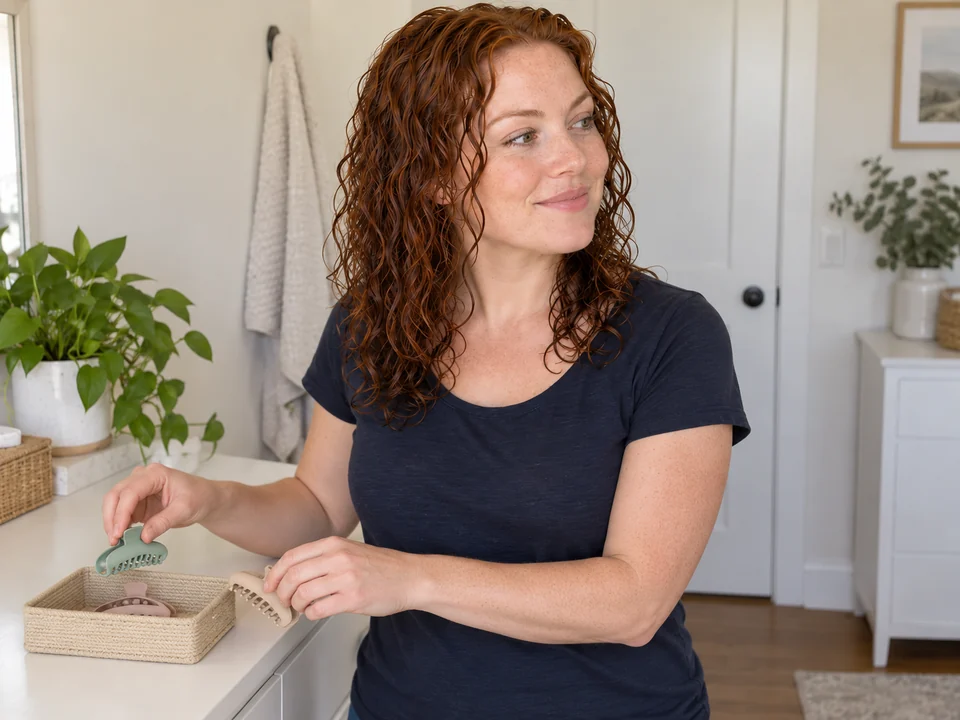
Finish only after the inner hair feels dry
- Leave the dry curl groups as they are, or move just the few pieces you want to arrange with your fingers. You do not need to separate every curl.
- Wash your hands and clean any used clips according to their care directions. Let the clips dry before putting them away.
About 10–25 minutes of handling for sectioning, raking, shaking, clip removal, checks and cleanup. Add drying time. Washing, detangling and any product application come first.
You’re done when…
All clips are out, the roots, inner lengths and ends feel dry, and the curl groups hang freely. You can leave the finish as it is or make small adjustments with your fingers.
Related techniques
Connected steps for your routine.
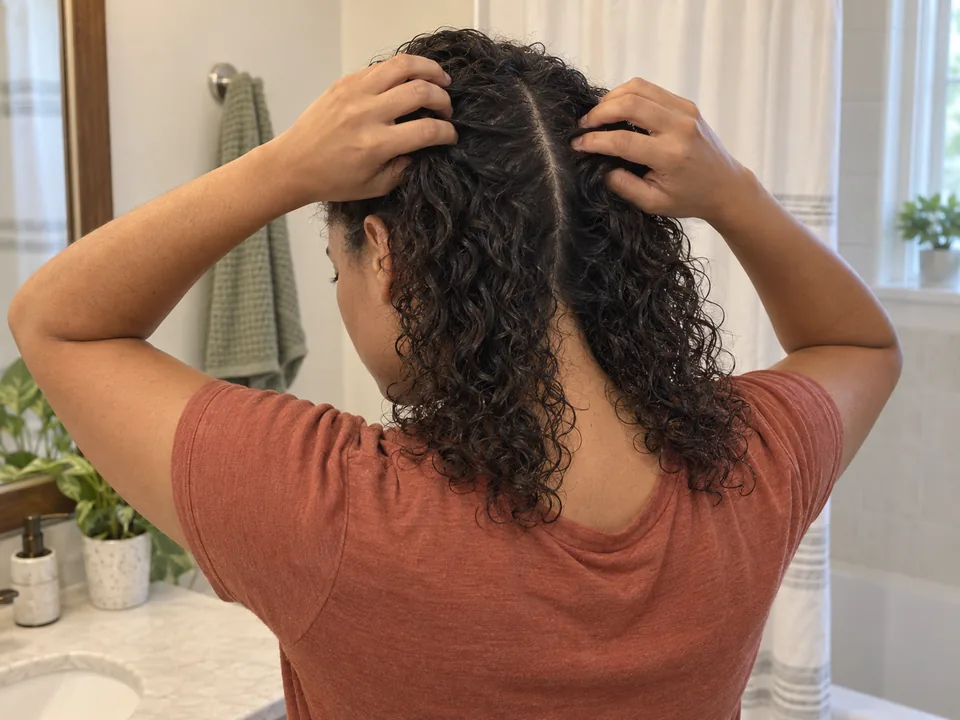
Section your hair for washing and styling
Separate unstyled hair into reachable zones so you can rake one section without catching its neighbors.
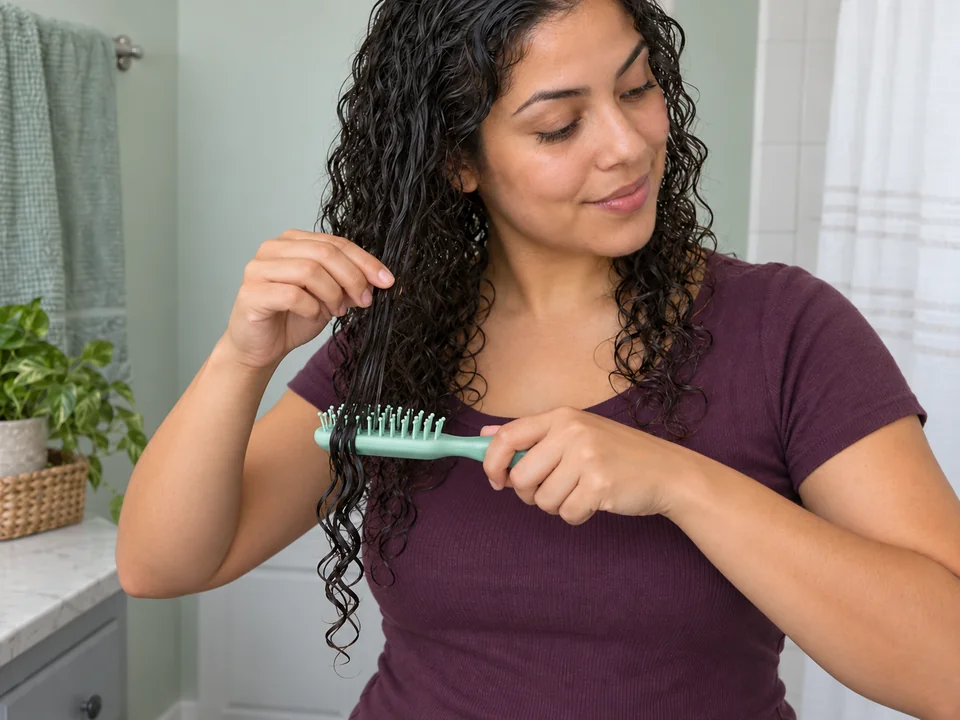
Define curls with a styling brush
For grouping wet hair with a shaped brush edge, use the separate brush-styling guide.
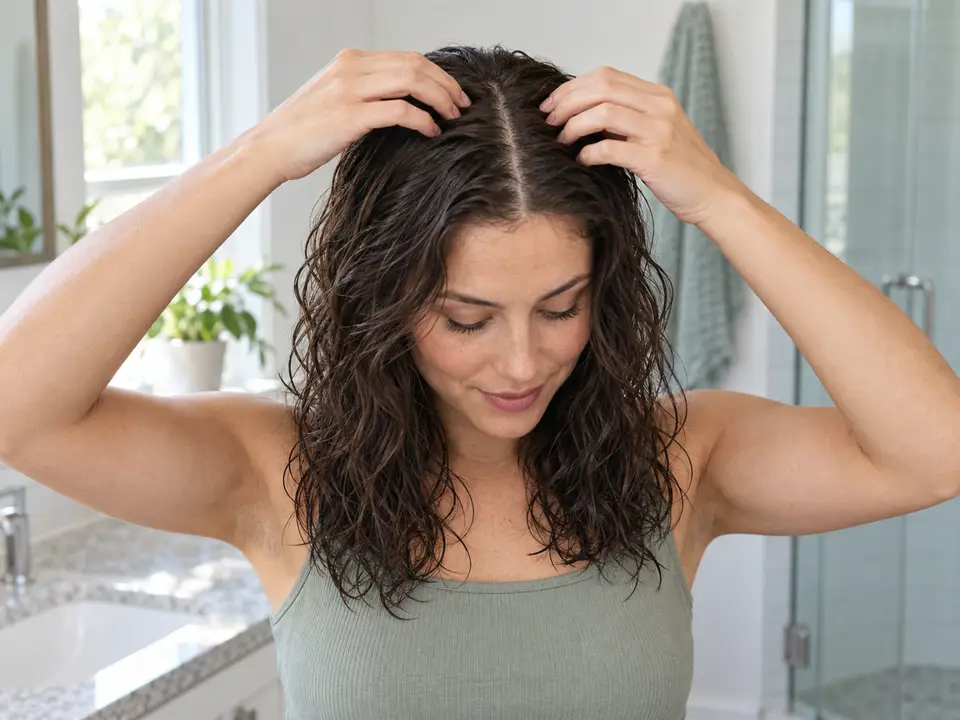
Air-dry your hair
Use the air-drying guide for more detail on leaving curl groups loose and checking roots and inner lengths.