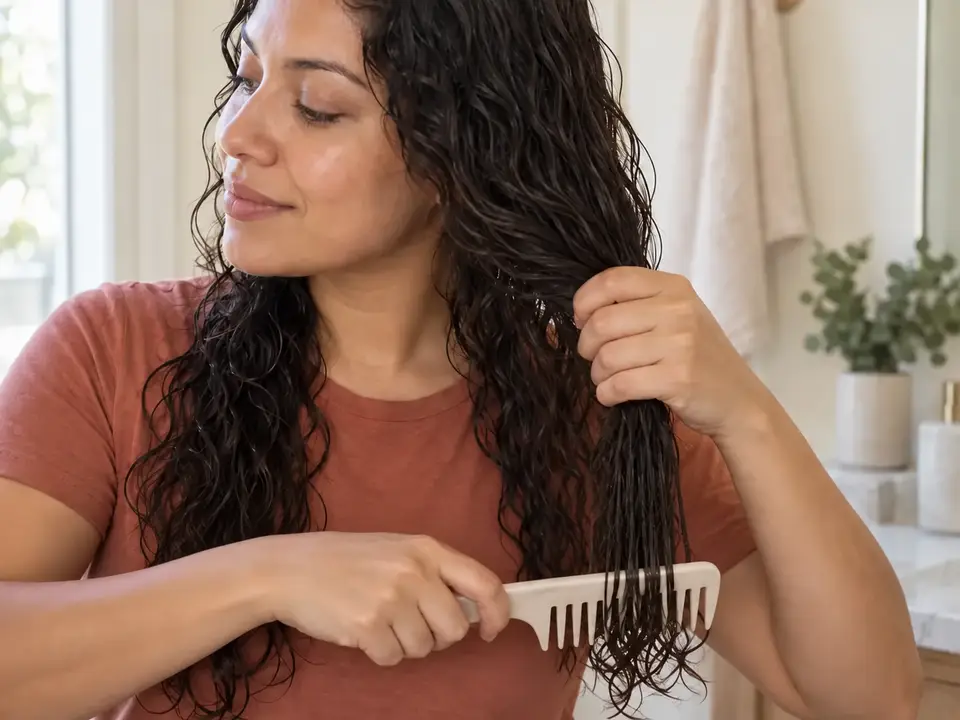
Clean your hairbrush and comb
When shed hair or styling residue collects on your brush or comb, cleaning clears the working surfaces before you use it again. Choose the method allowed for that exact tool.
Step by step
- STEP 1 OF 4
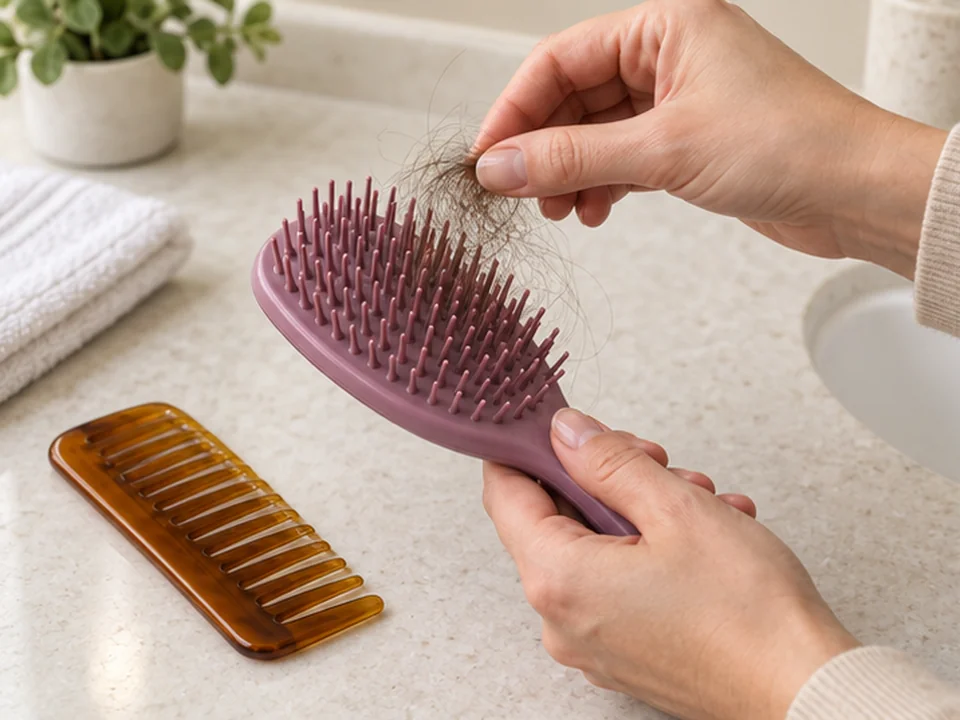
Check care and lift out hair
- Read the care instructions and choose washable or wipe-only cleaning. Place the tool and supplies on a stable counter.
- Hold the handle with one hand and lift loose caught hairs with the other. Work gently; do not cut, pry or pull hard.
 STEP 2 OF 4
Clean the working surfaces
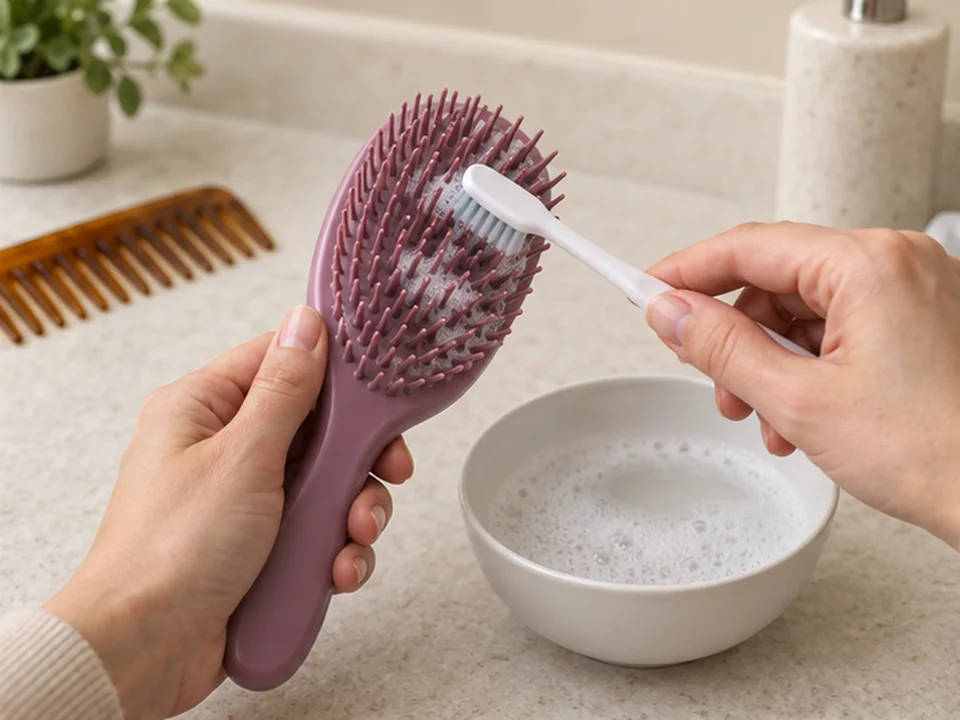
- For a washable tool, prepare the maker-approved cleanser and water in a bowl. Dip the soft cleaning brush in it.
- Gently clean between teeth and around the base. Keep the tool out of the bowl and protect parts the maker says must stay dry.
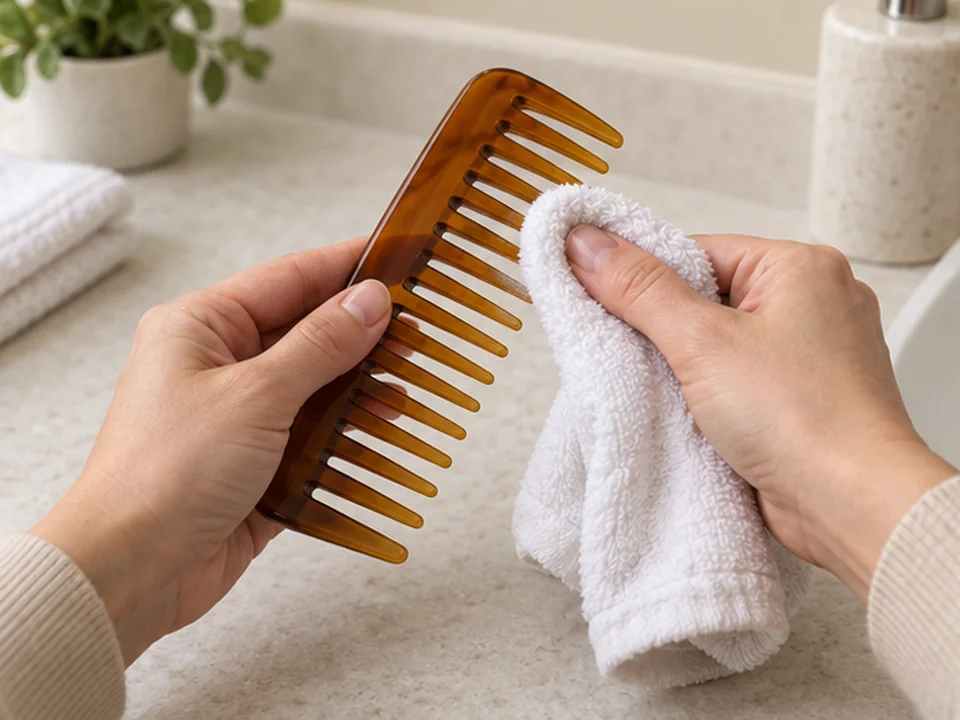
- For a wipe-only tool, wipe each tooth or bristle with a clean cloth. Add a soft cleaning brush only if the maker allows it.
 STEP 3 OF 4
Finish each tooth and gap
- For a washable tool, rinse away the cleanser using the method its maker permits, keeping protected parts dry. Do not leave visible suds.
- For a wipe-only tool, use a clean part of the cloth to lift remaining residue from each tooth and gap. Do not add a rinse.
 STEP 4 OF 4
Dry, inspect and put away
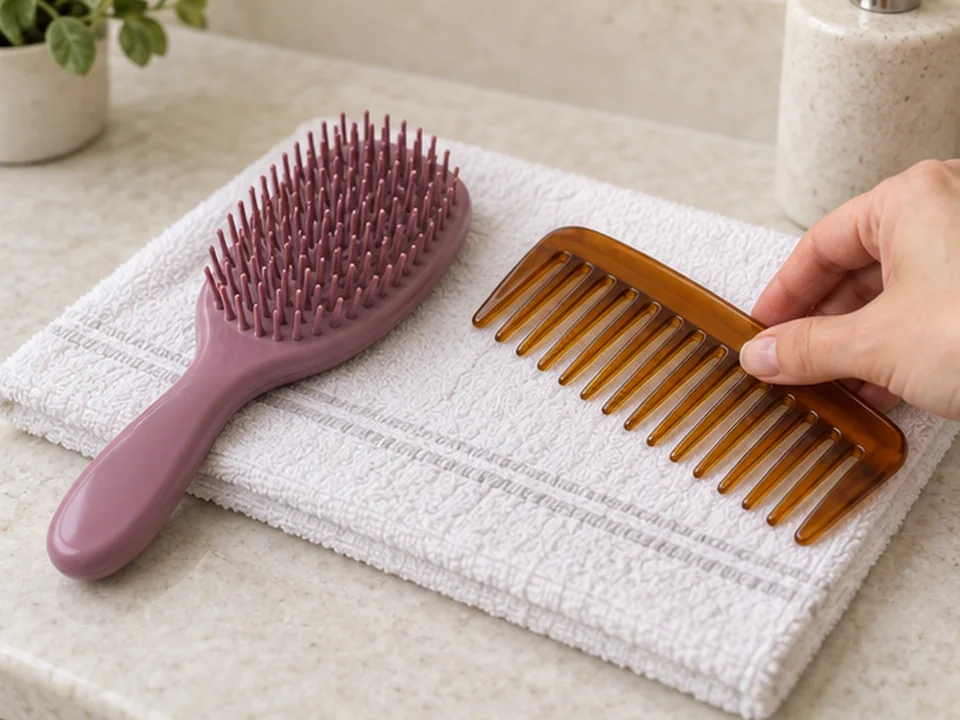
- Set the tool on a clean towel in the drying position its maker specifies. Let cleaned areas air-dry fully without a hair dryer or heater.
- Check for remaining hair, residue or damaged teeth. Clean your cleaning brush and cloth, then store the dry tool.
About 3–8 min hands-on for lifting caught hair, cleaning working surfaces, finishing and tidying one tool. Add any permitted soak and complete air-drying before storage.
You’re done when…
Caught hair and visible residue are removed, the teeth or bristles are intact, and all cleaned areas are dry before the tool is stored or used again.
Related techniques
Connected steps for your routine.