Define curls with a styling brush
Try a curl-defining brush when you want wet waves, curls or coils to gather into more distinct groups. Work on detangled hair, one small section at a time, then let the groups dry.
Step by step
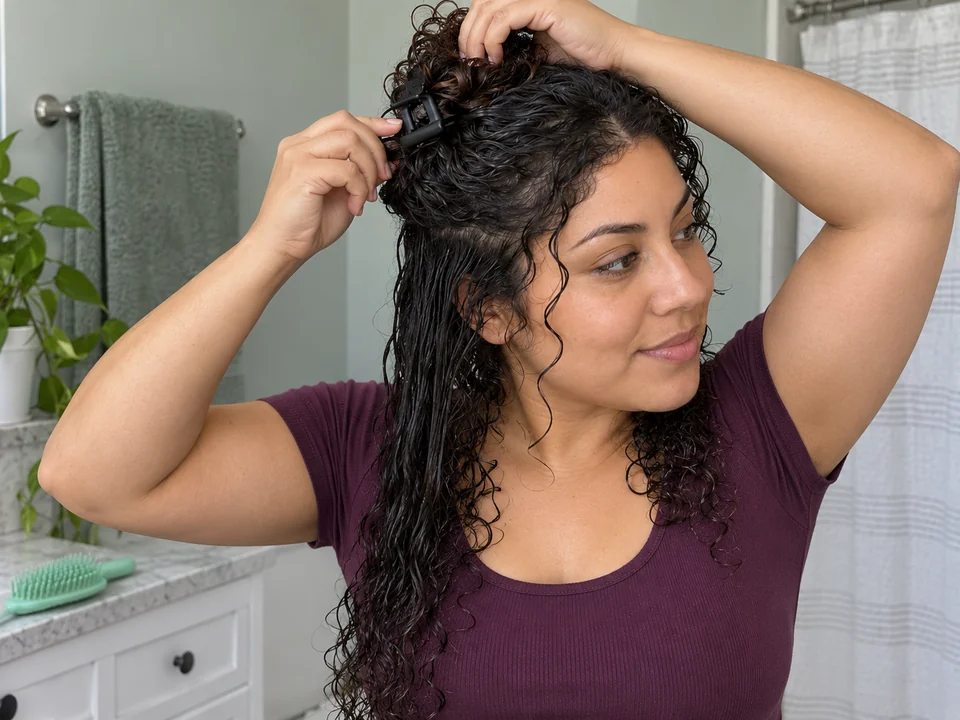 STEP 1 OF 9
Move the unstyled hair aside
- Start with detangled wet hair and a clean curl-defining brush. A styler is optional; use one labeled for wet hair and follow its amount and application directions.
- Clip the upper hair loosely aside, leaving a lower side area free. Put the brush on a dry surface within reach while you divide the hair.
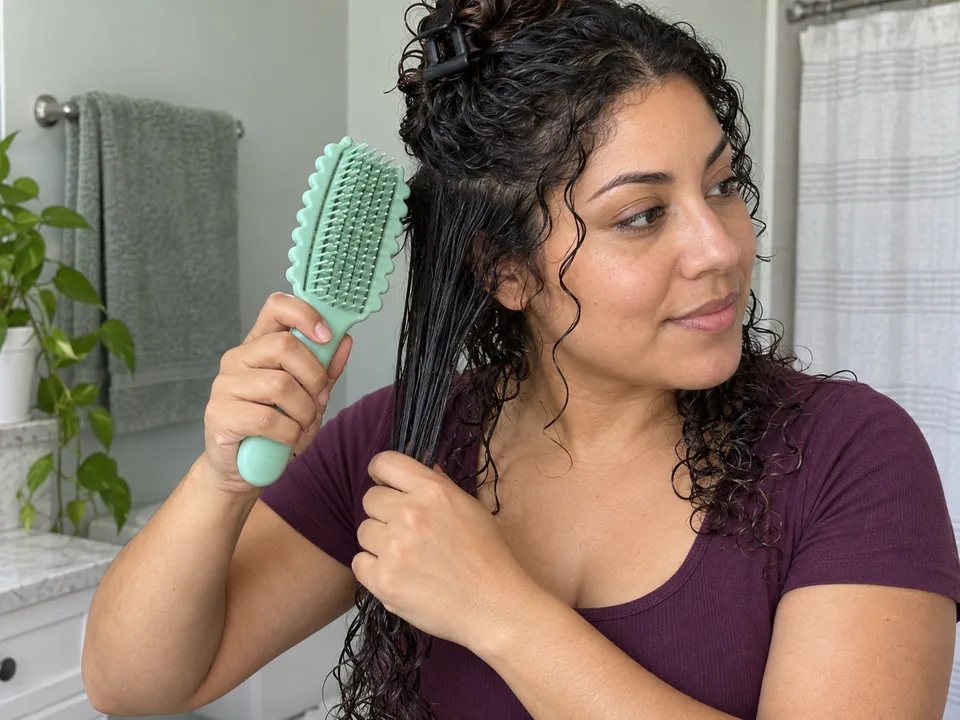 STEP 2 OF 9
Choose one manageable section
- Separate a section narrow enough to sit across the bristle bed without spilling into neighboring hair. Check that its ends are free of tangles.
- Hold the section within reach and pick up the brush. Keep a little slack at the root; the hair should not pull your scalp.
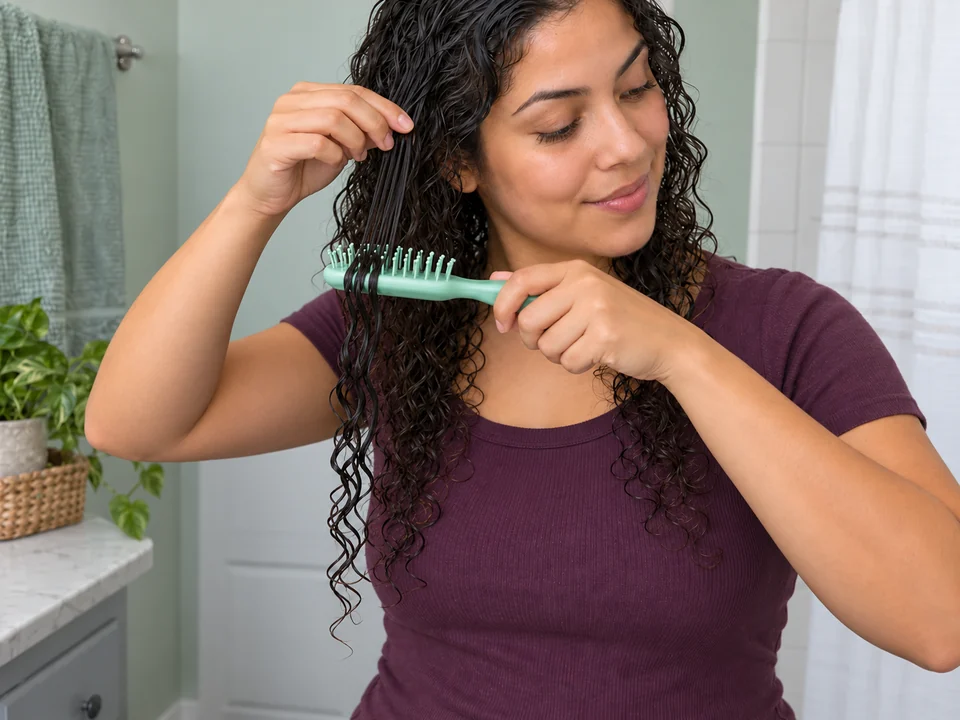 STEP 3 OF 9
Place the brush beneath the section
- Hold the hair with one hand above where the brush will start. With the other, place the brush beneath the upper lengths, clear of the scalp.
- Turn the bristles toward the hair. Angle the brush so the section lies across the bristles and over its shaped outer edge, with the ends hanging free.
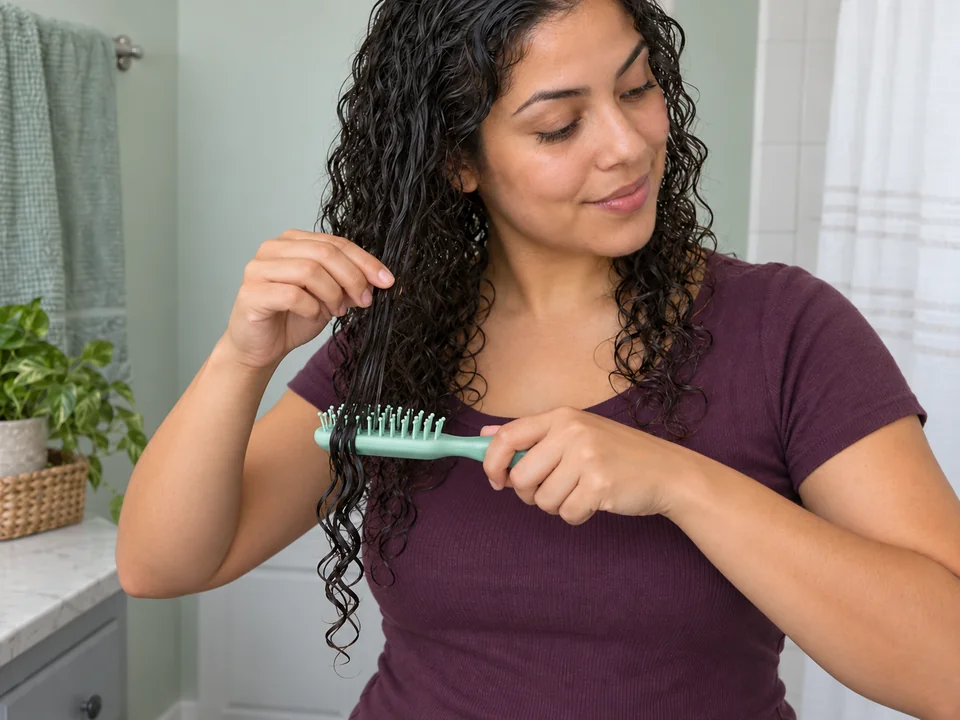 STEP 4 OF 9
Guide the brush down toward the ends
- Keep your supporting hand above the brush and glide the brush slowly down the section. Let the lengths pass over the shaped edge.
- Use light, steady pressure. If it catches or pulls at the root, stop and ease it out; detangle again or take a smaller section before retrying.
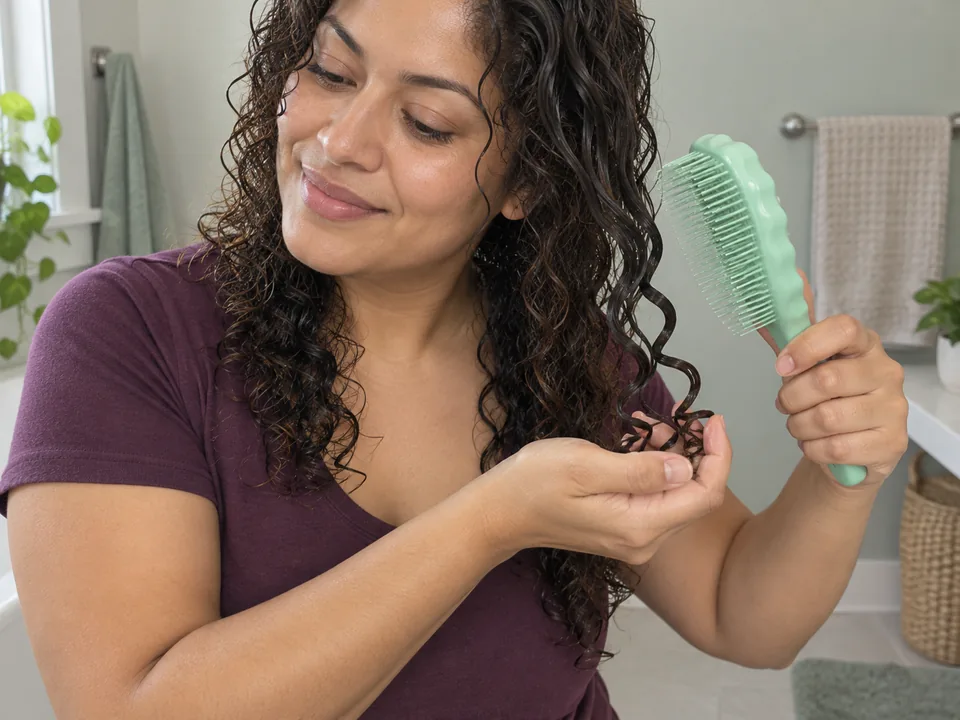 STEP 5 OF 9
Let the ends clear the brush
- Continue gently until the ends slide free of the bristles. Move the brush away without pulling the curl groups apart.
- Let the released ends rest in your free palm. Do not brush through the same group again just to make it look more uniform.
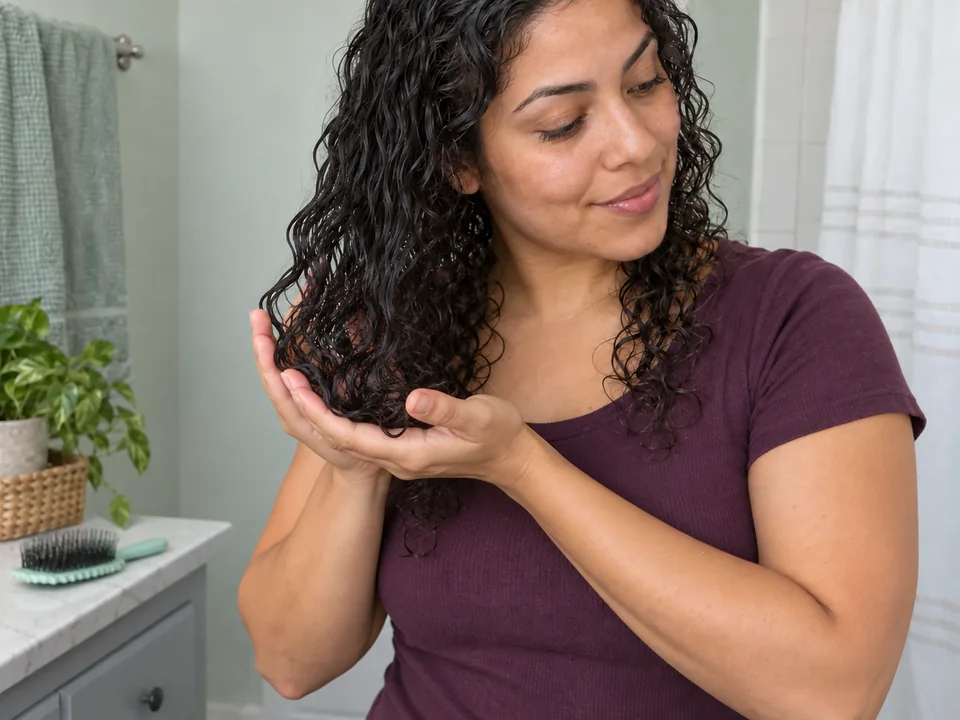 STEP 6 OF 9
Set the brush down and lift the ends
- Put the brush on the dry surface. Cup the ends in your palms and lift them toward the roots, letting the lengths fold into your hands.
- Give one gentle squeeze, then lower your hands and let go. Avoid rubbing the hair between your palms.
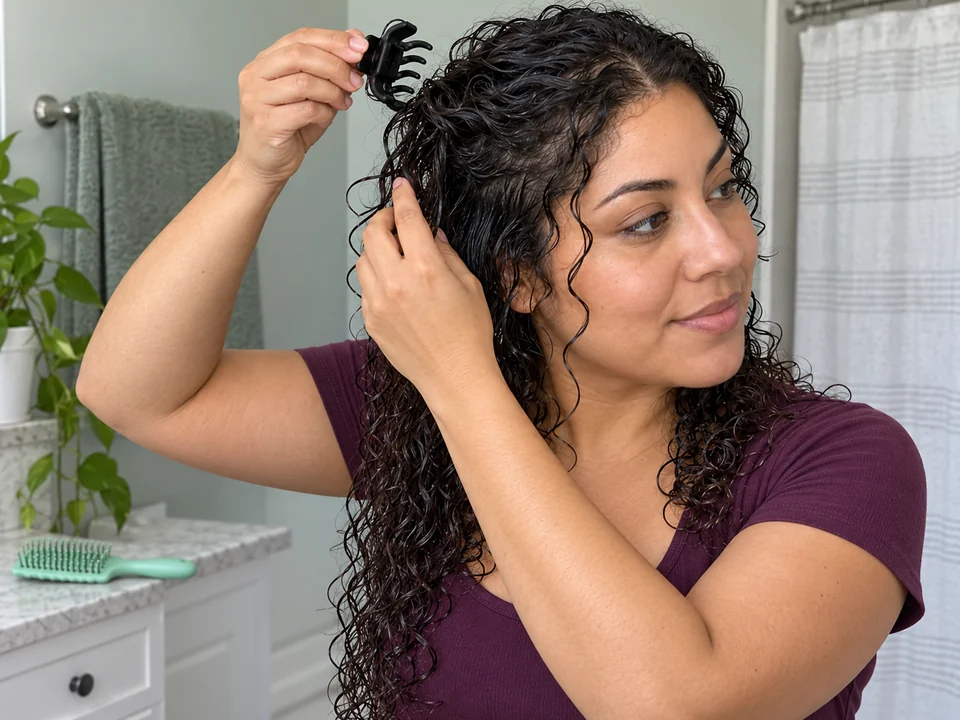 STEP 7 OF 9
Finish the sections and remove the clips
- Repeat the brush pass, release and scrunch on the remaining sections you want to shape. Keep finished groups loose while you work.
- Remove every sectioning clip before drying. Open each clip fully and free any caught hair before lifting it away.
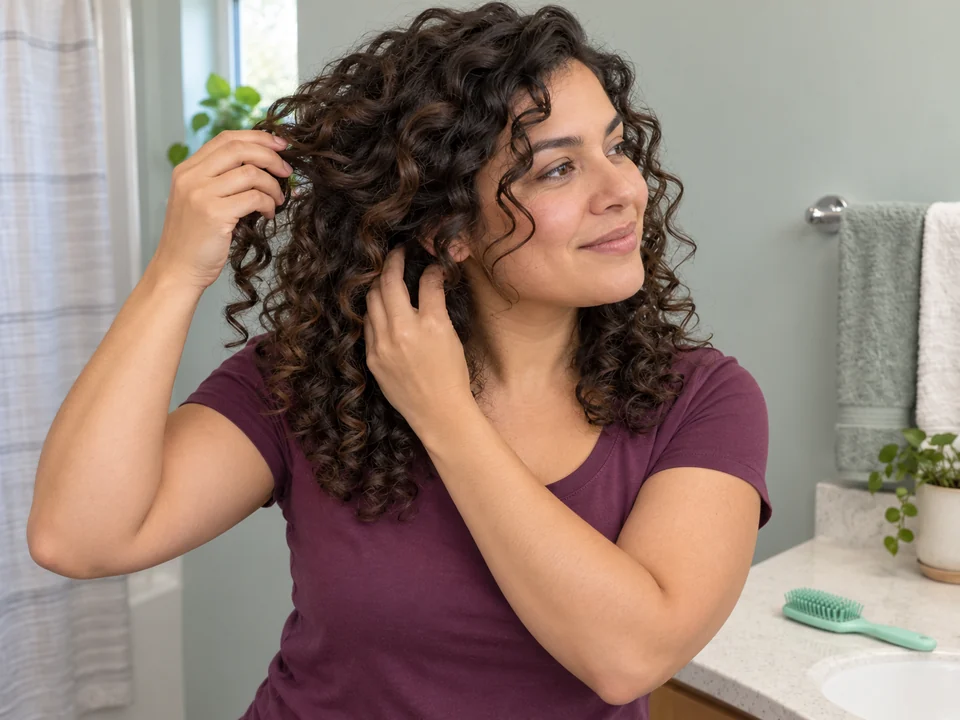 STEP 8 OF 9
Let the groups dry, then check inside
- Let the hair air-dry loose without rebrushing. Wait until the surface seems dry before checking a few inner sections.
- Lift an outer group gently and feel near the roots, through the inner lengths and at the ends. If any area still feels damp, let it dry longer.
 STEP 9 OF 9
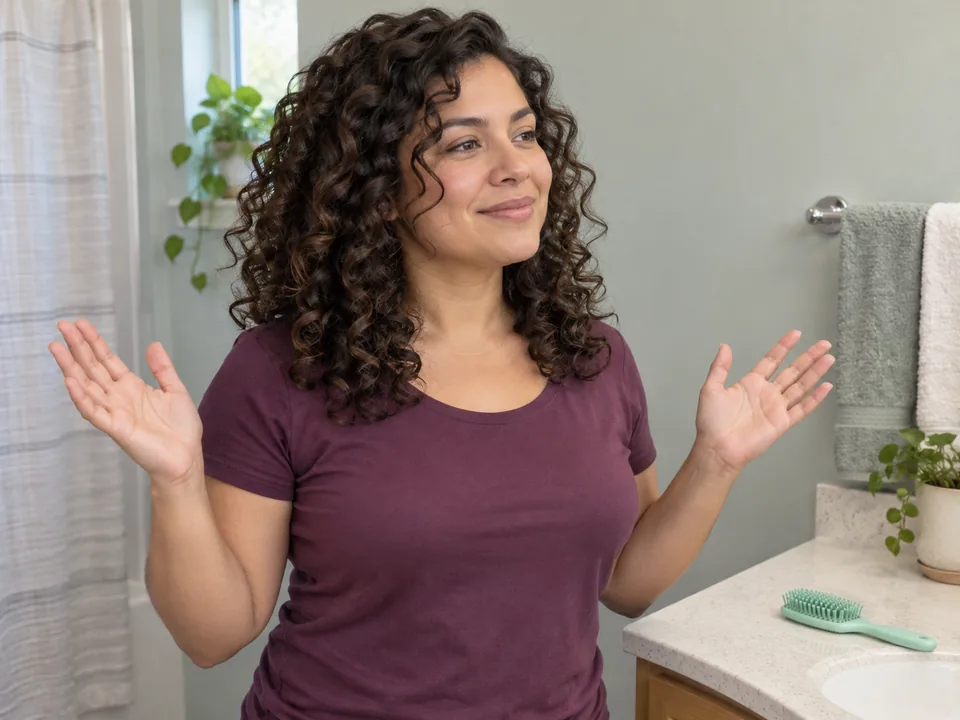
Leave the dry groups loose
- Once the roots, inner lengths and ends feel dry, leave the groups as they are or move only the few pieces you want to arrange with your fingers.
- Remove shed hair from the brush and clean it and the clips according to their care directions. Let the tools dry before storing them.
About 15–40 minutes of handling for sectioning, brush styling, clip removal, checks and cleanup. Add drying time. Washing, detangling and any product application come first.
You’re done when…
The clips are out, the roots and inner lengths feel dry, and the curl groups hang freely. Leave them as they are or make only the small finger adjustments you want.
Related techniques
Connected steps for your routine.
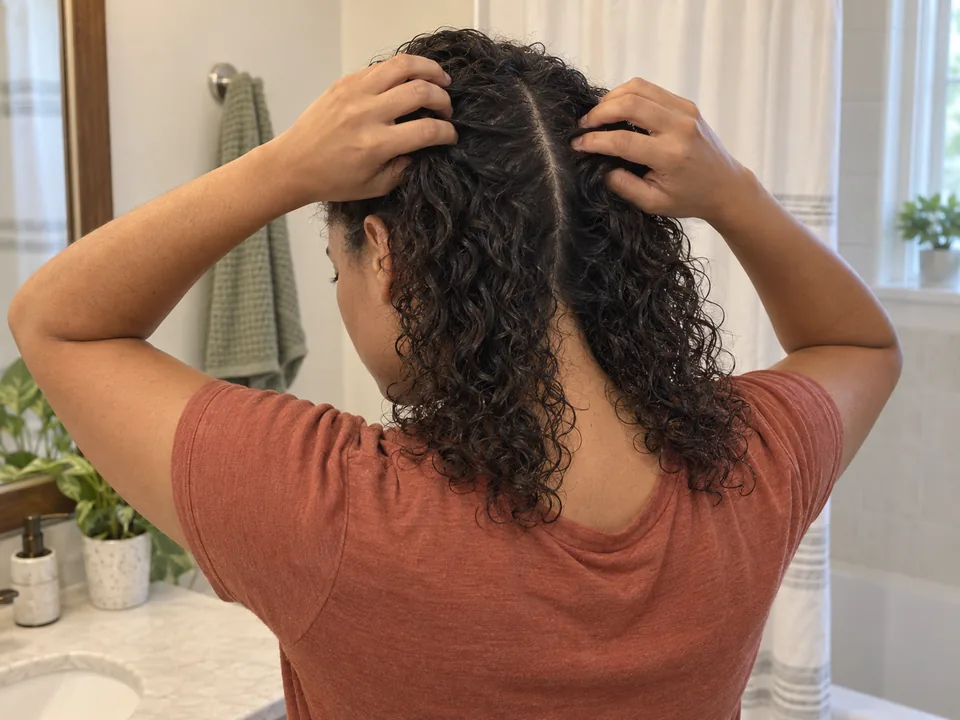
Section your hair for washing and styling
Separate unstyled hair into reachable working zones so one hand can support the section while the other guides the brush.
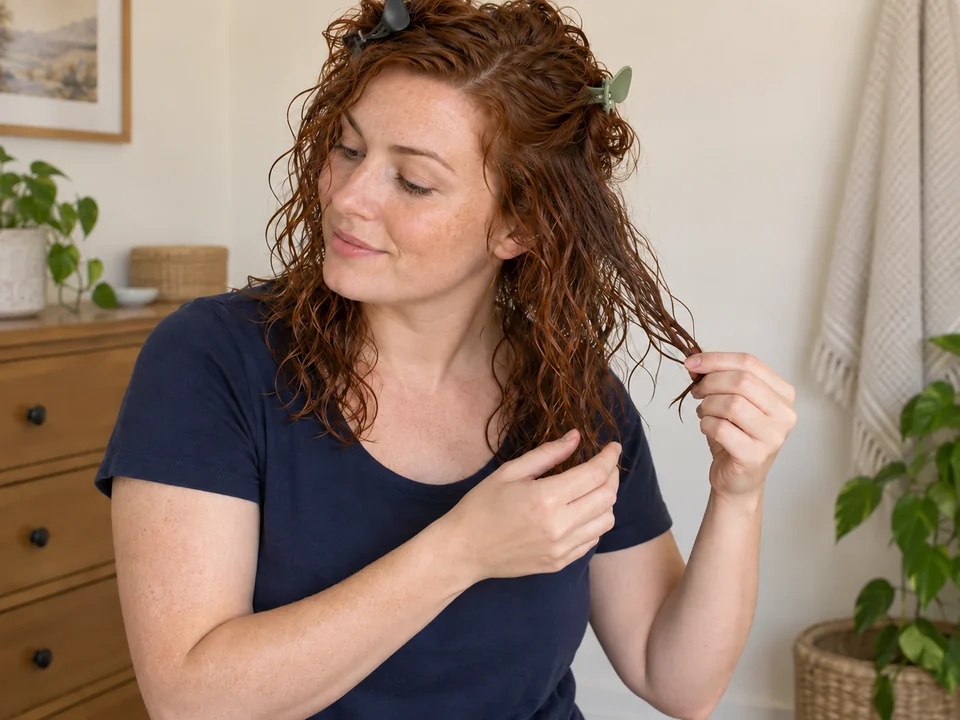
Style curls with rake-and-shake
Try finger raking and a small shake if you prefer to group wet curls without a brush.
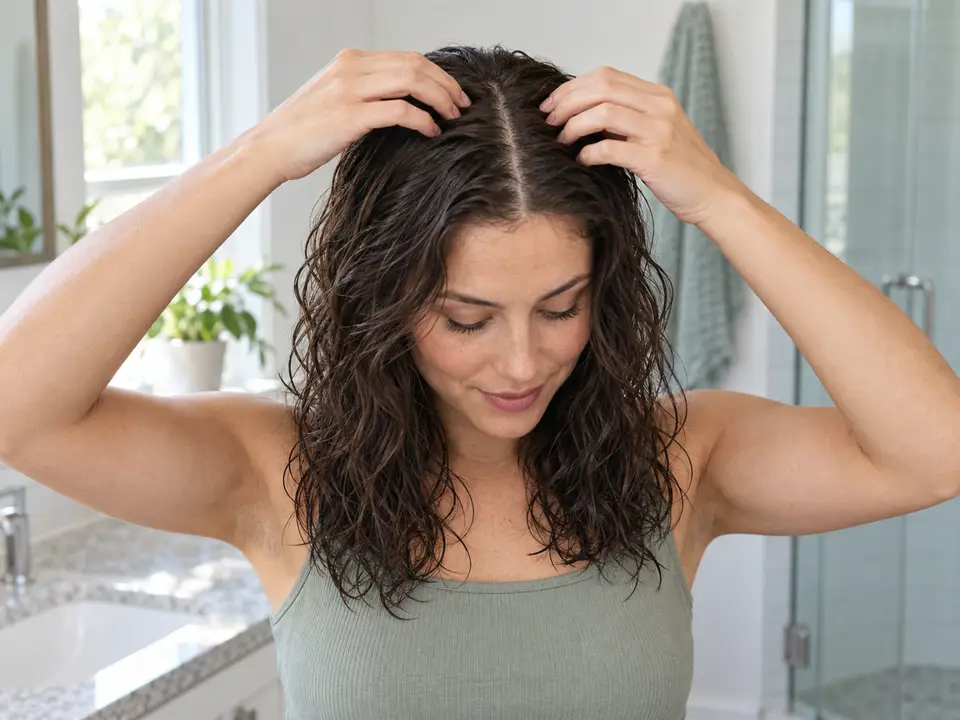
Air-dry your hair
Use the air-drying guide for more detail on leaving the groups loose and checking the roots and inner lengths.