Narrow plates
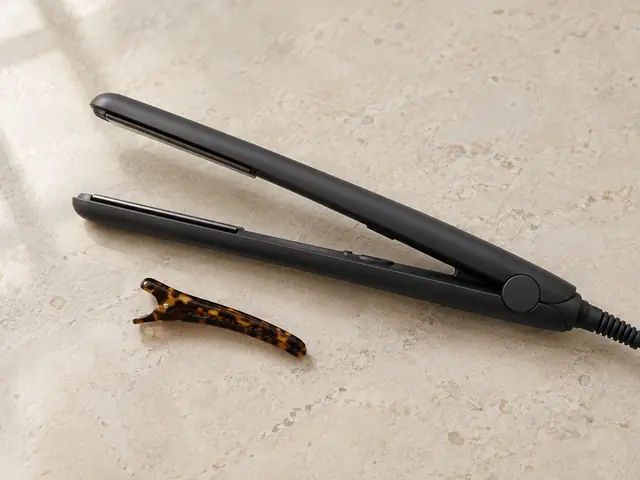
Slim plates reach close to the part, around a fringe and along short layers. On long, thick hair they mean more sections and a longer session.
Best for: Short hair, fringes, the hairline area and precise touch-ups.
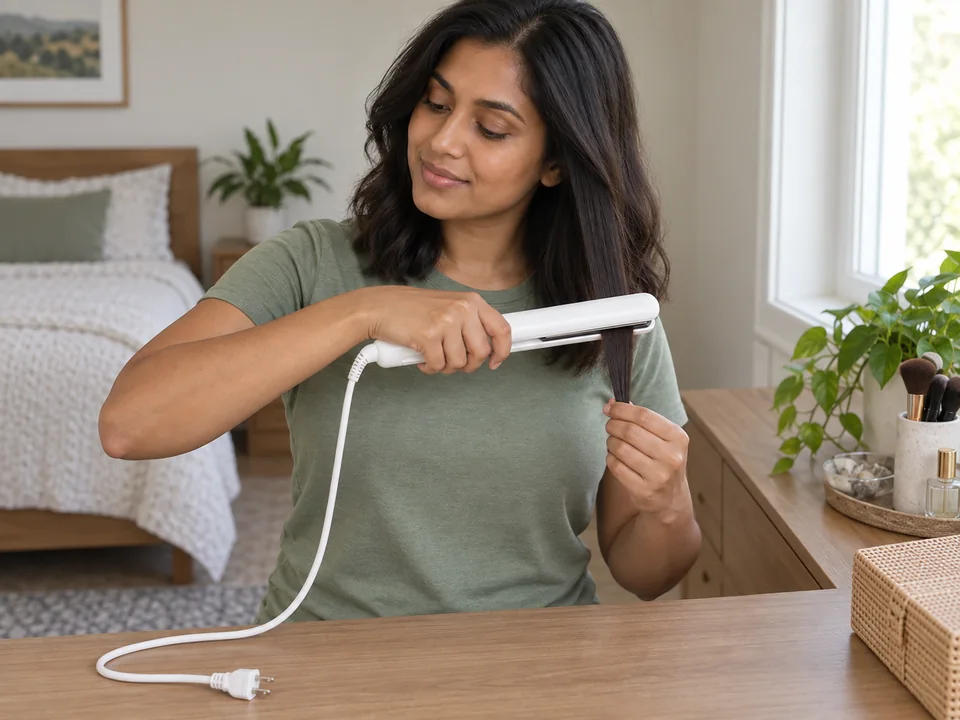
Reach for a flat iron when you want a temporary straighter, smoother finish or a soft bend on fully dry hair. Two heated plates reshape each thin section until water, sweat or humidity lets it return toward its natural pattern.
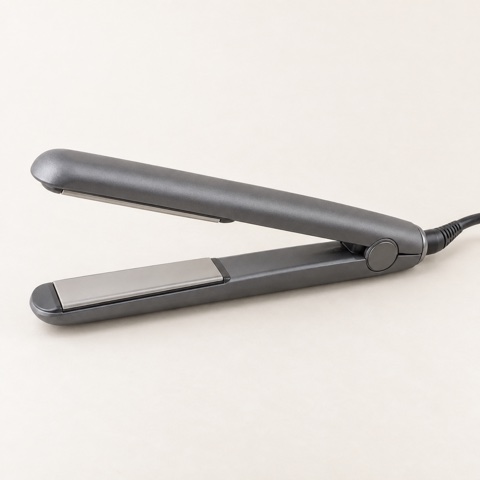
The basic method. Your model’s own directions come first for heat, attachments and starting state.
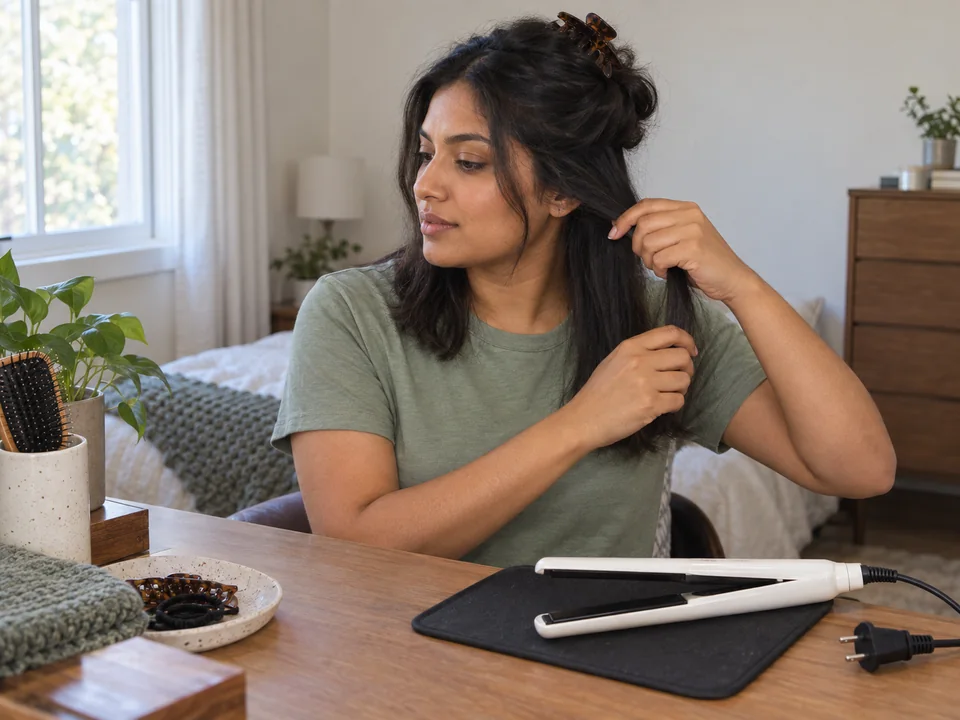
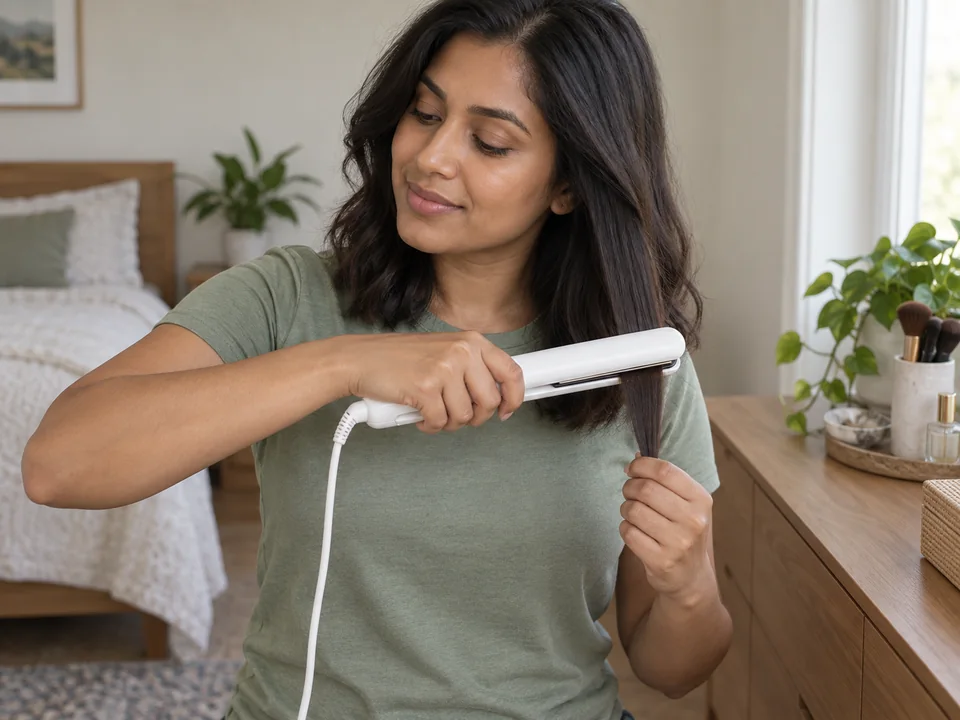
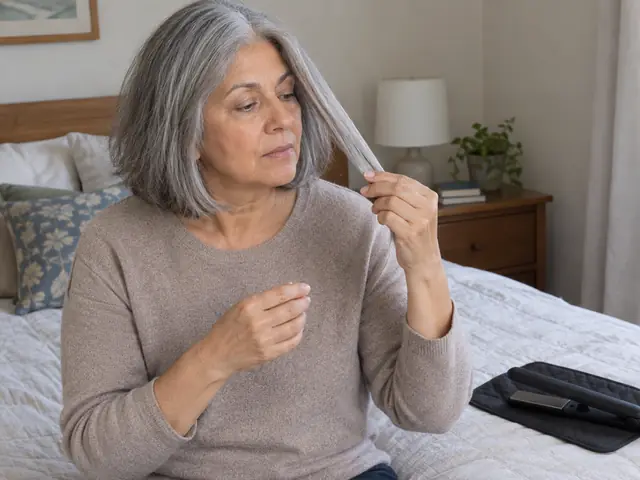
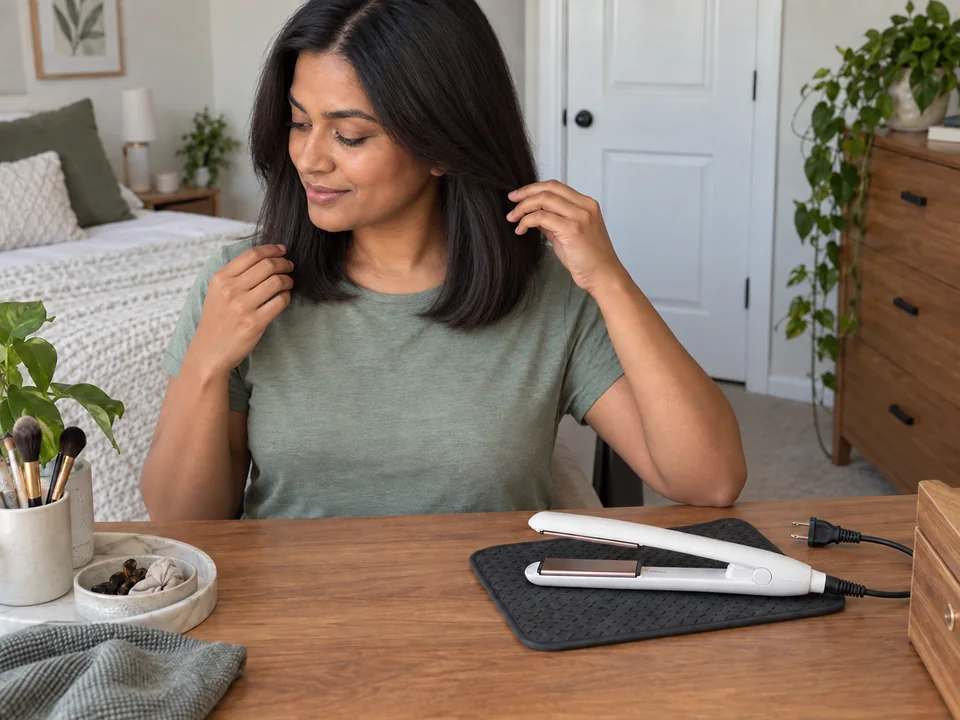
Each thin section smooths in one or two passes at a low setting, nothing sizzles or snags, your skin stays untouched, and the iron ends the session unplugged and cooling on its stand.
What each kind does, and who it suits.
Slim plates reach close to the part, around a fringe and along short layers. On long, thick hair they mean more sections and a longer session.
Best for: Short hair, fringes, the hairline area and precise touch-ups.
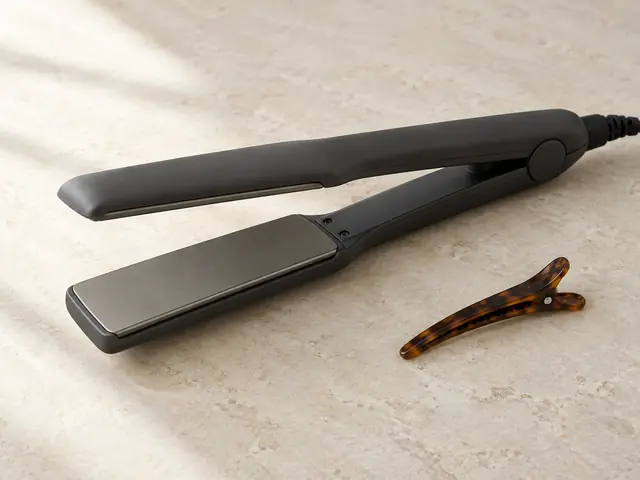
Broad plates cover more hair per pass, so long or dense hair can be done in fewer, larger sections. They are harder to place close to the roots and around the face.
Best for: Long, thick or dense hair where fewer, broader sections help.
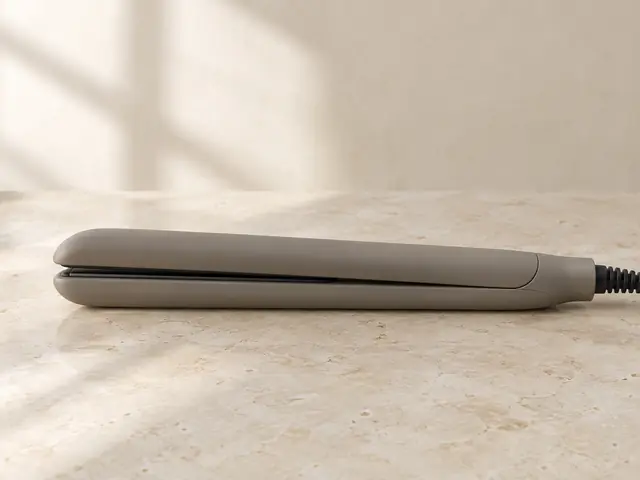
A mid-width iron with a curved outer housing straightens and can also twist through bends and waves, because hair can wrap around the outside without catching on sharp corners.
Best for: One tool for straightening and occasional bends or waves.
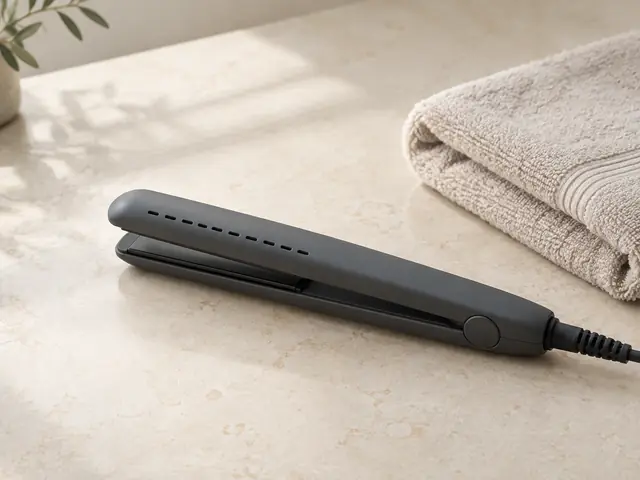
A few models are sold for use on damp hair and have vents. Use damp hair only if your exact manual says so; an ordinary iron is for completely dry hair.
Best for: Only the specific models whose manual permits damp hair.
The controls worth understanding before you change anything.
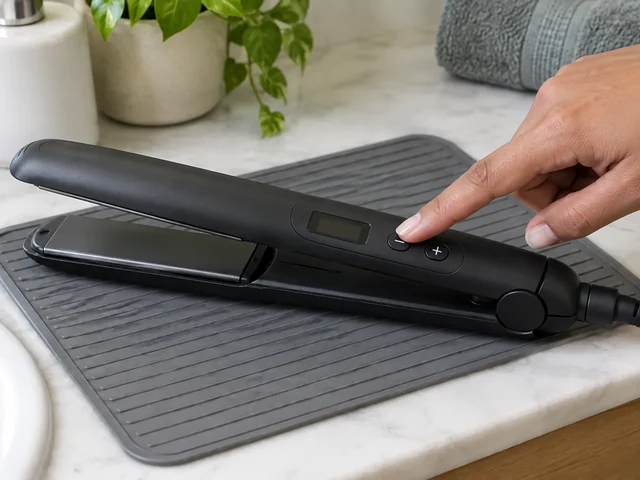
Begin low and raise one step only if a thin section still needs repeated passes. Manual charts that pair settings with hair types are a starting range, not a rule for your hair.
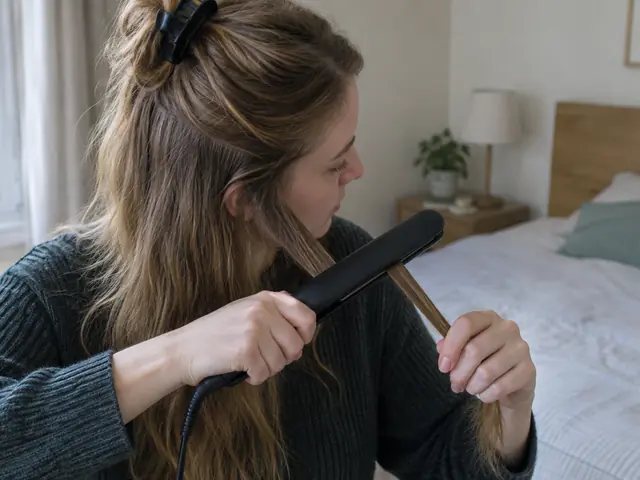
Thin sections let heat reach through in one or two passes; overfilled plates leave the middle bent. Close the plates gently and keep moving steadily toward the ends.
Once the basics feel easy, these moves change the result.
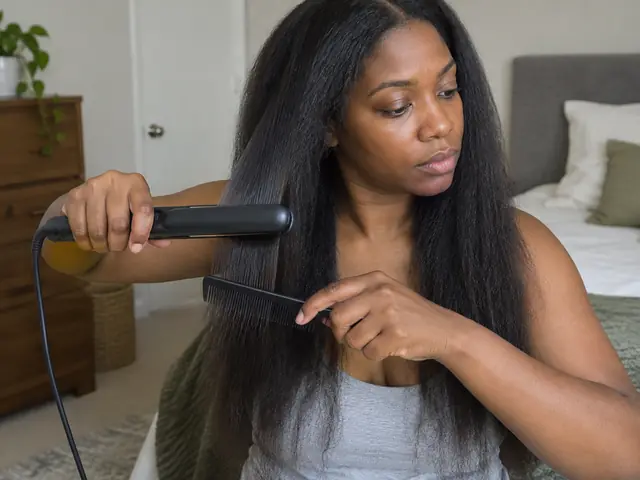
Run a fine-tooth comb just ahead of the plates so the section is aligned as it is heated. It often smooths in fewer passes. Keep the comb and your fingers clear of the plates.
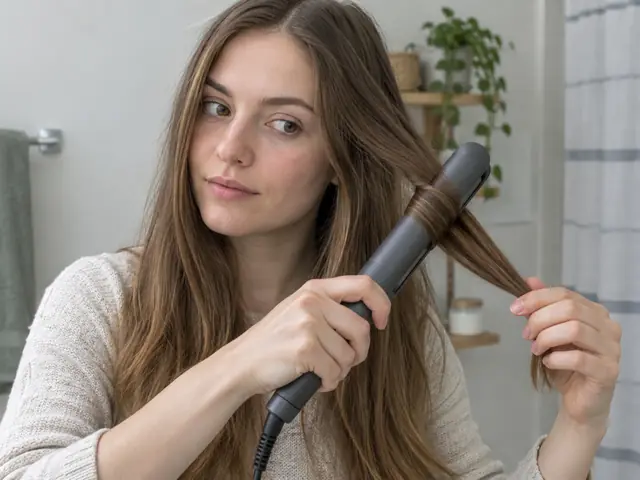
Turn your wrist under or out near the ends for a bend or flip. For a wave, rotate the iron half a turn and glide slowly, letting hair wrap around the outer housing.
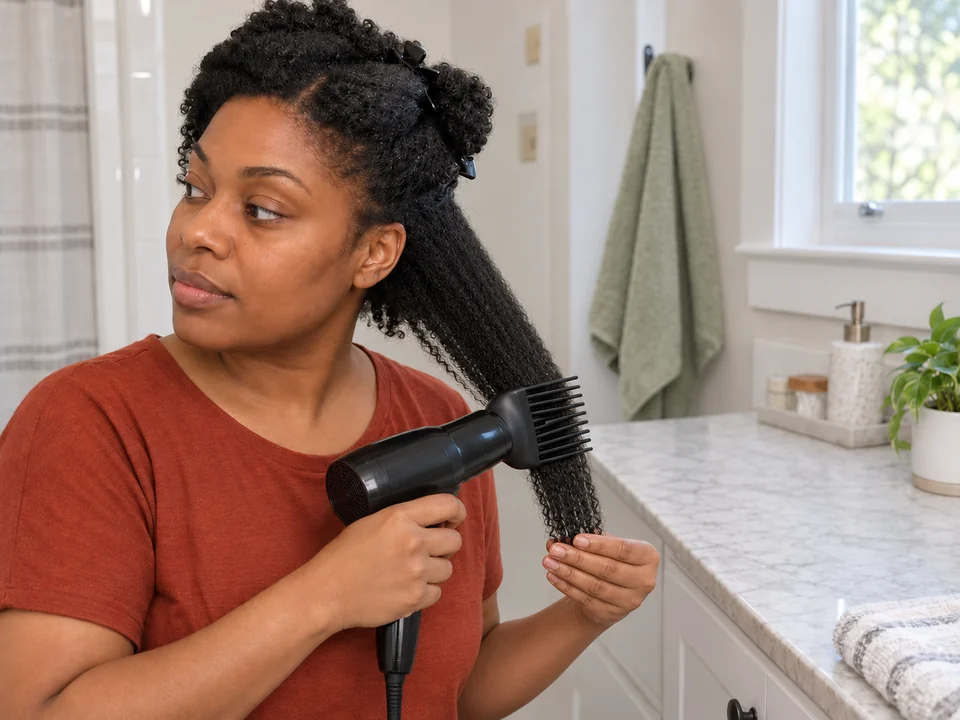
A silk press joins washing, conditioning, a stretched blow-dry and thin, low-setting iron passes for a smooth, swinging finish on curly or coily hair. It takes practice; many people have a stylist do the first ones.
Full guide: Blow-dry curly or coily hair smooth with a comb attachment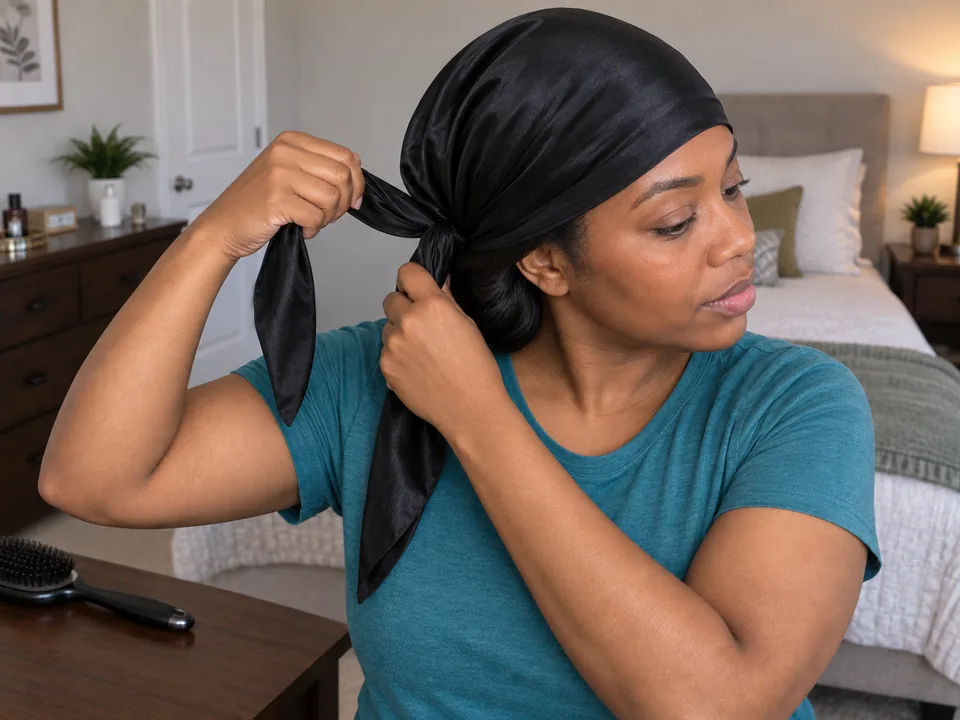
Wrap straightened hair under a smooth scarf at night and keep it away from water. The longer a style lasts, the fewer heat sessions you need before your next wash.
Full guide: Preserve a blowout or silk press between washesWhat goes wrong most often, and what to do instead.
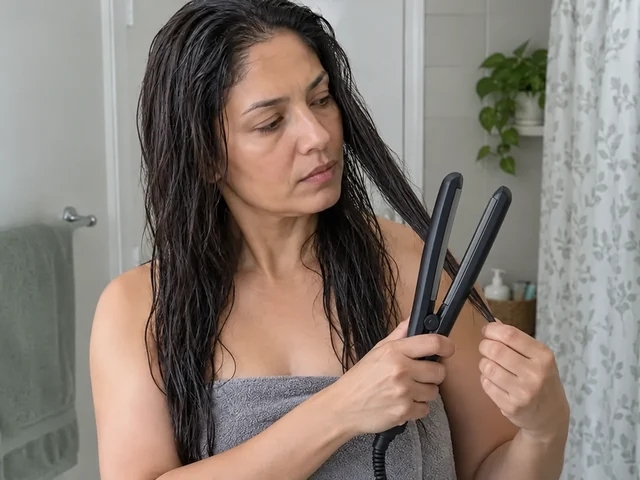
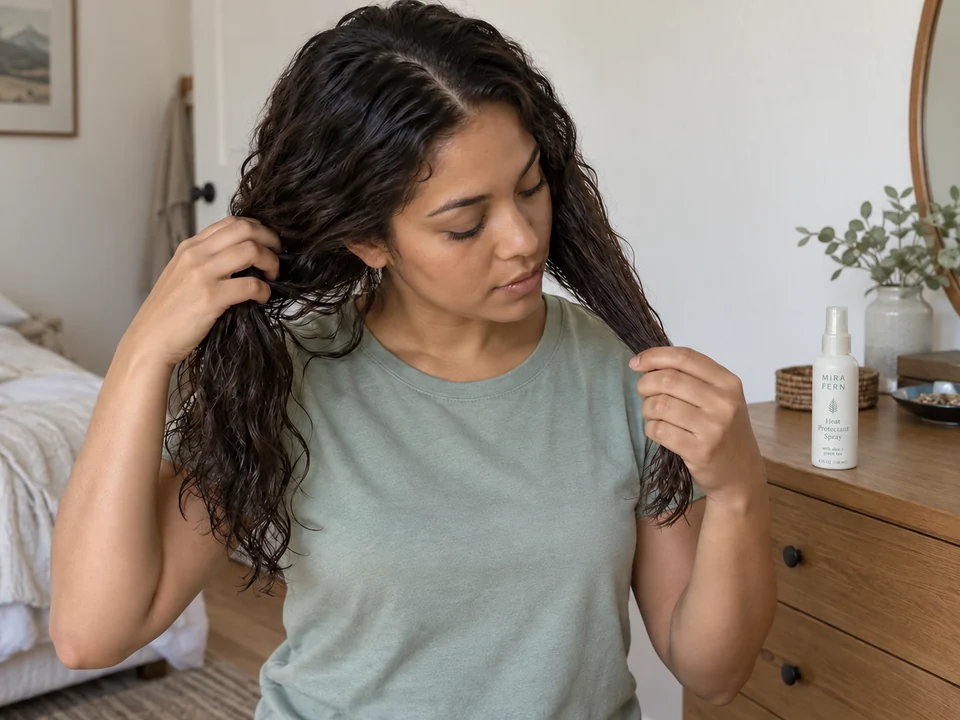
Water inside the strand turns to steam and can bubble and crack the hair's surface. Dry the section fully, roots and underneath included, unless your iron's own manual permits damp hair.
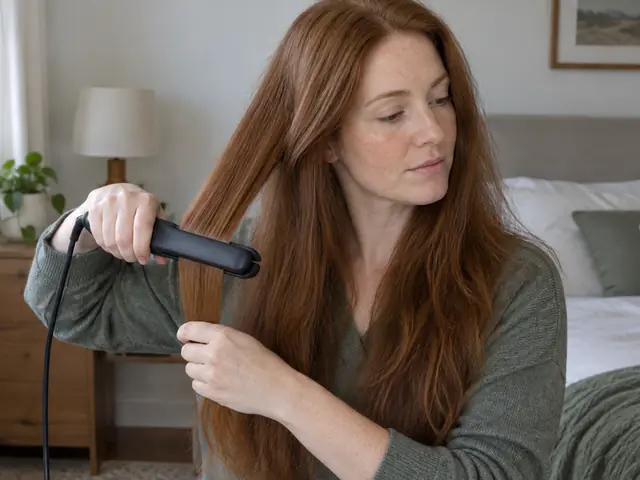
Every pass adds more heat to the same hair. Use thinner sections and the comb chase instead, stop when it is smooth enough, and accept a little natural movement.
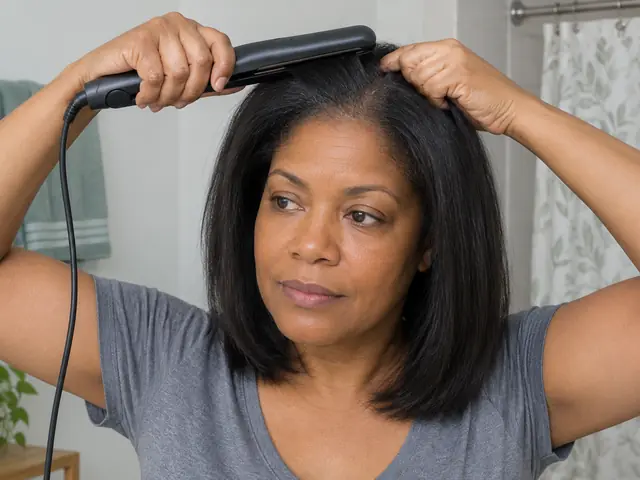
Pausing with closed plates concentrates heat on one spot, and clamping tight at the roots risks touching skin and pulling. Start a little away from the scalp and keep gliding.
Claims you’ll see online, answered plainly.
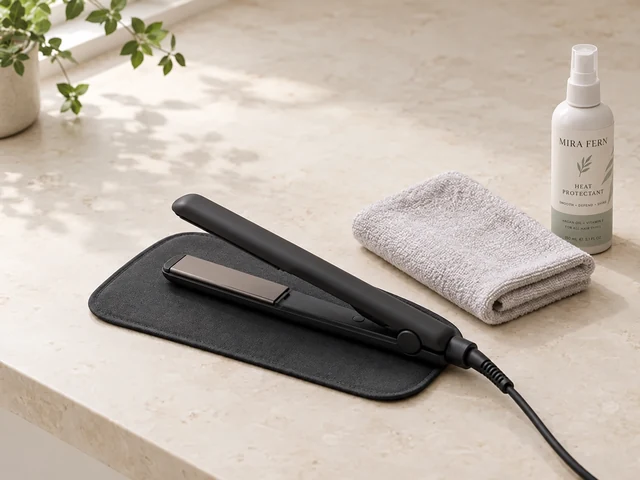
No. On an ordinary iron, sizzling or steam usually means water or wet product in the section. Heat on wet hair can damage the strand. Open the plates, stop, and let the section dry first.
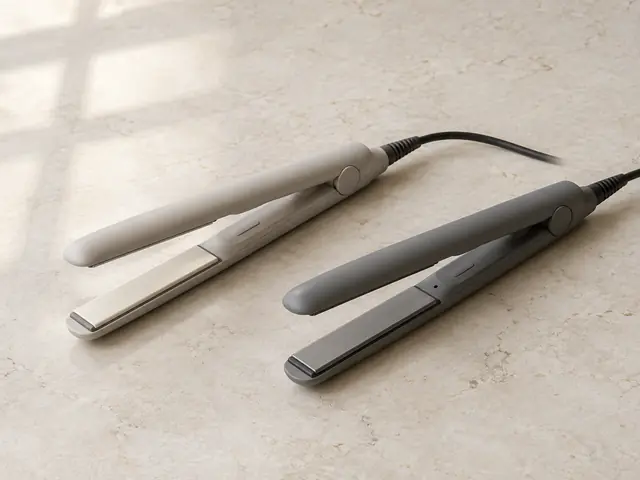
No plate material matches a hair type. Labels often describe a coating over a different base. Choose adjustable heat, smooth plates and handling you can control, then use the lowest setting that works.
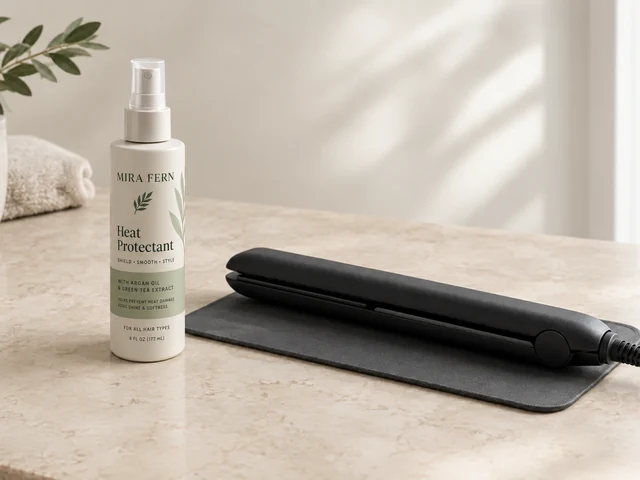
No. In laboratory tests, protectants reduced some heat changes, yet researchers still found damage at high flat-iron temperatures. A protectant is one layer of care, not permission to turn the heat up.
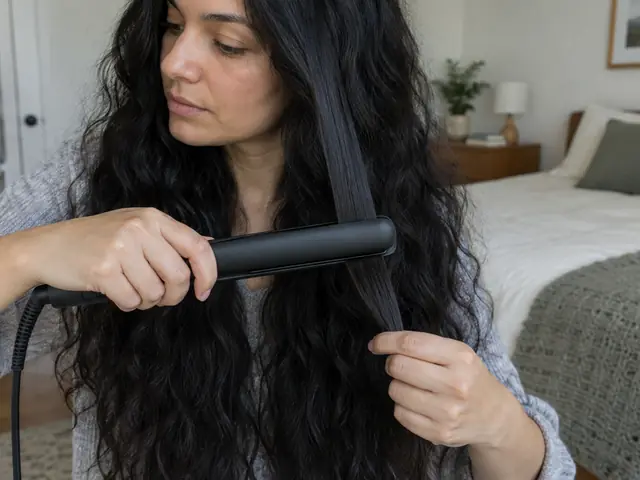
Both more heat and more passes add exposure, and there is no universal trade-off. Aim for the lowest setting that smooths a thin section in one or two passes; if low needs many, one step up may be the gentler choice.
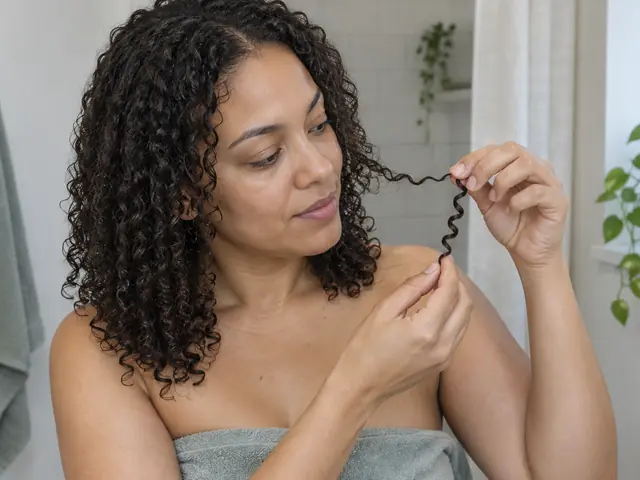
Occasional ironing is temporary; hair returns toward its pattern when wet. Frequent or very hot ironing can lead to breakage, and some people report lengths that no longer revert fully. Keep sessions occasional and settings low.
Keep it clean, safe and working the way it should.
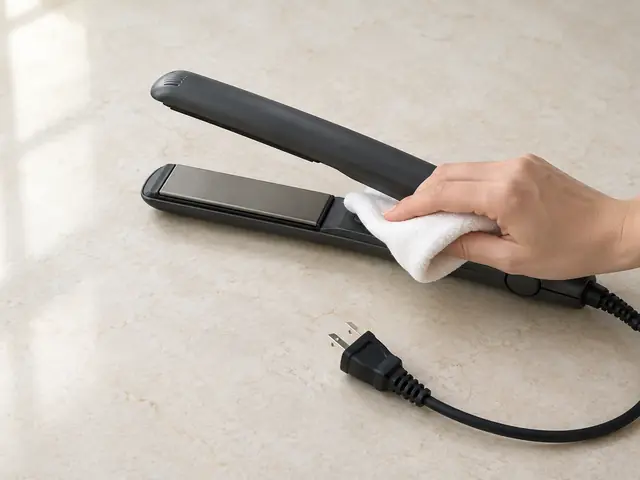
Unplug, let the iron cool completely, then wipe plates and housing with a soft cloth, only as the manual allows. Never scrape residue with anything sharp or immerse the iron.
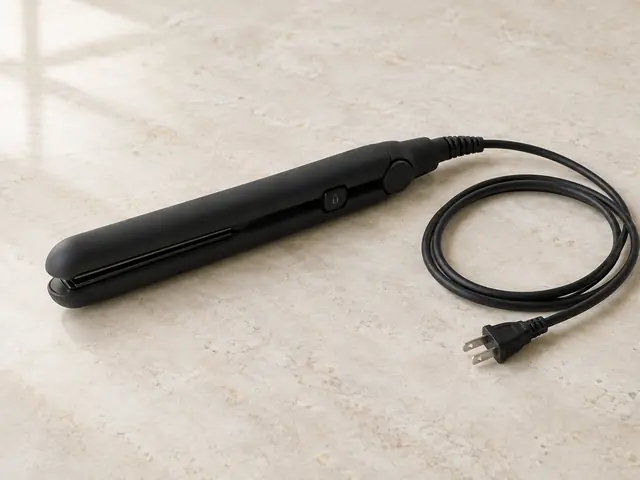
Wrapping the cord tightly around the iron strains it where it enters the handle. Stop using an iron with a damaged cord, cracked housing, peeling plates or heat that cuts out.
Photo-by-photo techniques that use this tool.
A material label is one piece of information. The setting, repeated exposure, surface condition and how comfortably you can use the tool matter too.
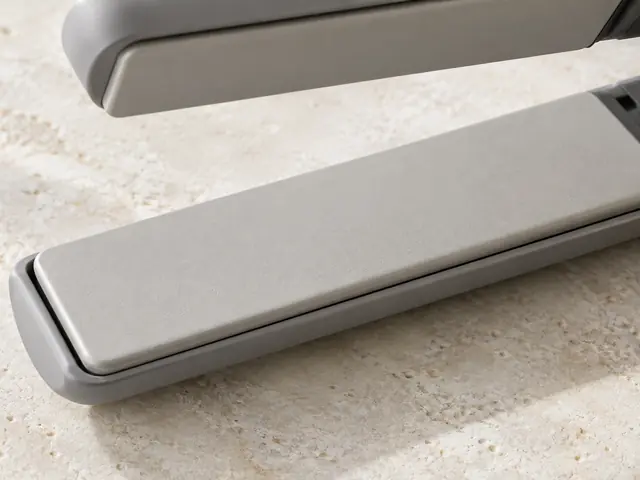
A ceramic label can describe a coating over a different base material, on plates, barrels, bristles or a dryer’s heating element. Check the actual construction in the specifications. It does not establish a suitable setting for fine or treated hair.
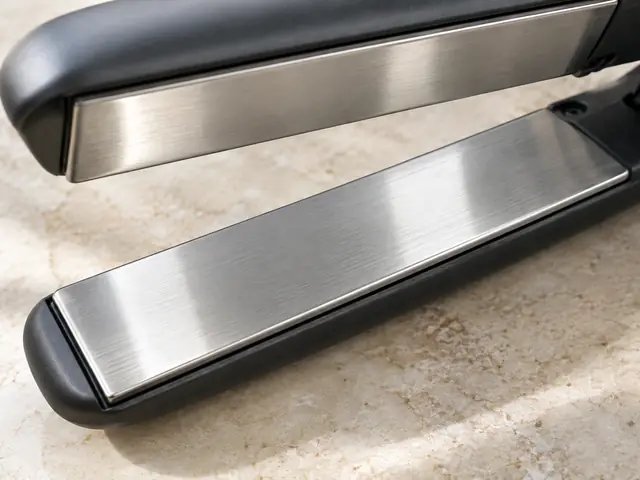
Titanium names a material used in some heated surfaces. The label alone does not tell you how this appliance controls heat or how often you will need to rework a section. Coarse strands or curls do not automatically call for titanium.
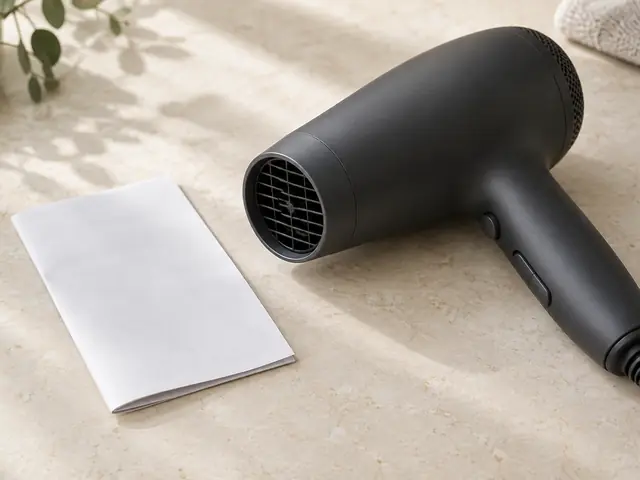
Treat these as features to check in the model’s specifications, not evidence that a tool repairs damage or guarantees hydration. Choose for the job, controls and handling before a material label.
Add it to your tools and your routine will use what you own.
More in heat styling.
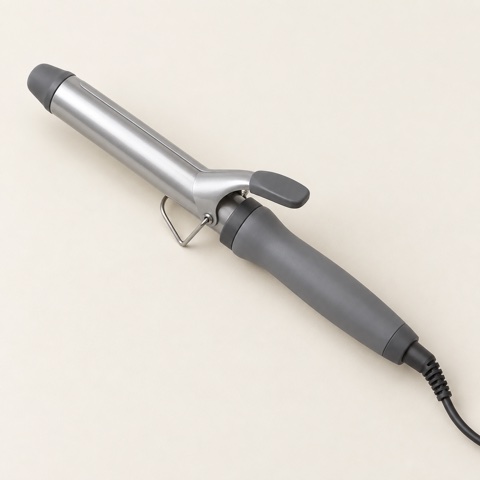
A handheld styler with a heated barrel. Hair is wound around it, with or without a clamp, to put a temporary curl or wave into dry sections.
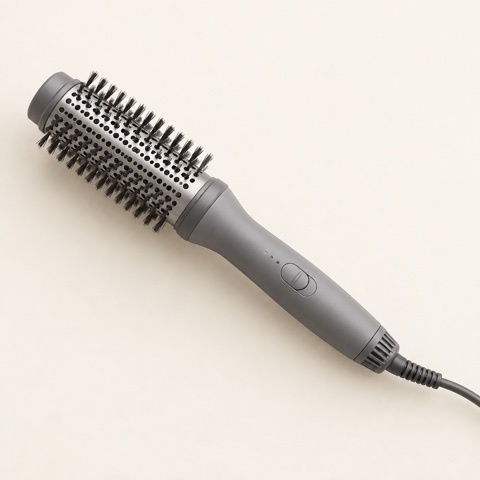
A handheld dryer with a brush head. Air flows out through the bristles, so it dries and shapes a section at the same time. It differs from a heated brush with no airflow.
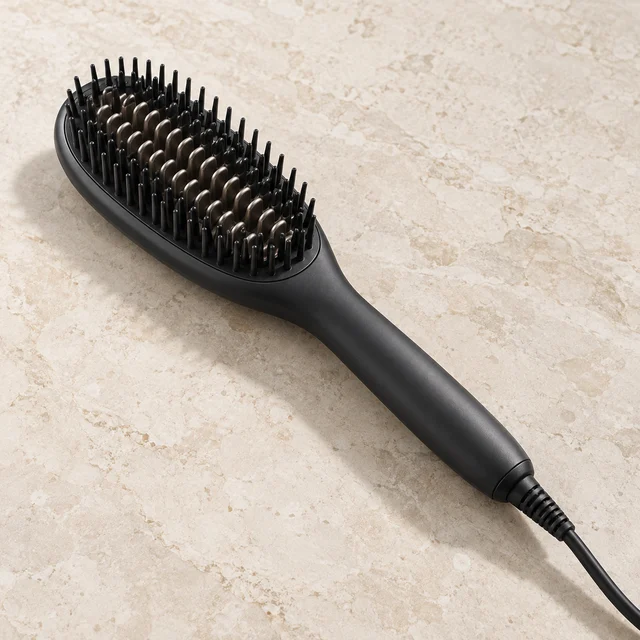
A brush-shaped hot tool whose heated teeth or base plate smooth dry hair as you glide it through. It has no airflow, so it only styles hair that is already dry.
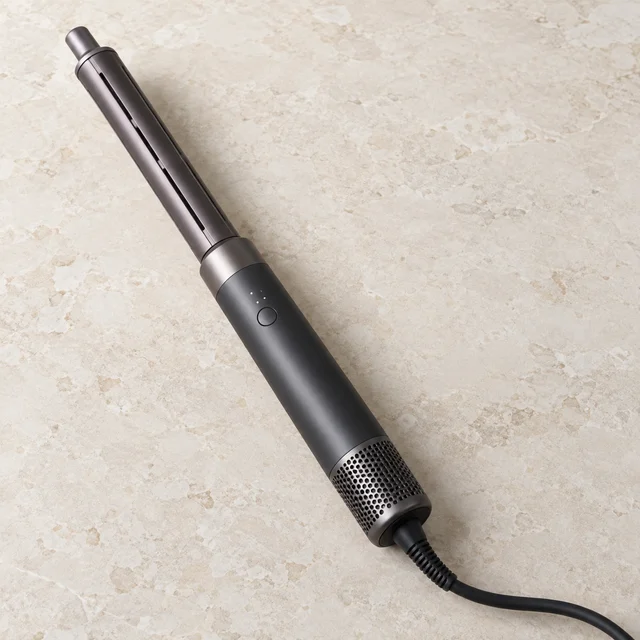
A dryer handle with swappable attachments. On the wrap barrels, directed air pulls hair around the barrel by itself; brush and dryer heads smooth and dry. It shapes with heated air, not a hot surface.