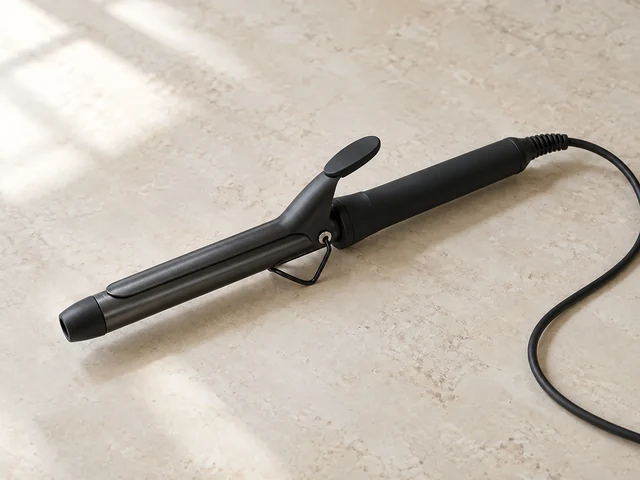
Clamp curling iron
A spring clamp holds the ends against the barrel while you wind. It is easier to control for beginners, but a clamp closed on unevenly placed ends leaves a crease.
Best for: Beginners, bouncy curls, flips and bends at the ends.
Reach for a curling iron or wand when you want temporary curls, waves or a bend at the ends on dry hair. A heated barrel shapes each small section, and the shape sets as it cools.
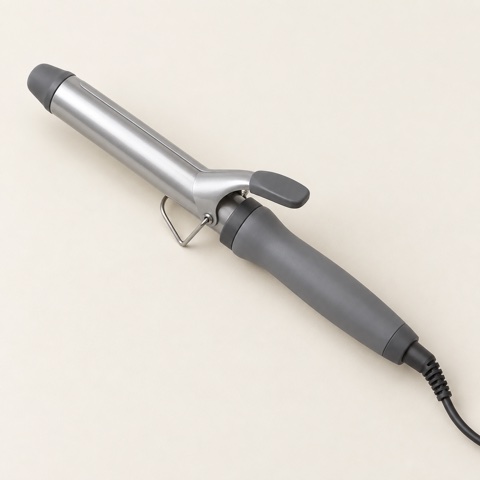
The basic method. Your model’s own directions come first for heat, attachments and starting state.
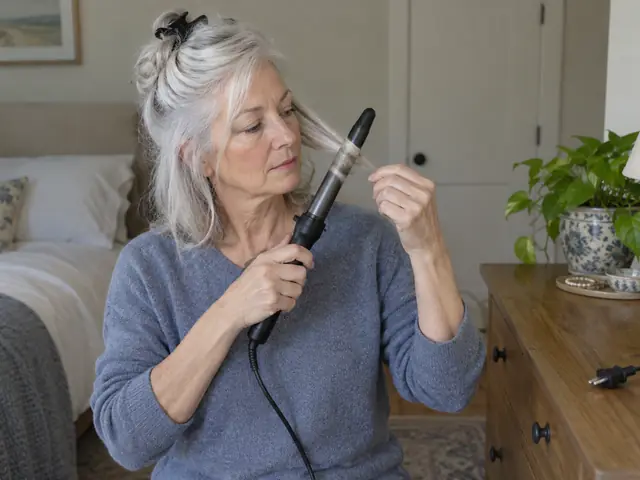
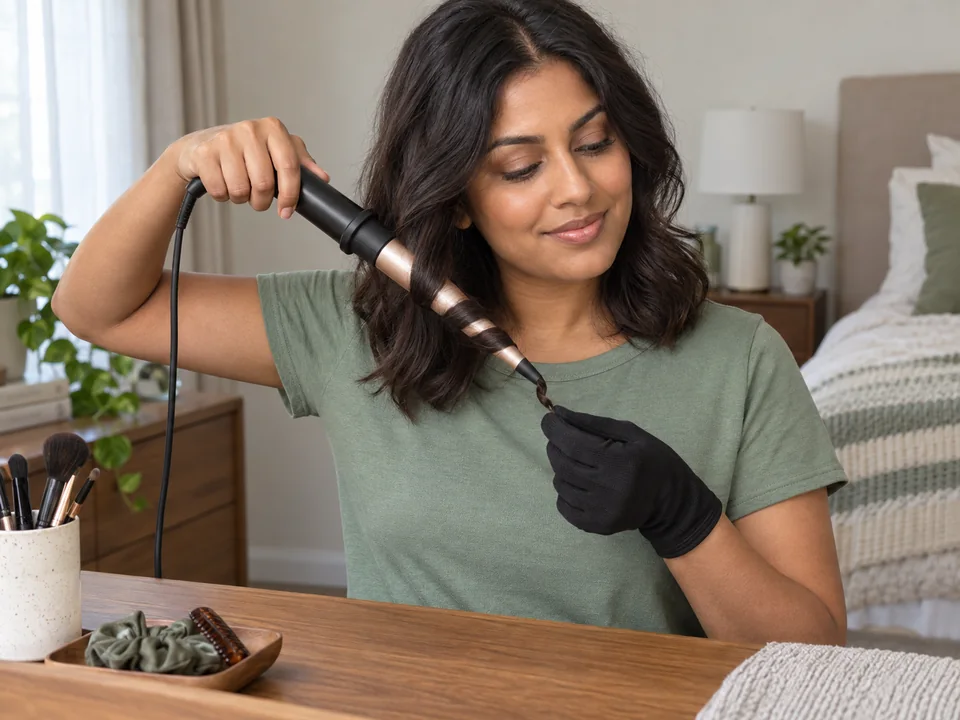
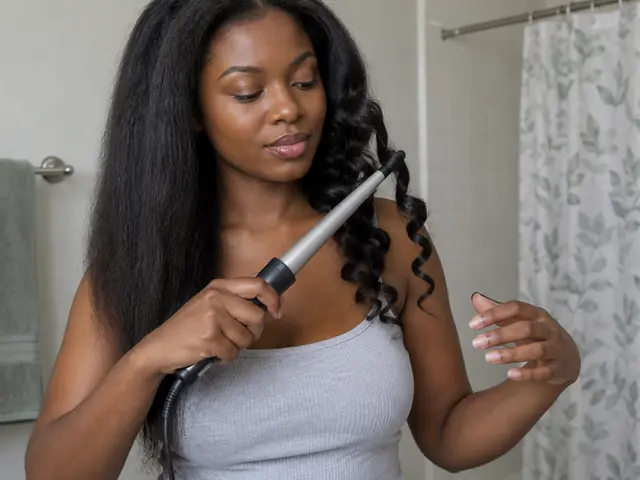
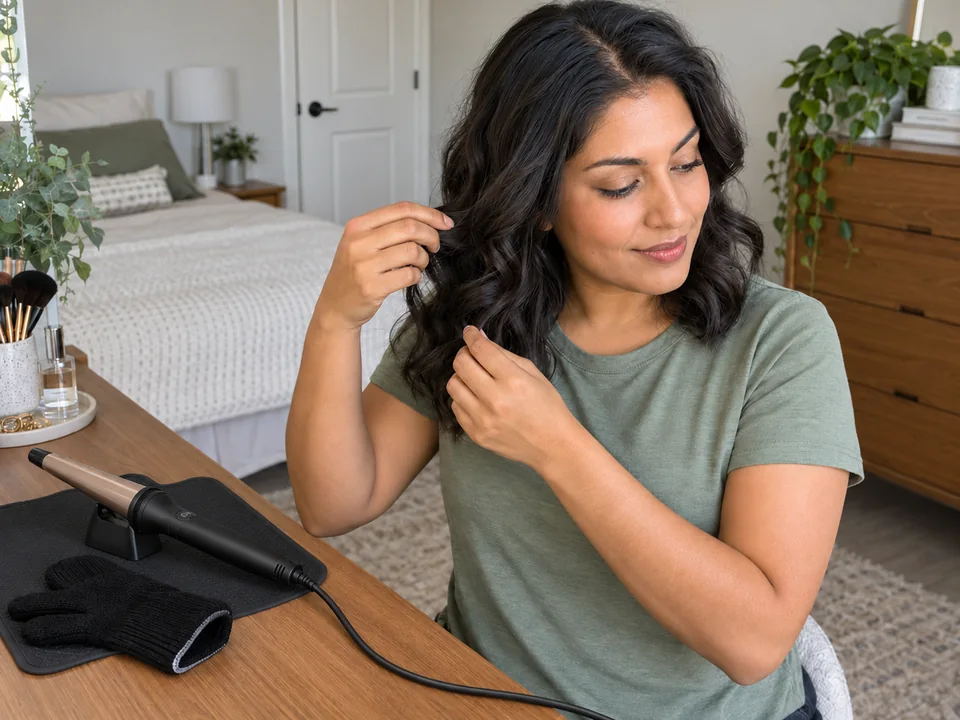
Each small section curls at a low setting with brief contact, the curl drops free without tugging, you wait until curls cool before touching them, and the iron ends unplugged on its stand.
What each kind does, and who it suits.
A spring clamp holds the ends against the barrel while you wind. It is easier to control for beginners, but a clamp closed on unevenly placed ends leaves a crease.
Best for: Beginners, bouncy curls, flips and bends at the ends.
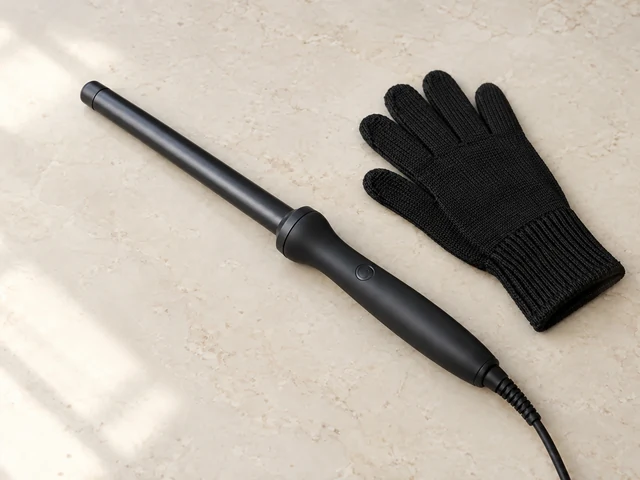
You hold the end yourself, usually with a glove, so there is no clamp crease. It takes more coordination and keeps your fingers nearer the heat.
Best for: Loose, even curls and waves once you are comfortable with heat.
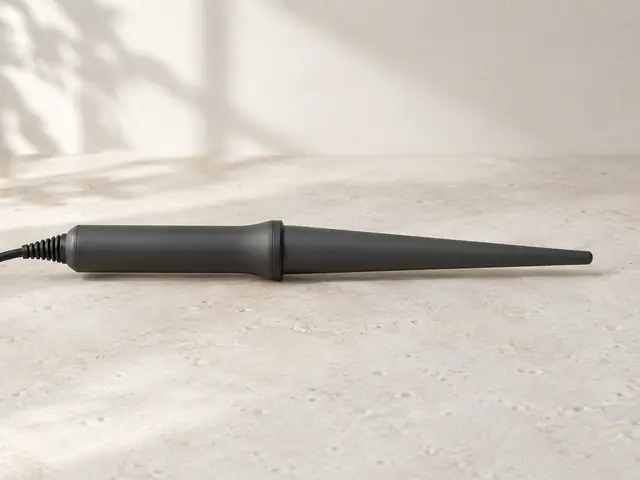
The barrel narrows toward the tip, so each curl is looser at the top and tighter at the ends. Our step-by-step guide uses this kind of clamp-free wand.
Best for: Natural-looking curls that tighten toward the ends.
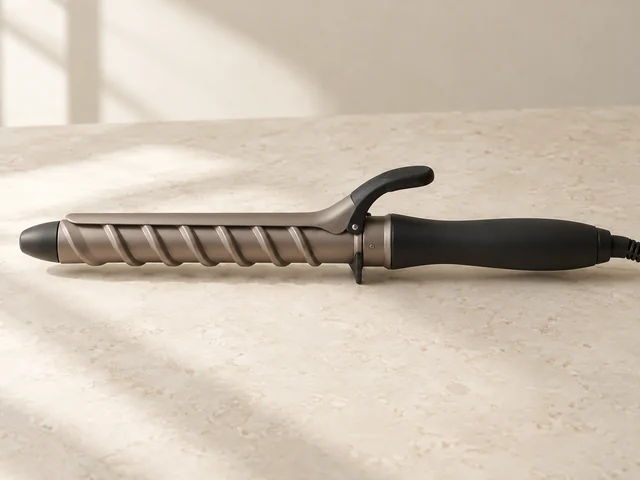
A groove runs around the barrel for the section to sit in, which makes very uniform ringlet-style curls. Sections must be small to fit the groove.
Best for: Uniform, defined ringlets on medium to long hair.
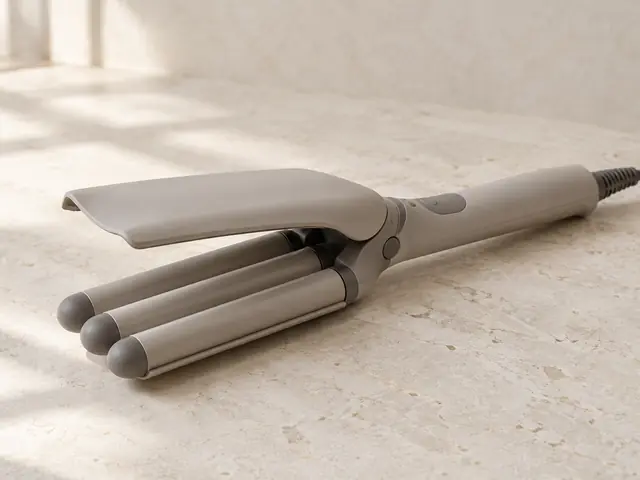
Two or three barrels press a section into an S-shaped wave rather than winding it. It is clamped and moved down the section in steps.
Best for: Beachy or mermaid-style waves without winding each curl.
The controls worth understanding before you change anything.
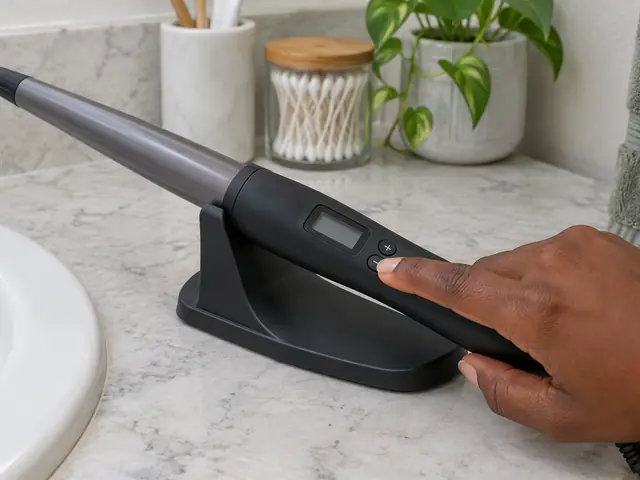
Begin low and raise one step only if a small section will not hold a curl once cooled. Manual charts that pair settings with hair types are a starting range, not a rule.
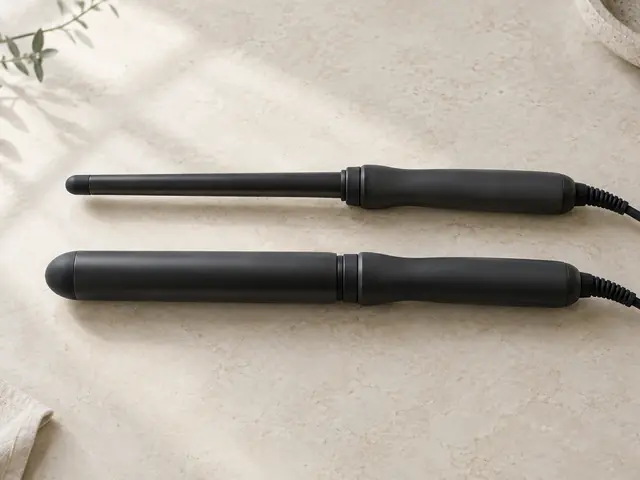
A smaller barrel gives smaller curls, a larger one looser waves. Section size matters too: roll less hair for tighter, bouncier curls and more hair for looser ones.
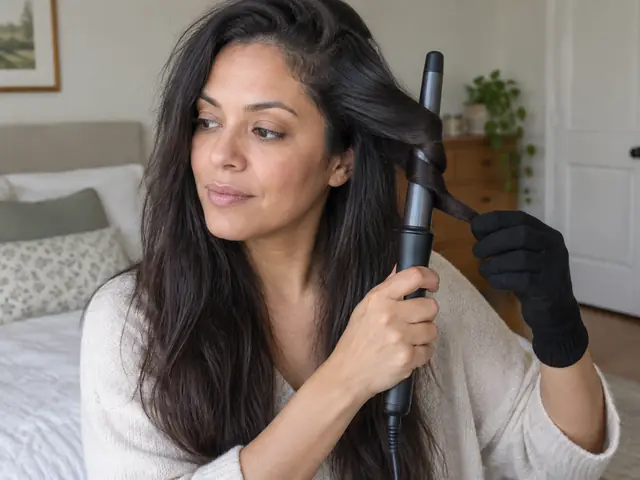
Wrapping away from the face opens the curls around your features; toward the face tucks them in. Alternating direction gives a less uniform, lived-in look.
Once the basics feel easy, these moves change the result.
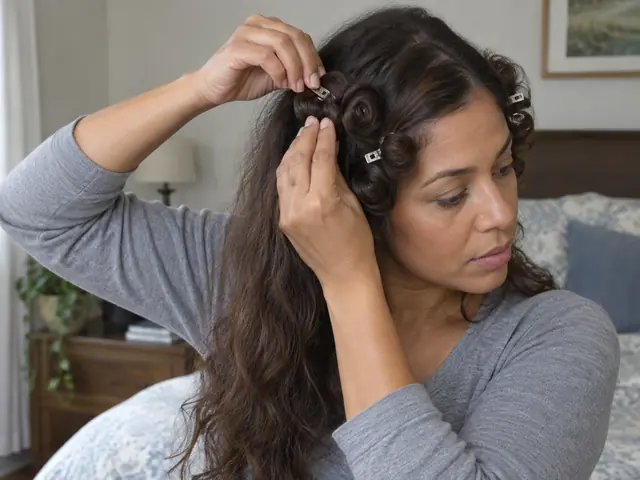
Coil a warm curl back up to the root with your fingers and hold it with a flat clip until cool. It sets a firmer shape without longer time on the barrel.
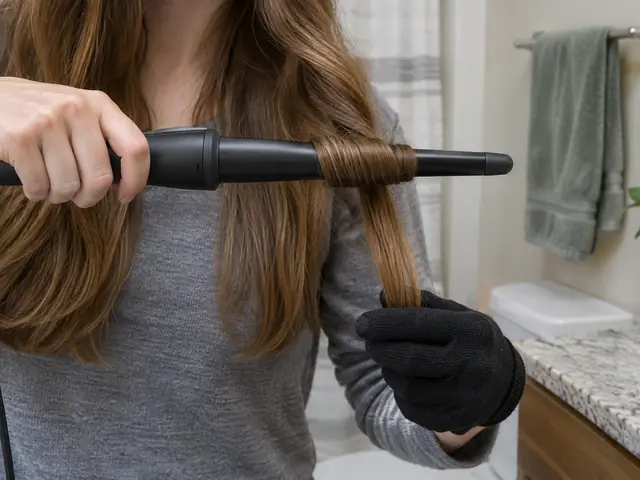
Wind the mid-lengths but let the last inch or two hang outside the barrel. The result is a looser, less formal wave with straighter ends.
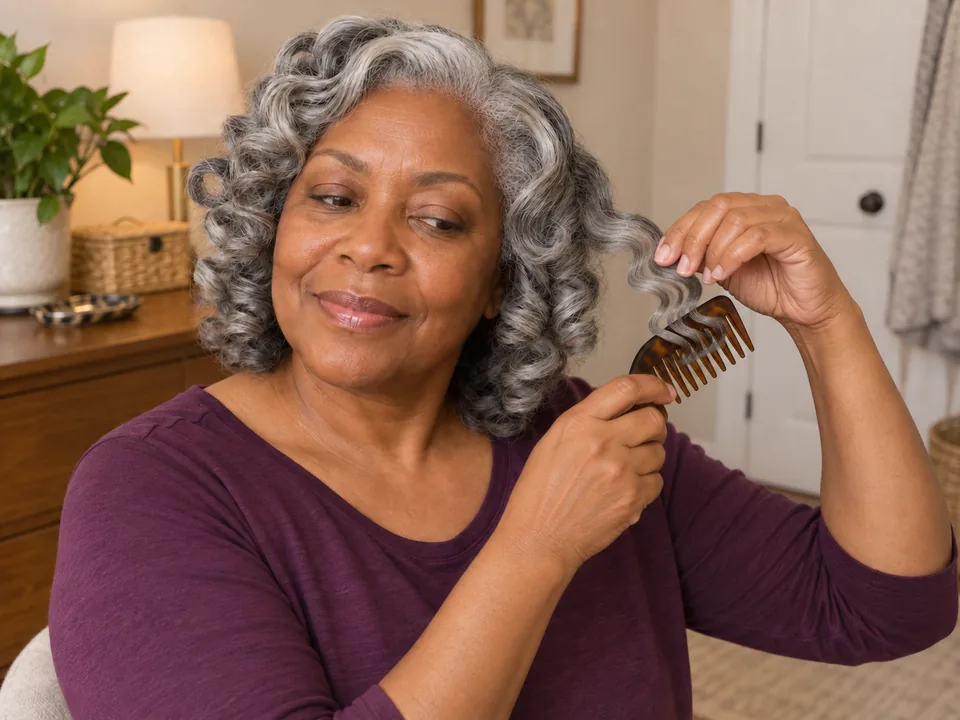
Once every curl is fully cool, open them with fingers or a wide-tooth comb from the ends upward for a softer, joined-up wave.
Full guide: Brush out a curl set into soft wavesWhat goes wrong most often, and what to do instead.
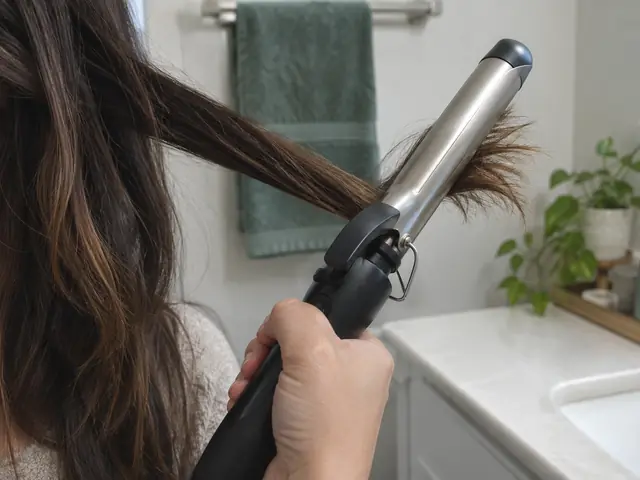
Ends bent against the clamp or sticking out come out crimped or hooked. Spread them flat and wind them securely under the clamp in the direction of the curl.
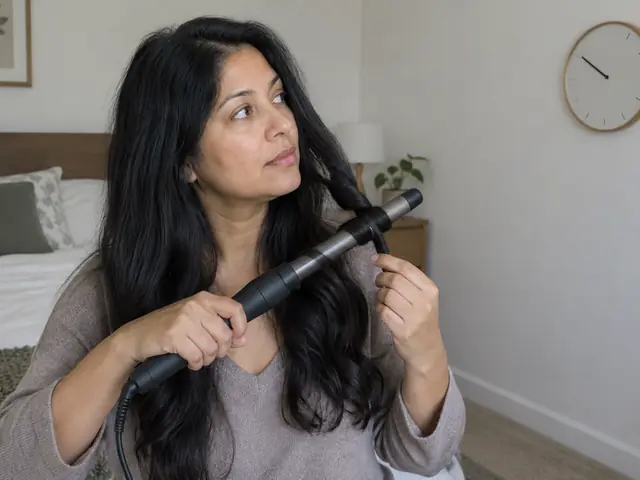
A longer hold adds heat without much extra staying power. Use a smaller section, let each curl cool before touching it, and set it with a clip instead.
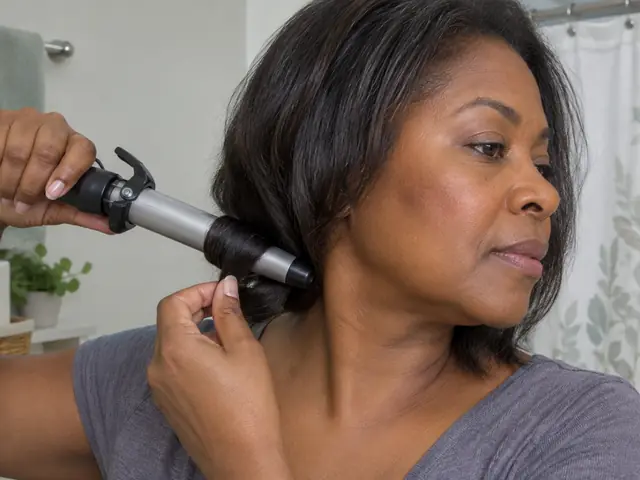
Winding right up to the scalp, or curling near the neck and ears without looking, puts hot metal against skin. Stop short of the roots and angle the barrel away.
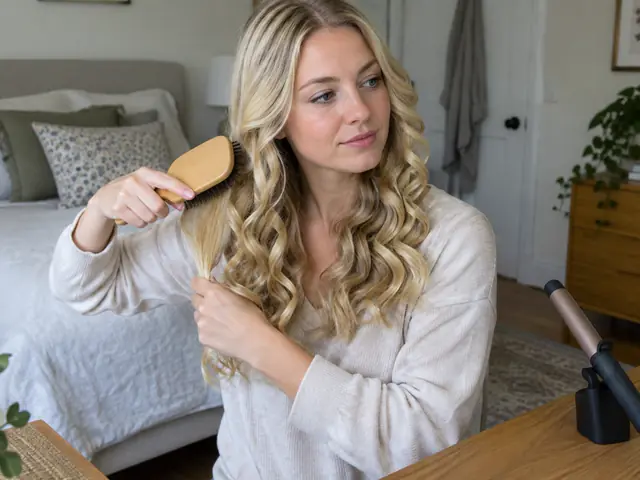
Warm curls have not set, so brushing or pulling them right away loosens them. Leave them until cool, then separate gently.
Claims you’ll see online, answered plainly.
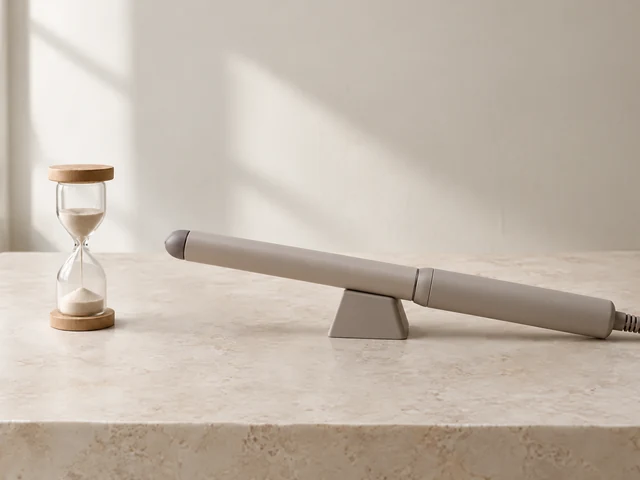
No. Longer contact means more heat exposure, and dermatologists advise keeping contact brief. Hold comes more from small sections, cooling before touching and clipping curls to set.
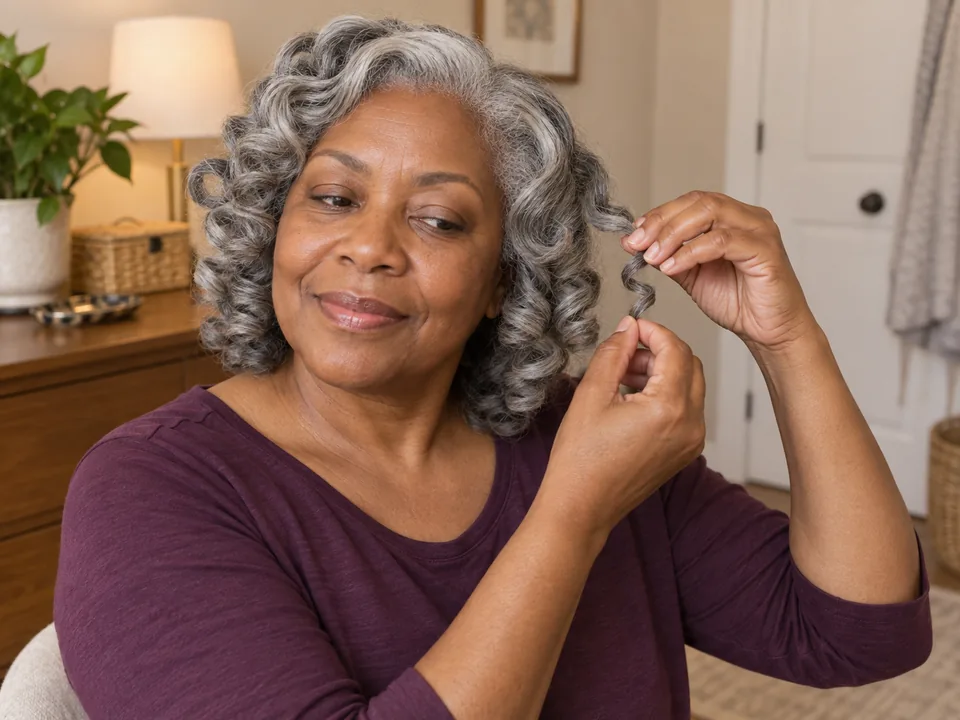
Yes. Manufacturers direct you not to comb or brush curls until they are cool, because the shape sets as the hair cools. Separate them gently once they feel cold.
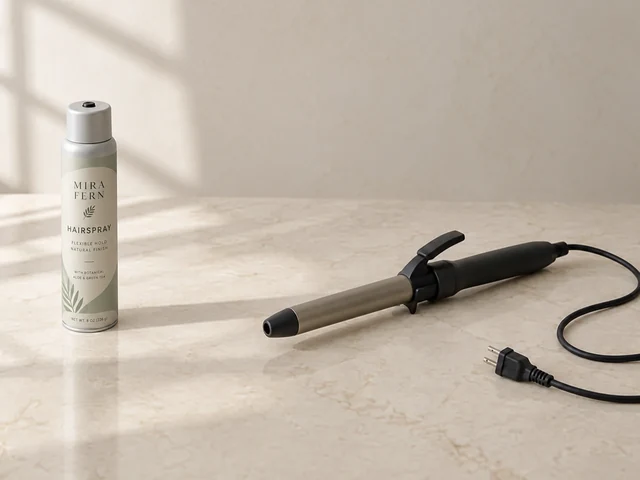
Curling-iron manuals say not to operate the tool where aerosol sprays are used. A product labeled for use before heat is a different case; follow its label, and spray finishing products only after the iron is off.
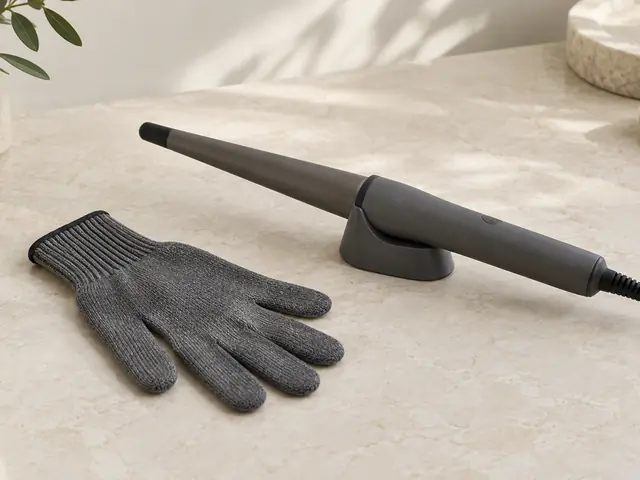
No. Manufacturers say the glove protects only against brief, initial contact, and holding the hot barrel longer still causes discomfort and risks a burn. Keep fingers off the barrel even when gloved.
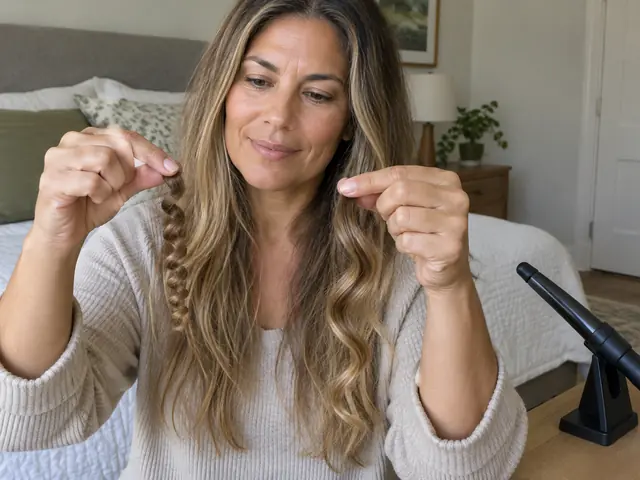
Barrel size matters, but so do section size and length. Rolling less hair gives tighter curls, and long hair wraps over itself on a small barrel, so the same iron can give very different results.
Keep it clean, safe and working the way it should.
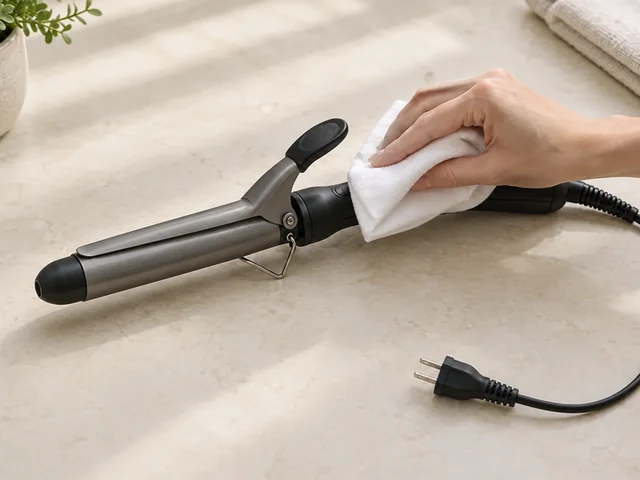
Unplug and let it cool completely, then wipe the barrel and clamp with a soft cloth, only as the manual allows. Never scrape residue with anything sharp.
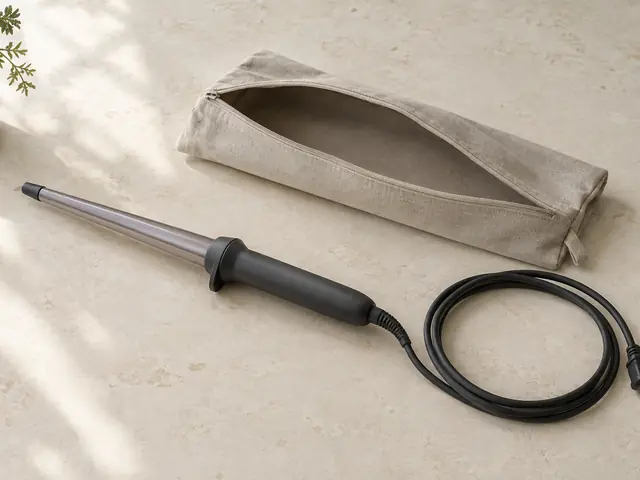
Wrapping the cord tightly strains it where it enters the handle. Stop using an iron with a frayed cord, cracked housing, loose clamp or peeling barrel.
Photo-by-photo techniques that use this tool.
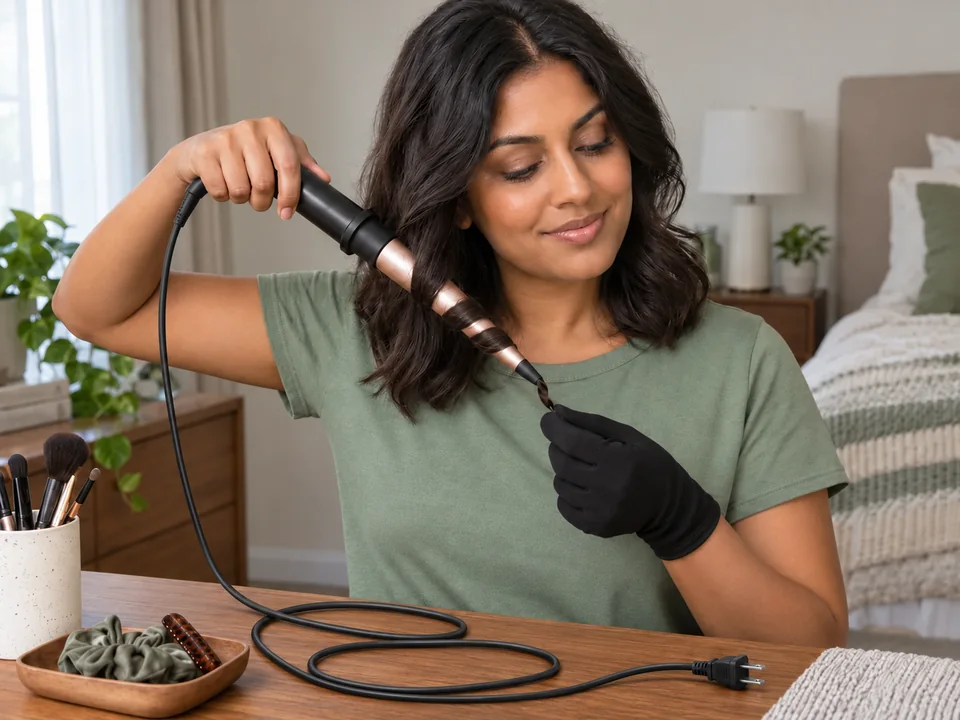
A clamp-free curling wand shapes dry hair into temporary curls by winding a section around its heated barrel, without closing a clamp over it.
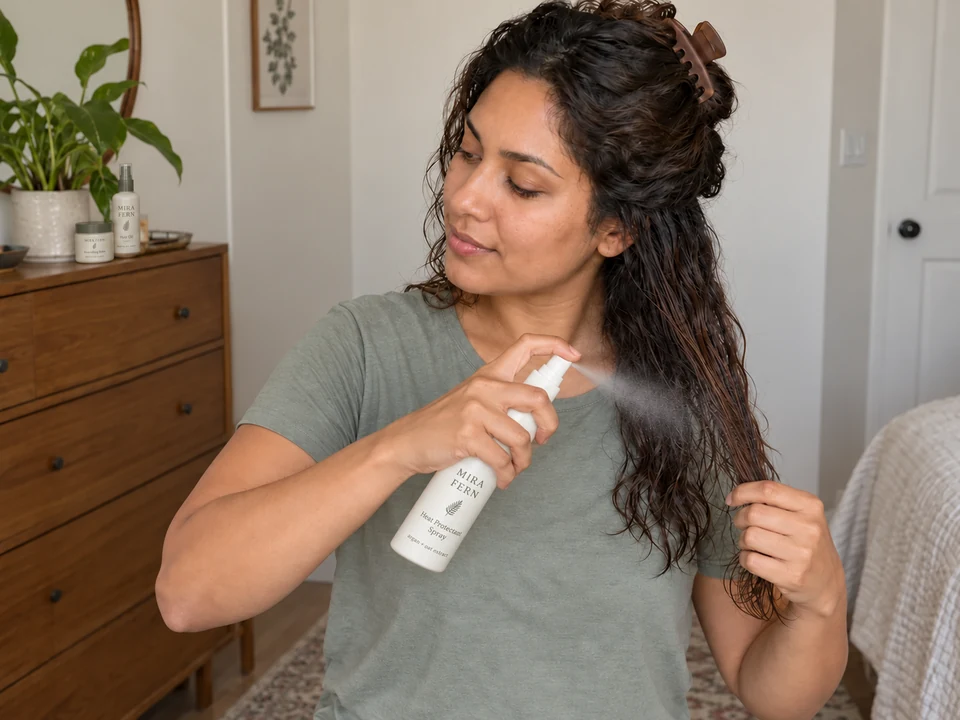
Heat protectant application spreads a product made for heat styling through the hair before a heated tool is used.
A material label is one piece of information. The setting, repeated exposure, surface condition and how comfortably you can use the tool matter too.
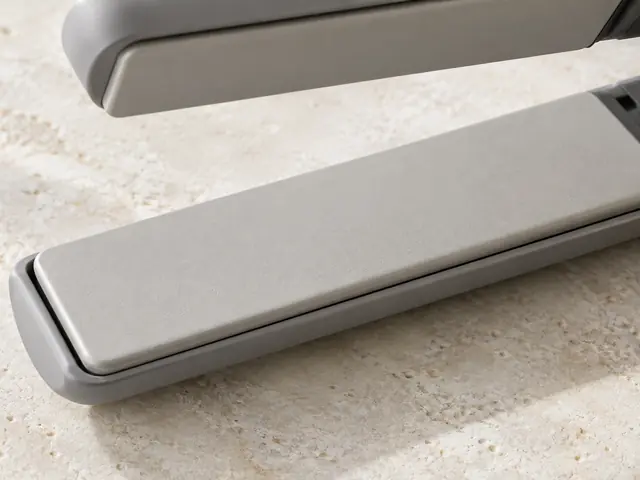
A ceramic label can describe a coating over a different base material, on plates, barrels, bristles or a dryer’s heating element. Check the actual construction in the specifications. It does not establish a suitable setting for fine or treated hair.
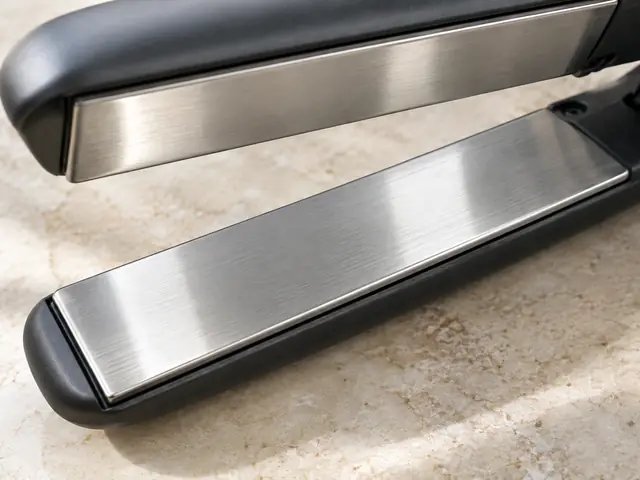
Titanium names a material used in some heated surfaces. The label alone does not tell you how this appliance controls heat or how often you will need to rework a section. Coarse strands or curls do not automatically call for titanium.
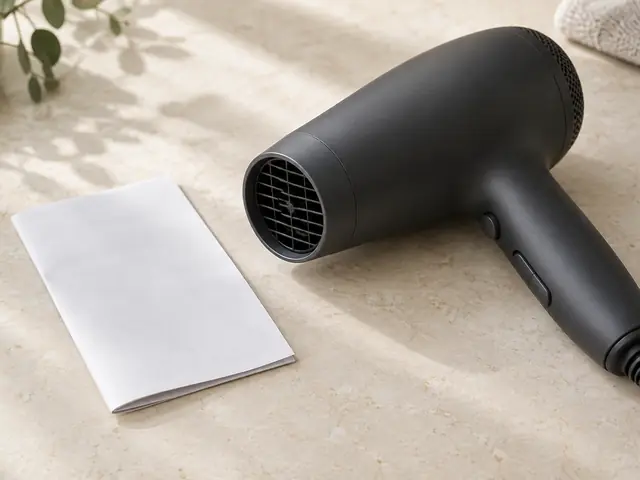
Treat these as features to check in the model’s specifications, not evidence that a tool repairs damage or guarantees hydration. Choose for the job, controls and handling before a material label.
Add it to your tools and your routine will use what you own.
More in heat styling.
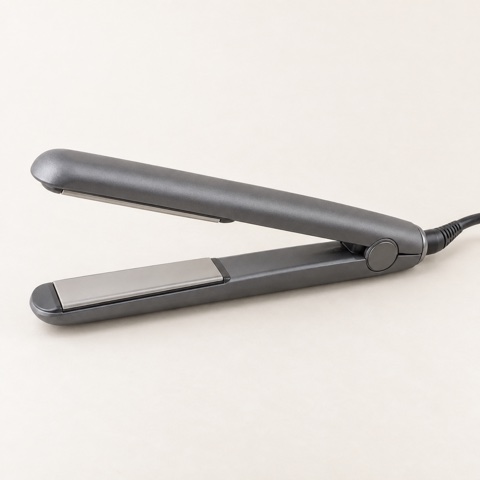
A handheld styler with two heated plates that close on a thin section of dry hair and glide toward the ends to smooth and straighten it temporarily.
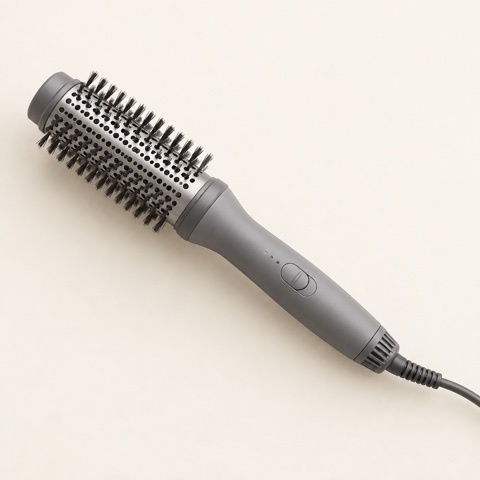
A handheld dryer with a brush head. Air flows out through the bristles, so it dries and shapes a section at the same time. It differs from a heated brush with no airflow.
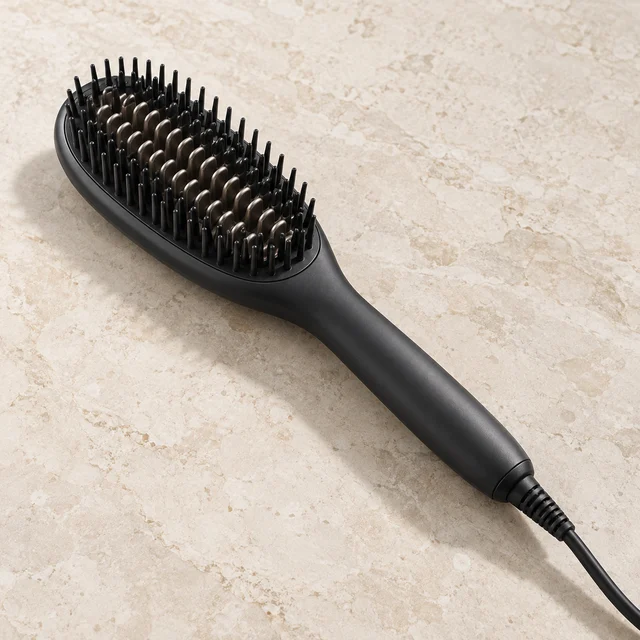
A brush-shaped hot tool whose heated teeth or base plate smooth dry hair as you glide it through. It has no airflow, so it only styles hair that is already dry.
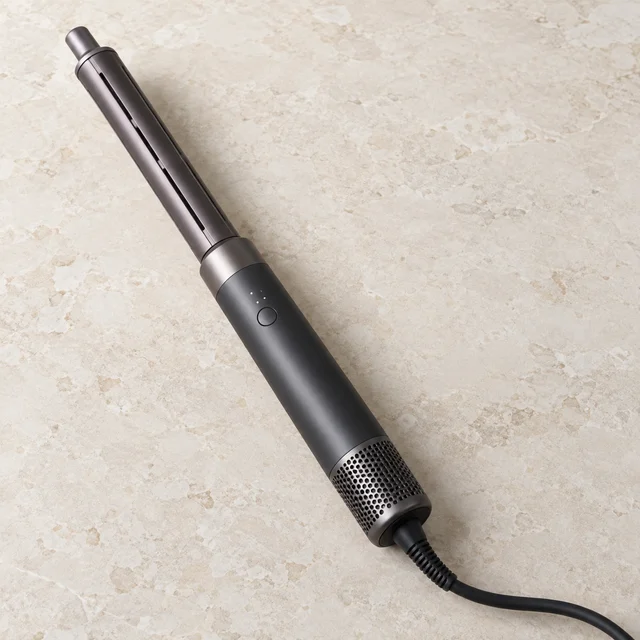
A dryer handle with swappable attachments. On the wrap barrels, directed air pulls hair around the barrel by itself; brush and dryer heads smooth and dry. It shapes with heated air, not a hot surface.