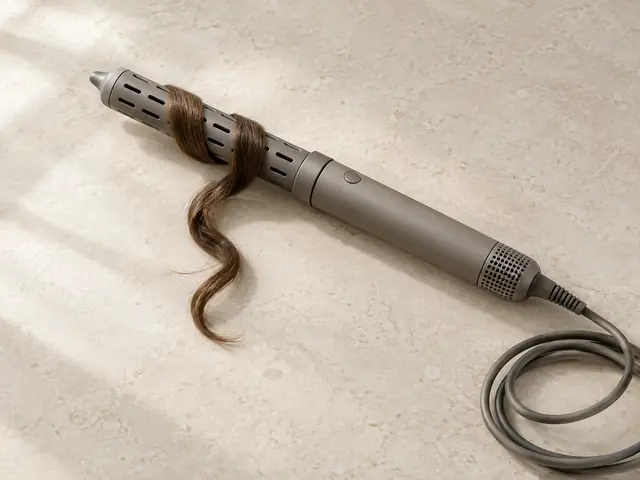
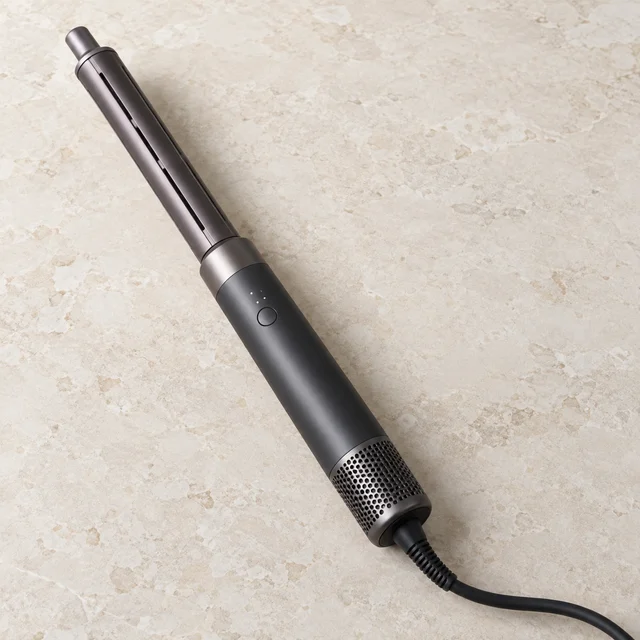
Wrap barrels
Air around the barrel draws the ends on and winds the section toward your head. Each barrel, or its turning tip, is set for one curl direction.
Best for: Loose curls and waves on medium to long hair
Reach for an airflow wrap styler when you want soft curls, loose waves or a smooth blowout without a hot plate or clamp: moving air pulls each section around a barrel, or through a brush, and dries it into shape.
The basic method. Your model’s own directions come first for heat, attachments and starting state.
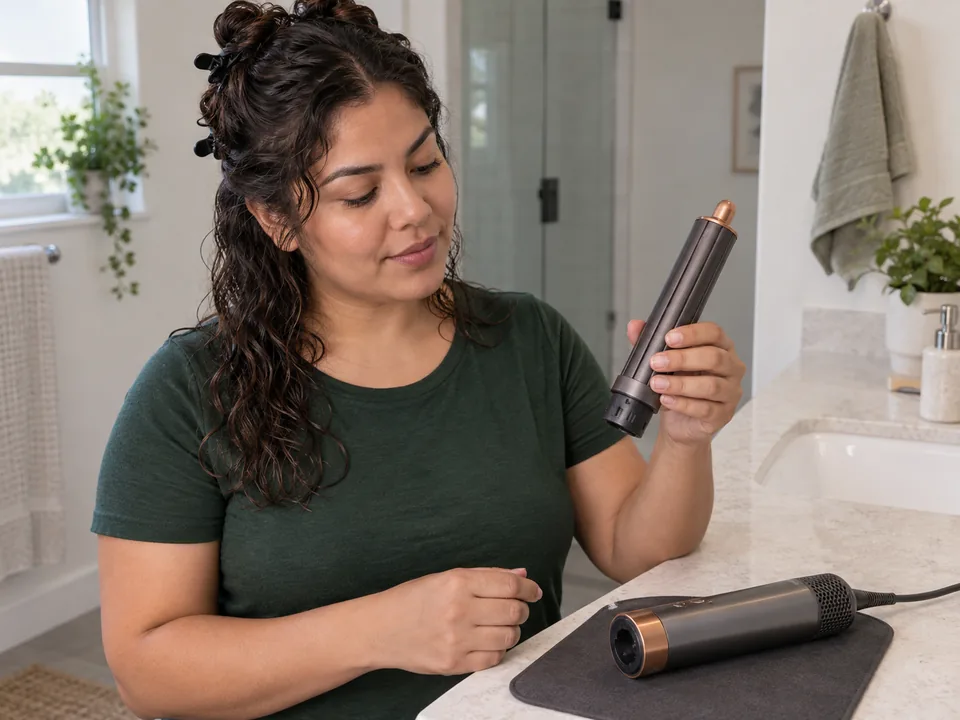
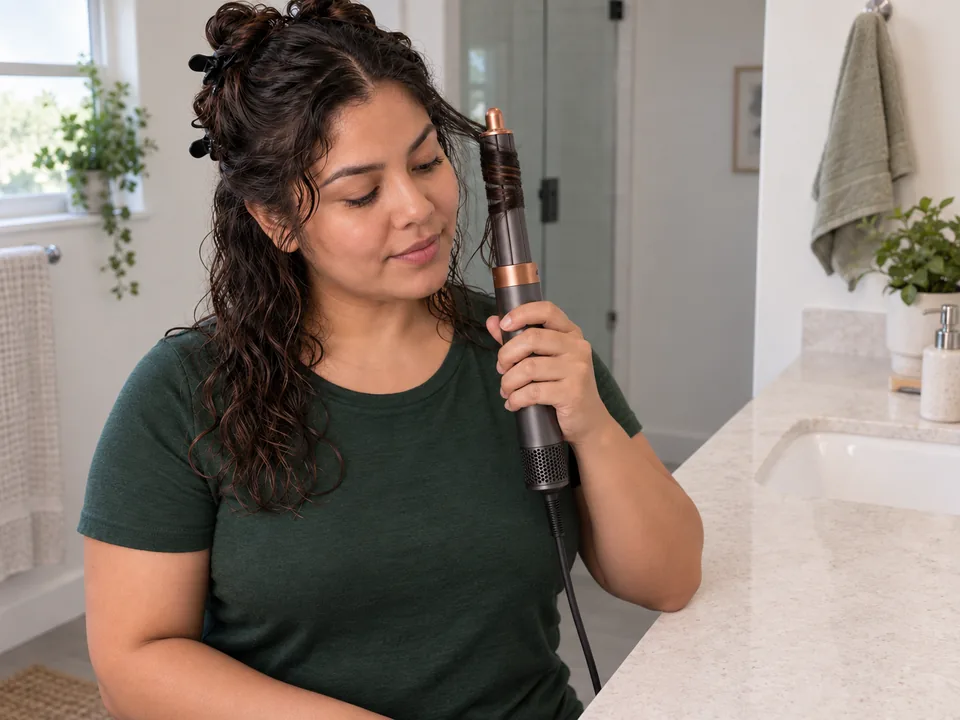
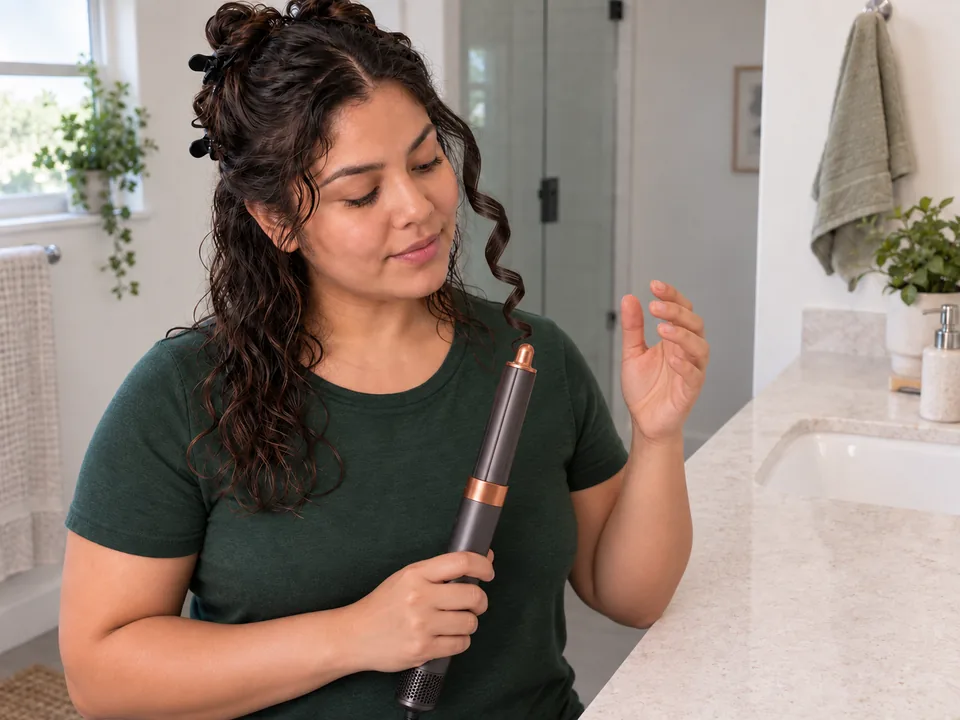
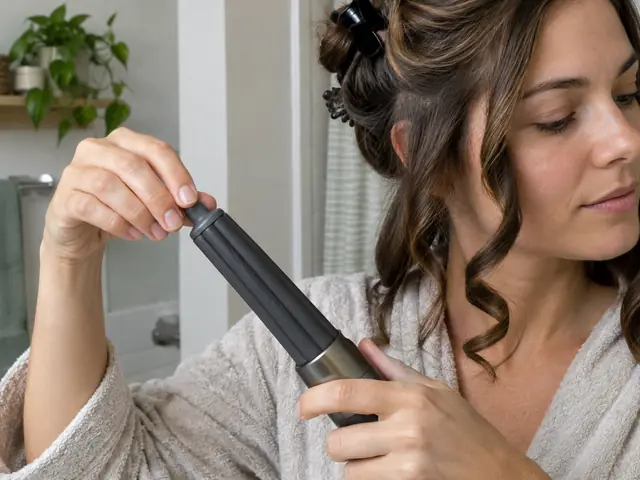
Each section wraps without twisting, curls are dry and cool before you release them, curls turn the direction you chose on both sides, nothing snags, and the styler is unplugged with its attachments cooling.
What each kind does, and who it suits.
Air around the barrel draws the ends on and winds the section toward your head. Each barrel, or its turning tip, is set for one curl direction.
Best for: Loose curls and waves on medium to long hair
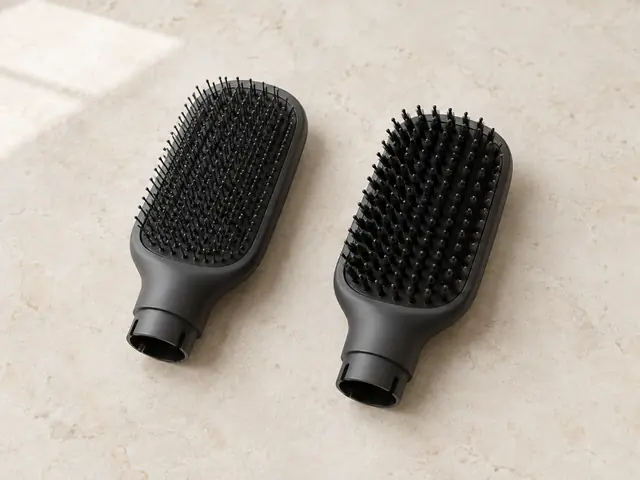
Flat paddle heads that smooth lengths as they dry. A firm version has stiffer bristles and more grip for dense, curly or coily hair.
Best for: Sleek finishes; firm version for dense, curly or coily hair
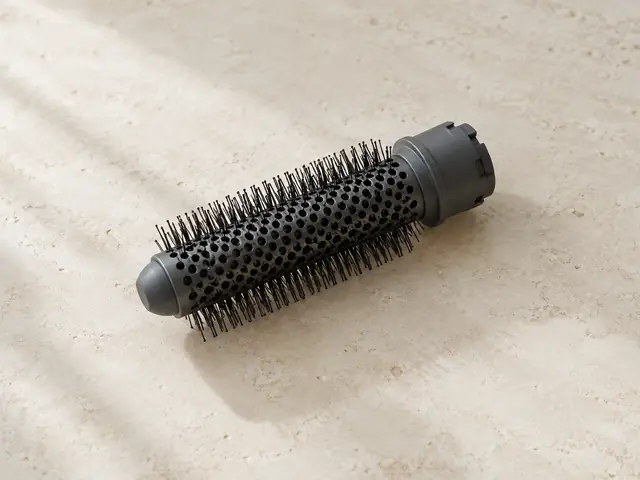
A round head with long bristles that lifts roots and curves ends while air dries the section.
Best for: Root lift and bouncy, curved ends
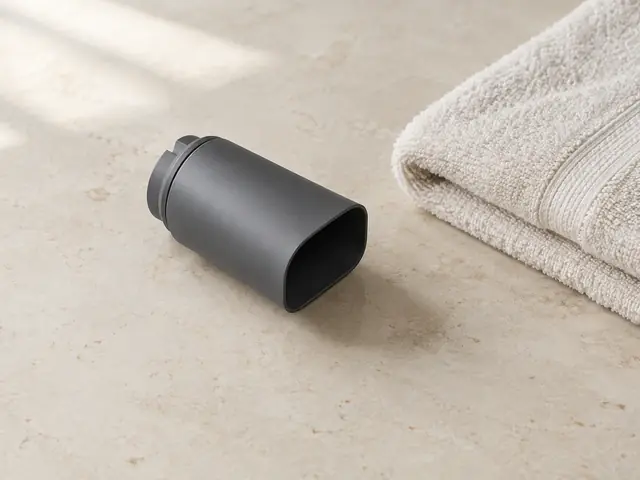
A nozzle for rough-drying from wet, so hair reaches the barrels' starting state. Some versions also smooth flyaways on finished, dry hair.
Best for: Rough-drying first; smoothing flyaways on a finished style
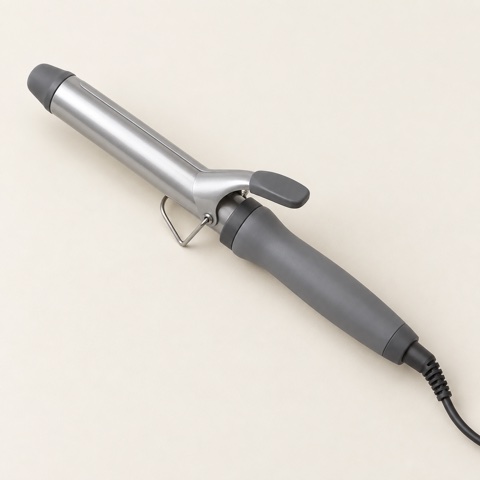
A heated barrel shapes by direct contact rather than air. It is a different mechanism, with its own guide and its own risks near skin.
Best for: Curl shapes airflow does not hold for you; see the curling iron guide
The controls worth understanding before you change anything.
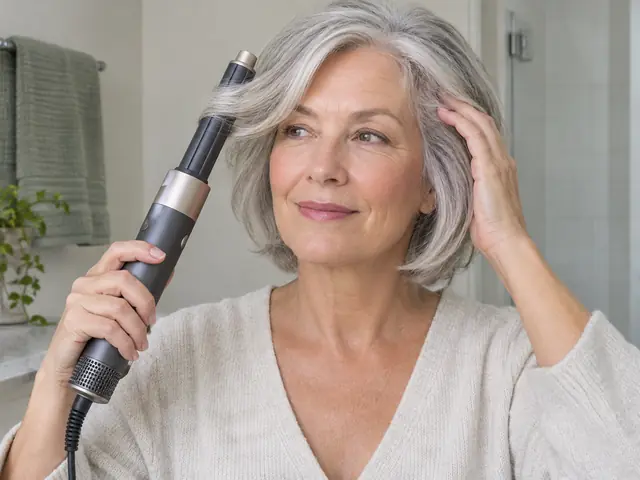
Start at the lowest heat that sets a curl you are happy with; raise one step only if sections still need repeated passes. Turn airflow down for short layers and around your face.
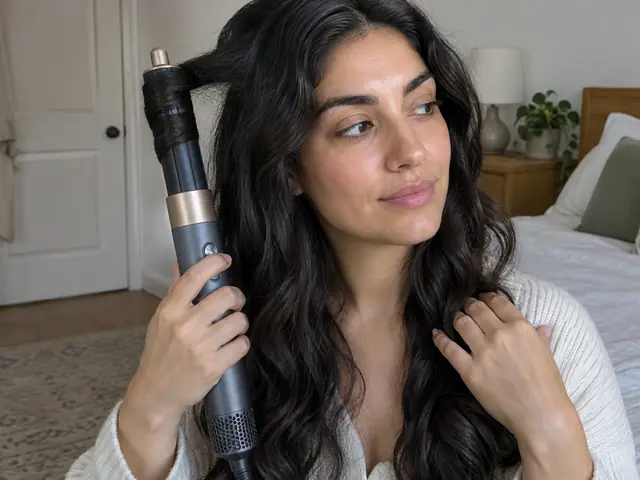
Hair holds the shape it cools in. Once a wrapped section is dry, hold the cold shot until the curl feels cool before releasing. Some models run it automatically at the end.
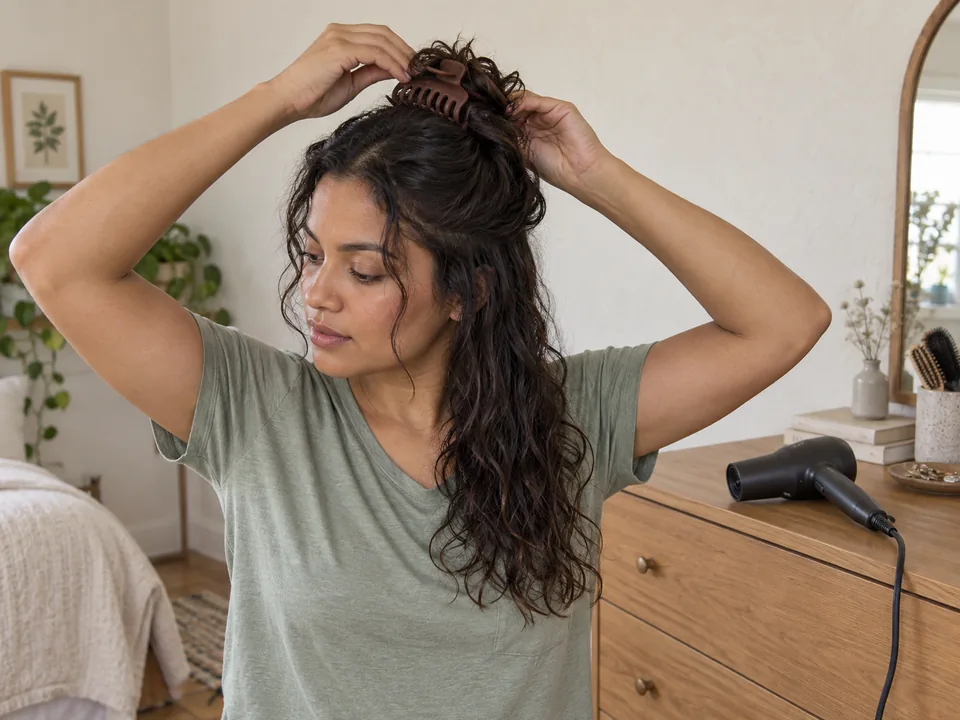
Take sections about the width of the barrel and thin enough to wrap flat. A thick section stays damp in the middle and tends to fall out sooner.
Once the basics feel easy, these moves change the result.
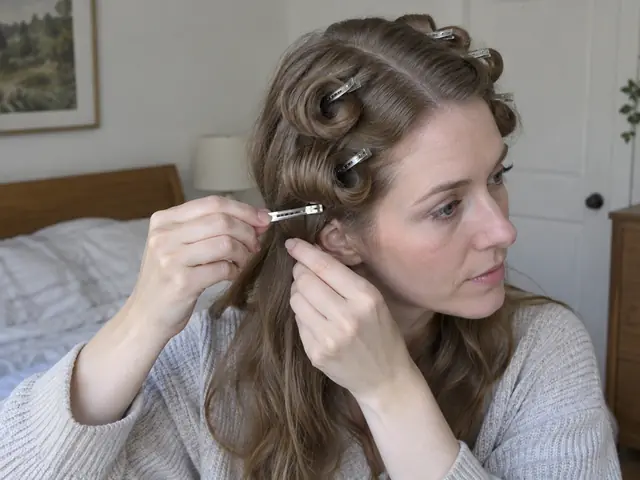
If curls drop, try rolling each just-released curl back up and holding it flat against your head with a clip until it is completely cool. It can help some hair hold its shape longer.
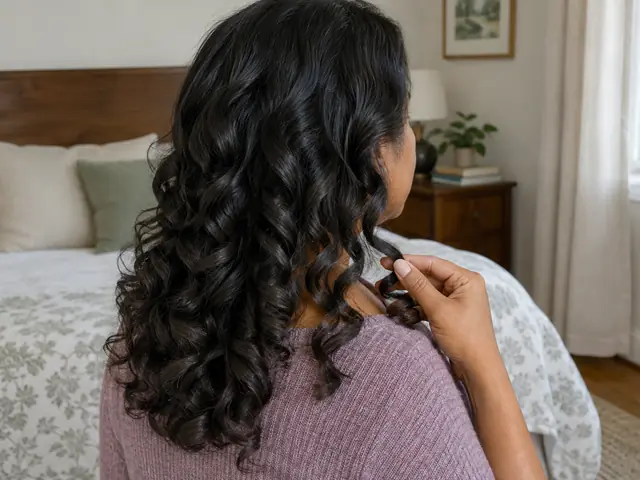
Switch direction every other section instead of keeping one direction per side. Neighbouring curls separate rather than merging into one large wave.
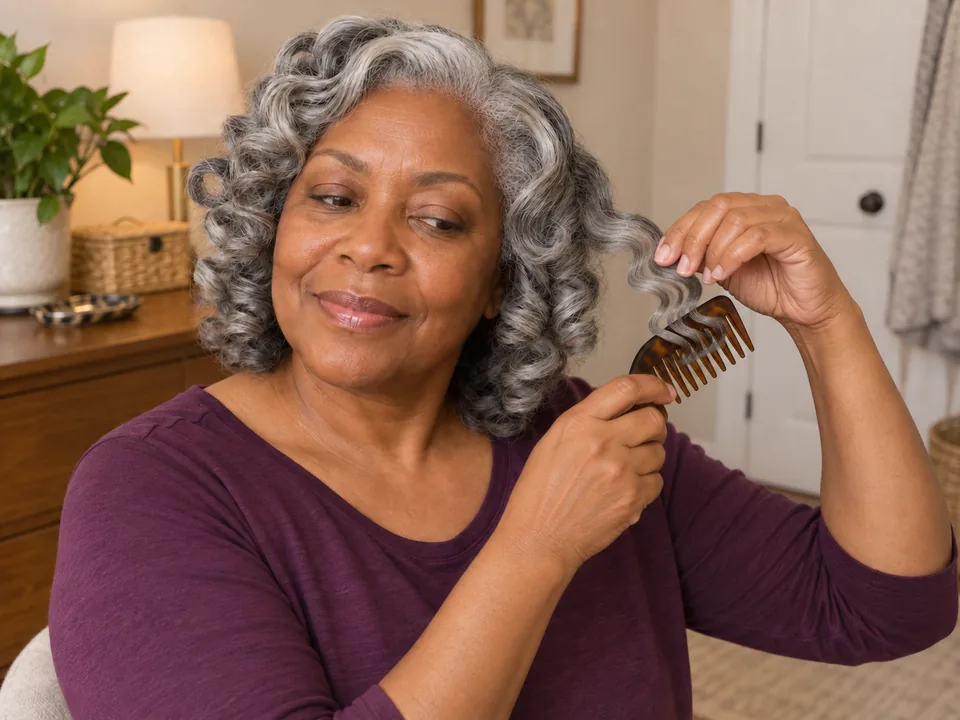
Once every curl is dry and cool, open the ends with a wide-tooth comb or fingers, working upward, for a softer wave.
Full guide: Brush out a curl set into soft wavesWhat goes wrong most often, and what to do instead.
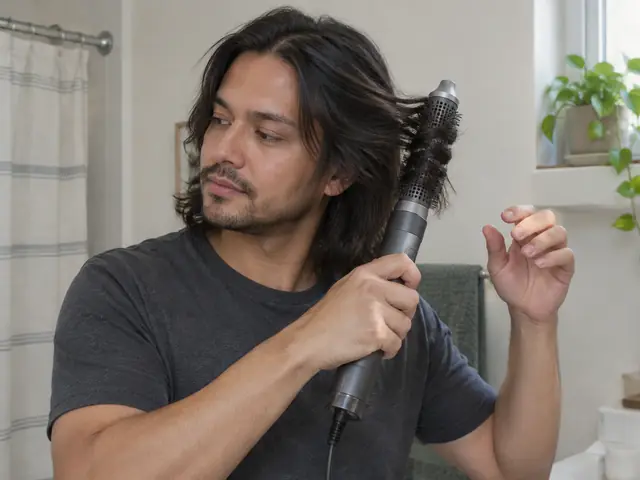
The air does the winding. Twisting the tool tangles the section and wraps it unevenly. Hold it still, let the ends catch, and move it straight toward your head.
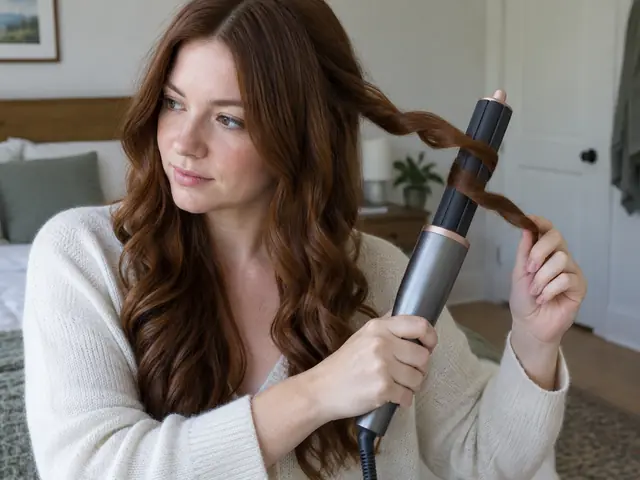
A warm curl relaxes as it cools, especially if it is stretched on the way off. Give it the cold shot, then slide the styler down and out.
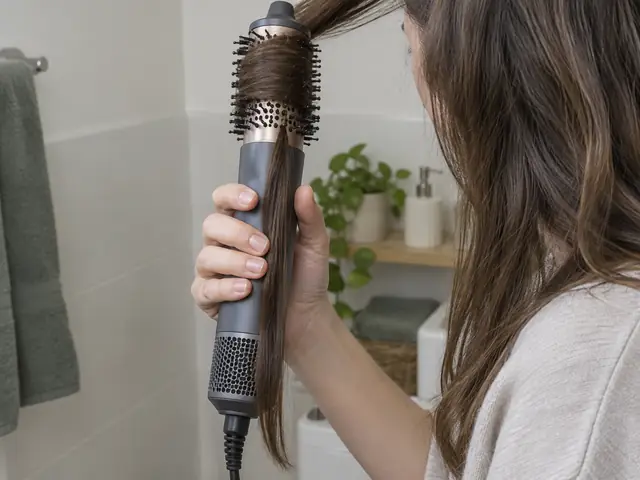
Long hair hanging behind the handle can be drawn against the rear filter, and a blocked filter cuts airflow. Keep the rest of your hair clipped and the handle's back end clear.
Claims you’ll see online, answered plainly.
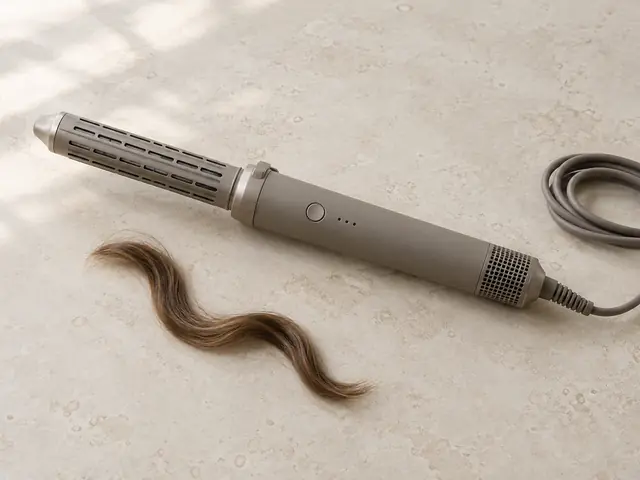
It shapes with heated air rather than a hot plate, and it limits its air temperature, which removes one risk. But heated air still roughens hair surfaces when used long and often. Use the lowest heat that works and stop once dry.
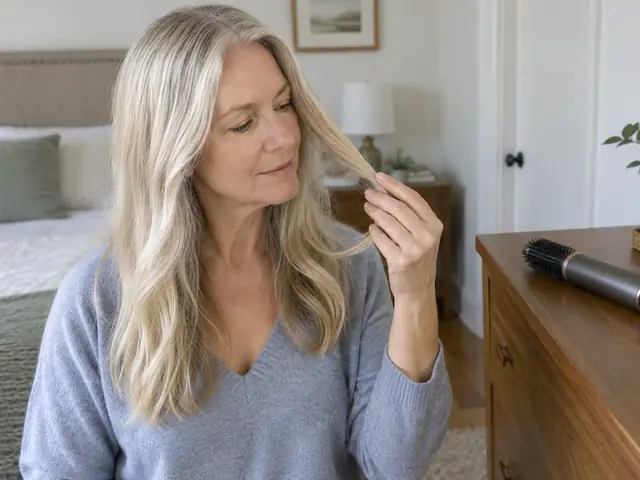
Some hair does drop curls faster. But starting dampness, section size and cooling matter too: thin sections, the right dampness for your model and a full cold shot usually help curls last longer.
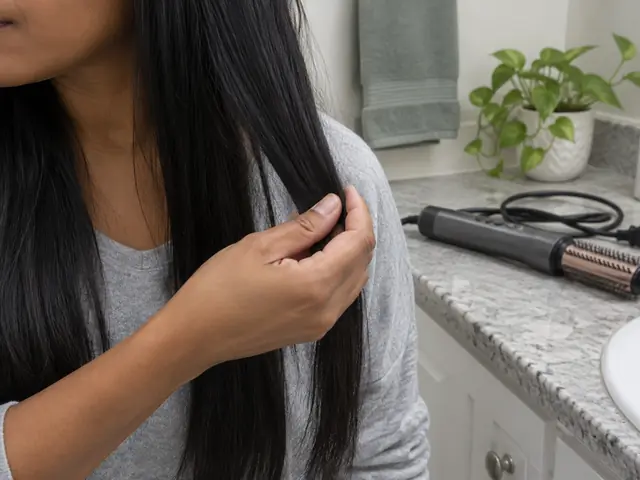
No. Starting state differs by model, and dripping hair is rarely right. One current manual has you rough-dry first, then use the barrels once hair looks dry but still feels cool. Follow your own model's directions.
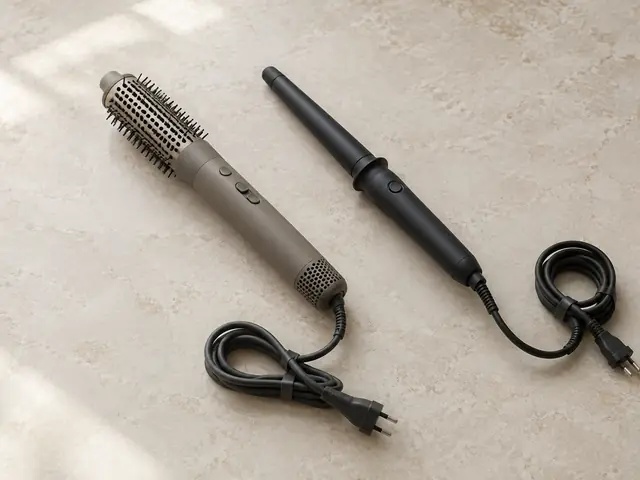
For soft, loose curls and blowouts, often yes. It works by a different mechanism, so hair that drops airflow curls, or a tight polished curl, may still suit a curling iron or a heatless set better.
Keep it clean, safe and working the way it should.
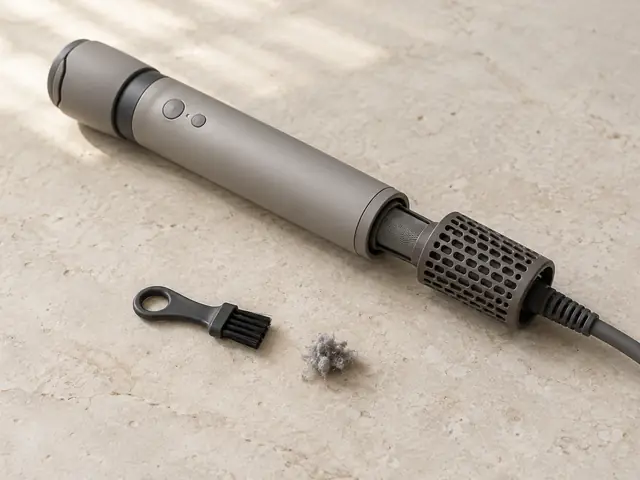
Unplug and let it cool, then brush the filter as your manual shows. Some filter cages come off to rinse and air-dry, while the fine mesh stays dry. A clogged filter cuts airflow.
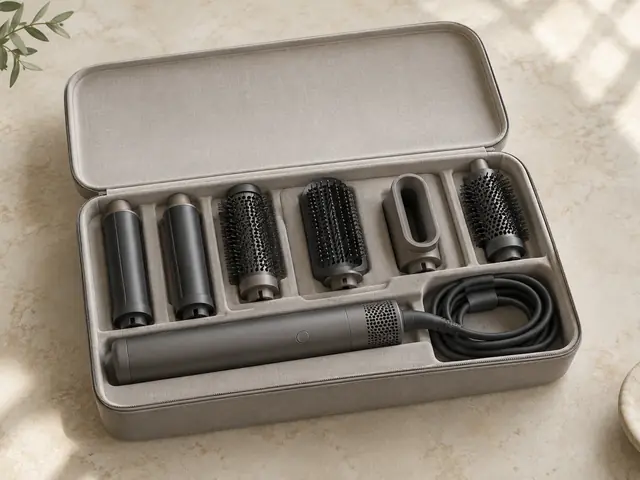
Once cool, lift trapped hair from brushes with a tail comb and wipe product off barrels with a dry cloth. Store attachments where they will not be crushed, with the cord coiled loosely.
Photo-by-photo techniques that use this tool.
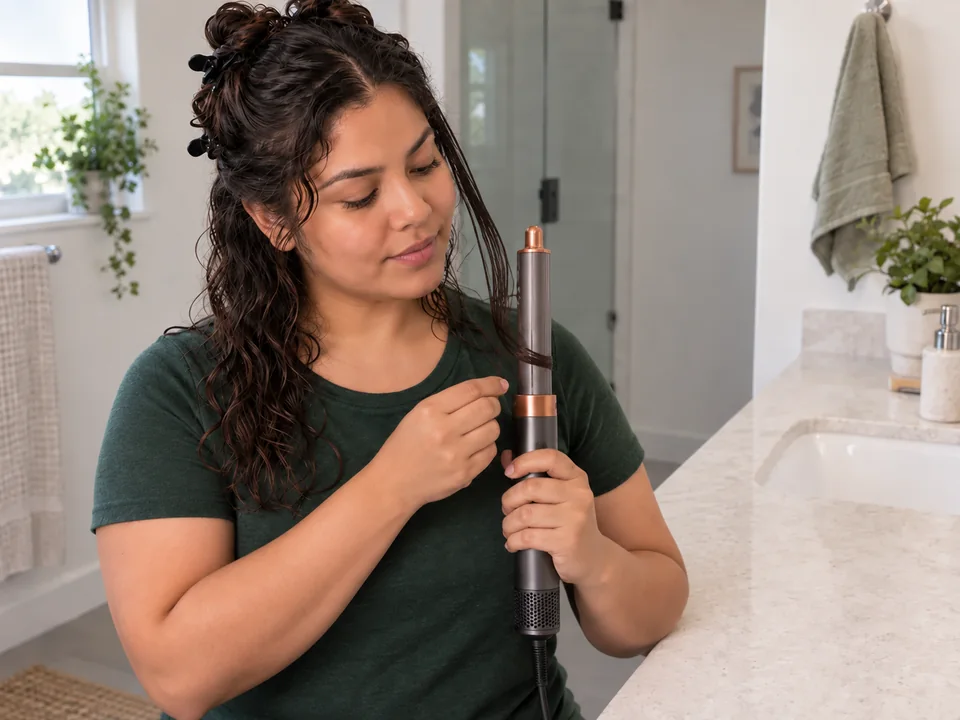
Airflow-wrap curling uses directed air to take the ends of one damp section around a compatible barrel and dry it into a temporary curl.
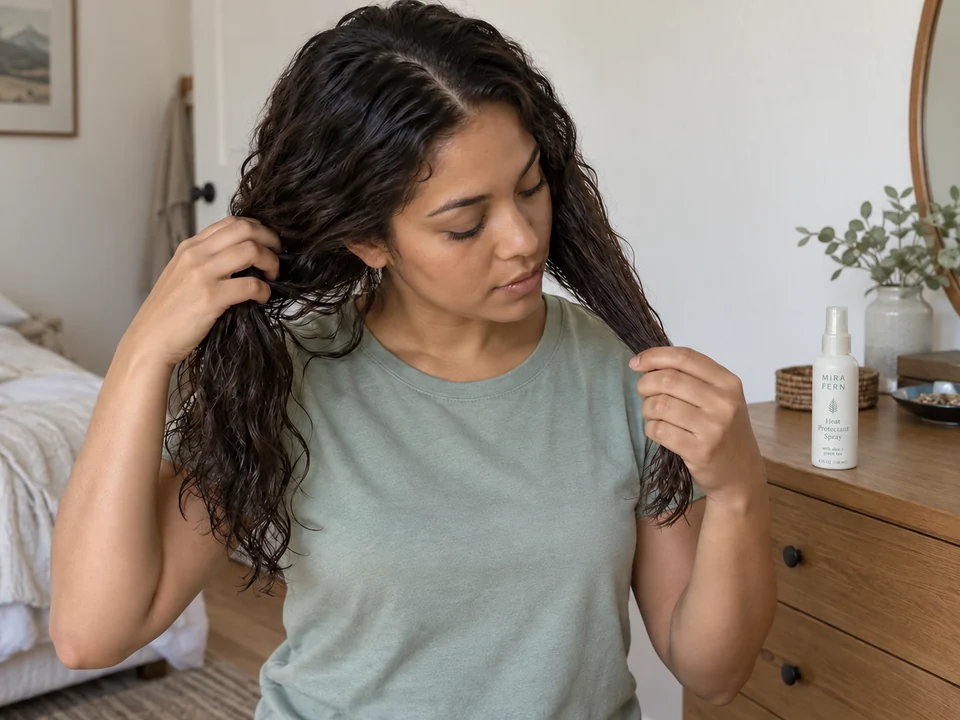
Heat protectant application spreads a product made for heat styling through the hair before a heated tool is used.
A material label is one piece of information. The setting, repeated exposure, surface condition and how comfortably you can use the tool matter too.
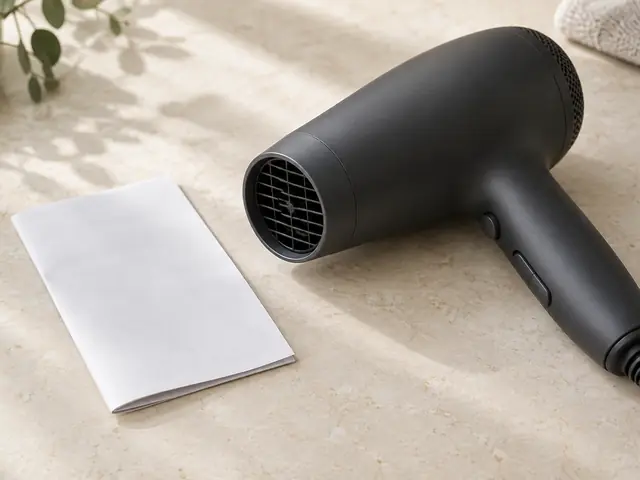
Treat these as features to check in the model’s specifications, not evidence that a tool repairs damage or guarantees hydration. Choose for the job, controls and handling before a material label.
Add it to your tools and your routine will use what you own.
More in heat styling.
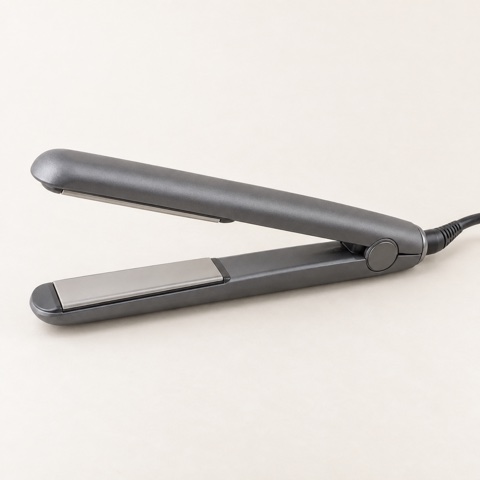
A handheld styler with two heated plates that close on a thin section of dry hair and glide toward the ends to smooth and straighten it temporarily.
A handheld styler with a heated barrel. Hair is wound around it, with or without a clamp, to put a temporary curl or wave into dry sections.
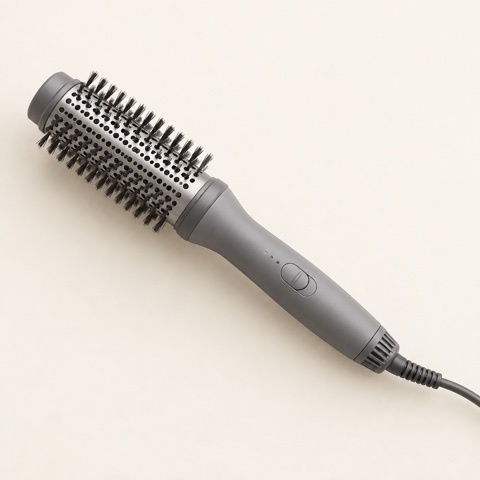
A handheld dryer with a brush head. Air flows out through the bristles, so it dries and shapes a section at the same time. It differs from a heated brush with no airflow.
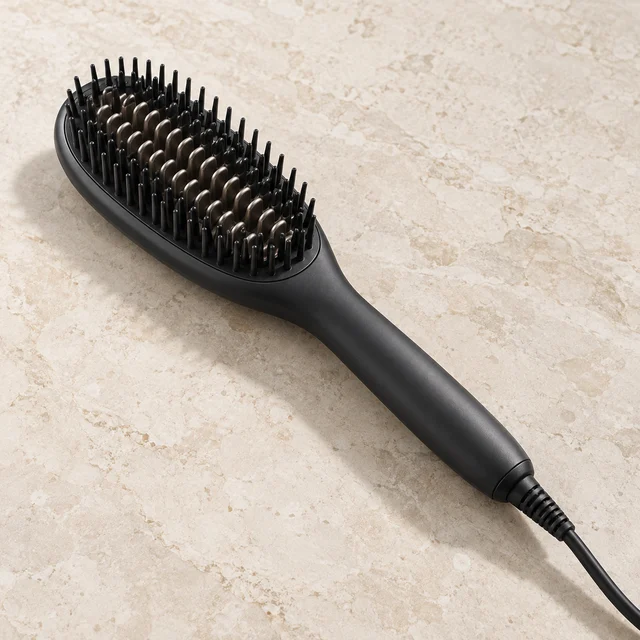
A brush-shaped hot tool whose heated teeth or base plate smooth dry hair as you glide it through. It has no airflow, so it only styles hair that is already dry.