Oval or paddle head
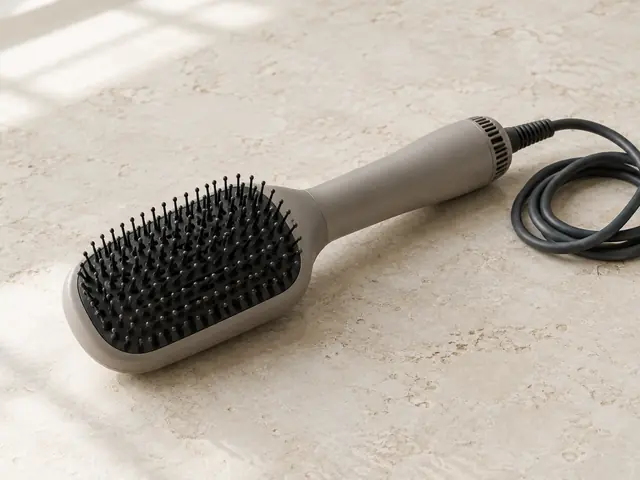
Flat-sided with rounded edges. The sides smooth along a section; the rounded edge bends the ends. The easiest shape to learn on and to release from hair.
Best for: Smooth, full blowouts on medium to long straight or wavy hair
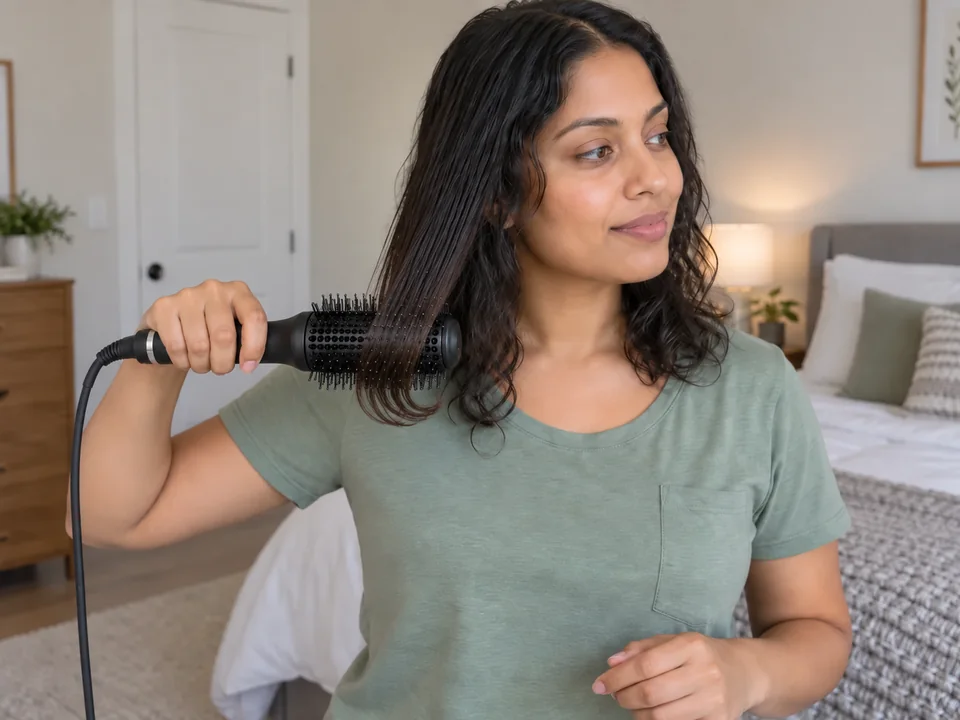
Reach for a hot-air brush when you want to dry and shape in one tool: a smooth, full blowout with lift at the roots and ends that bend under or flip out, one section at a time.
The basic method. Your model’s own directions come first for heat, attachments and starting state.
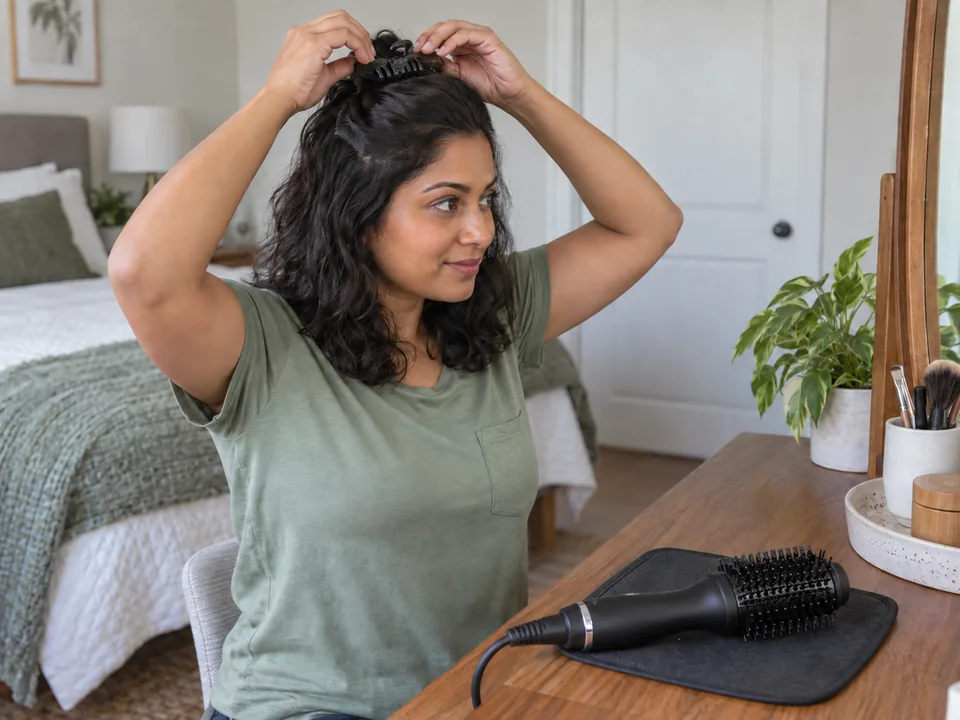
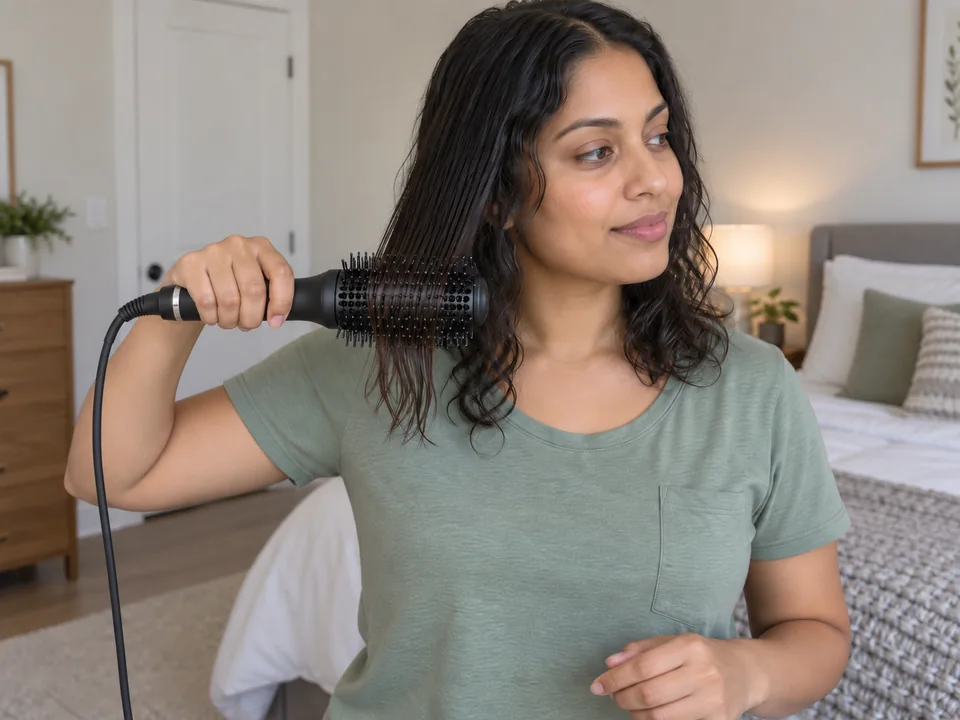
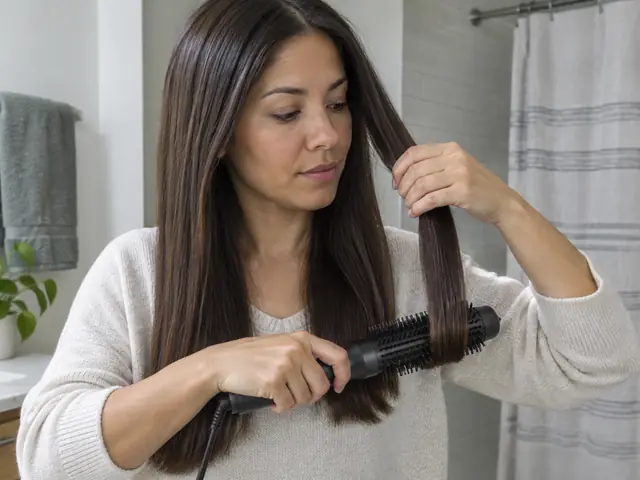
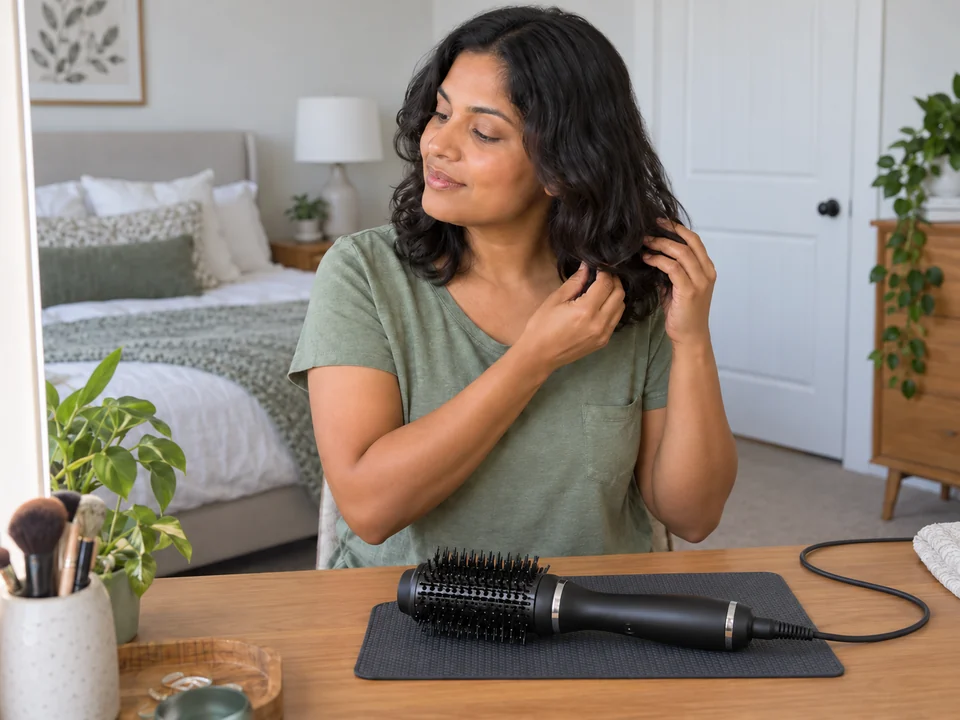
Each section dries in a pass or two on a low setting, the ends bend without being wound, nothing snags, roots and the nape feel dry after cooling, and the tool is unplugged and cooling on a safe surface.
What each kind does, and who it suits.
Flat-sided with rounded edges. The sides smooth along a section; the rounded edge bends the ends. The easiest shape to learn on and to release from hair.
Best for: Smooth, full blowouts on medium to long straight or wavy hair
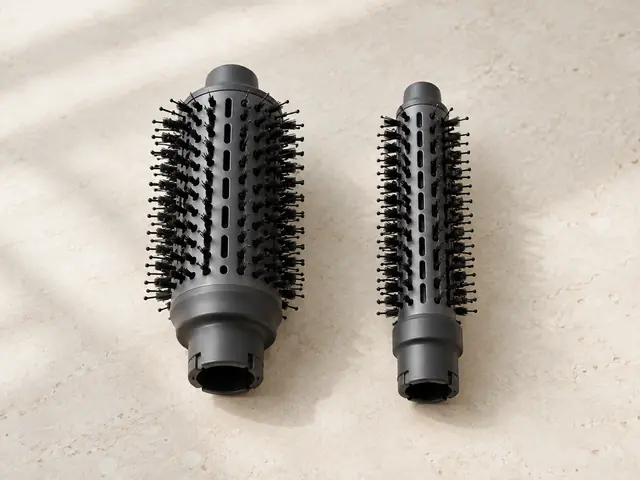
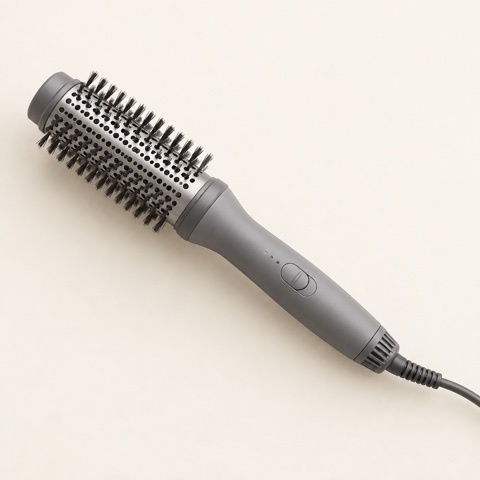
A cylinder that lifts roots and curves ends more than an oval. Smaller diameters give a tighter bend but grab short layers and tangle more easily.
Best for: Root lift and curved ends; smaller barrels for shorter layers
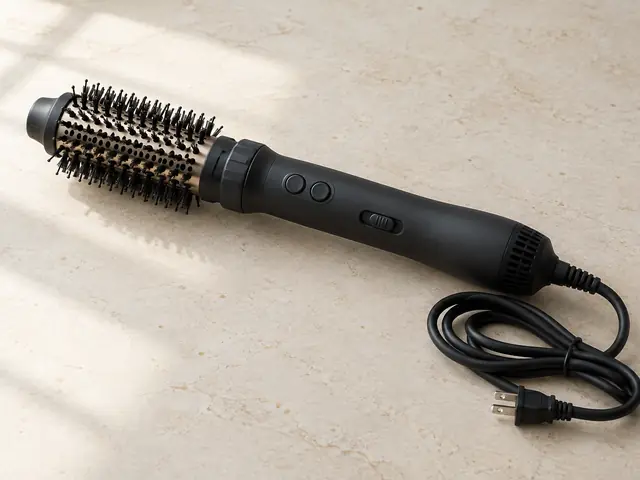
A motor turns the barrel while you hold a button. It shapes ends quickly and takes practice: release the button if it spins too fast, and keep necklaces and earrings clear.
Best for: Experienced users with medium to long hair who want curved ends quickly
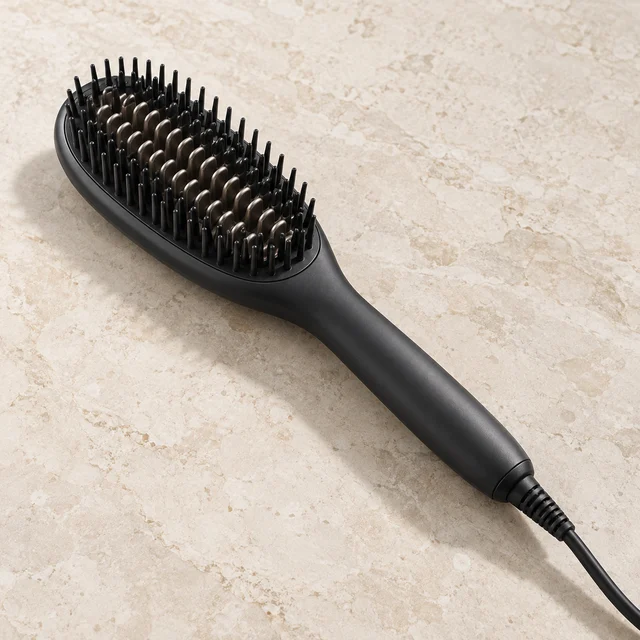
A heated straightening brush looks similar but has no fan. It is used on dry hair only and is a different tool with its own guide.
Best for: Smoothing hair that is already dry
The controls worth understanding before you change anything.
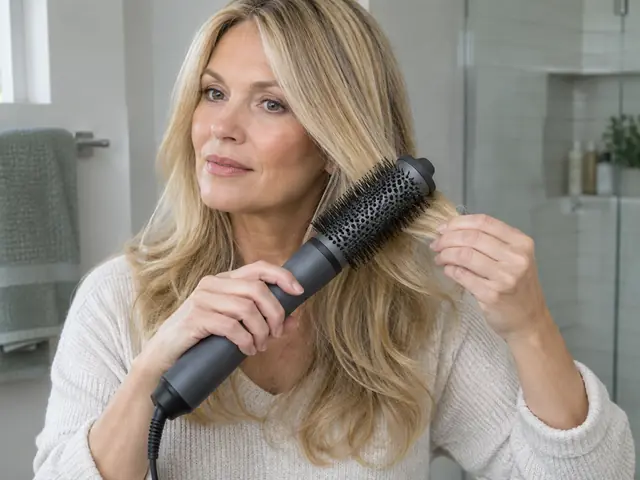
Start at the lowest setting that dries and shapes a section in a pass or two; raise one step only if sections need repeated passes. Lower speed gives more control near your face and on short layers.
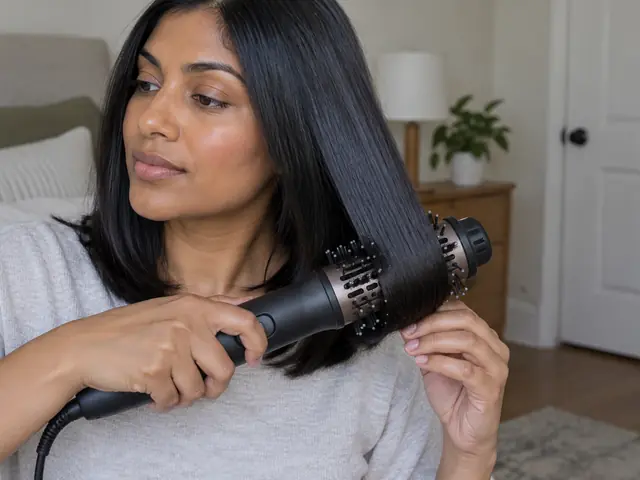
Hair holds the shape it cools in. Switch to cool air over a finished section, or at the end, so bends and root lift set before the hair moves.
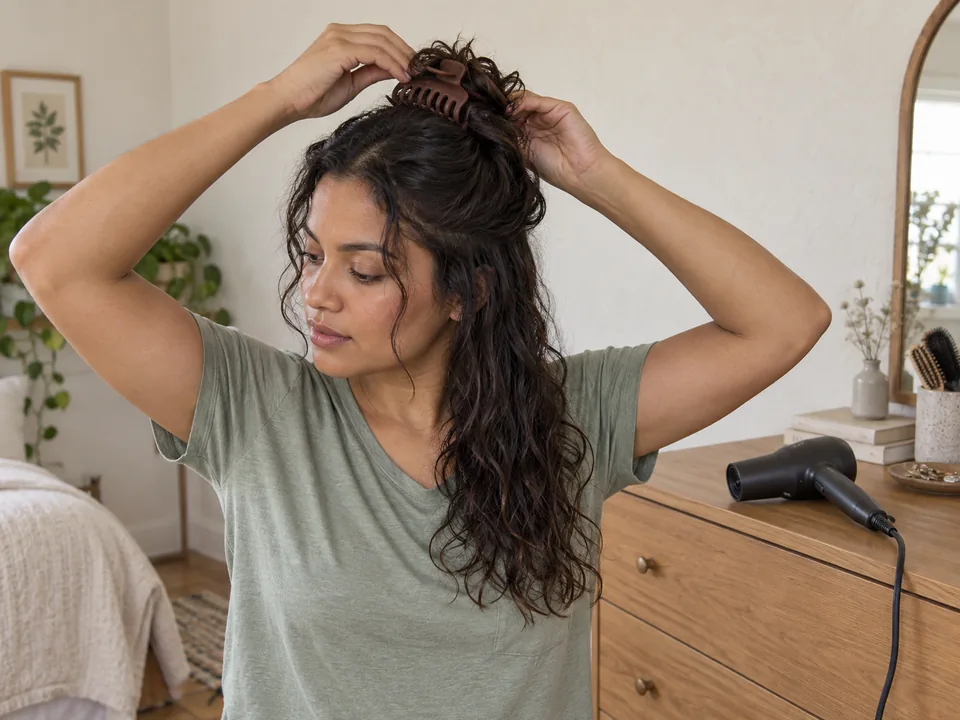
Take a section no wider than the head and thin enough for air to pass through. If the brush drags or the middle stays damp, make the next section smaller.
Once the basics feel easy, these moves change the result.
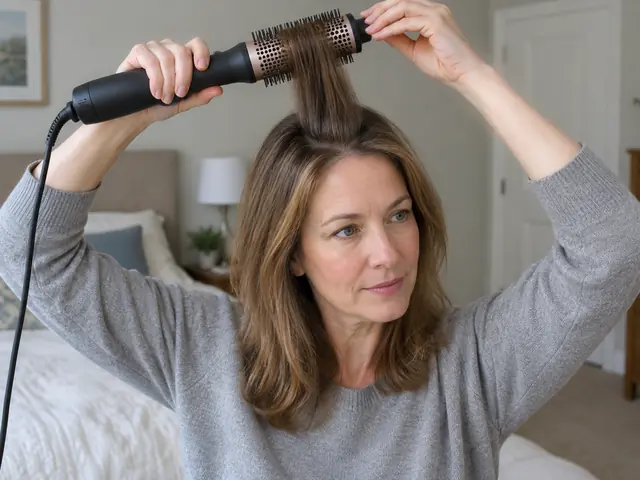
Place the brush under a crown section close to the roots and lift upward for a brief hold, as your manual describes. Cool the section before letting go so the lift lasts.
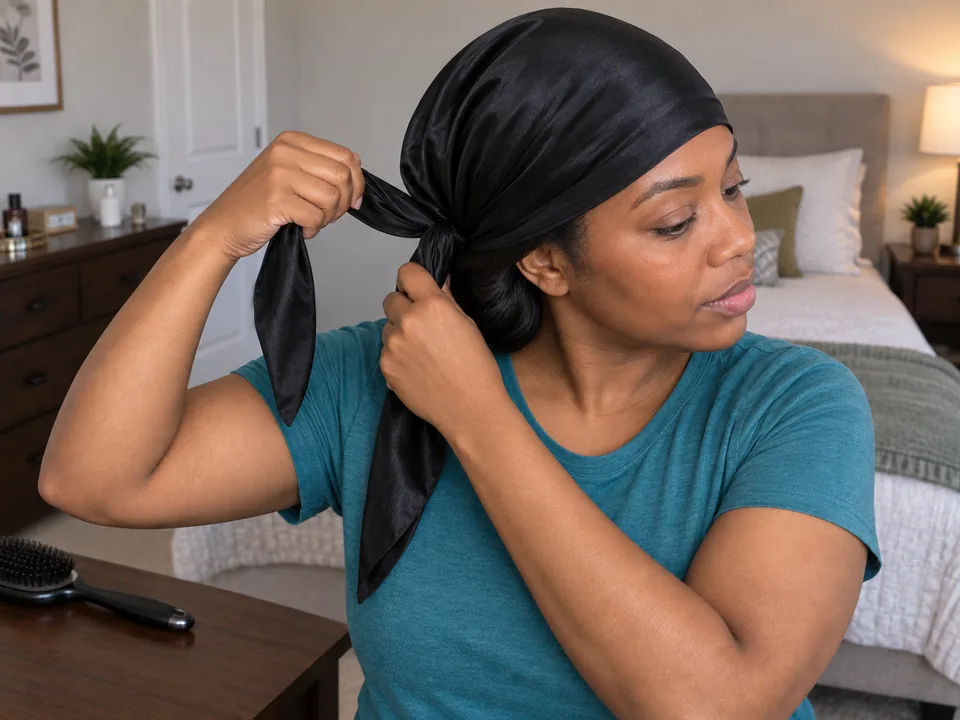
Once the blowout is fully dry and cool, wrap it smoothly under a scarf at night so you need fewer heated sessions before the next wash.
Full guide: Preserve a blowout or silk press between washesWhat goes wrong most often, and what to do instead.
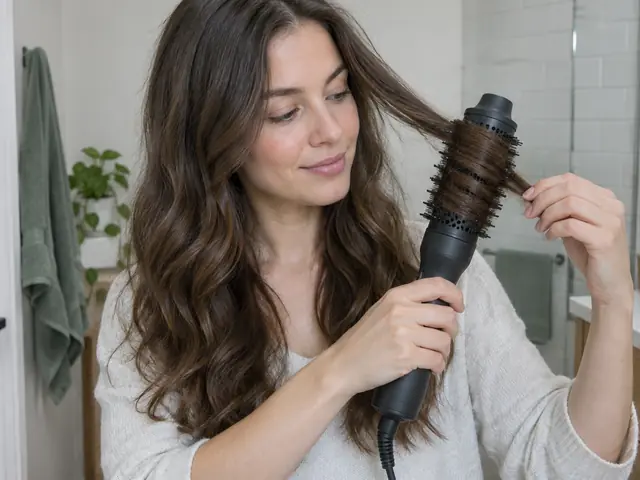
Hair wrapped from roots to ends can knot around the bristles. Bend only the ends. If it catches, switch off and unwind slowly the way it went on; lift strands off with a tail comb.
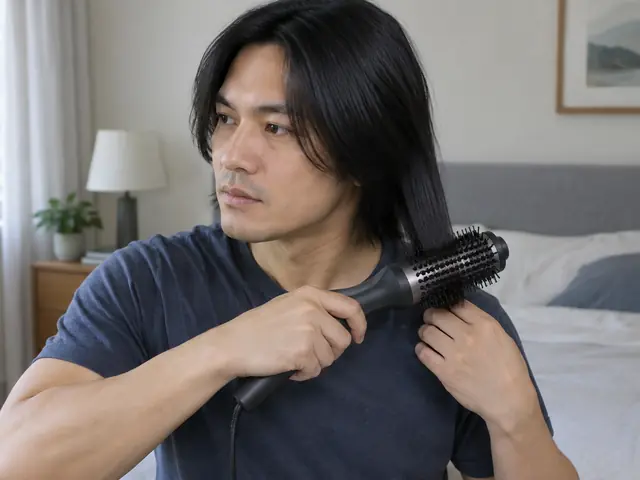
Heat builds where the brush sits still, and passes over dry hair add heat without much change. Keep moving, cool the section, and move on once it is dry.
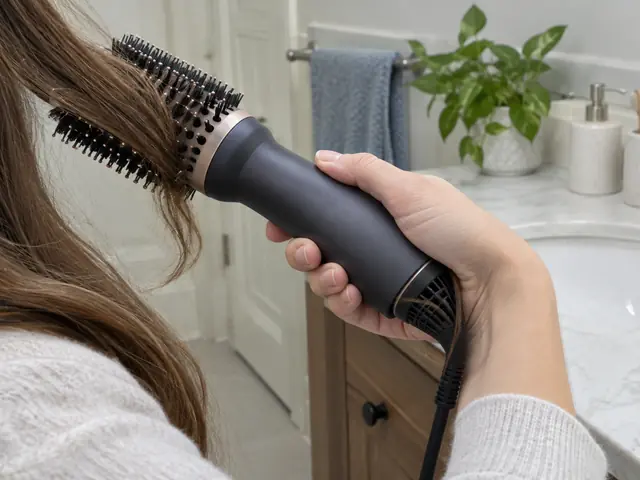
A hand, towel or loose hair over the back vent can draw hair toward the fan and make the tool overheat and cut out. Keep the vent clear and the rest of your hair clipped away.
Claims you’ll see online, answered plainly.
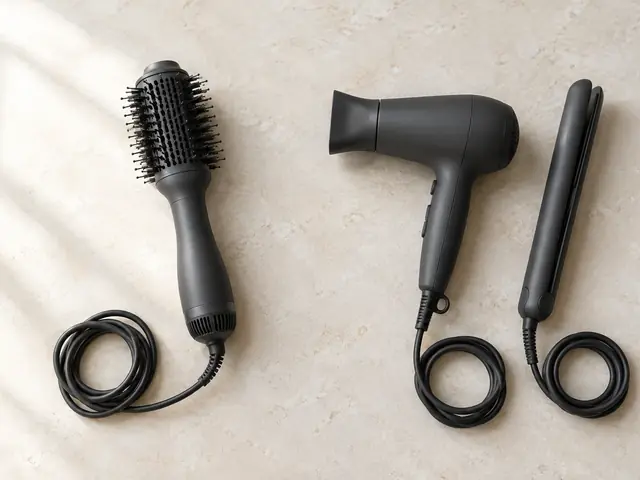
It can replace two heat steps with one. But it heats hair at close range, so a high setting, a dripping start or repeated passes can add up. Your settings and number of passes matter more than the tool's name.
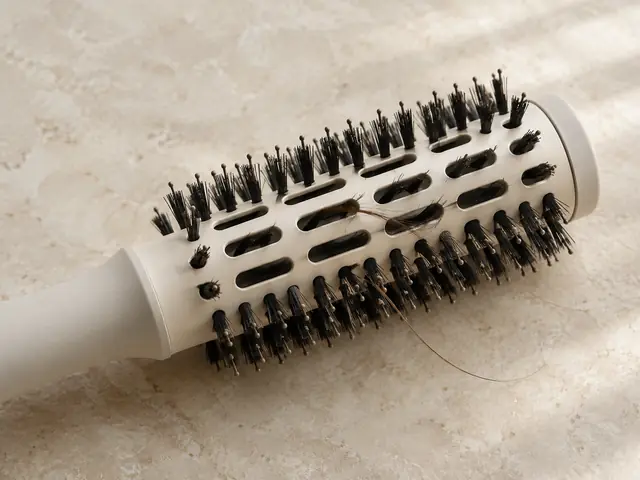
No. A coating or ionic label describes the surface or a feature, not how much heat reaches your hair. In testing, hair surfaces roughened more as drying temperature rose. Use the lowest setting that works.
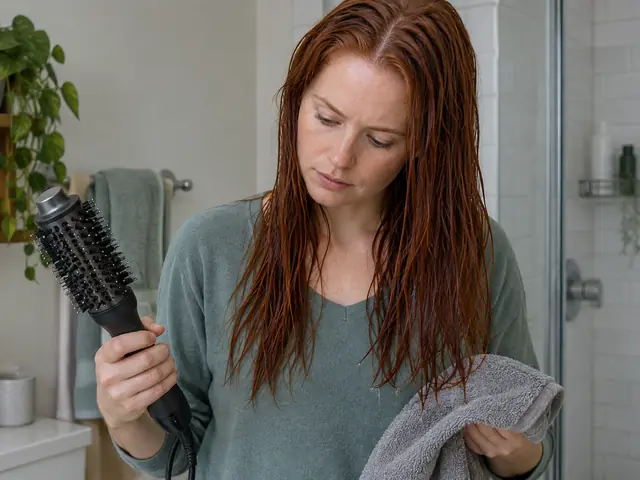
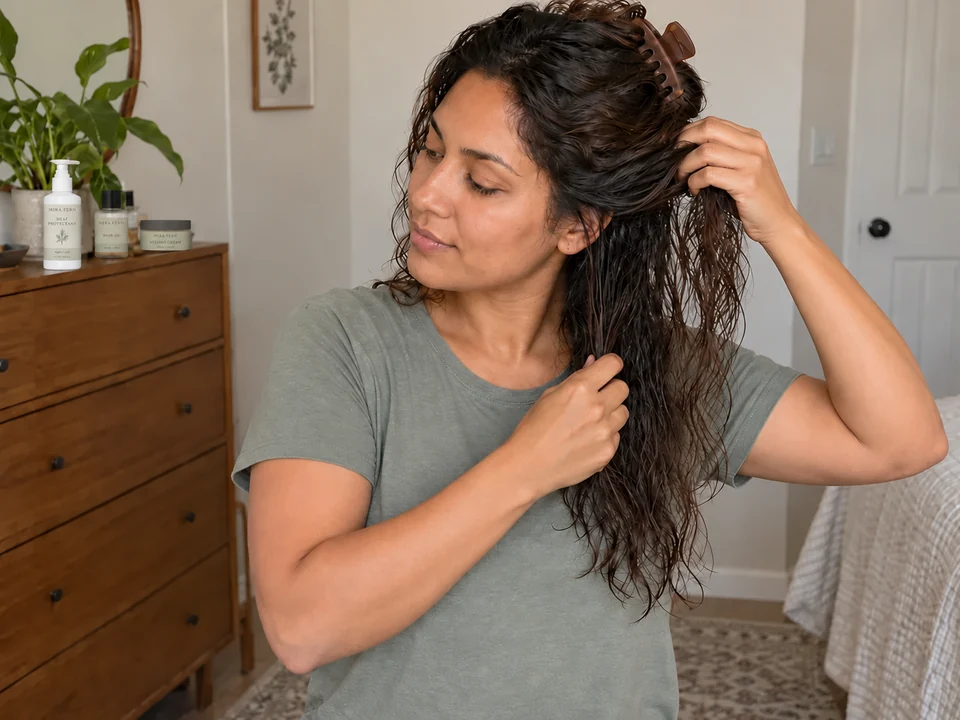
Most manuals ask for towel-dried or mostly dry, detangled hair. Dripping hair needs many more passes of heat per section and tangles more easily. Rough-dry first; it is usually faster overall.
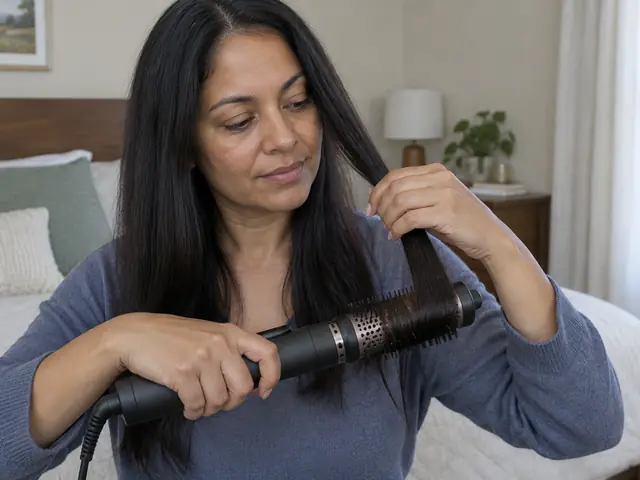
Tangles usually come from tangled hair to begin with, sections that are too big, or letting the barrel wind too far. Detangle first, keep sections small, and let go of the button if it spins too fast.
Keep it clean, safe and working the way it should.
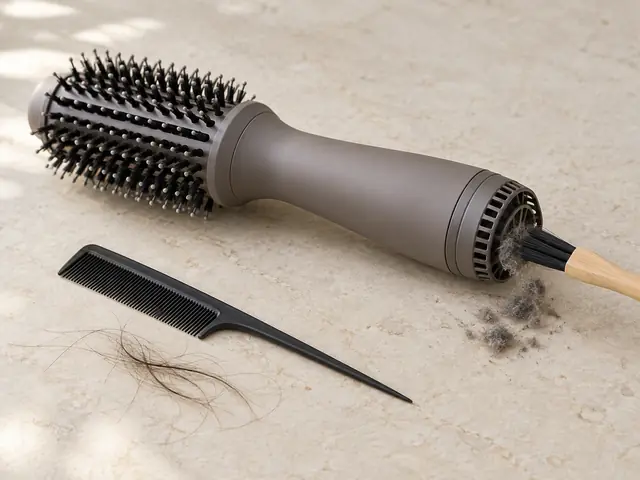
Unplug and let it cool. Brush lint off the rear vent or filter with a soft brush, lift trapped hair from the bristles with a tail comb, and wipe the outside with a damp cloth. Never submerge it.
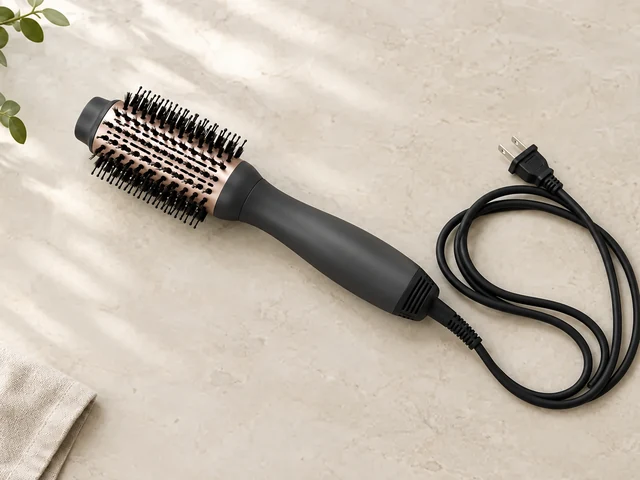
Let it cool fully, then store it with the cord loosely coiled, not wrapped tightly around the handle. Stop using it if the cord is frayed, it smells of burning or it keeps cutting out with a clean vent.
Photo-by-photo techniques that use this tool.
A material label is one piece of information. The setting, repeated exposure, surface condition and how comfortably you can use the tool matter too.
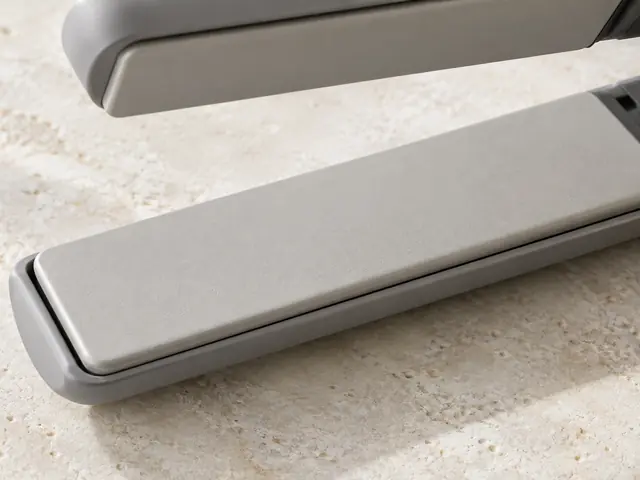
A ceramic label can describe a coating over a different base material, on plates, barrels, bristles or a dryer’s heating element. Check the actual construction in the specifications. It does not establish a suitable setting for fine or treated hair.
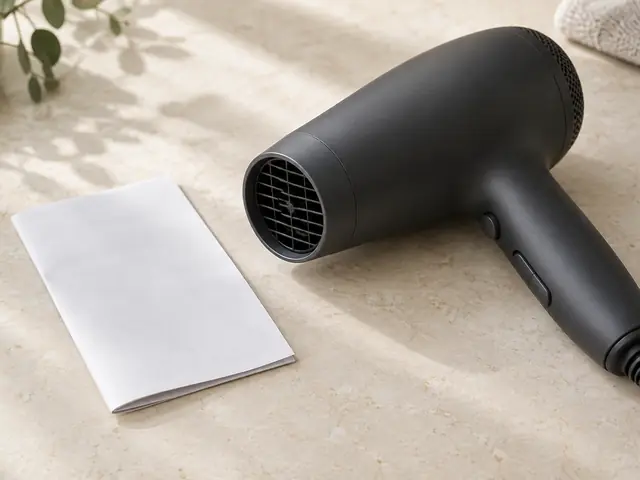
Treat these as features to check in the model’s specifications, not evidence that a tool repairs damage or guarantees hydration. Choose for the job, controls and handling before a material label.
Add it to your tools and your routine will use what you own.
More in heat styling.
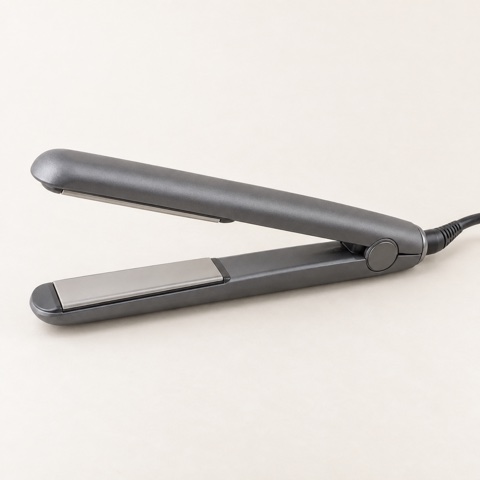
A handheld styler with two heated plates that close on a thin section of dry hair and glide toward the ends to smooth and straighten it temporarily.
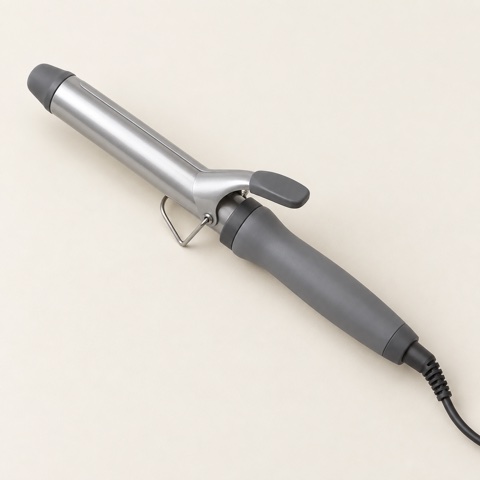
A handheld styler with a heated barrel. Hair is wound around it, with or without a clamp, to put a temporary curl or wave into dry sections.
A brush-shaped hot tool whose heated teeth or base plate smooth dry hair as you glide it through. It has no airflow, so it only styles hair that is already dry.
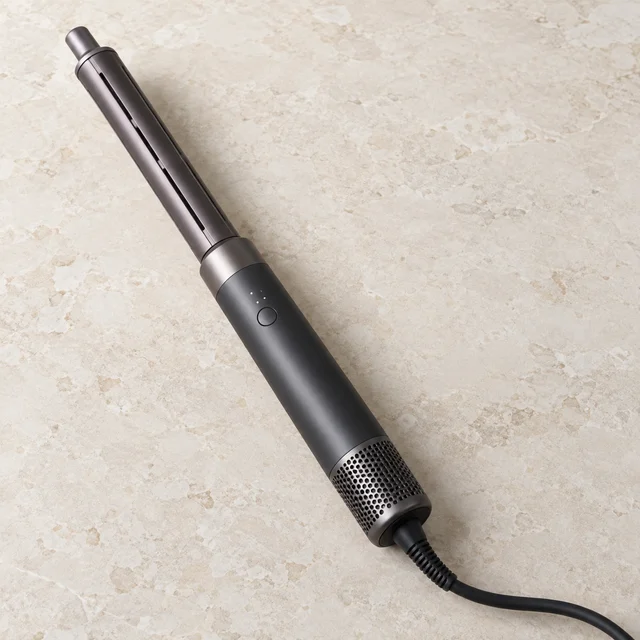
A dryer handle with swappable attachments. On the wrap barrels, directed air pulls hair around the barrel by itself; brush and dryer heads smooth and dry. It shapes with heated air, not a hot surface.