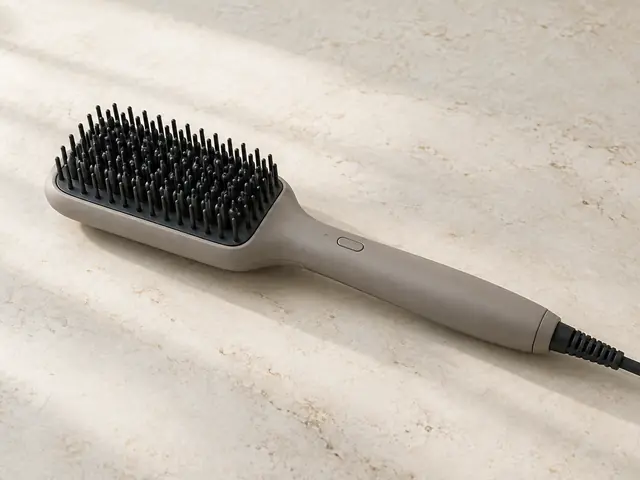
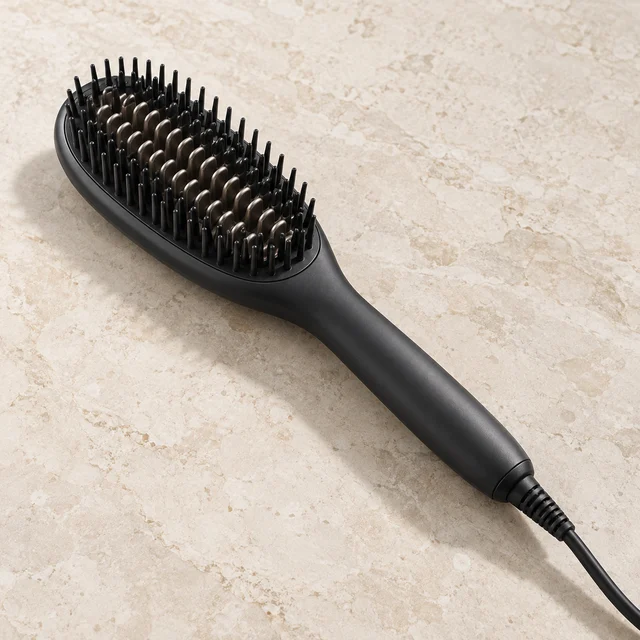
Paddle-style heated brush
A wide, flat head with a heated base and rows of teeth. It covers a broad section in each glide.
Best for: Long or thick hair and quick all-over smoothing.
Reach for a heated straightening brush to calm frizz and relax bends in dry, detangled hair, with a softer, fuller finish than a flat iron. Heated teeth or a heated base smooth each section as you glide through it.
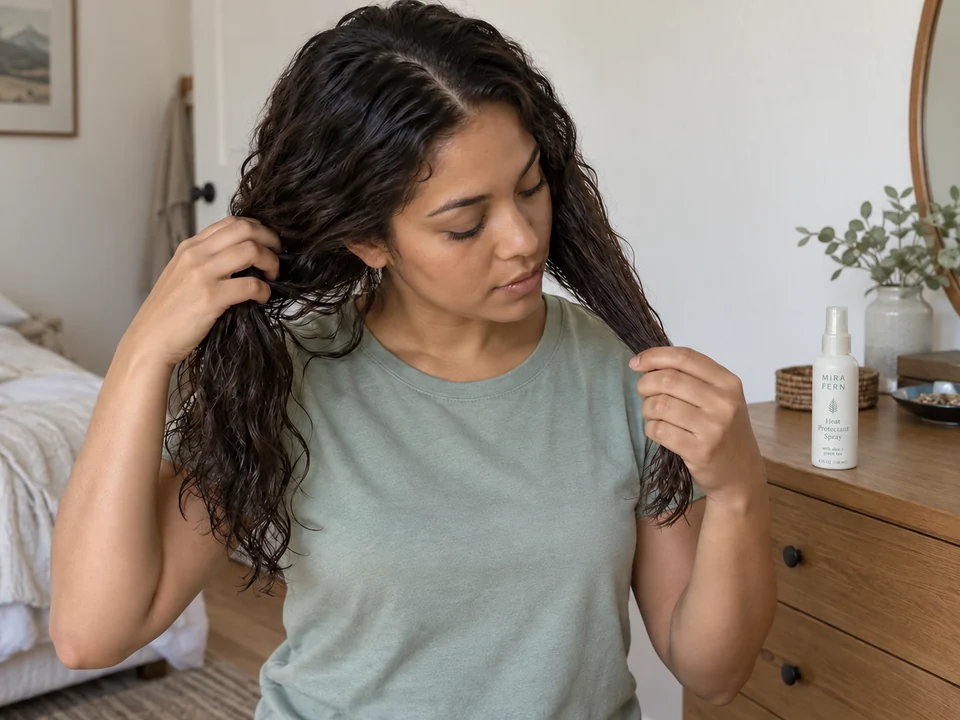
The basic method. Your model’s own directions come first for heat, attachments and starting state.
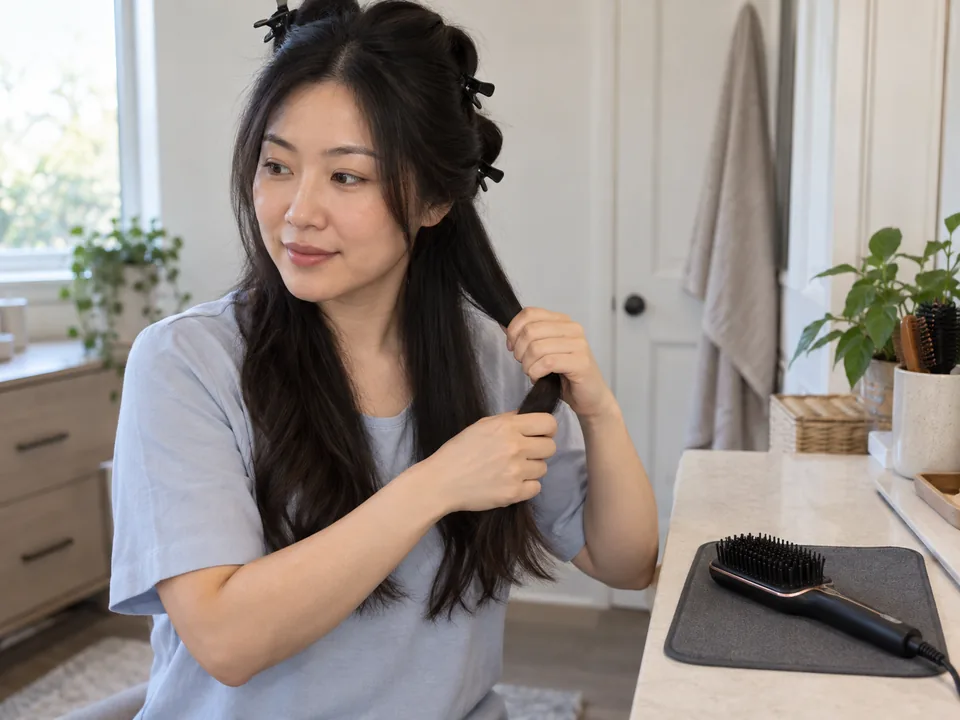
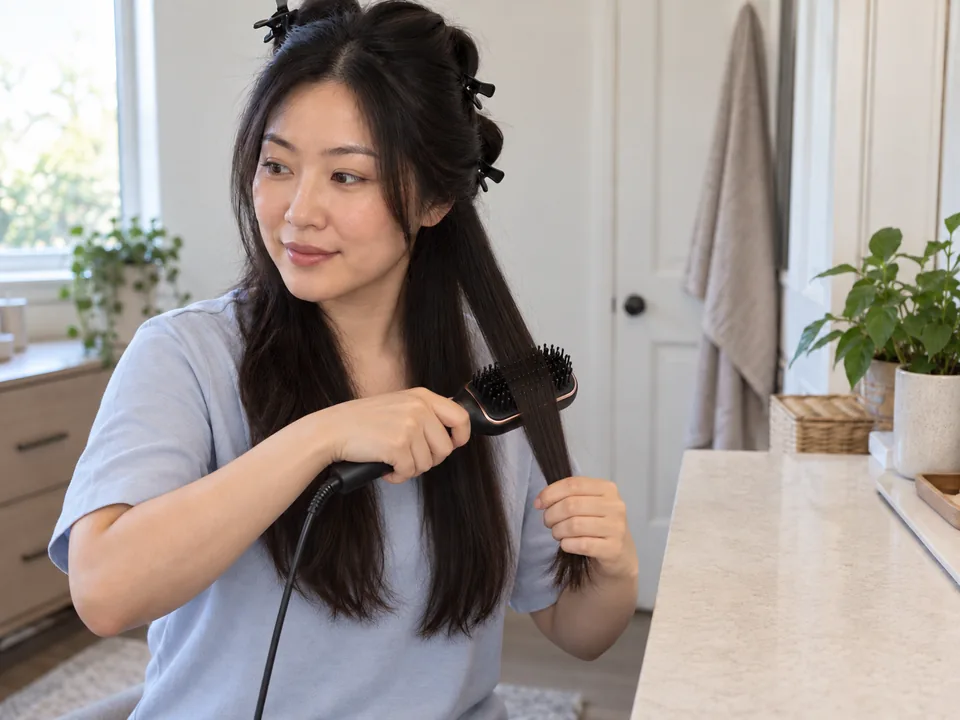
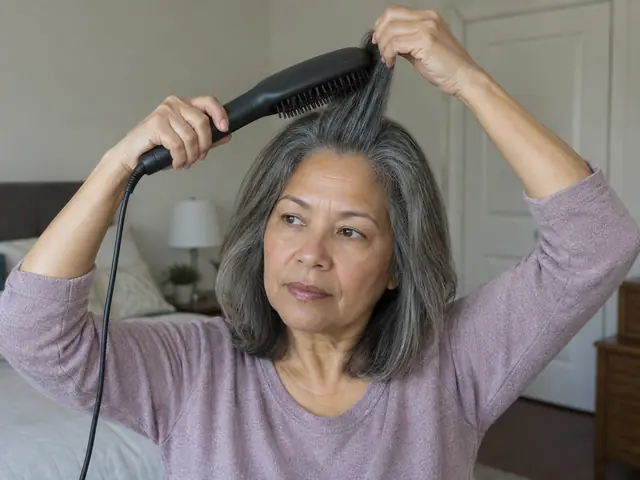
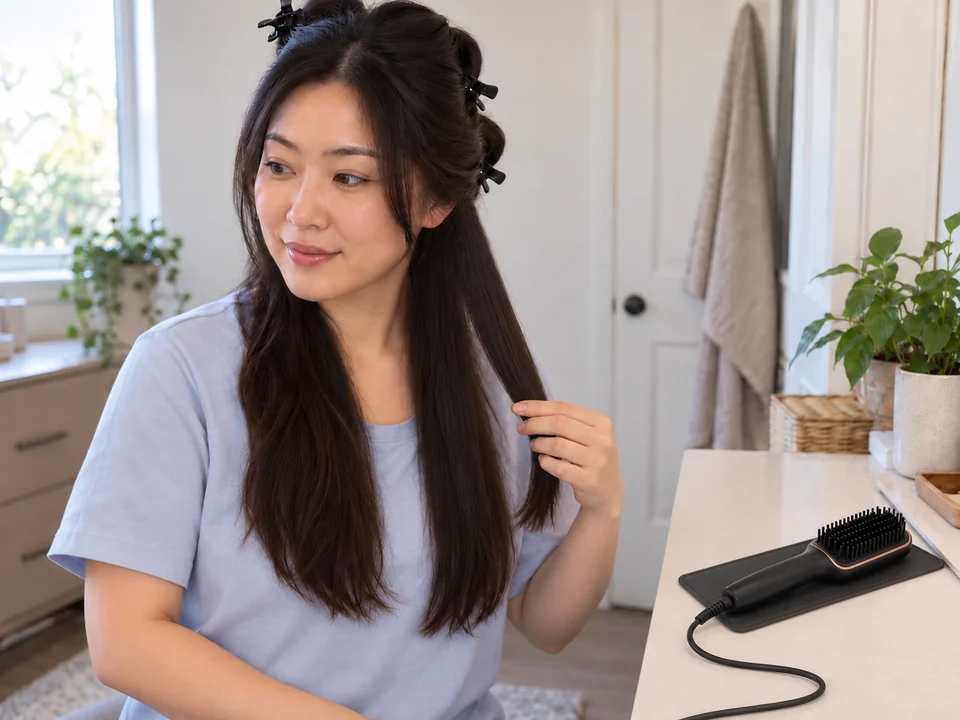
Dry, detangled sections smooth in one or two glides at a low setting, your guiding hand and scalp never meet the heat, nothing snags, and the brush ends unplugged and cooling on its rest.
What each kind does, and who it suits.
A wide, flat head with a heated base and rows of teeth. It covers a broad section in each glide.
Best for: Long or thick hair and quick all-over smoothing.
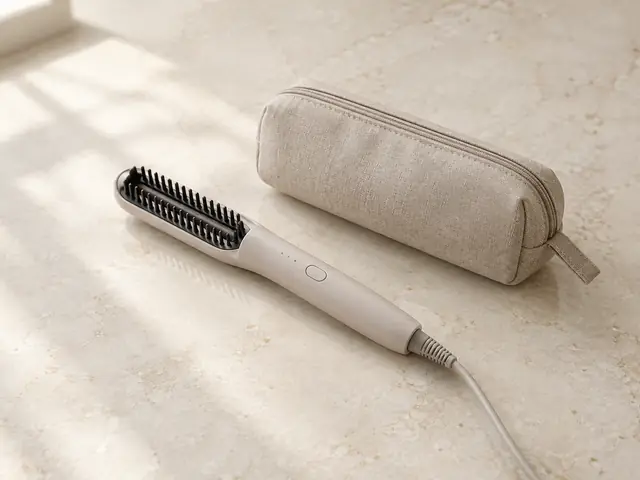
A narrow head that is easier to steer close to the part, around the face and on short layers. It fits a travel bag, but check its voltage before going abroad.
Best for: Short hair, fringes, touch-ups and travel.
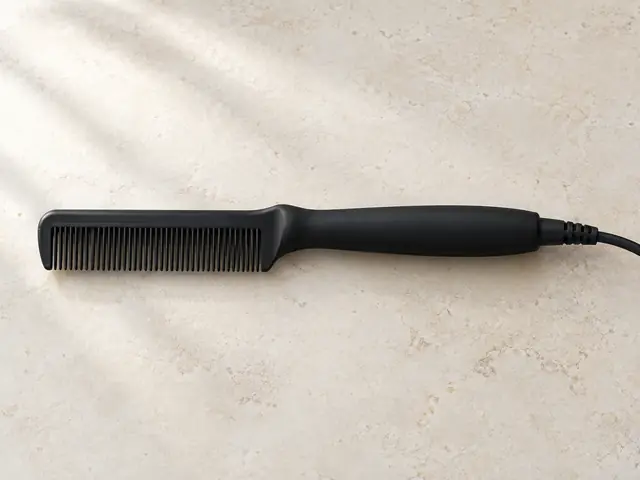
Finer, closer heated teeth give a sleeker, more pressed result than a brush. The teeth work close to the scalp, so it needs steady hands and small sections.
Best for: Experienced users smoothing stretched curly or coily hair.
The controls worth understanding before you change anything.
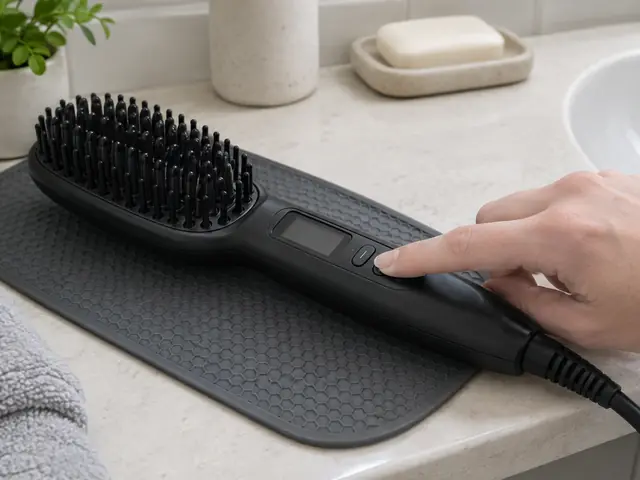
Begin low and raise one step only if a small section still needs repeated passes. Manual charts that pair settings with hair types are a starting range, not a rule for your hair.
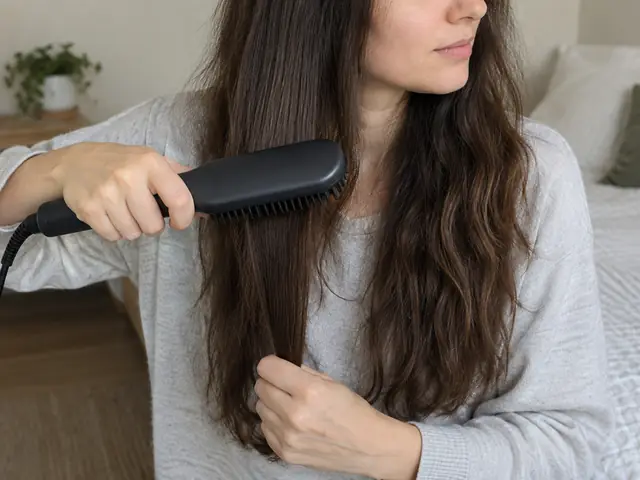
Hold the section lightly taut with your free hand, well ahead of the heat. Gentle tension gives a sleeker result; thinner sections smooth in fewer passes than overloaded ones.
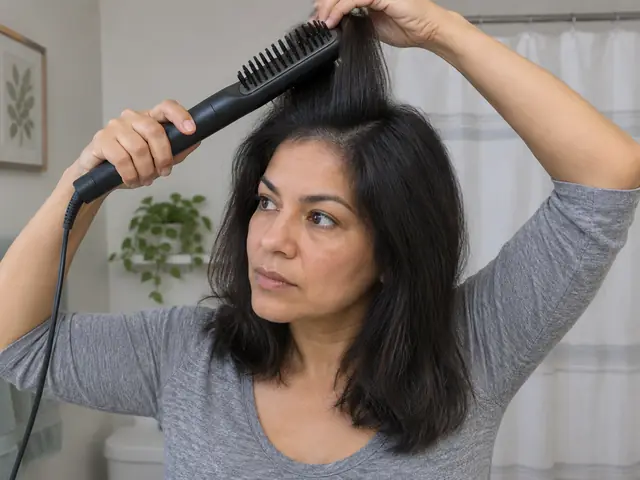
Placing the brush under a section, teeth up, lifts the root for body. Running it over the top layer smooths the surface. Turning it under at the ends gives a soft bend.
Once the basics feel easy, these moves change the result.
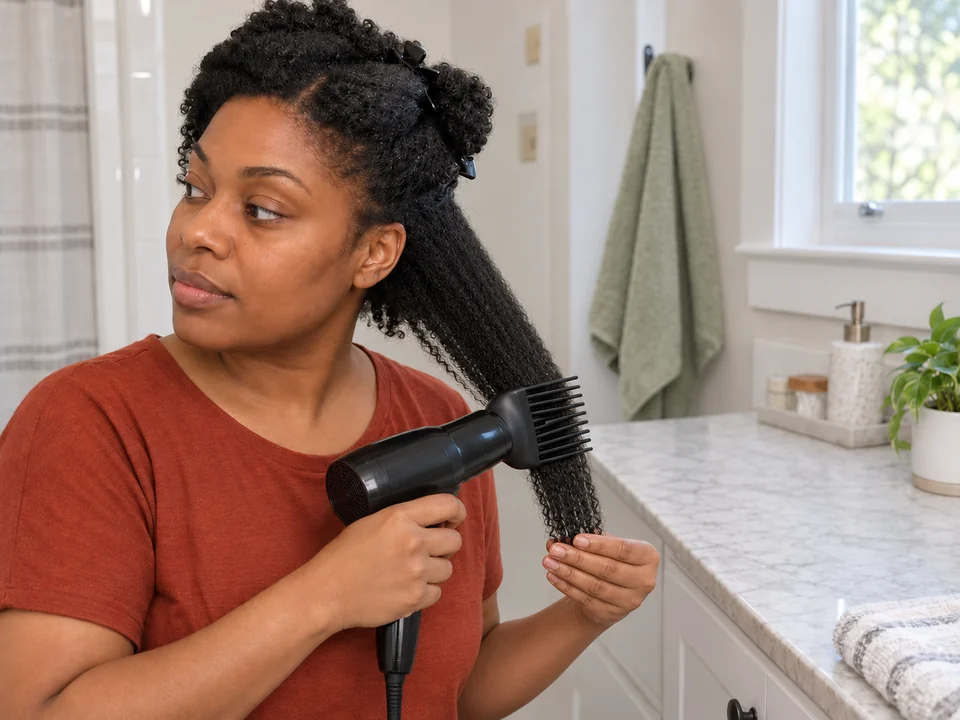
On curly or coily hair, blow-dry the hair stretched with a comb attachment first, then use the heated brush in small sections to smooth the surface and ends.
Full guide: Blow-dry curly or coily hair smooth with a comb attachment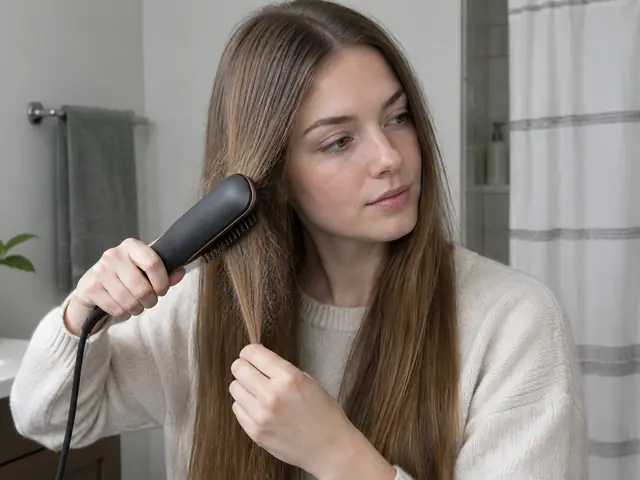
On day two, run the brush only over the frizzy top layer and the pieces around your face, keeping the rest untouched. Fewer sections means less heat overall.
What goes wrong most often, and what to do instead.
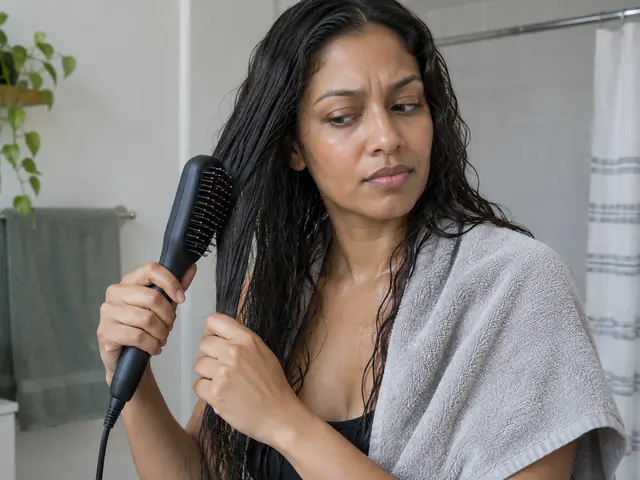
It has no airflow to dry hair, and heat on wet hair can damage the strand. Dry fully first, or use a hot-air brush made for damp hair.
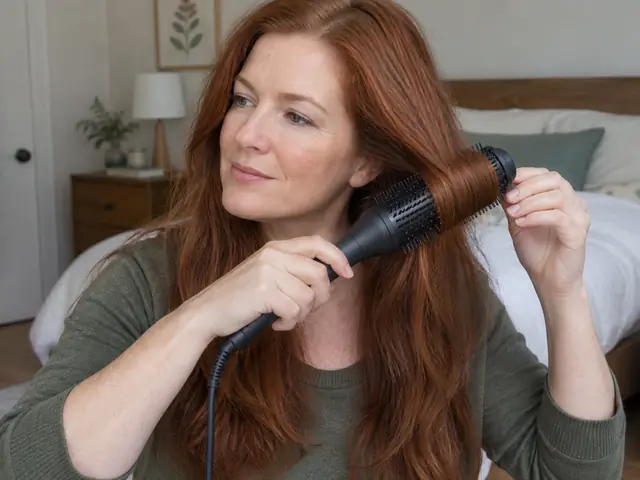
Winding a section around the head, like a round brush, can tangle hair in the heated teeth. Manuals warn never to roll hair around it; glide straight and turn only at the ends.
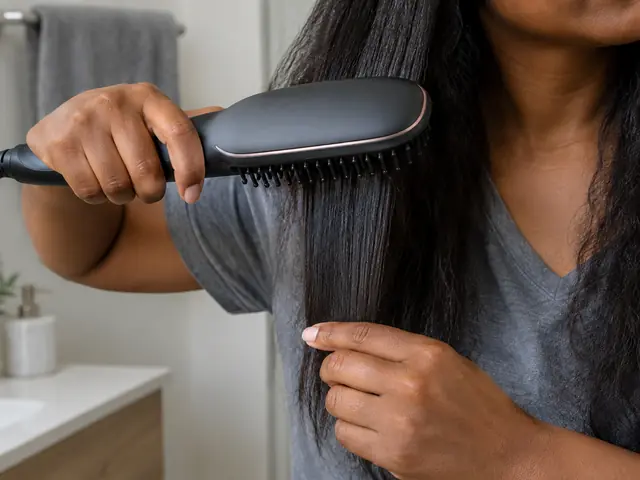
Your free hand slides down the section ahead of the brush. If it follows too closely it meets the hot teeth. Keep a clear gap and let go before the ends.
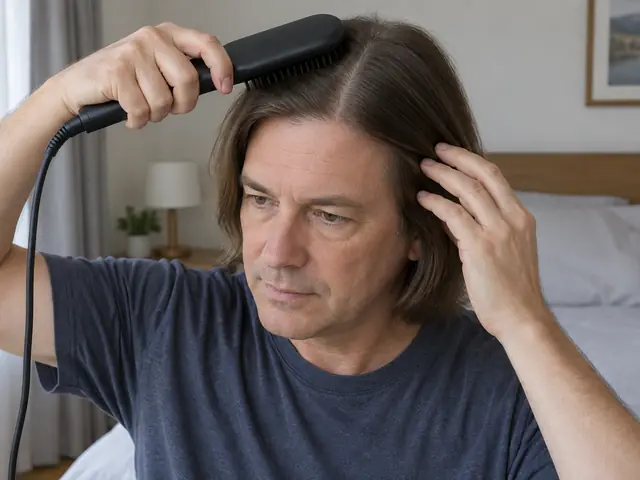
Pushing the heated base down at the roots can touch skin, especially on the top layer. Lift the section away from your head and start a little below the scalp.
Claims you’ll see online, answered plainly.
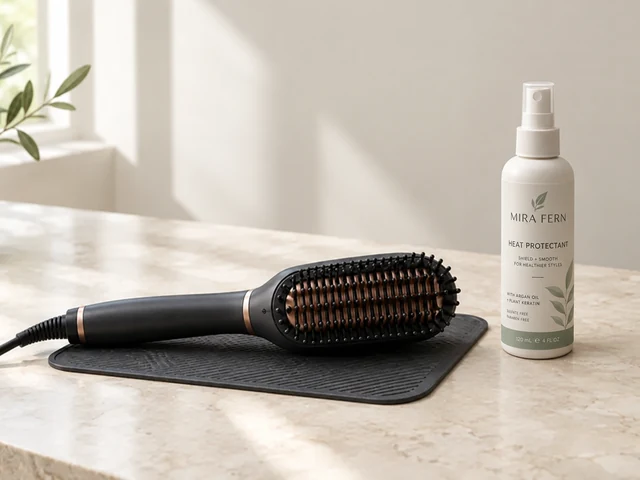
No. Its teeth and base are heated like other heated styling tools, and dermatologists note that excessive heat can damage any hair type. Use the lowest setting that works and few passes.
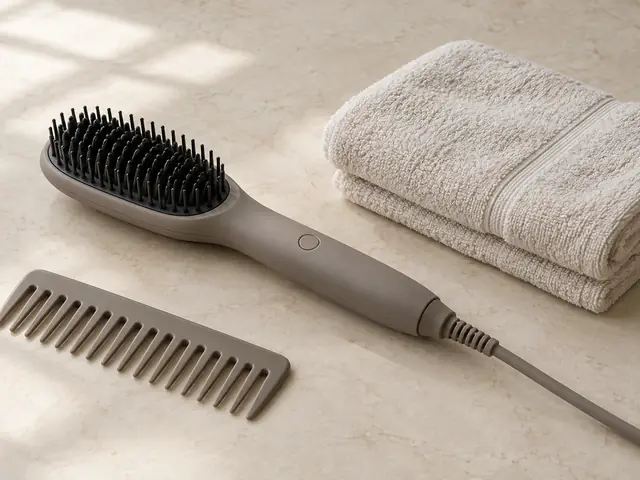
Not this tool. Heated straightening brushes have no airflow, and their manuals require fully dry hair. Hot-air brushes are the ones made for damp hair, so check which one you own.
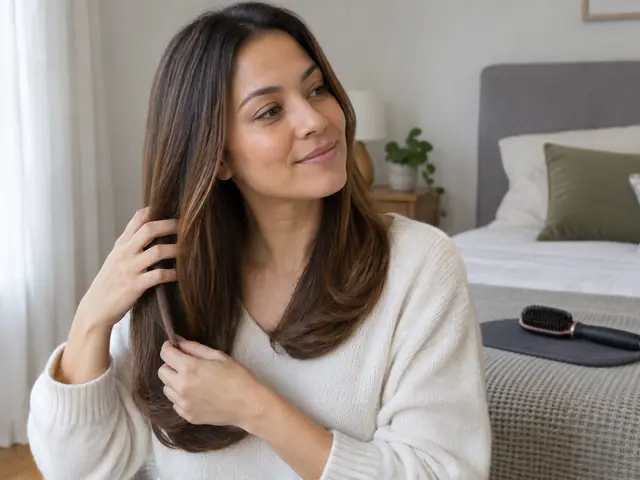
It depends on your hair and the finish you want. Brushes smooth frizz and relax bends with more body; for pin-straight results, especially on curly hair, a flat iron's clamped plates usually go further.
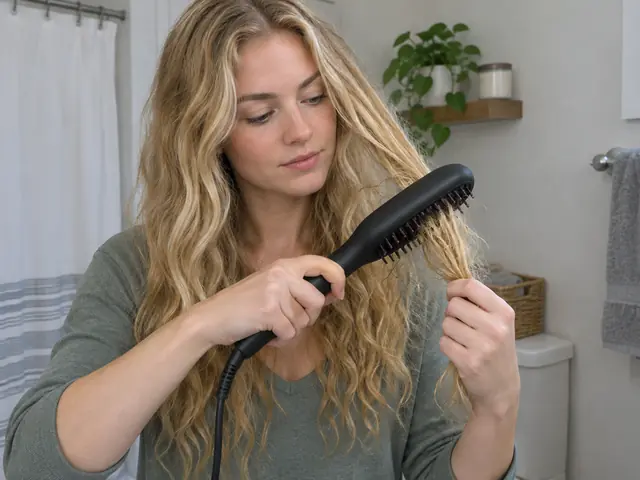
No. Manuals say to remove tangles with an ordinary hairbrush first. Dragging heated teeth through knots pulls hair against hot surfaces and can snag it.
Keep it clean, safe and working the way it should.
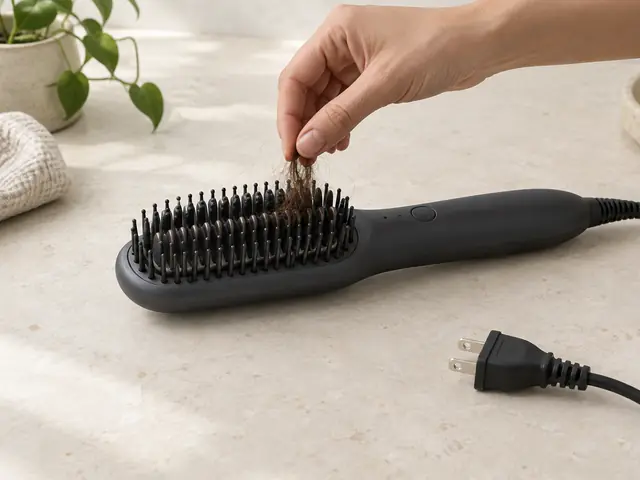
Unplug and let it cool fully, then lift trapped hairs from between the teeth and wipe the surfaces only as the manual allows. Never immerse it in water.
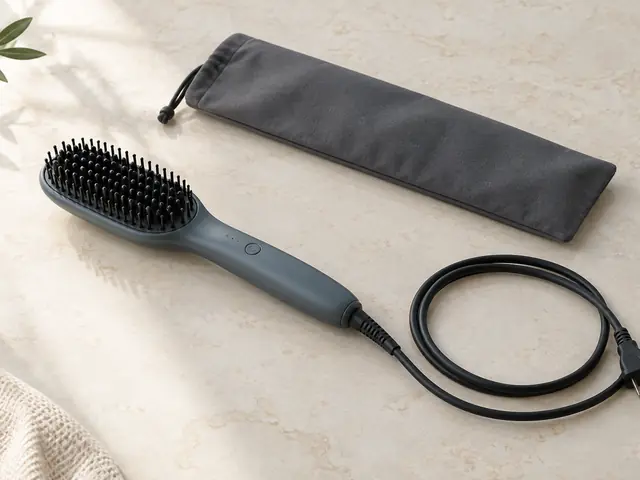
Stop using a brush with melted or broken teeth, a damaged cord or heat that cuts out. Store it cold with the cord coiled loosely, never wrapped tight around the handle.
Photo-by-photo techniques that use this tool.
A material label is one piece of information. The setting, repeated exposure, surface condition and how comfortably you can use the tool matter too.
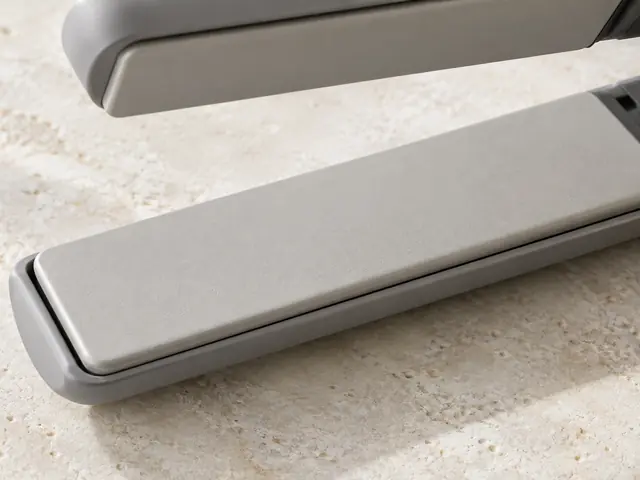
A ceramic label can describe a coating over a different base material, on plates, barrels, bristles or a dryer’s heating element. Check the actual construction in the specifications. It does not establish a suitable setting for fine or treated hair.
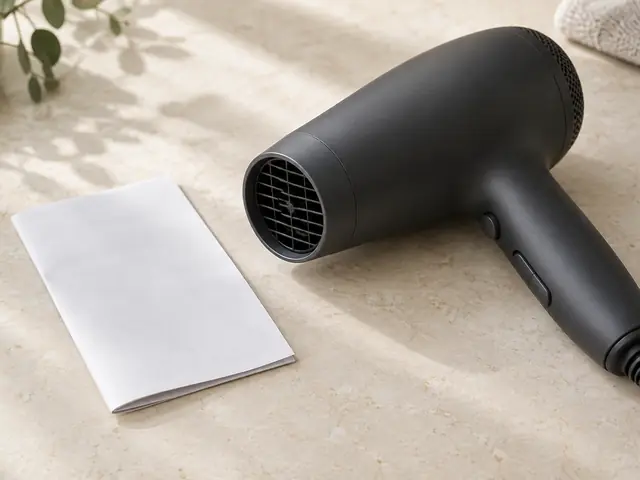
Treat these as features to check in the model’s specifications, not evidence that a tool repairs damage or guarantees hydration. Choose for the job, controls and handling before a material label.
Add it to your tools and your routine will use what you own.
More in heat styling.
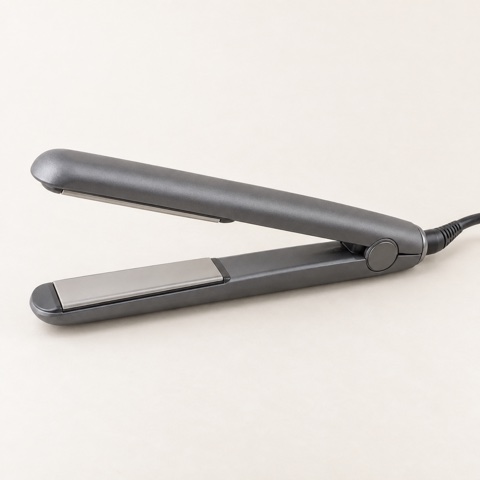
A handheld styler with two heated plates that close on a thin section of dry hair and glide toward the ends to smooth and straighten it temporarily.
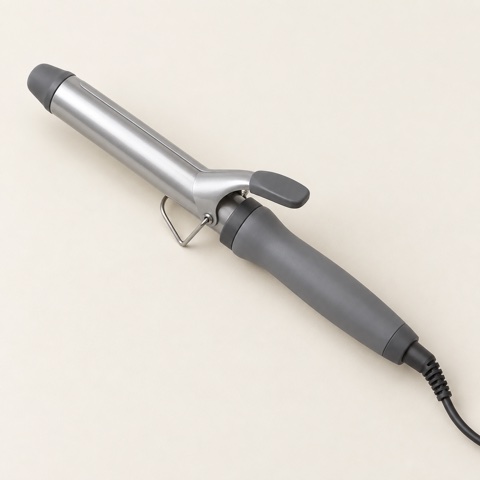
A handheld styler with a heated barrel. Hair is wound around it, with or without a clamp, to put a temporary curl or wave into dry sections.
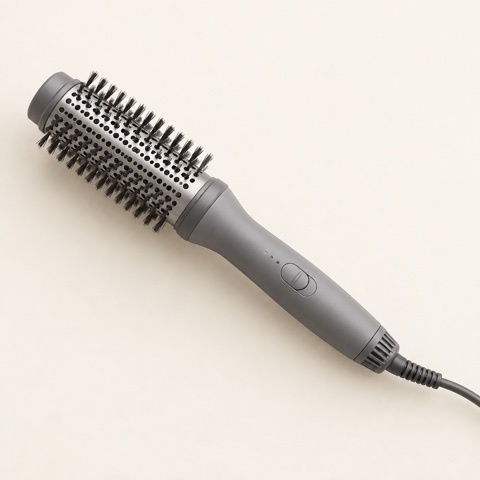
A handheld dryer with a brush head. Air flows out through the bristles, so it dries and shapes a section at the same time. It differs from a heated brush with no airflow.
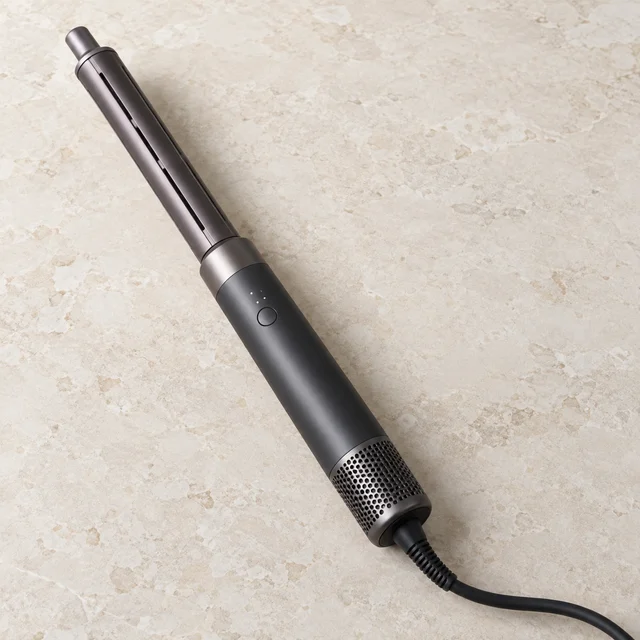
A dryer handle with swappable attachments. On the wrap barrels, directed air pulls hair around the barrel by itself; brush and dryer heads smooth and dry. It shapes with heated air, not a hot surface.