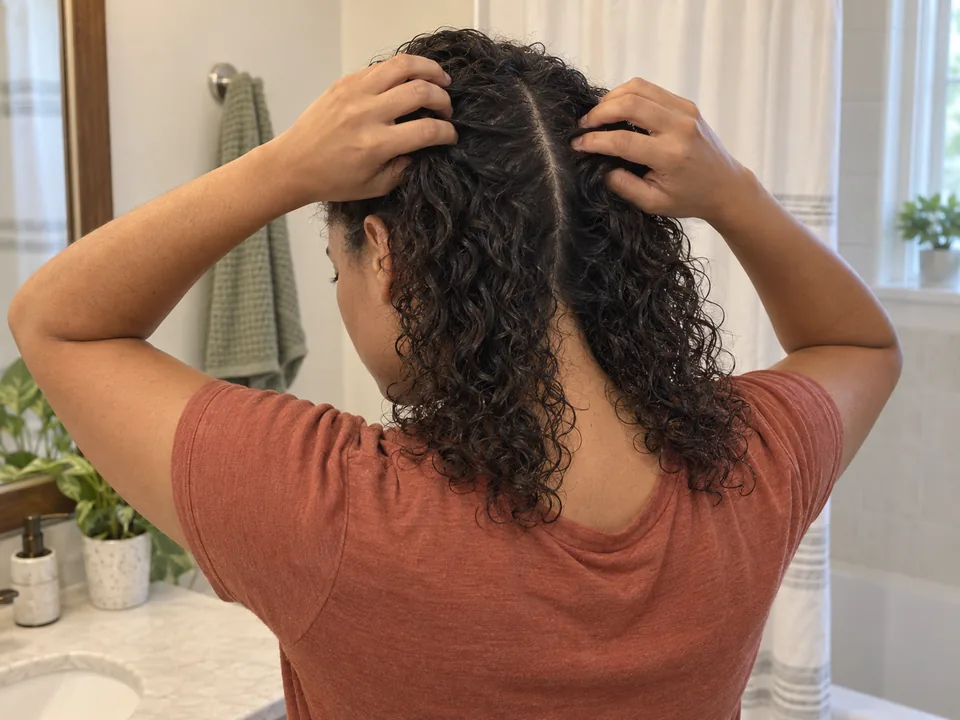
Curl dry hair with a curling iron
Choose a clamp-free wand when you want individually shaped curls and have enough reachable length to wind and release each section comfortably. The cold practice step lets you check that movement before heating the tool.
Step by step
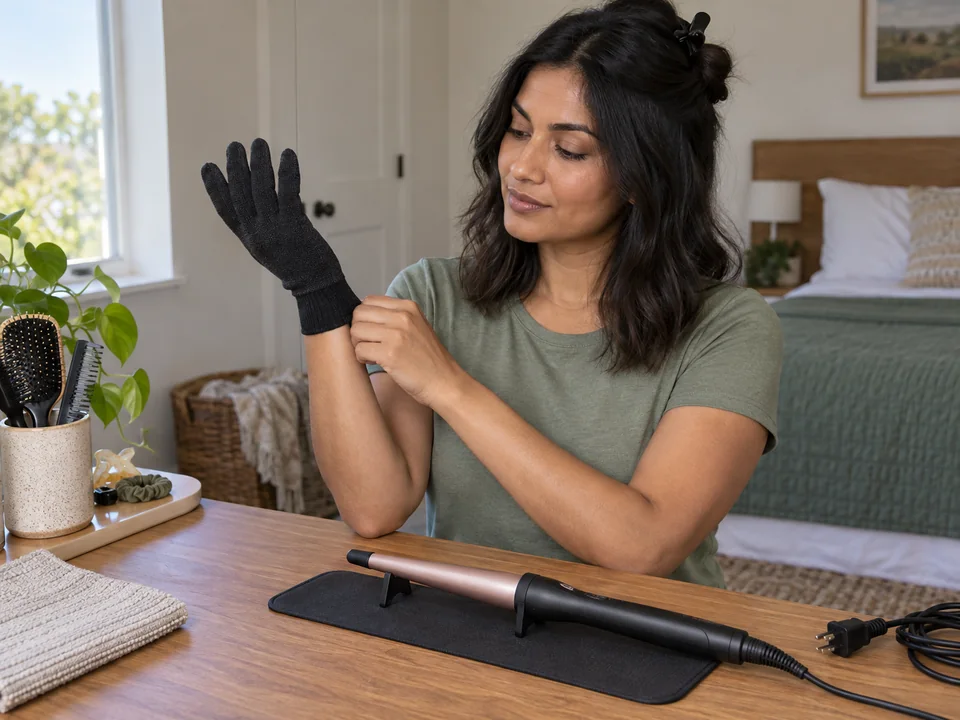 STEP 1 OF 5
Prepare dry hair and glove
- Read the wand manual; place its rest on a dry counter away from water. Check cord, controls and glove fit.
- Apply compatible heat protectant as directed, dry completely and detangle. Clip away all but one reachable section.
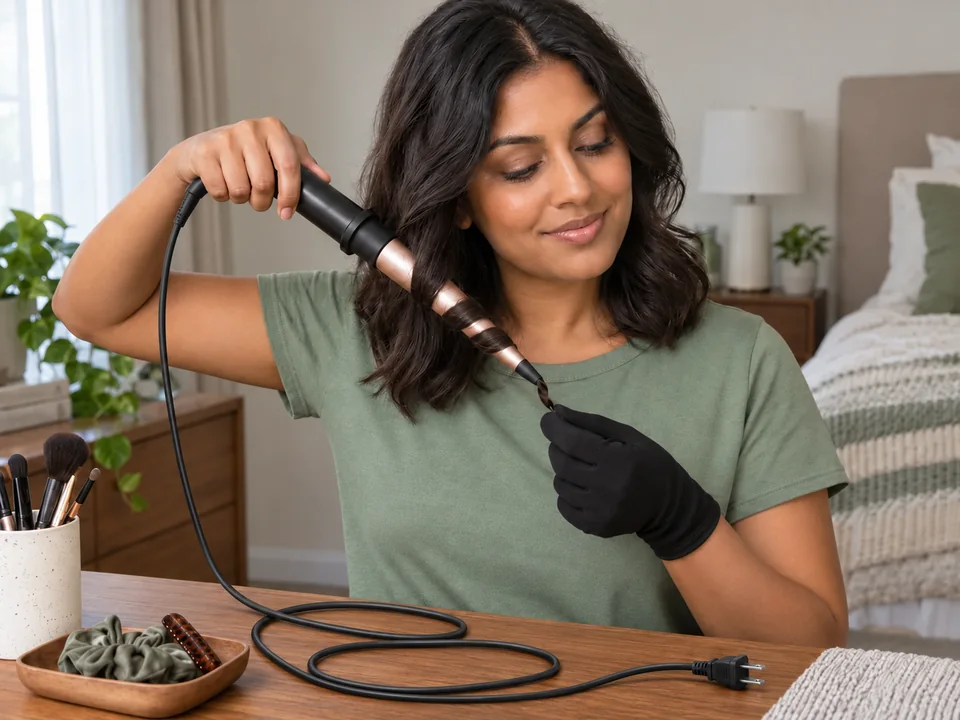 STEP 2 OF 5
Rehearse with the cold unplugged wand
- Practice winding and release with the wand cold and unplugged; stop if your wrist or reach feels awkward.
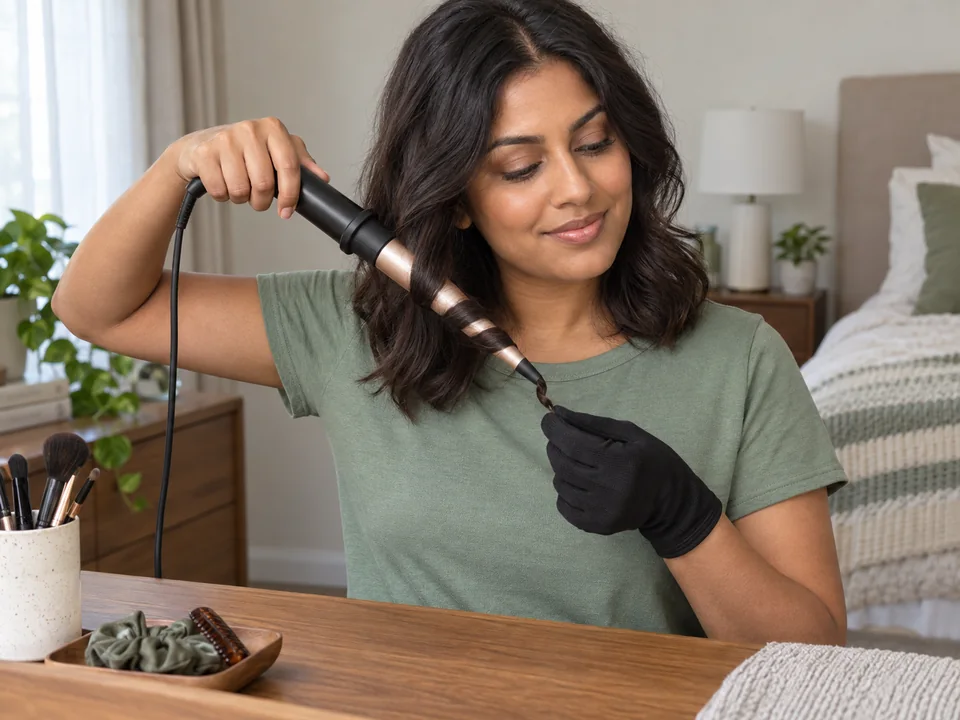 STEP 3 OF 5
Wind one dry section
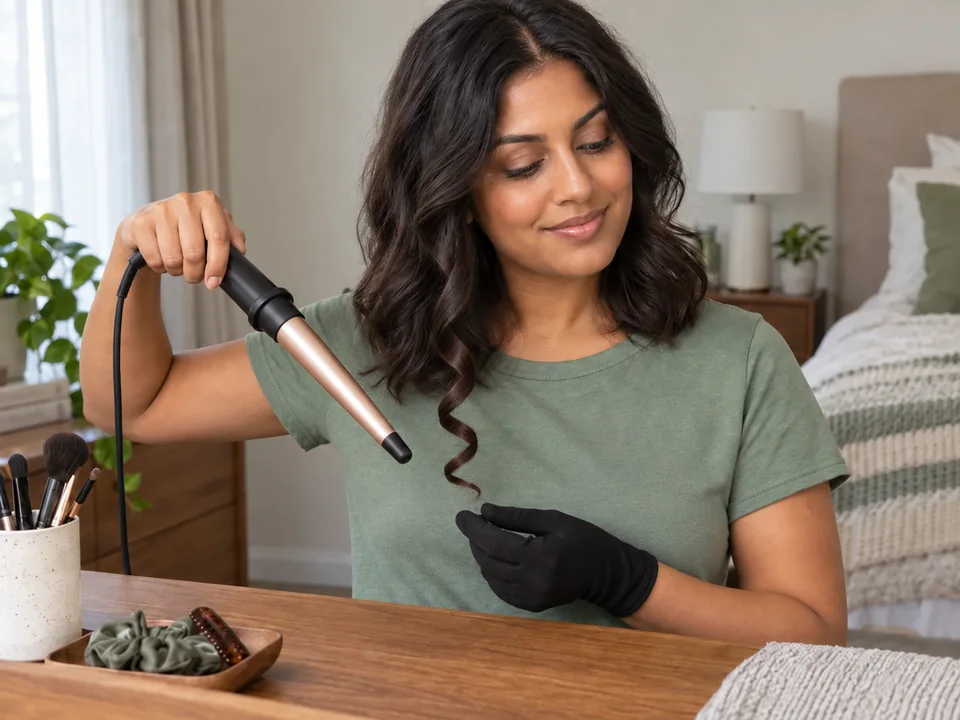
- Choose the lowest effective permitted heat setting. Hold only the handle with one hand; wear the supplied glove on the wrapping hand.
- Hold the barrel away from your face and neck. Wind a small section from the wider barrel toward its tip without pulling roots.
- Keep fingers off the hot barrel even through the glove. Use the shortest exposure your qualified guidance and manual support.
 STEP 4 OF 5
Release the curl and rest the wand
- Release the end and let the curl slide free without tugging. Rest the tool safely before separating the next section.
 STEP 5 OF 5
Cool and finish
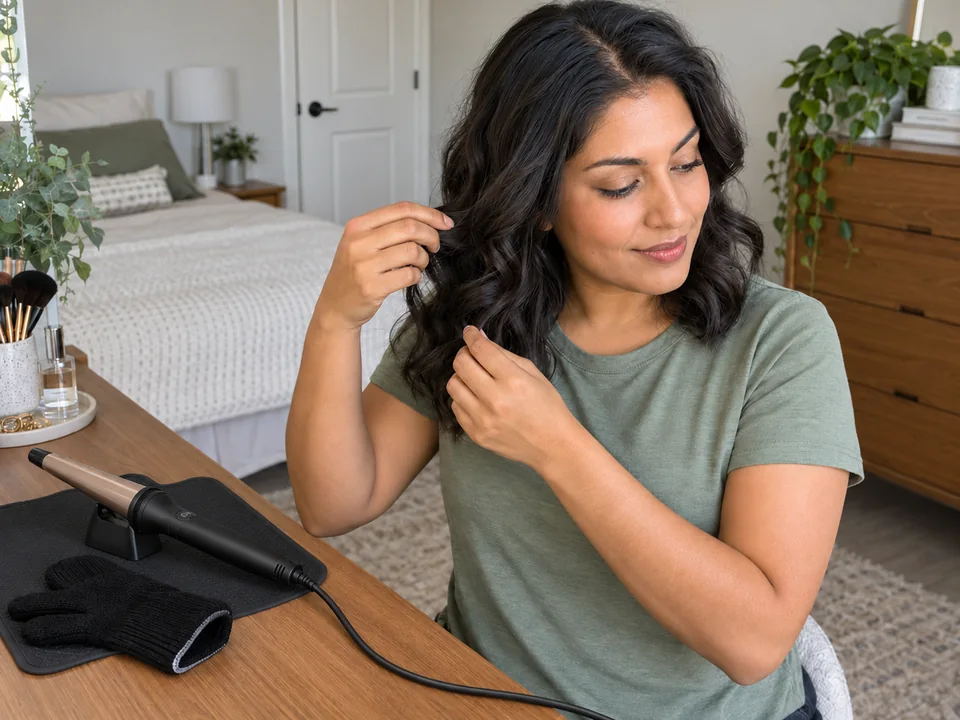
- Let each curl cool before separating it with your fingers; do not add spray beside the running tool.
- If hair catches, switch off and release it gently; never tug a hot wand out of a tangle.
- Switch off, unplug and cool on the rest. Clean and store only once cold, following the manual.
- Once the tool is off, unplugged and resting safely, remove any remaining sectioning clips and put the fasteners away.
About 20–45 min hands-on for setup, cold practice, sectioned curling, release and cleanup. Start with dry, detangled hair; any protectant drying, tool warm-up, cooling and breaks add elapsed time.
You’re done when…
Each curl is free of the barrel and cool; the wand is switched off, unplugged and cooling safely.
Related techniques
Find related ways to care for or style your hair.