Curl with an airflow-wrap styler
An airflow-wrap styler can shape a damp section into a temporary curl. Follow your own tool’s directions for its attachment, starting dampness, settings and release controls.
Step by step
 STEP 1 OF 4
Choose the barrel path
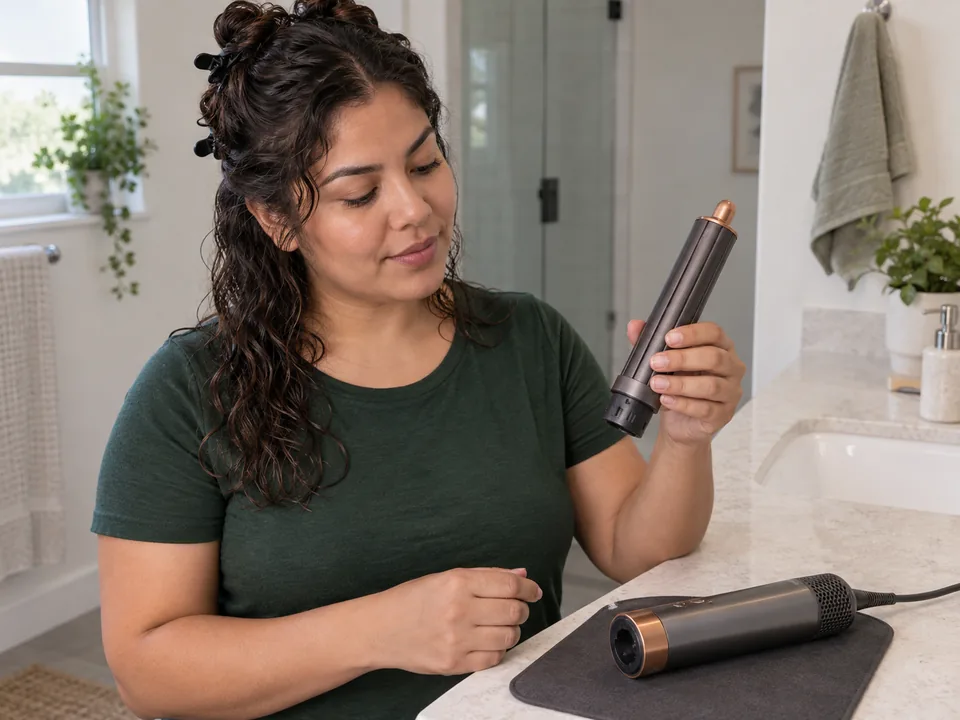
- Before starting, put the manual, clips and heatproof mat within reach in a dry work area. Keep the unplugged styler on the mat while preparing your hair.
- Read the manual and choose its barrel-curl sequence, including the correct barrel direction; this guide does not cover smoothing-brush attachments.
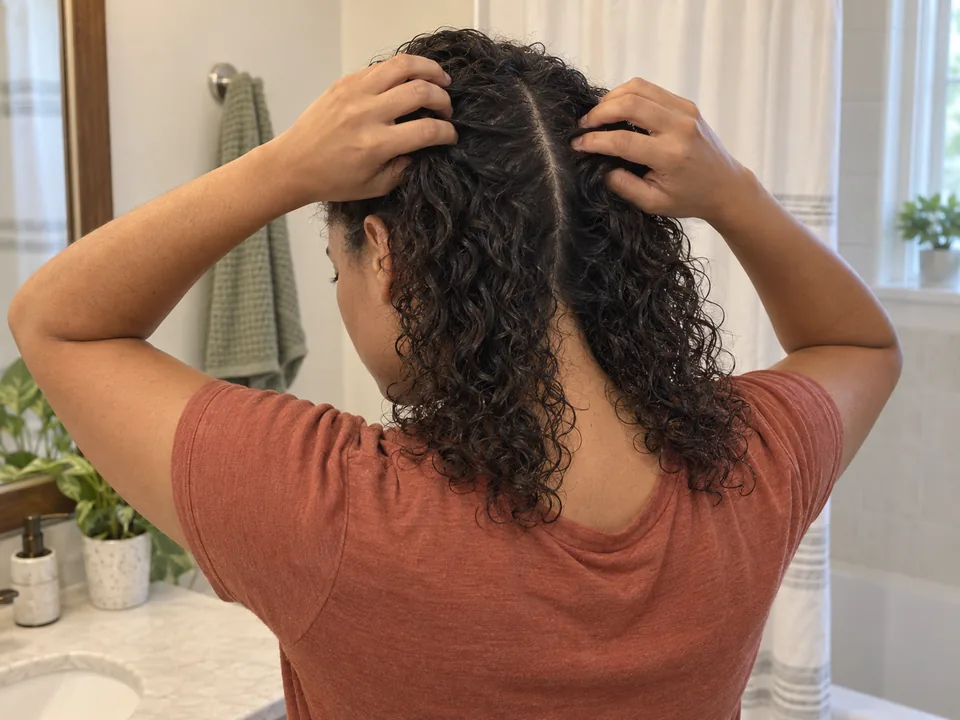
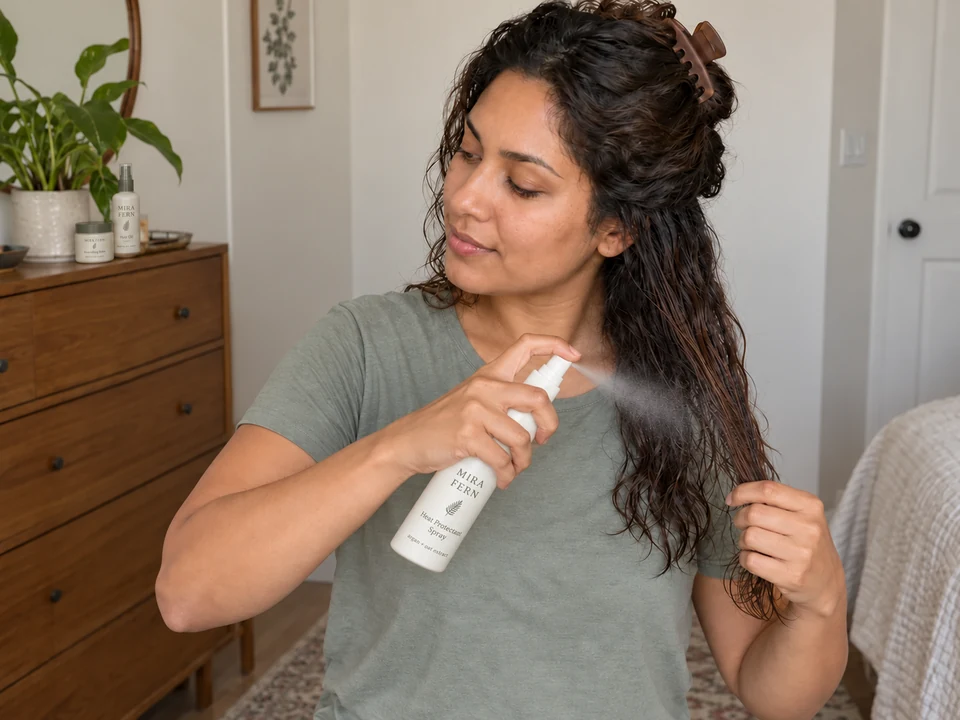
- Apply compatible heat protectant as directed. Bring hair to the manual’s required dampness, detangle and clip away all but one section.
 STEP 2 OF 4
Let airflow catch the ends
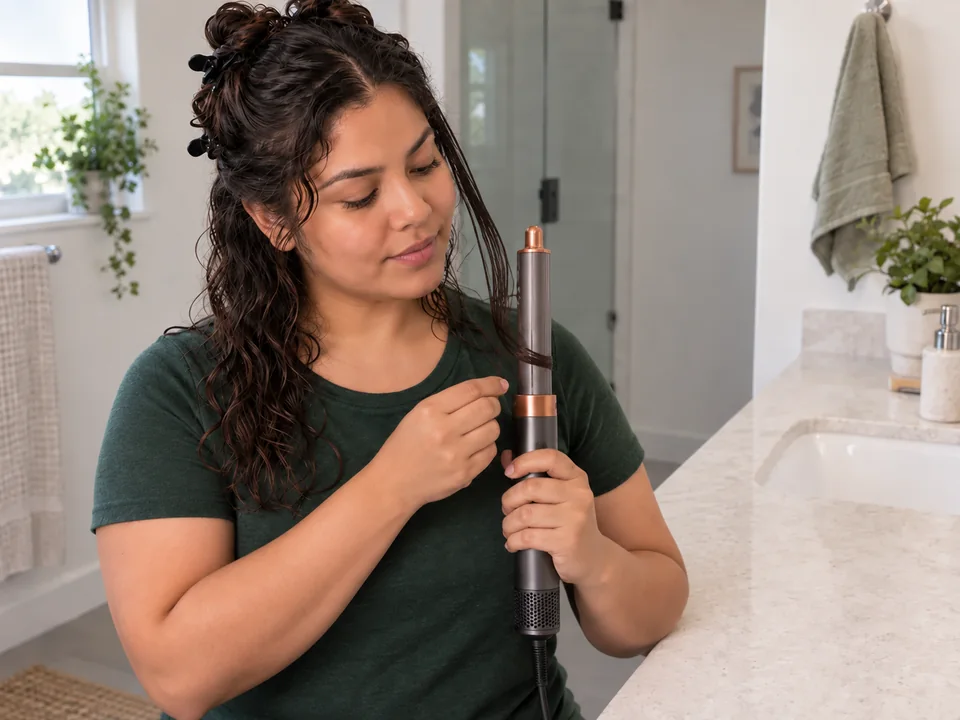
- Lock the attachment in place before powering on. Use the manual’s settings and bring one section to the contact point without touching skin.
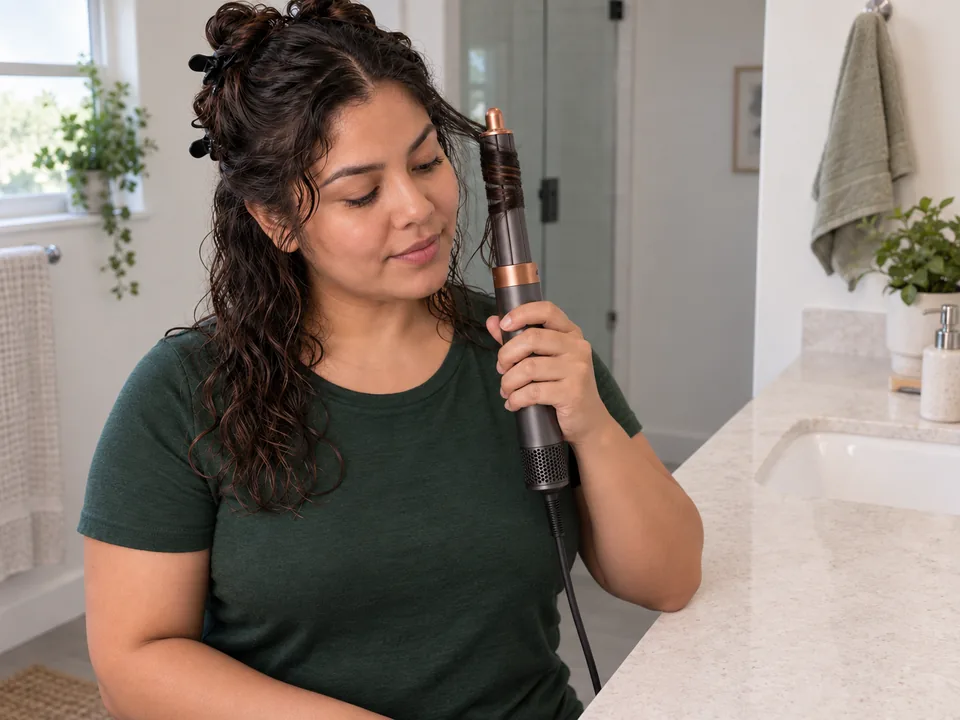 STEP 3 OF 4
Guide the wrapping barrel toward the head
- Let airflow take the ends, then move the barrel toward the head without twisting the tool. Keep the guide hand and barrel clear of skin.
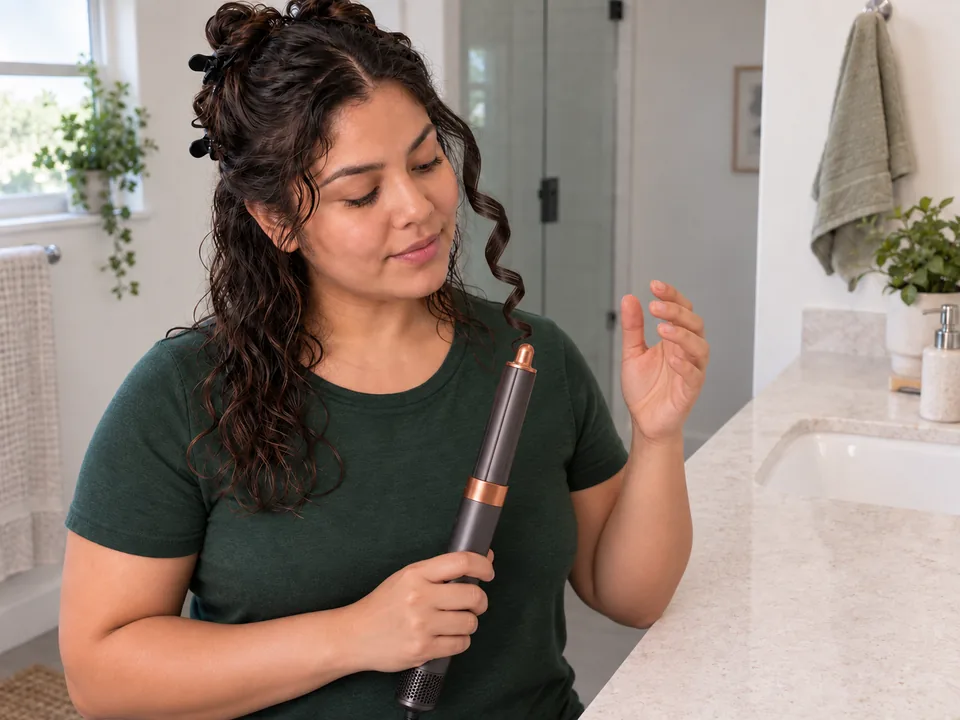 STEP 4 OF 4
Cool and release
- Use the manual’s cool step or completion signal. Switch off before pulling the tool away and let the finished section fall free.
- Repeat with the correct direction or attachment, then unplug. Cool and clean attachments only as the manual permits.
About 20–45 min hands-on for setup, preparing damp sections, airflow wrapping, cool shots and release. Add any preliminary wash, extensive detangling, tool cooling and breaks.
You’re done when…
The section is dry, cool and released from the selected attachment, and the styler is switched off and unplugged.
Related techniques
Find related ways to care for or style your hair.