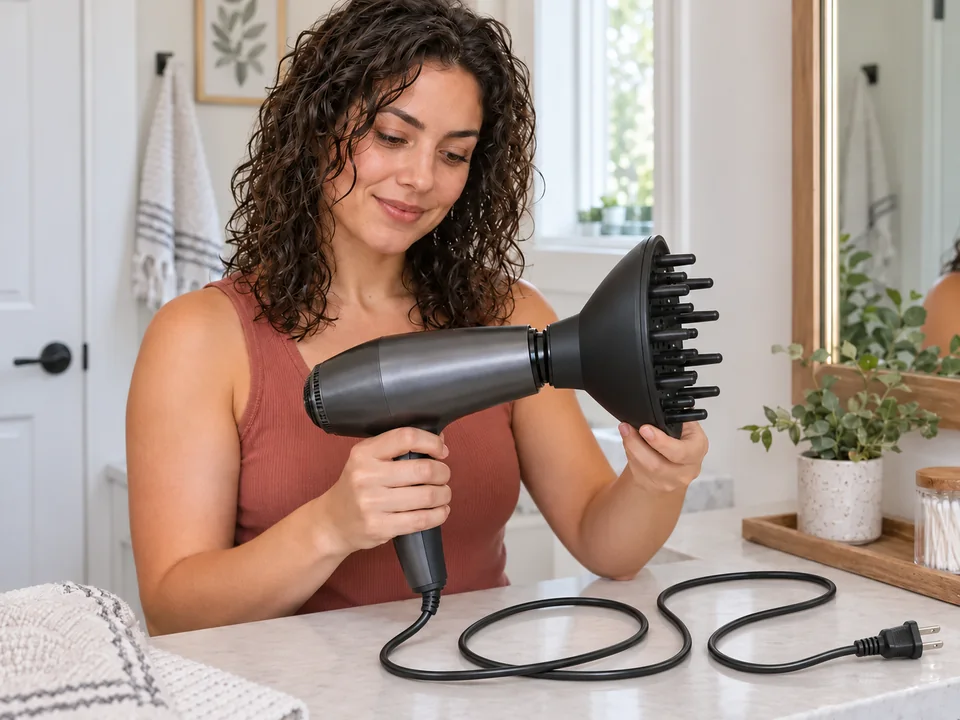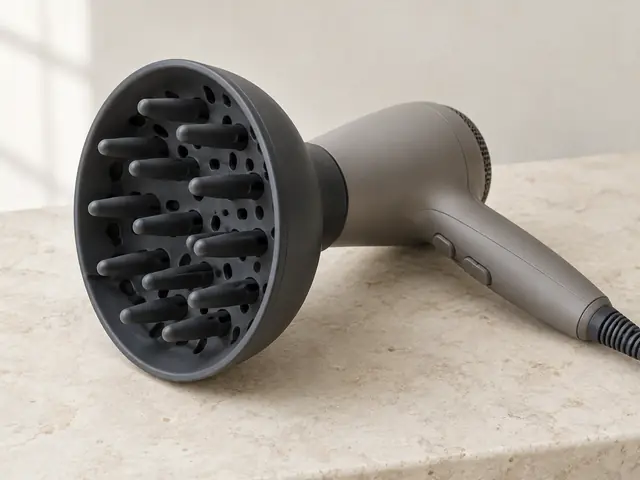
Deep bowl with fingers
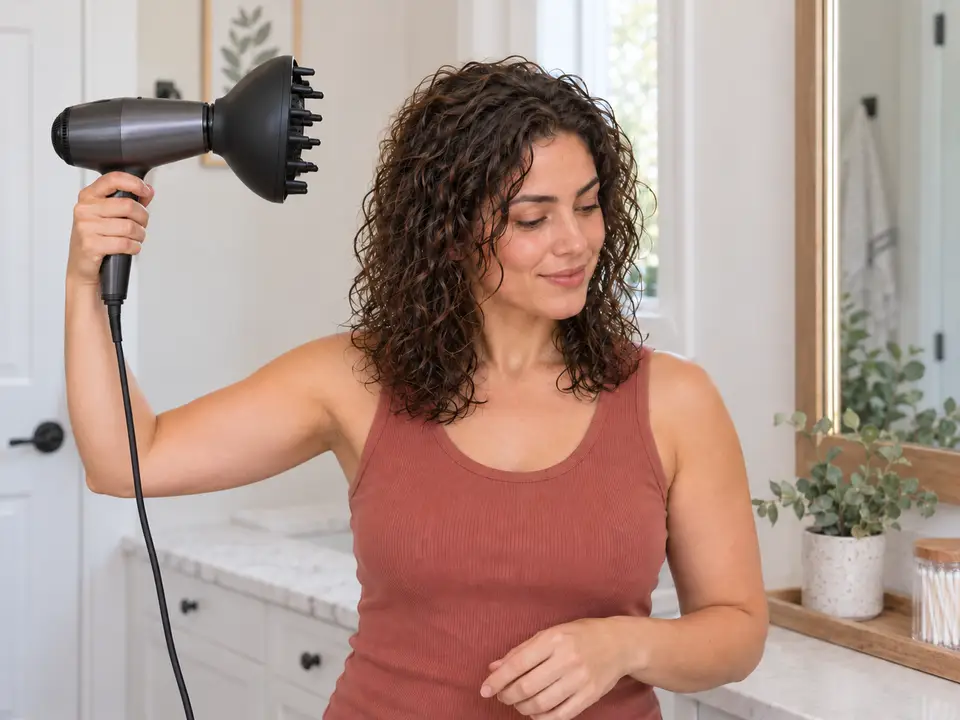
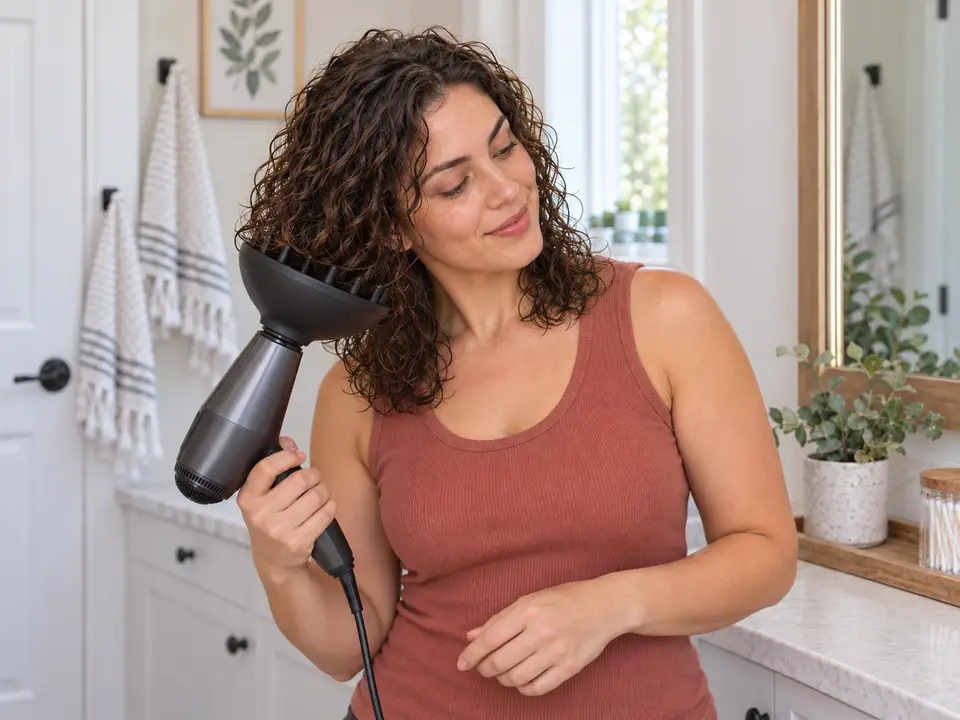
The classic shape: a wide, deep bowl ringed with fingers. It can hold a curl section while air passes through it.
Best for: Longer or denser waves, curls and coils; cupping and root lift.
Reach for a diffuser when you want waves, curls or coils dry sooner than air allows while their groups stay together. It spreads a dryer's airflow into a softer, wider stream, so hair is disturbed less as it dries.
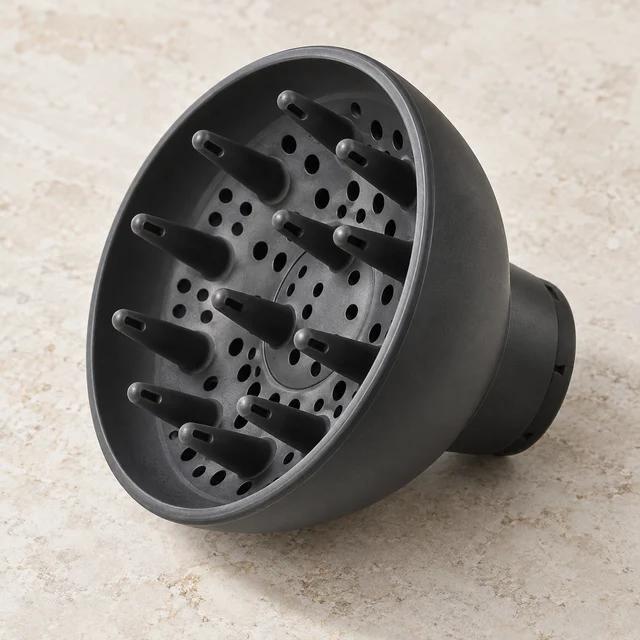
The basic method. Your model’s own directions come first for heat, attachments and starting state.
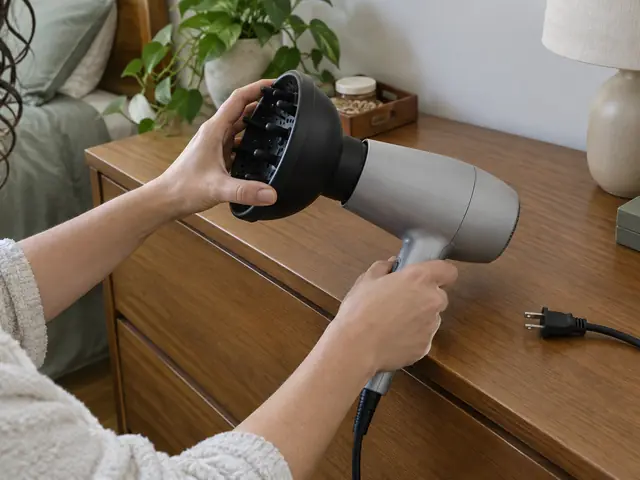
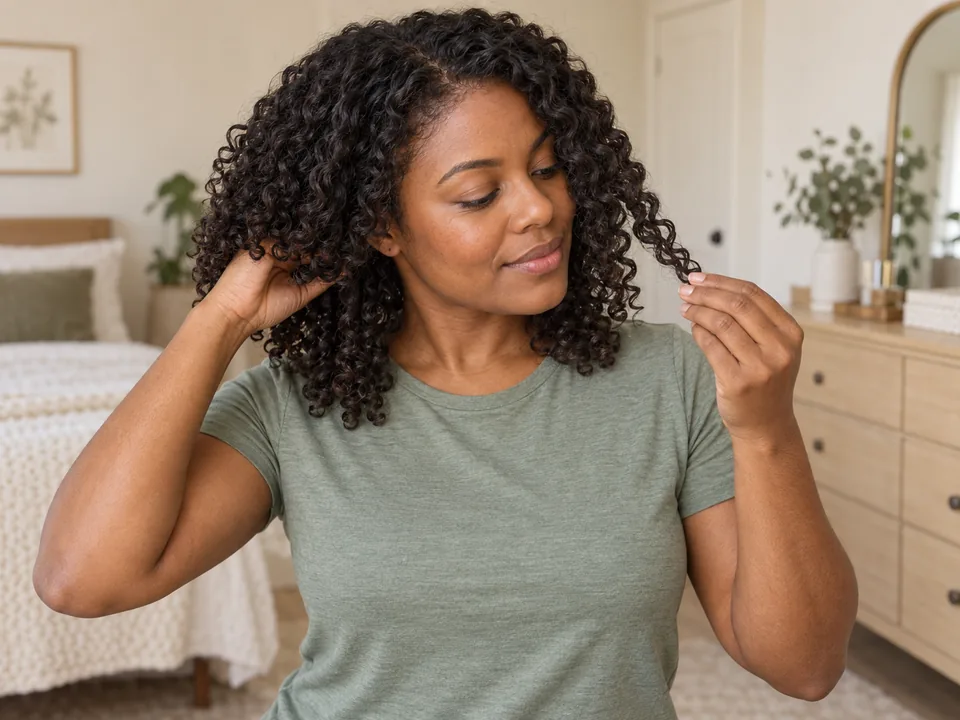
The roots, crown and nape feel dry as well as the surface, your groups stayed together with little frizz, your scalp never felt hot, and the diffuser is cooling on a heat-safe surface.
What each kind does, and who it suits.
The classic shape: a wide, deep bowl ringed with fingers. It can hold a curl section while air passes through it.
Best for: Longer or denser waves, curls and coils; cupping and root lift.
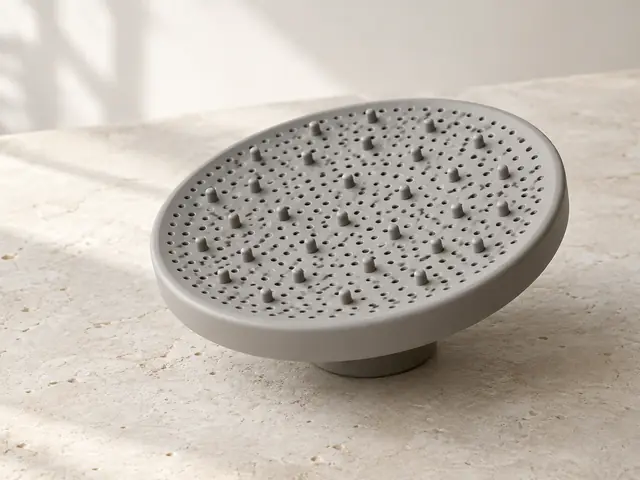
A wide, shallow face with short or no fingers. It spreads air gently but holds little hair.
Best for: Short hair and hover-only drying around the face.
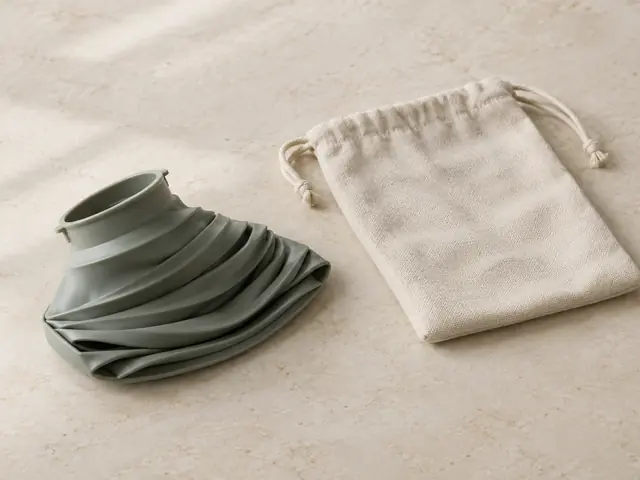
A flexible bowl that folds flat for packing. Fit and heat tolerance vary by design, so check its directions for settings and the dryers it suits.
Best for: Travel and small storage, when it stays firmly on your dryer.
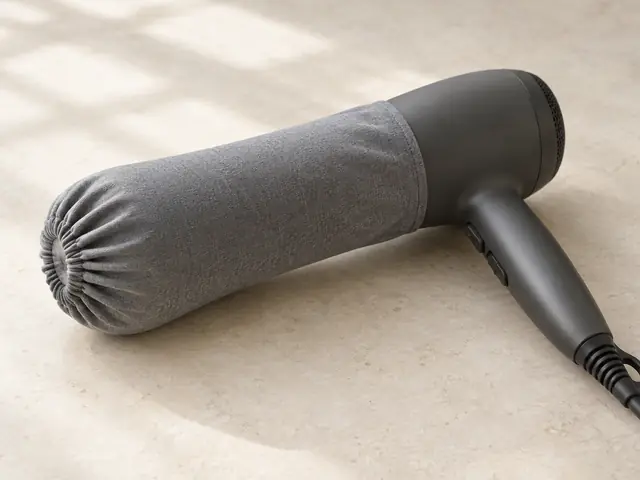
An adaptable collar, or a stretch fabric sleeve, sold to fit most dryers. It is a workaround when no matched attachment exists, and fit is less certain.
Best for: Occasional use when no matched diffuser exists, only if it stays firmly in place.
The controls worth understanding before you change anything.
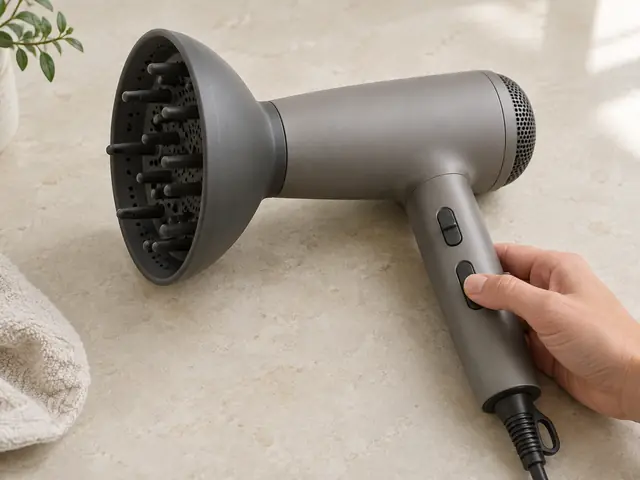
Start on the lowest heat and speed; raise heat one step only if hair is still wet after repeated passes. Makers warn that high heat can overheat both the dryer and the diffuser.
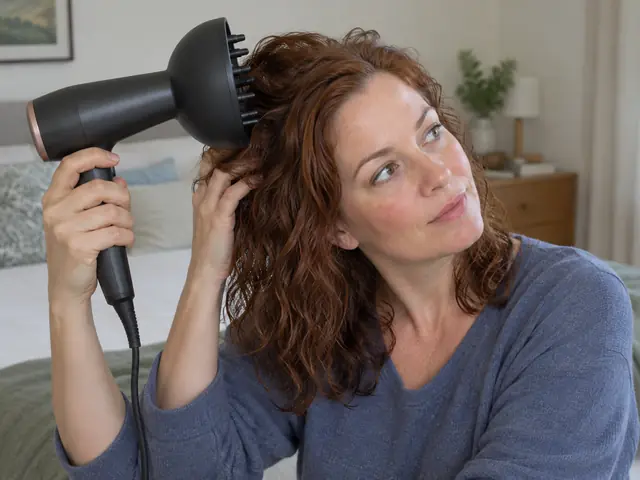
Tilting your head to one side or forward lets the roots dry lifted away from the scalp, which usually adds volume. Upright drying gives a flatter crown. Switch sides rather than straining your neck.
Once the basics feel easy, these moves change the result.
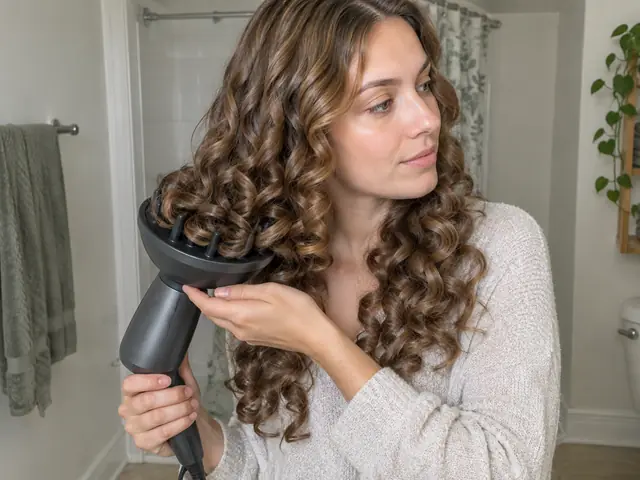
Hover until the surface has set, then switch to cupping sections for volume. Once a gel cast has formed, the extra contact is less likely to disturb the groups underneath.
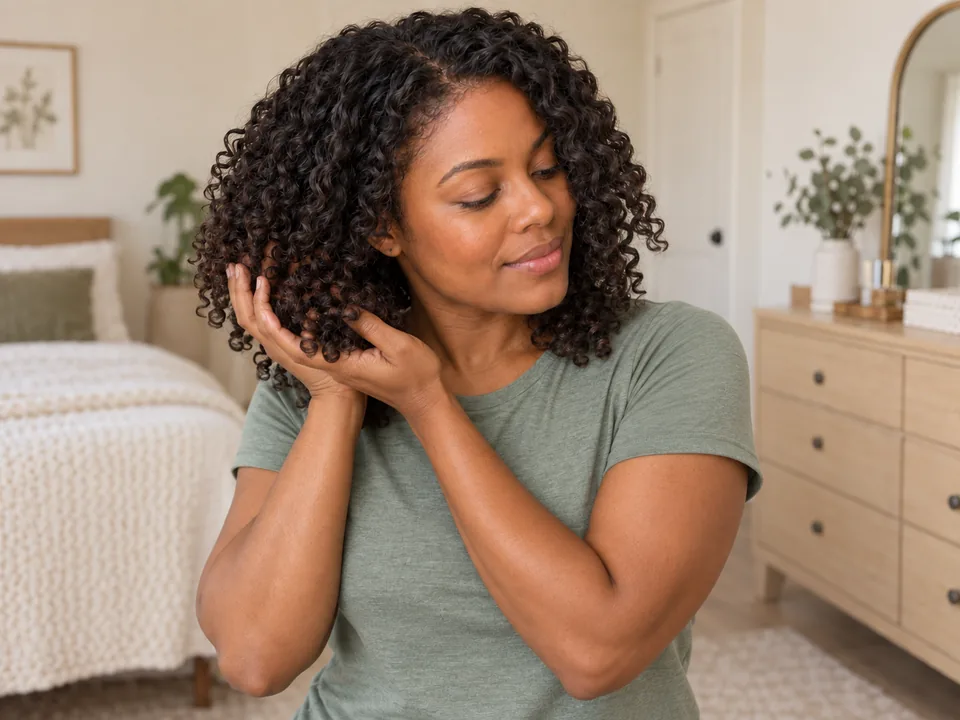
Once every area feels dry, cup and gently lift curl groups in empty hands to soften a crunchy gel cast. Doing it while damp brings back frizz.
Full guide: Soften a dry gel cast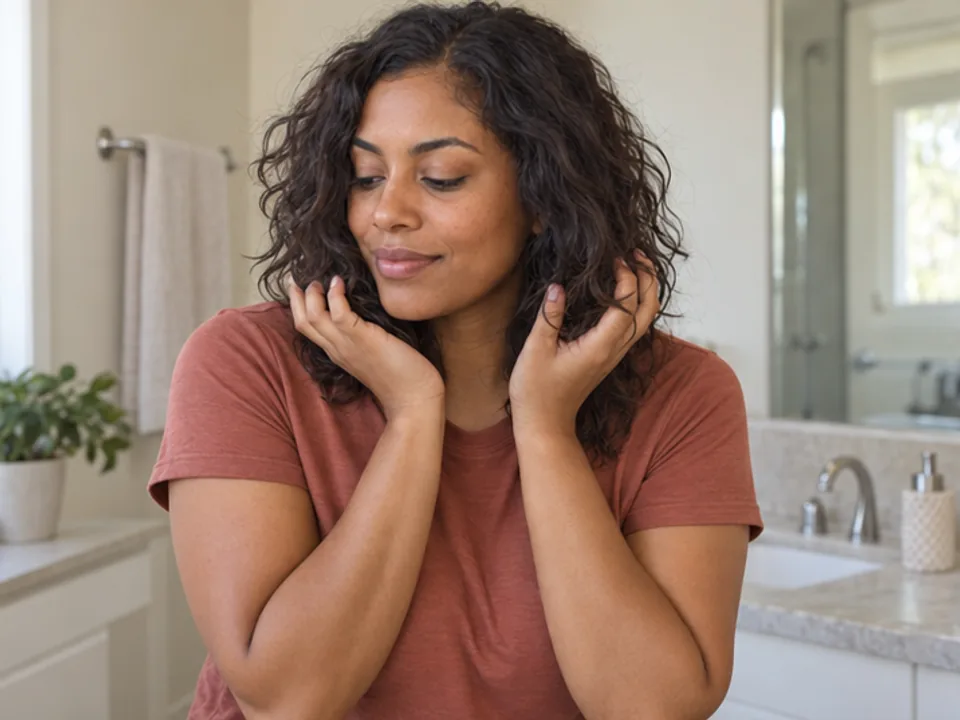
After misting and reshaping a disrupted section, a short low-heat hover dries it back into place instead of leaving it damp and flat.
Full guide: Refresh waves and curls between washesWhat goes wrong most often, and what to do instead.
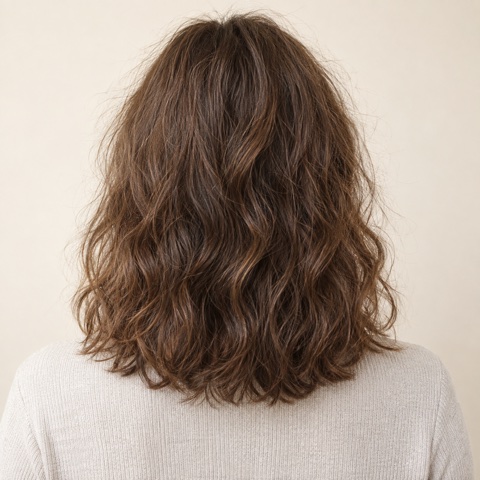
Handling setting curls breaks up groups and invites frizz. Keep your hands off while diffusing, and soften the cast only once everything is completely dry.
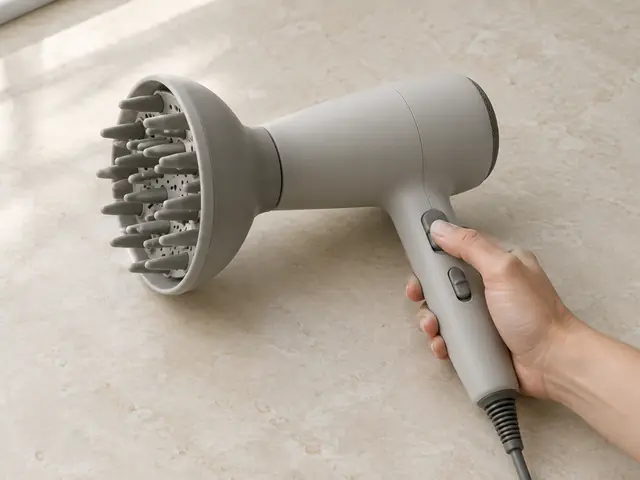
High heat makes the diffuser hot to hold near your scalp and can overheat the dryer and attachment. Stay on low and accept a few extra minutes, or let the last bit air-dry.
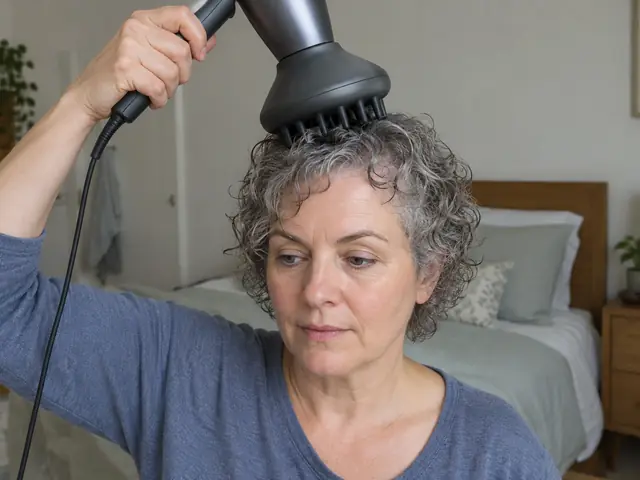
Pressing heats one patch of scalp and flattens the roots you wanted lifted. Lift the bowl toward the roots and stop just short of the scalp.
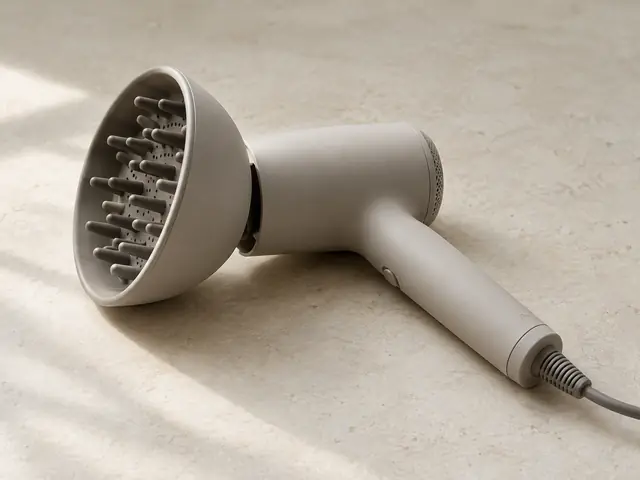
A diffuser that wobbles can slip off mid-dry or send airflow sideways. Stop, switch off and unplug, and use it only if it seats firmly; otherwise let your hair air-dry.
Claims you’ll see online, answered plainly.
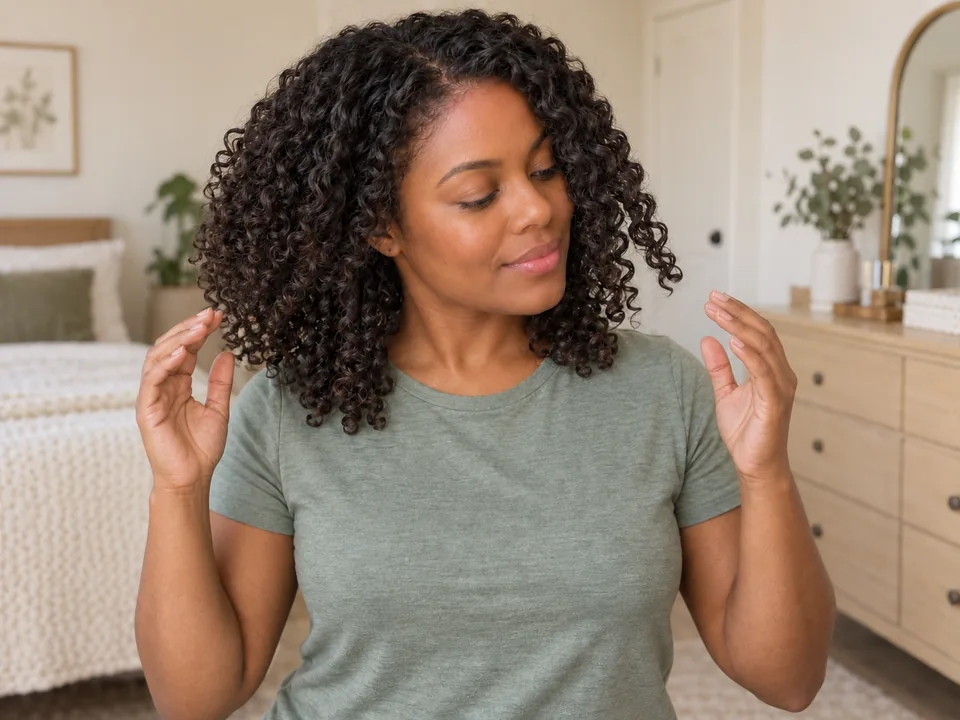
Partly true. Raking or scrunching wet, setting curls separates them and invites frizz. Deliberate cupping, loading the bowl with the dryer off, is a controlled touch many people use for volume.
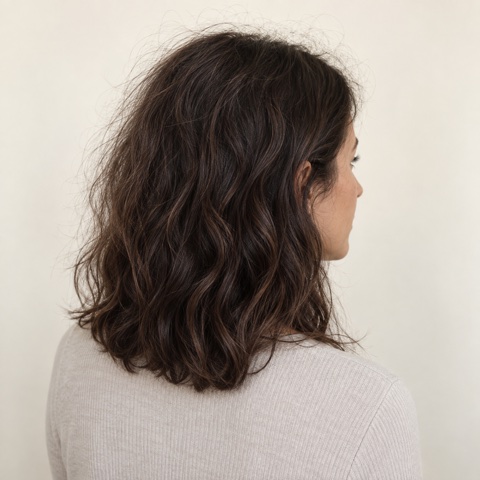
It depends on technique. Low settings, hovering while hair is wet and no handling usually keep definition; high speed and early touching rough it up. Air-drying avoids airflow but leaves hair wet much longer.
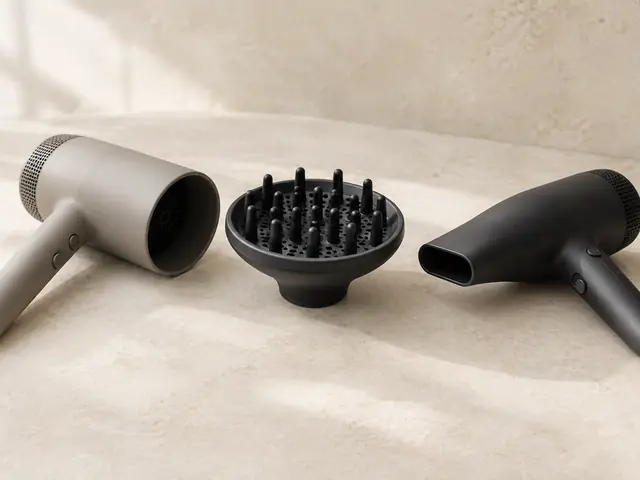
Myth. Universal diffusers fit most dryers, not all, and makers say not to use one that is not secure. Check it stays on when you tilt the dryer and does not cover the whole barrel.
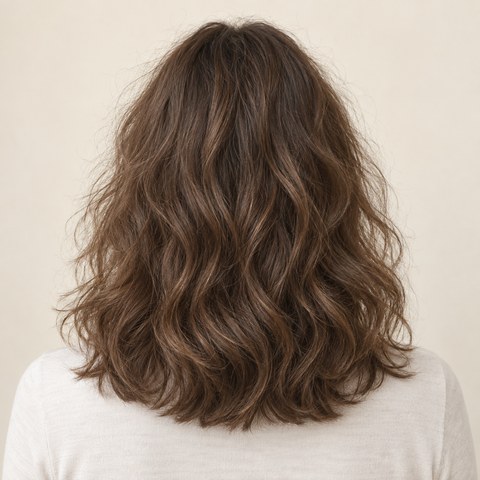
It depends. Drying roots lifted away from the scalp, upside down or tilted, tends to add volume, and dryer makers suggest it. It can also rough up the crown; tilting side to side is gentler on your neck.
Keep it clean, safe and working the way it should.
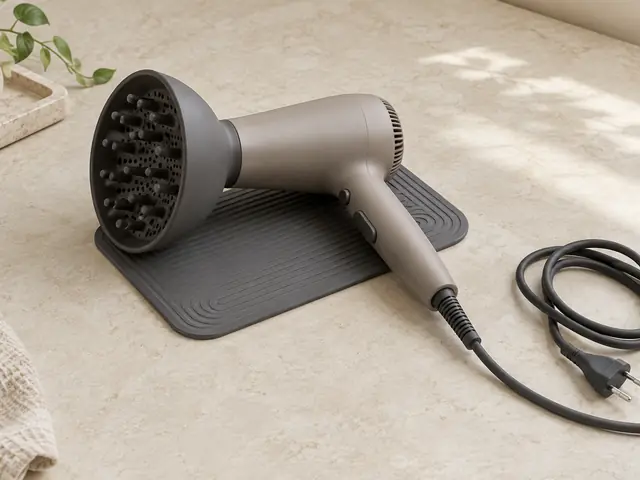
The diffuser can be hot straight after use. Switch off, unplug and rest the dryer on a heat-safe surface until the attachment is cool enough to handle.
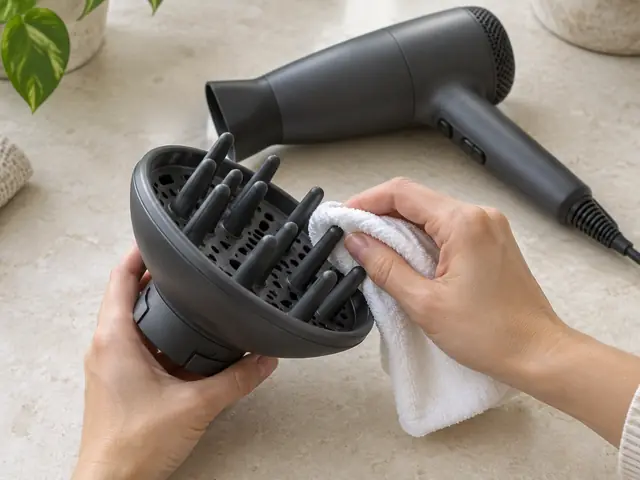
Gel and cream collect on the fingers. Once cool and detached, wipe or wash it only as its care directions allow and dry it fully. Replace it if the collar warps or a finger cracks.
Photo-by-photo techniques that use this tool.
Add it to your tools and your routine will use what you own.