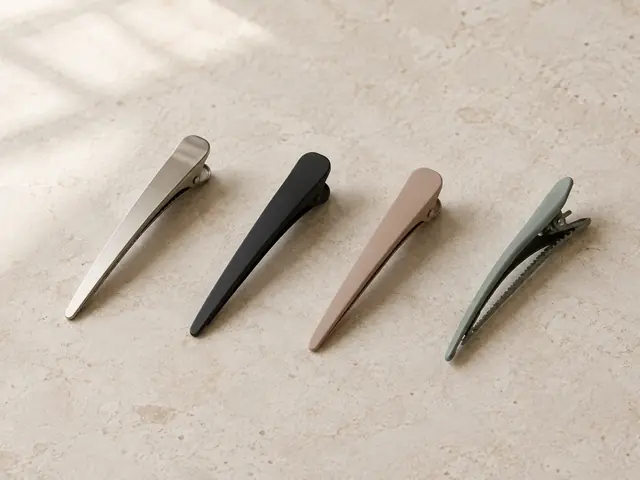
Duckbill clips
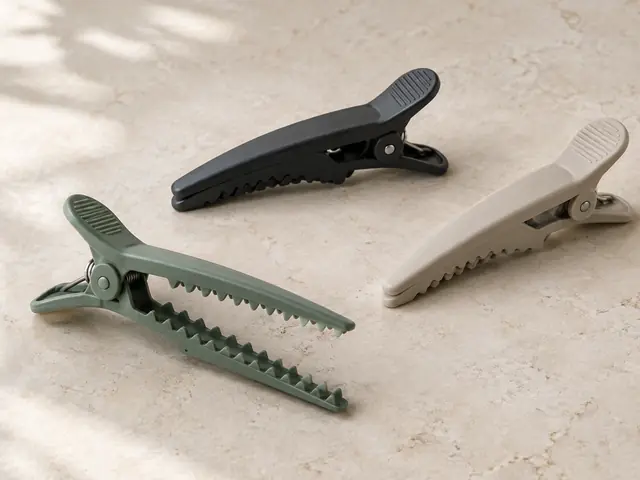
Long, slim single-prong clips in metal or plastic. They hold small, flat sections and sit close to the head, but can leave a dent in damp hair.
Best for: Small sections, pin curls and holding a fringe flat
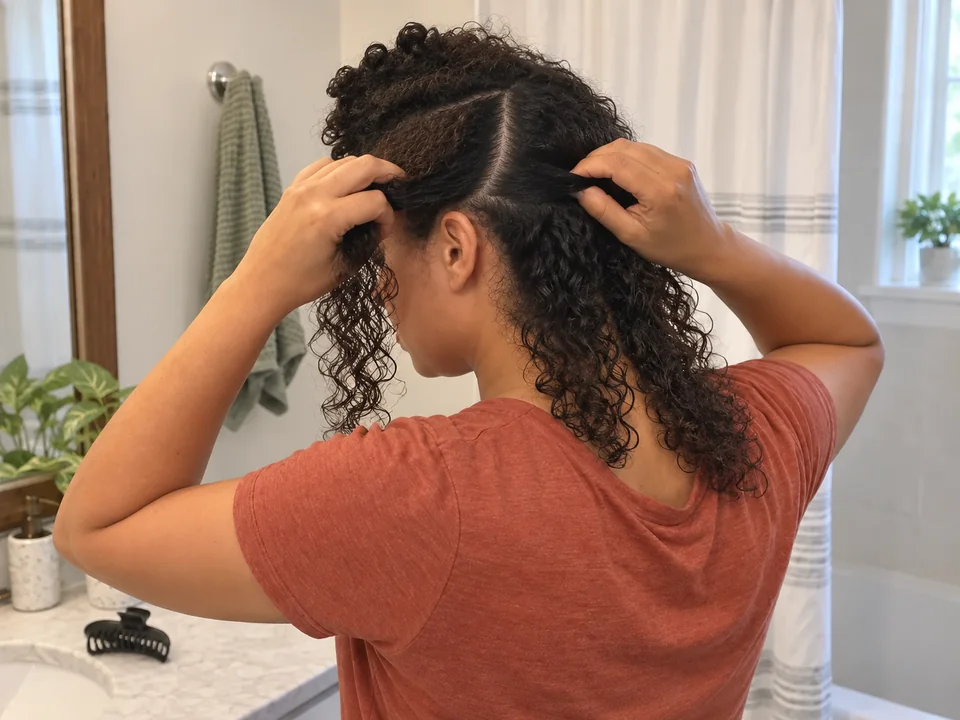
Reach for sectioning clips when loose hair keeps falling into the area you're working on: washing, detangling, applying product, drying or setting. They hold the rest aside so you can finish one section before opening the next.
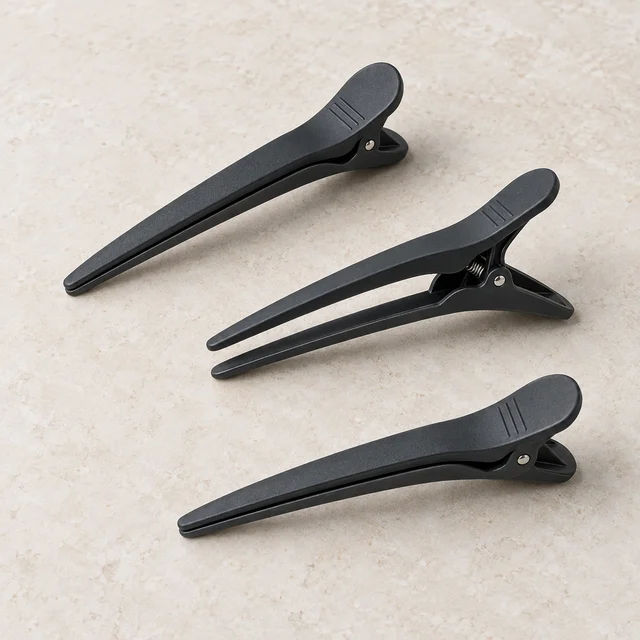
The basic method. Your model’s own directions come first for heat, attachments and starting state.
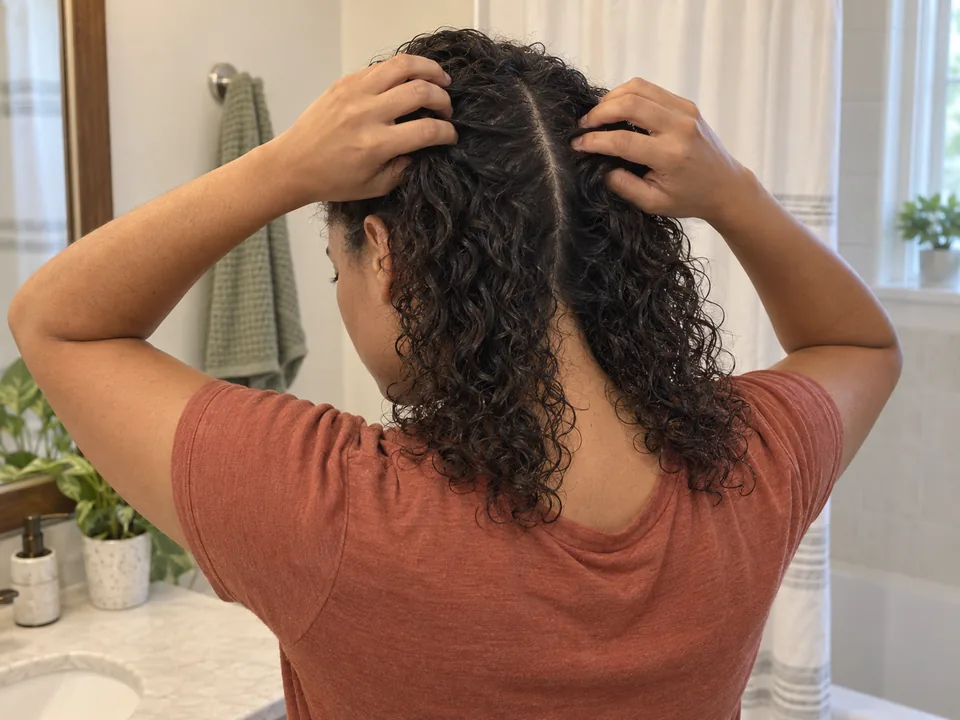
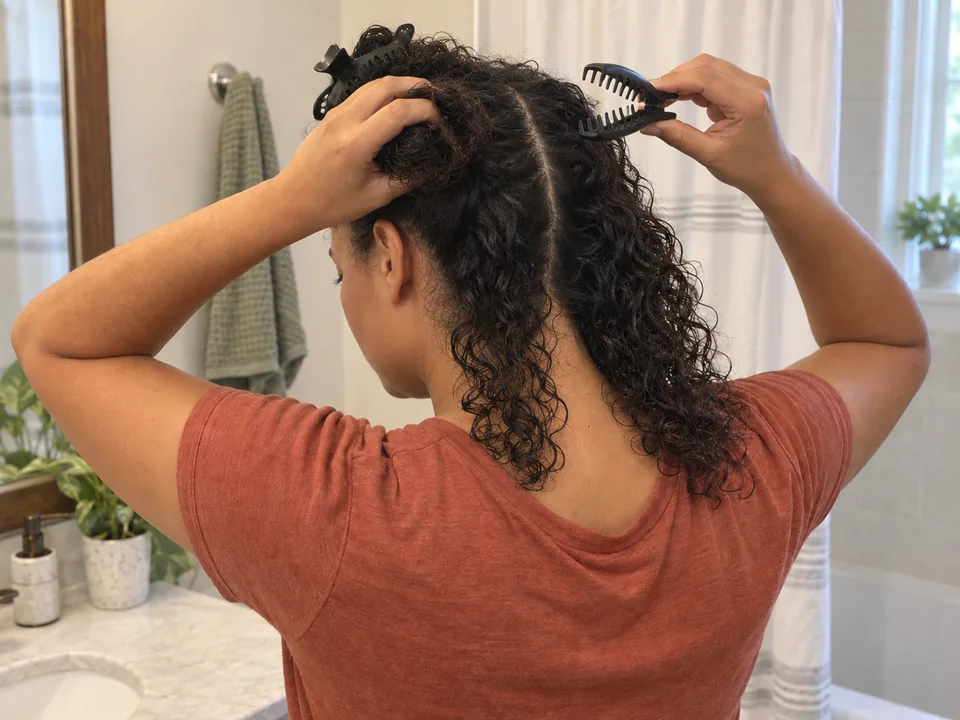
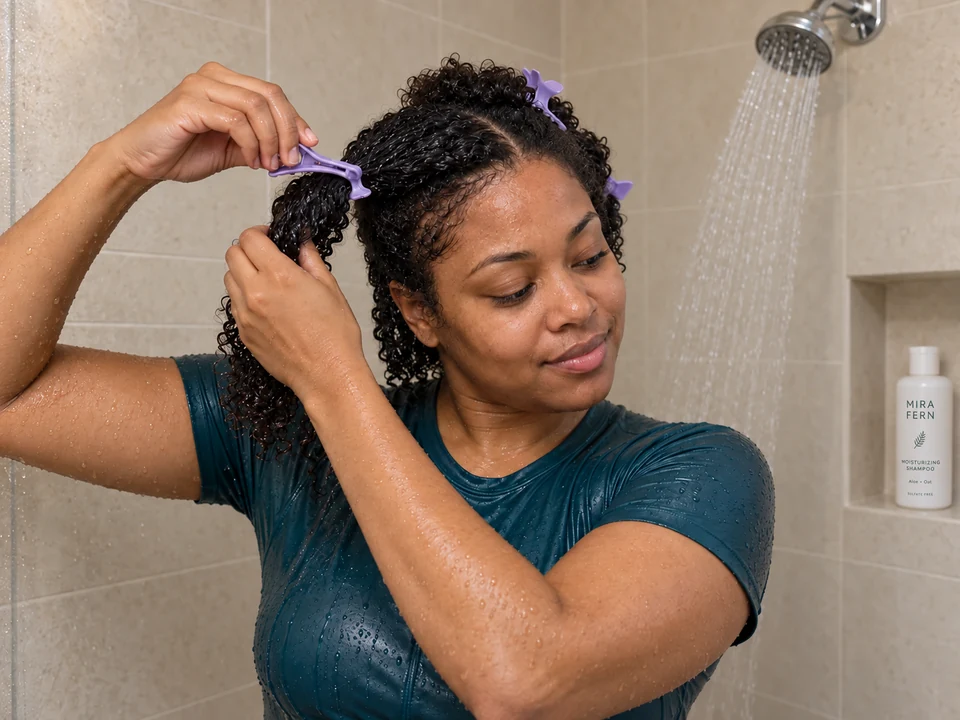
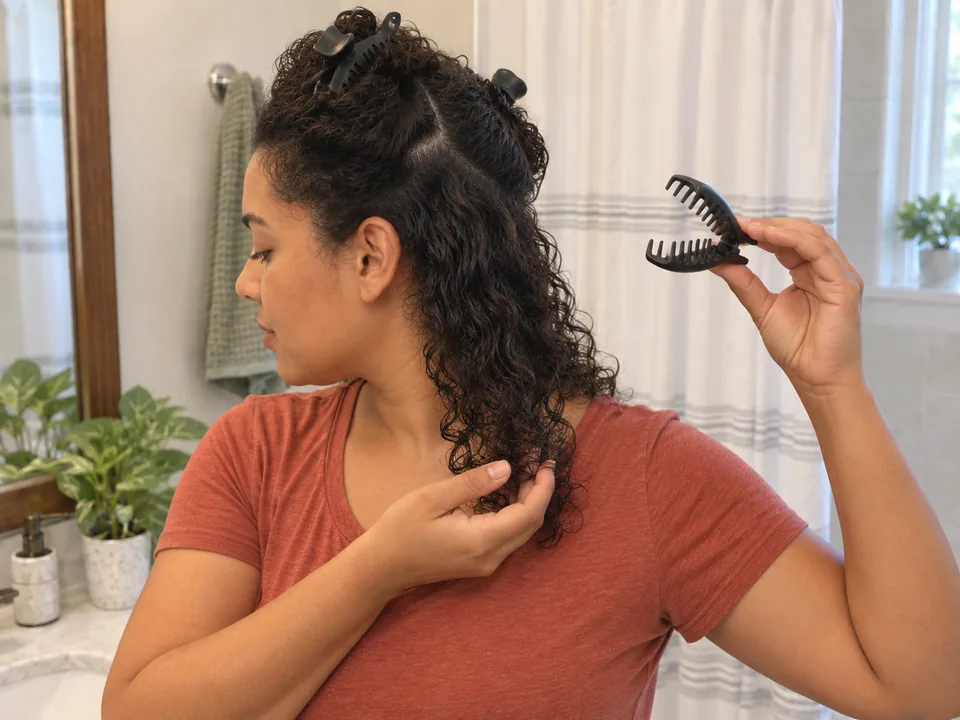
You're using them well when you can open one section while the rest stays out of the way, nothing pulls at the roots, clips open fully before coming out, and every clip is removed when you finish.
What each kind does, and who it suits.
Long, slim single-prong clips in metal or plastic. They hold small, flat sections and sit close to the head, but can leave a dent in damp hair.
Best for: Small sections, pin curls and holding a fringe flat
Two jaws with interlocking teeth and a strong spring. They grip bulky sections well; check the teeth are smooth so fine hair does not catch.
Best for: Large, thick sections on wash day or while drying
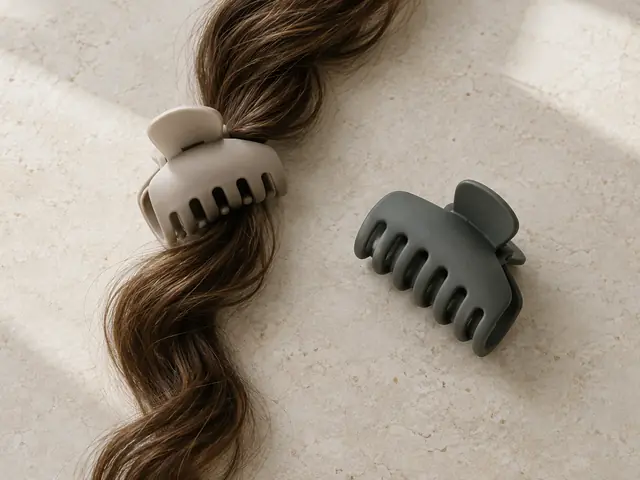
Curved interlocking teeth on a hinge. They hold a loosely twisted section with little pressure at any one point and open easily.
Best for: Big sections on long or dense hair; easier on tired hands
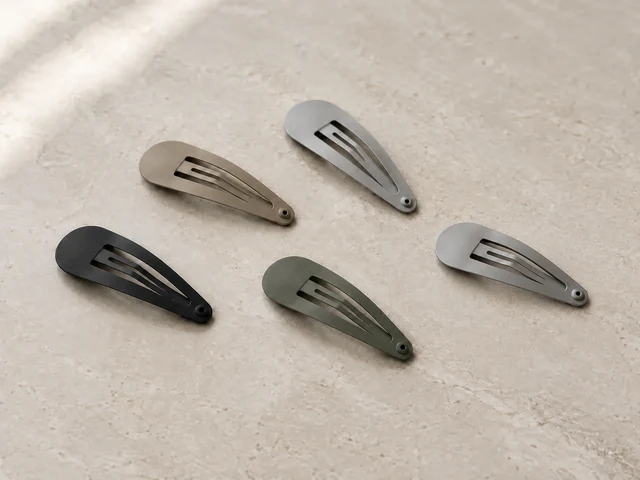
Small flat clips that click shut. They hold only a little hair and can pull if yanked out, so open them fully before removing.
Best for: Short layers and a fringe; small, light holds
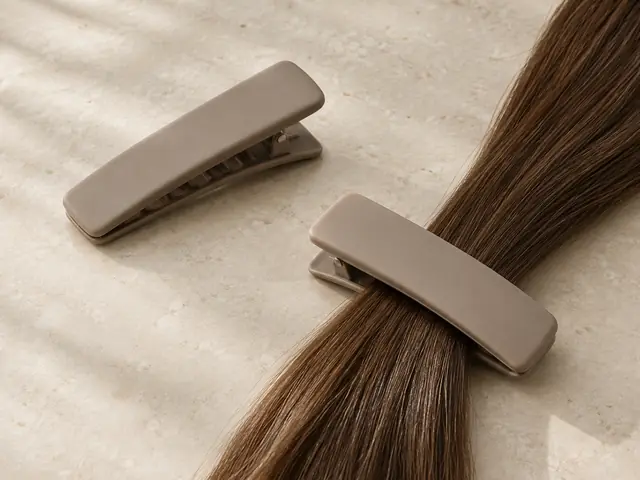
Clips with a wider, flat or padded contact surface spread the pressure, which makes a visible dent less likely on a finished style.
Best for: Holding dry, finished hair you don't want to mark
The controls worth understanding before you change anything.
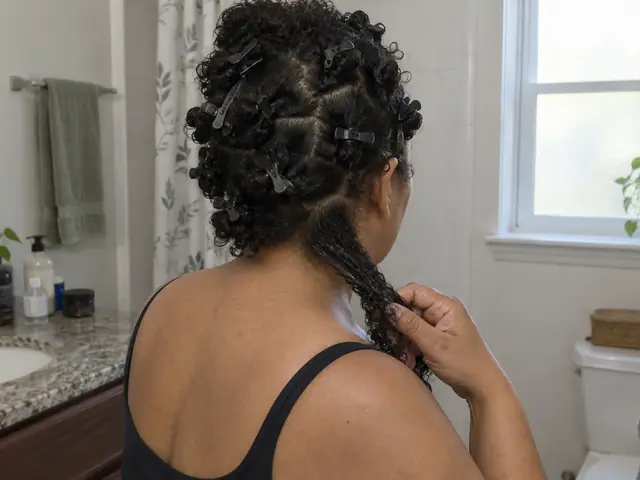
Match size to the job and your density: larger for washing, smaller for product and drying, smallest for setting. If product or water is not reaching the middle, go smaller.
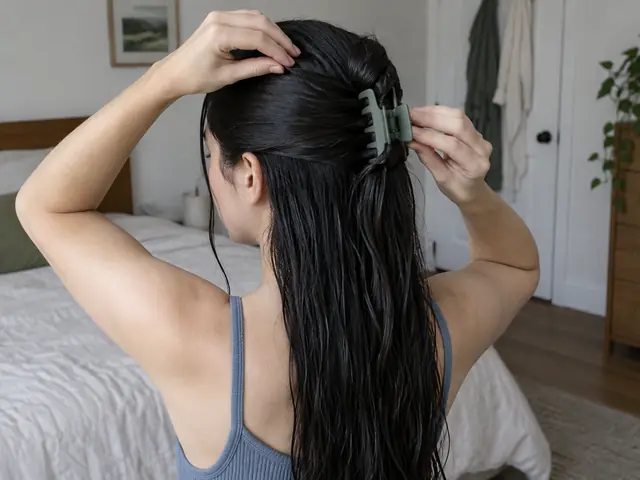
Fold or loosely twist a long section and clip the fold, not the roots, so the clip carries the weight without pulling. For a smooth style, lay hair flat and clip lower down.
Once the basics feel easy, these moves change the result.
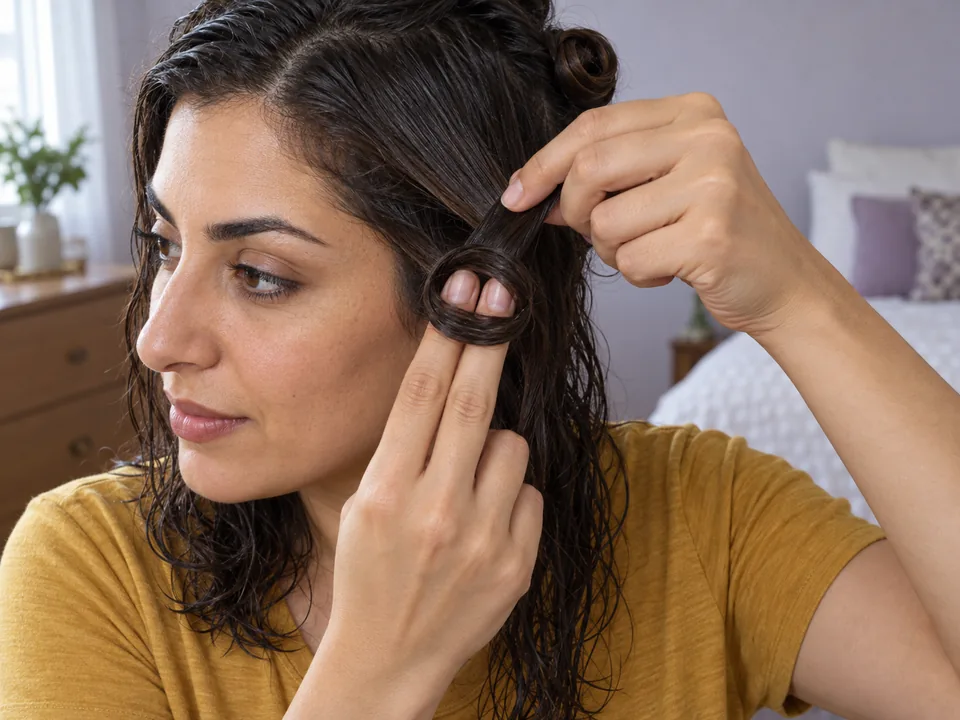
Roll small damp sections into flat circles and hold each with a smooth clip until completely dry, then remove the clip before unrolling.
Full guide: Set pin curls without heat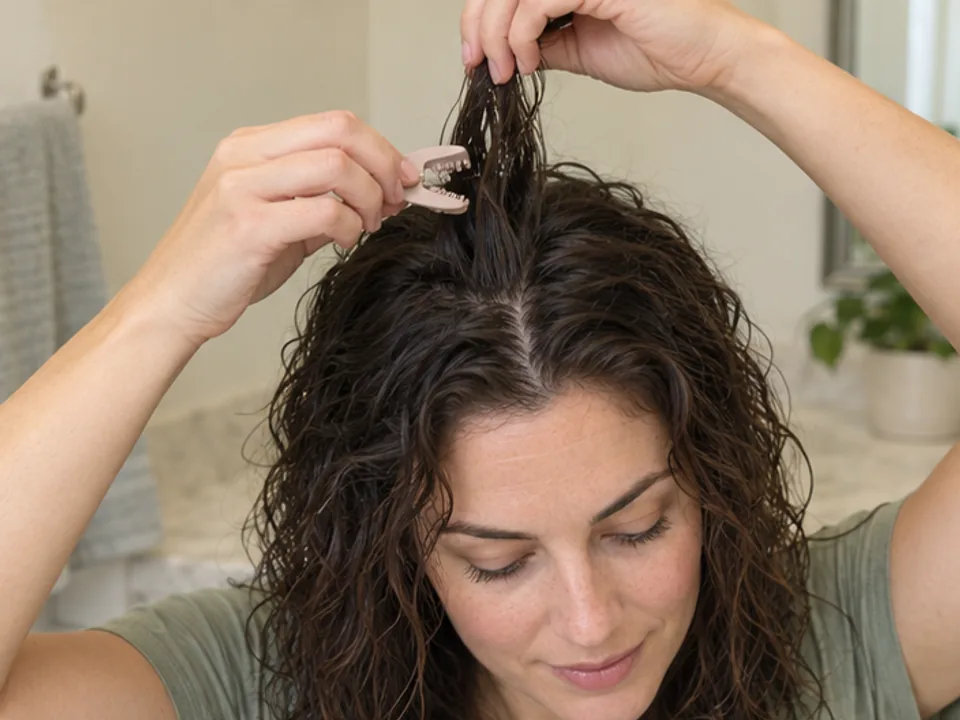
A small clip set at the base of a damp crown section holds it up off the scalp while it dries, for more lift at the roots.
Full guide: Clip your roots while air-drying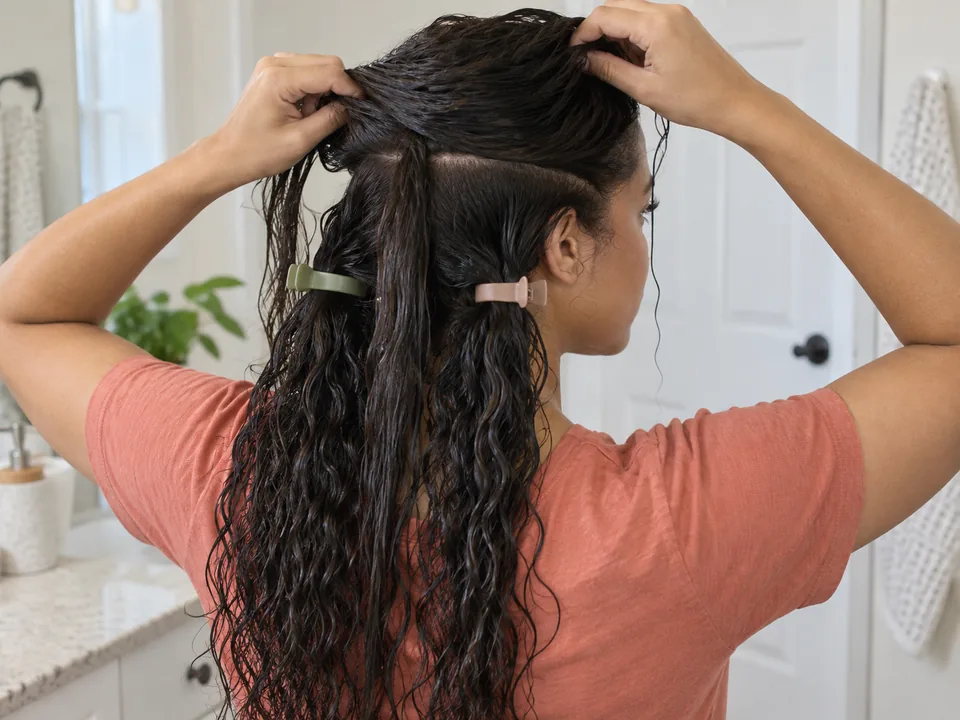
When your top layer is straighter than the underneath, clip the wavier underlayers away and treat the top on its own before blending them.
What goes wrong most often, and what to do instead.
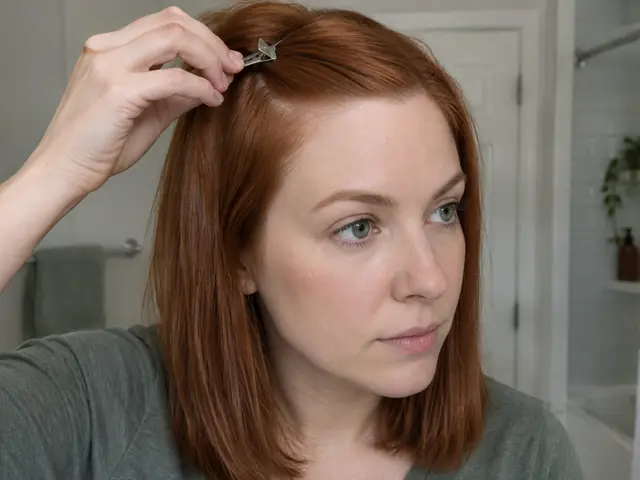
A clip closed tight against the scalp pulls every hair in it. Fold the section and clip the fold a little away from the scalp. If it stings or the scalp lifts, move it.
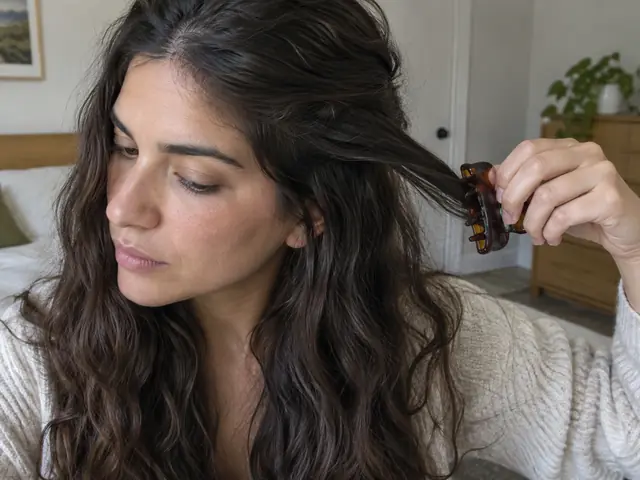
Pulling a clip out before it is fully open snags and snaps strands. Support the hair, squeeze the clip fully open, then lift it away.
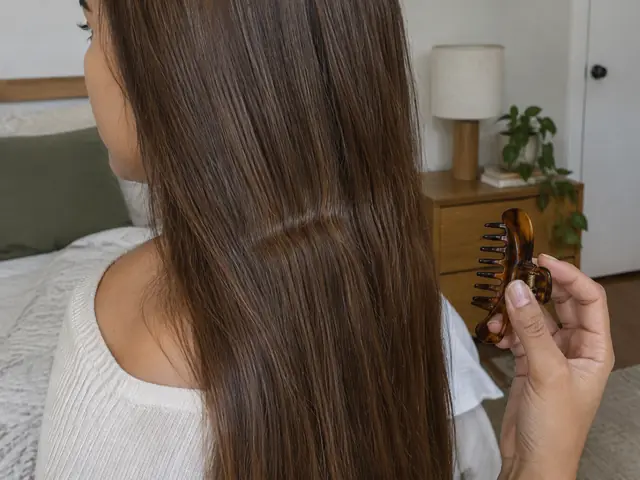
A clip left in while damp hair dries sets a dent where it pressed. Take clips out before the last of the drying, or place them where a bend won't show.
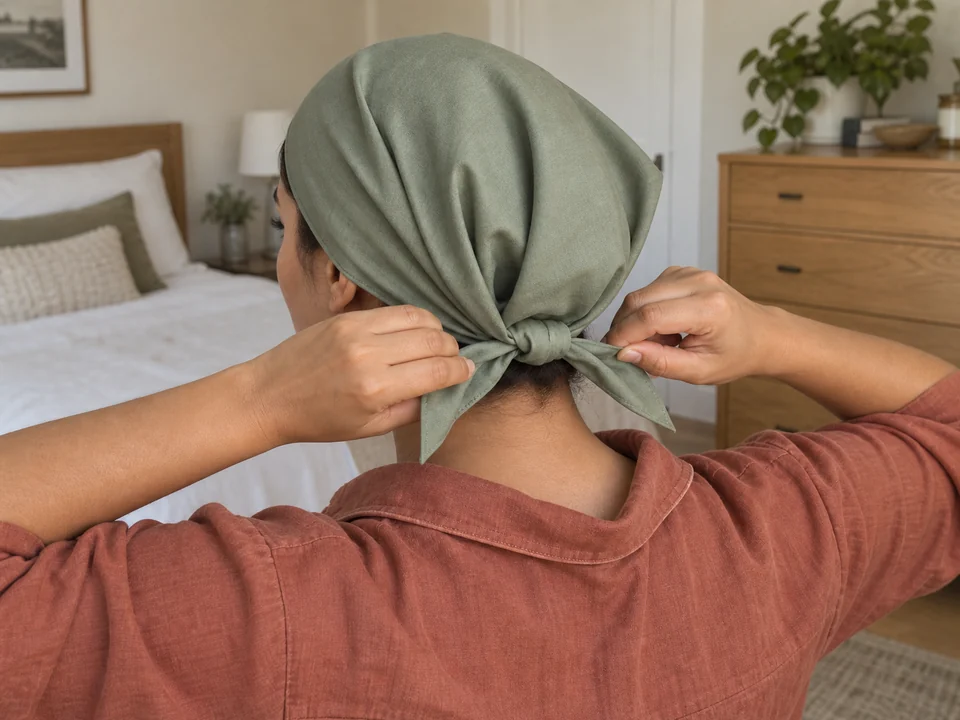
Lying on clips presses them into your scalp and pulls hair for hours. Take every clip out before bed and contain hair loosely with a scarf or bonnet instead.
Claims you’ll see online, answered plainly.
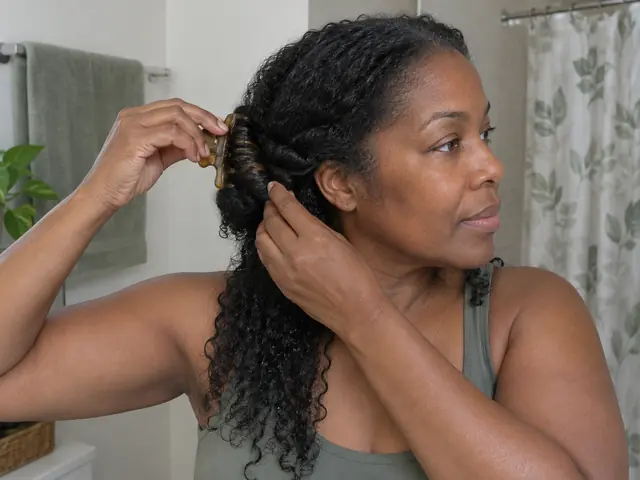
Repeated pulling from tight styles held for long periods can cause hair loss, dermatologists say. A clip holding a loose fold while you work is not the same. Pain, stinging or a tented scalp means it is too tight.
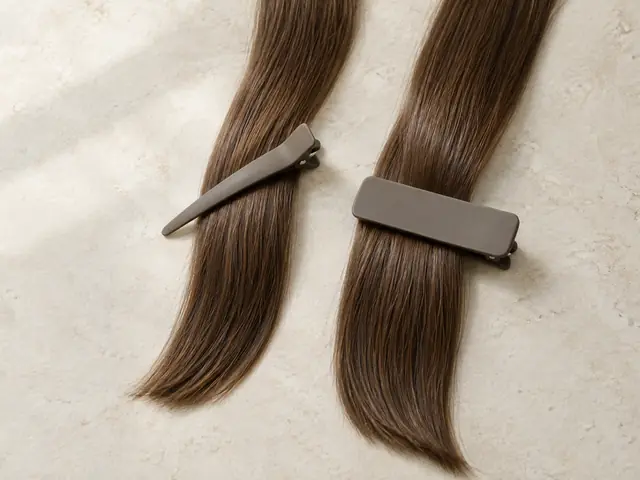
Dents form where a clip presses while damp hair dries into shape. On wash day that rarely matters. For a finished style, flat-grip clips, lower placement or removing clips before hair dries all help.
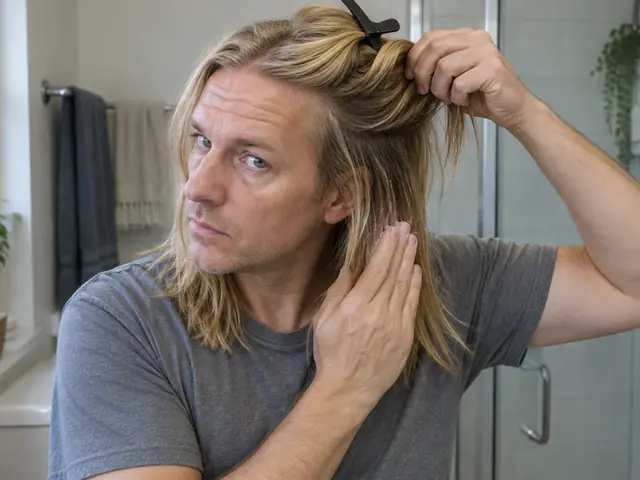
Very short hair usually doesn't; fingertips are enough. Fine hair that is long or layered still benefits whenever you need product or airflow to reach the inner layers.
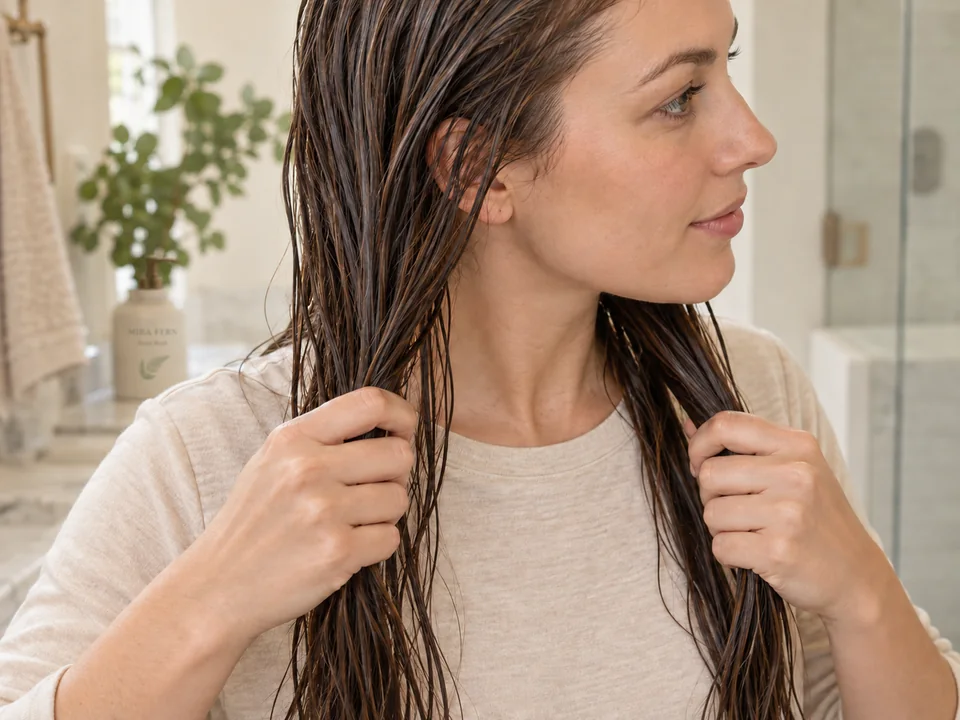
Beyond what you need, extra sections add handling and time. Use the fewest that let you reach and see each area; four is a common example, not a rule.
Keep it clean, safe and working the way it should.
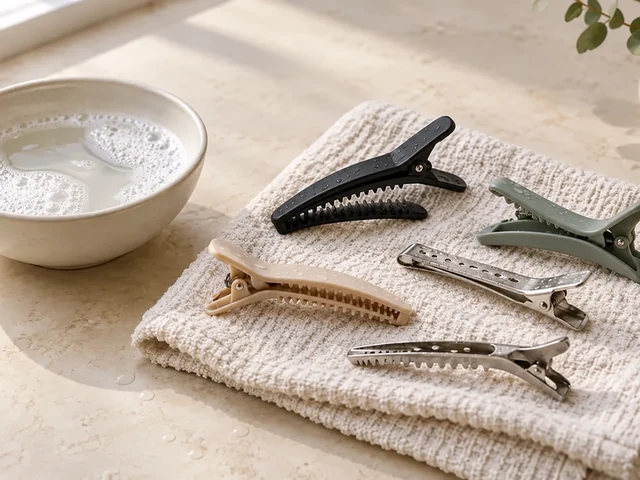
Rinse off product and conditioner with warm, soapy water, then let them dry fully, open, before storing so metal parts and springs don't rust.
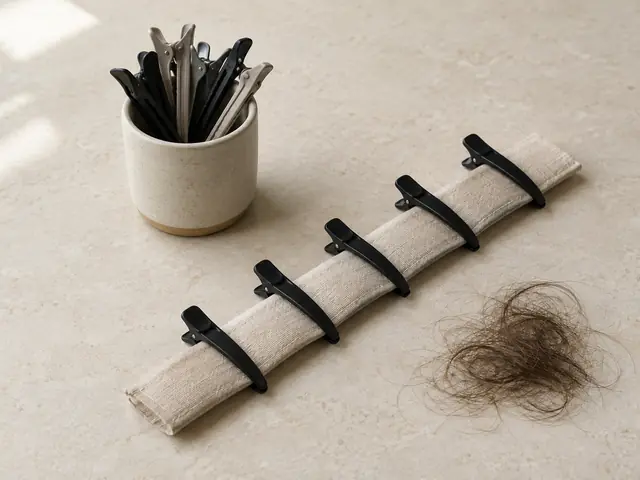
Pick out wound strands after each use. Keep clips together in a pot or clipped to a strip so springs are not stretched, and discard any that chip, rust or snag.
Photo-by-photo techniques that use this tool.
Add it to your tools and your routine will use what you own.
More in sectioning and overnight.
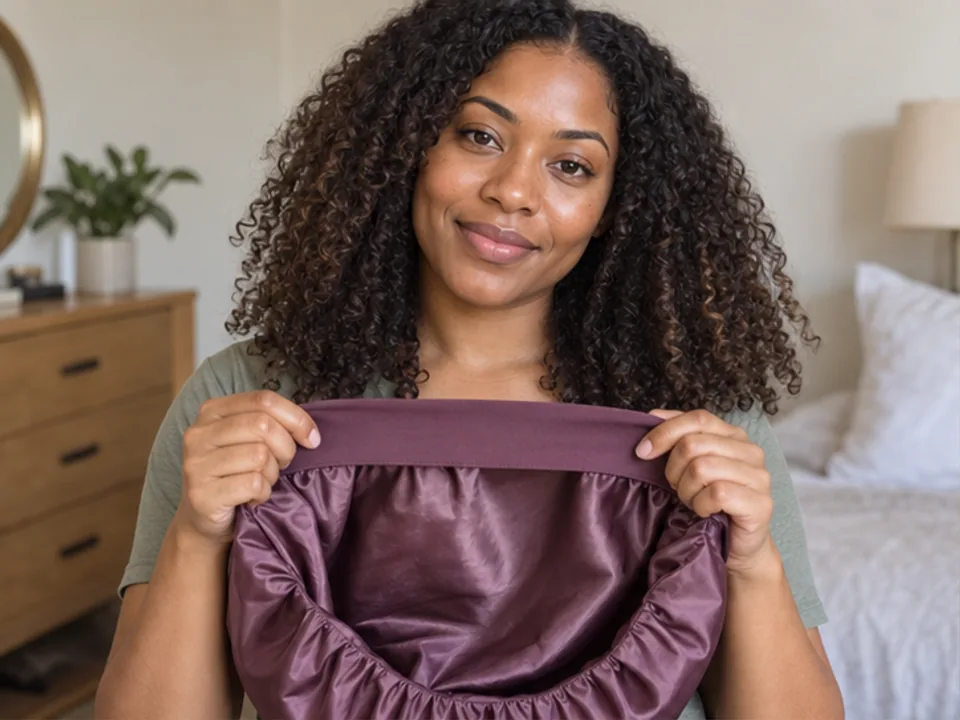
A soft fabric cap, usually silk or a smooth satin weave on the inside, that loosely encloses dry hair during sleep and closes with an elastic or tie band around the hairline.
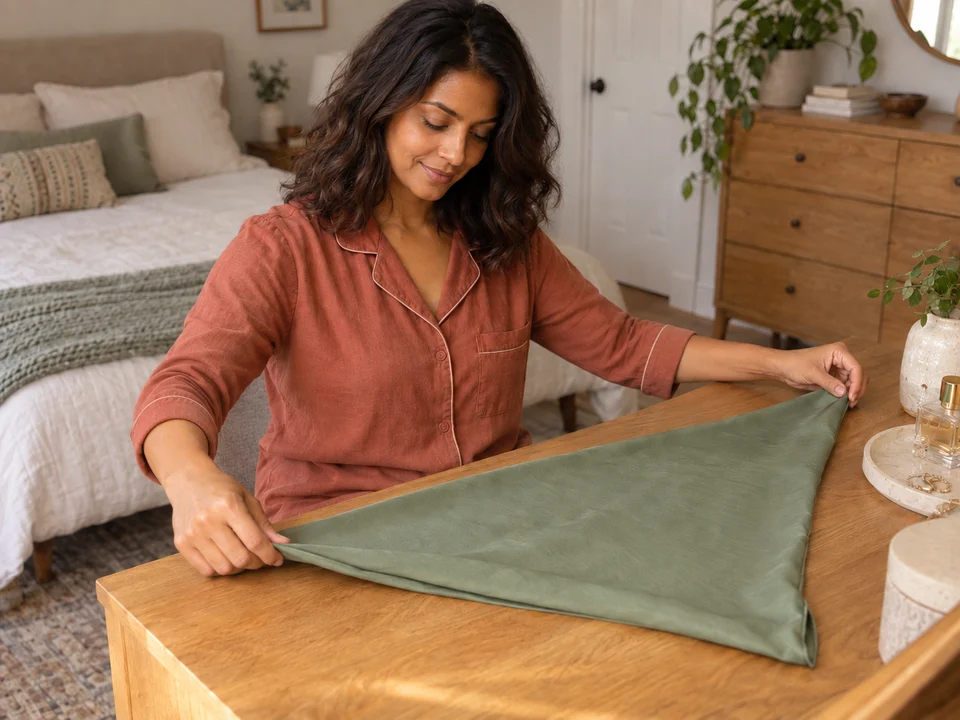
A square or long rectangle of smooth fabric, often silk or satin, folded and tied around the head to cover dry hair during sleep, usually knotted at the nape.