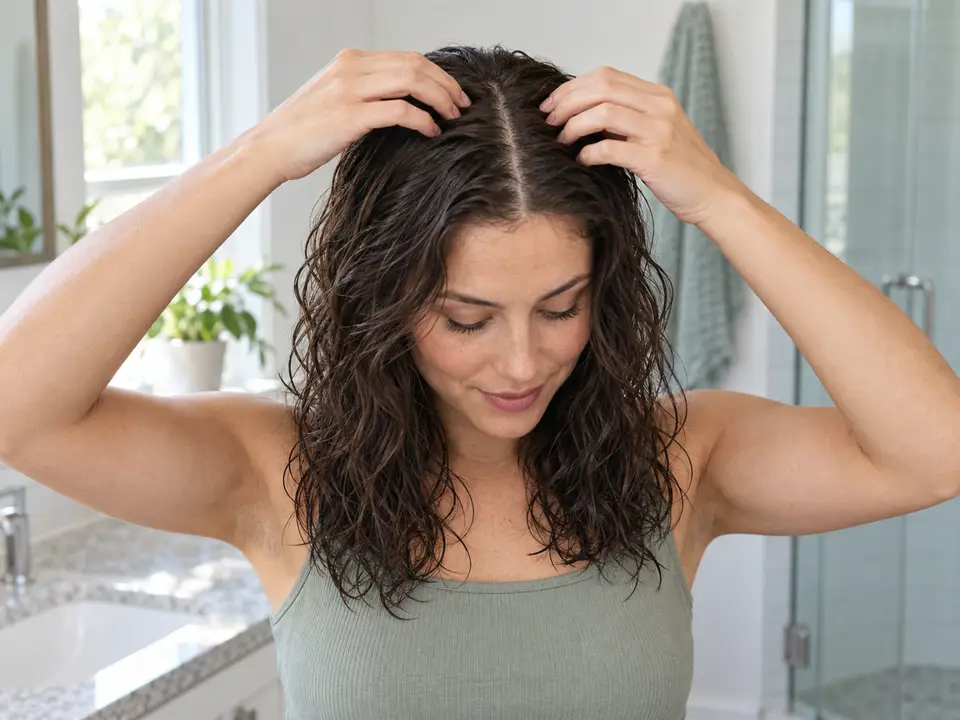
Clip your roots while air-drying
Try a few root clips if your waves or curls dry flatter at the part or crown than you want. Small clips hold selected damp roots slightly raised while the rest of the hair hangs loose.
Step by step
 STEP 1 OF 8
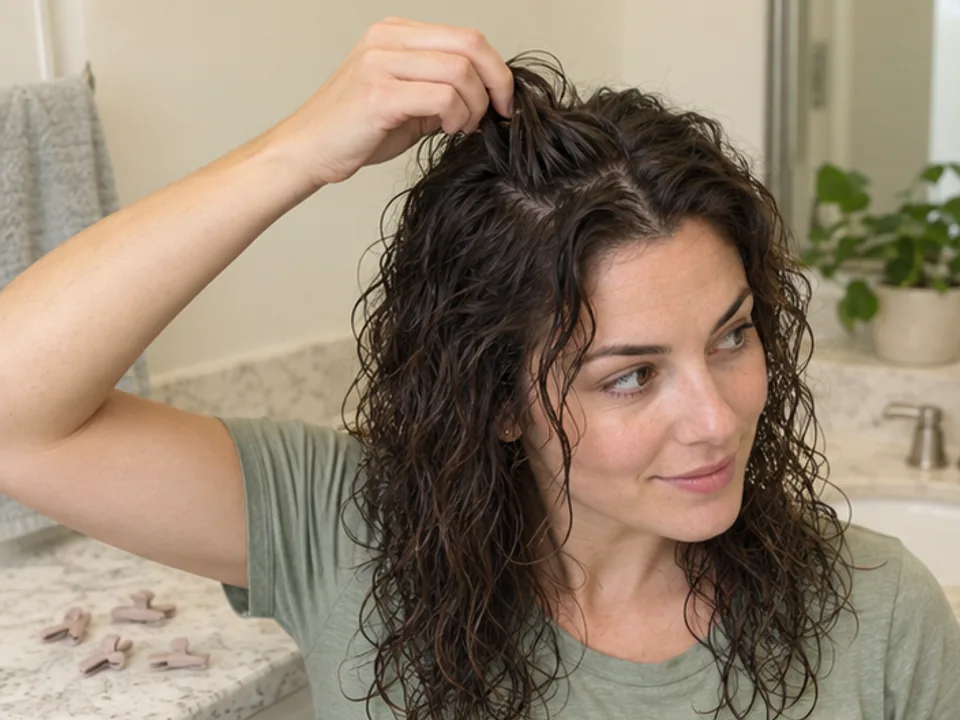
Lift one small root group
- Start with damp, loose hair after washing and any label-directed styling products suited to air-drying. Put clean, lightweight root clips within reach and note how many you use.
- Choose a small group beside the part or at a reachable crown area. Lift it gently with one hand, keeping the scalp relaxed.
 STEP 2 OF 8
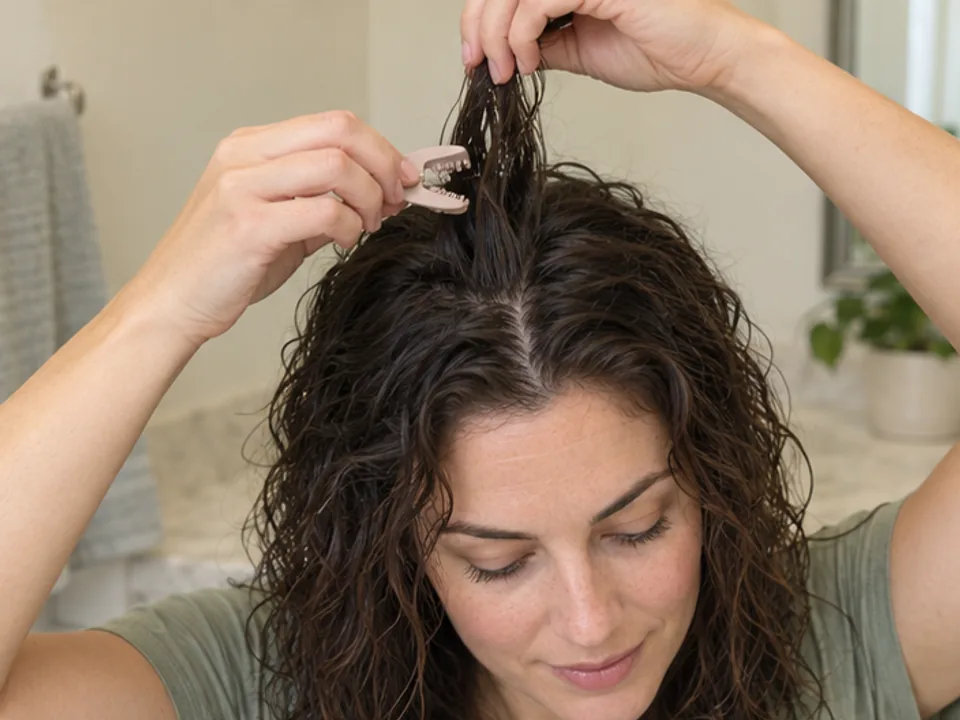
Bring an open clip around the roots
- Keep holding the group with one hand. With the other, squeeze the clip fully open.
- Bring the open jaws around the hair near its base, leaving the skin clear. Do not push closed teeth through the hair.
 STEP 3 OF 8
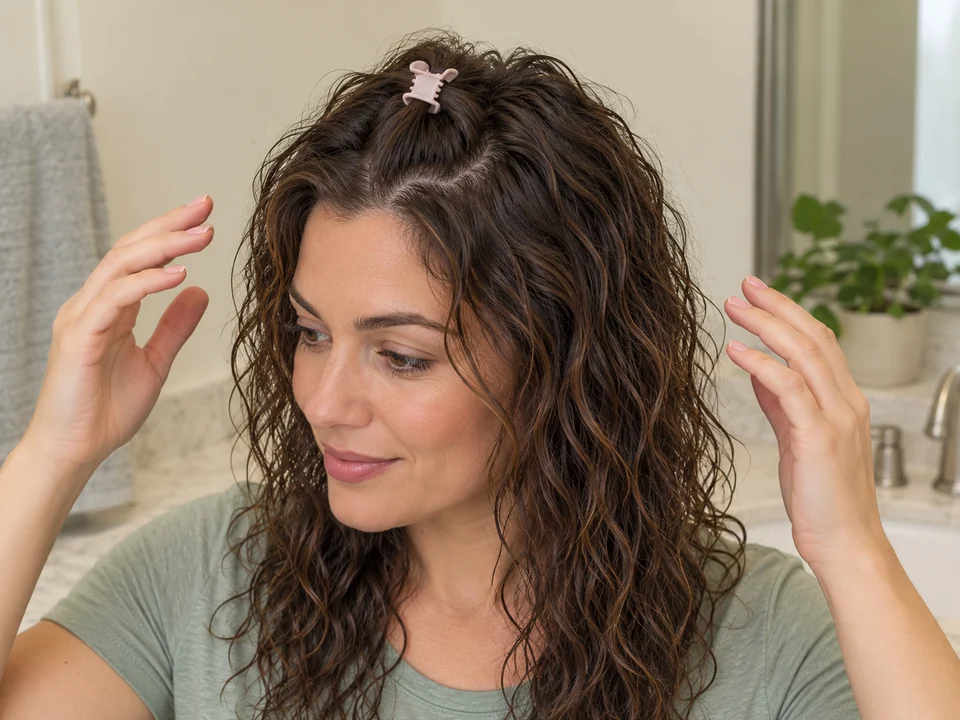
Let the clip hold the lifted group
- Release the clip handles slowly so its jaws close around the hair. Then let go with the hand holding the group.
- Move both hands away. The small root area should stay raised without needing your hand to hold it up.
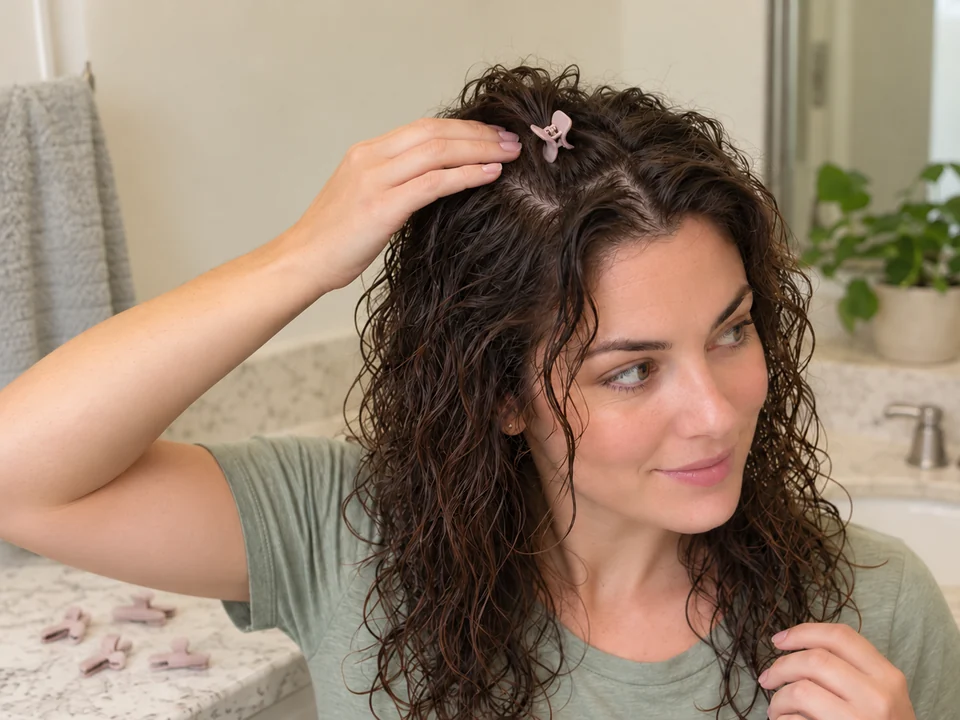 STEP 4 OF 8
Check before adding another clip
- Feel lightly beside the clipped roots without pressing the clip. The scalp should feel relaxed, with no pulling, pinching, pain or stinging.
- Remove an uncomfortable clip straight away. Repeat the same placement and check only at other areas where you want lift.
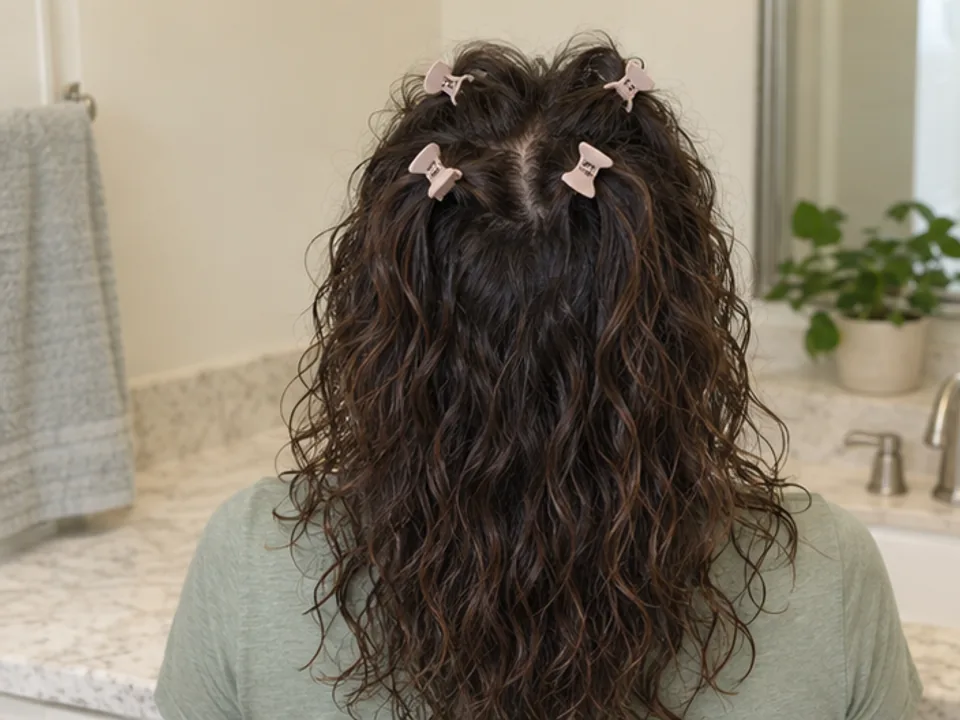 STEP 5 OF 8
Leave the lengths loose while they dry
- Let the clipped roots and loose lengths air-dry indoors. Keep your hands away rather than repeatedly adjusting the clips.
- Stay upright while the clips are in. Take all clips out before sleep, a hair covering or an activity where they could catch.
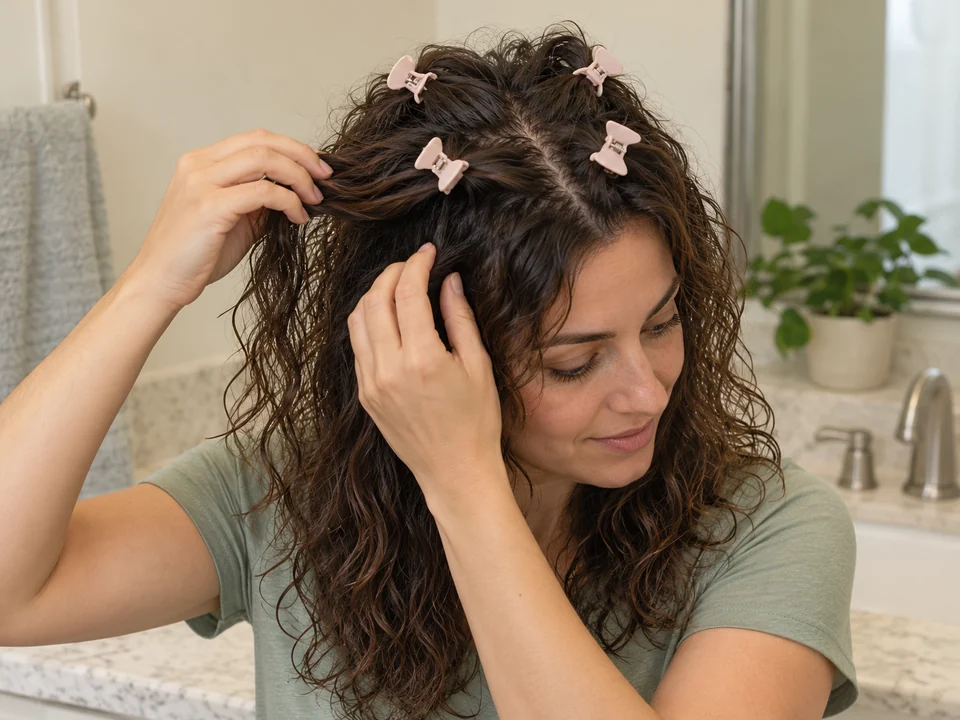 STEP 6 OF 8
Feel the roots and inner hair
- When the surface seems dry, lift a little loose hair below the clips and feel the inner lengths and near the roots. Avoid tugging the clipped groups.
- Check each clipped area, not just the front. Give damp areas more time, provided the clips remain comfortable.
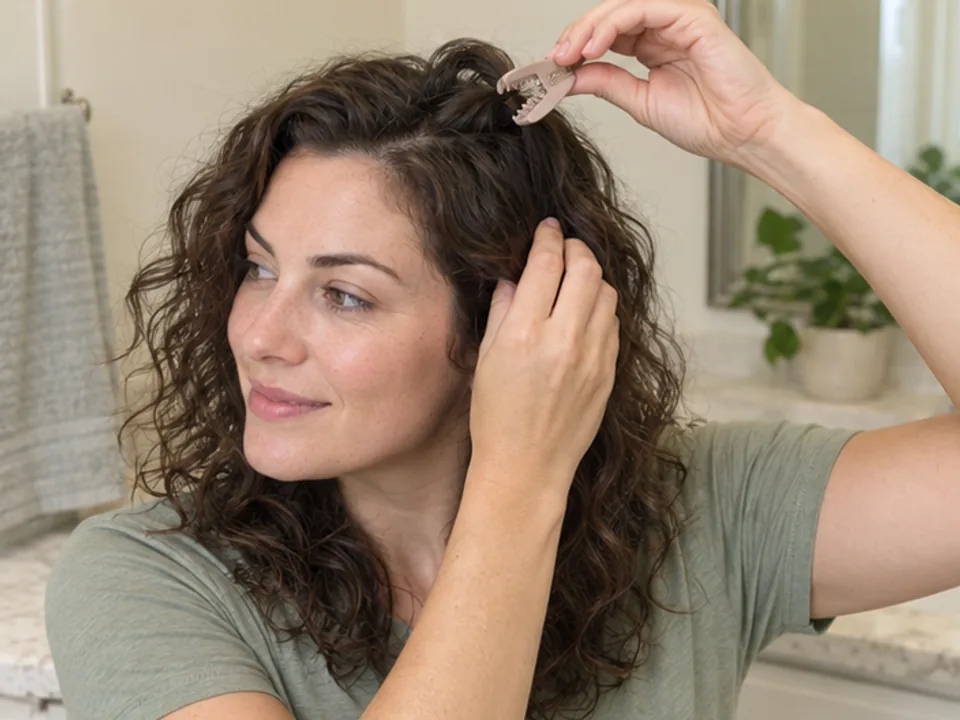 STEP 7 OF 8
Open each clip before lifting it away
- Support the hair beside a clip with one hand. Squeeze the clip fully open with the other.
- Free any caught strands, then lift the open clip away from the roots. Keep it open until the teeth are clear; never pull a closed clip down the lengths.
 STEP 8 OF 8
Account for every clip and finish
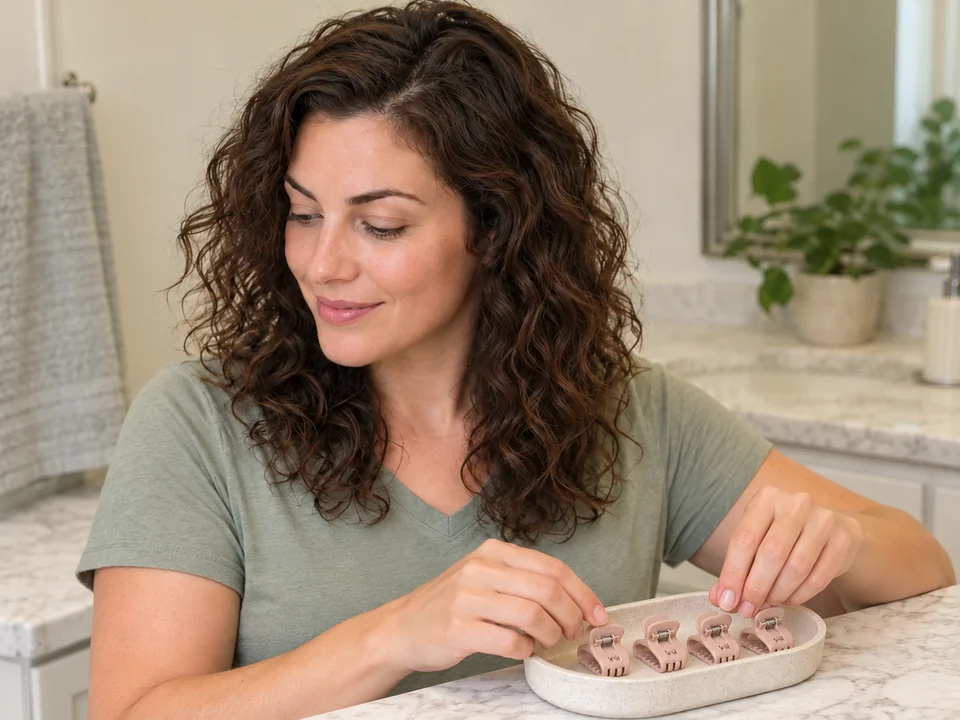
- Put the removed clips together and check that you have the number you put in. Feel around the crown for any clip still hidden in the hair.
- Once the hair is dry, arrange it lightly. Clean the clips as their care directions say, then let them dry before storing them.
About 2–5 minutes of handling for a few clips, including placement, comfort and dryness checks, removal and cleanup. Add air-drying time; washing and styling come first.
You’re done when…
Every clip is out and accounted for, the roots and inner lengths feel dry, and the hair hangs freely. If you removed clips early, let damp areas finish drying loose.
Related techniques
Connected steps for your routine.