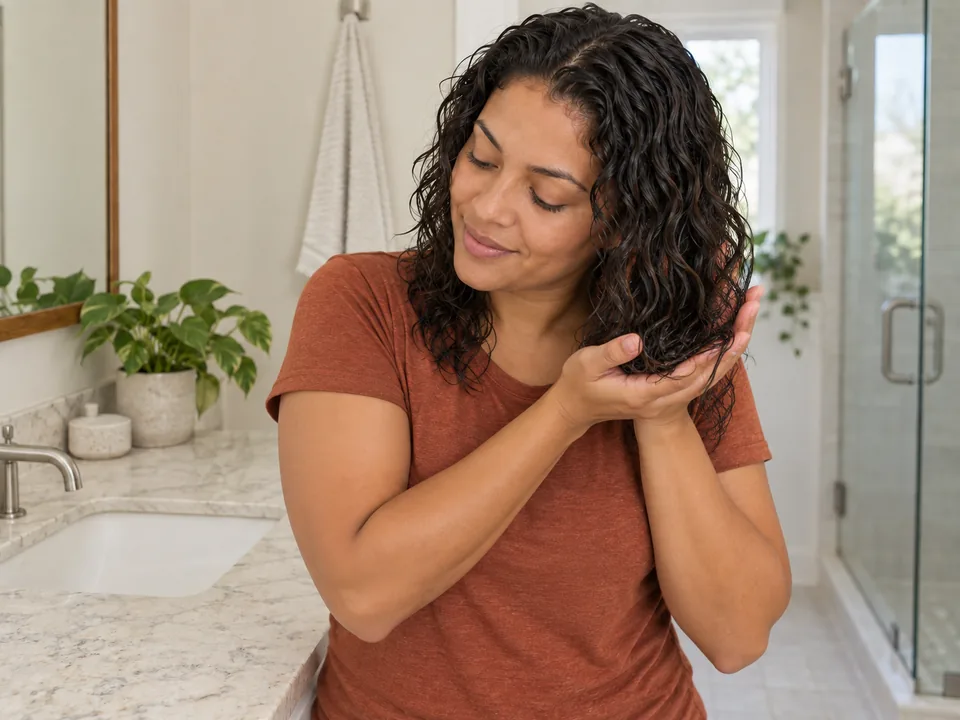
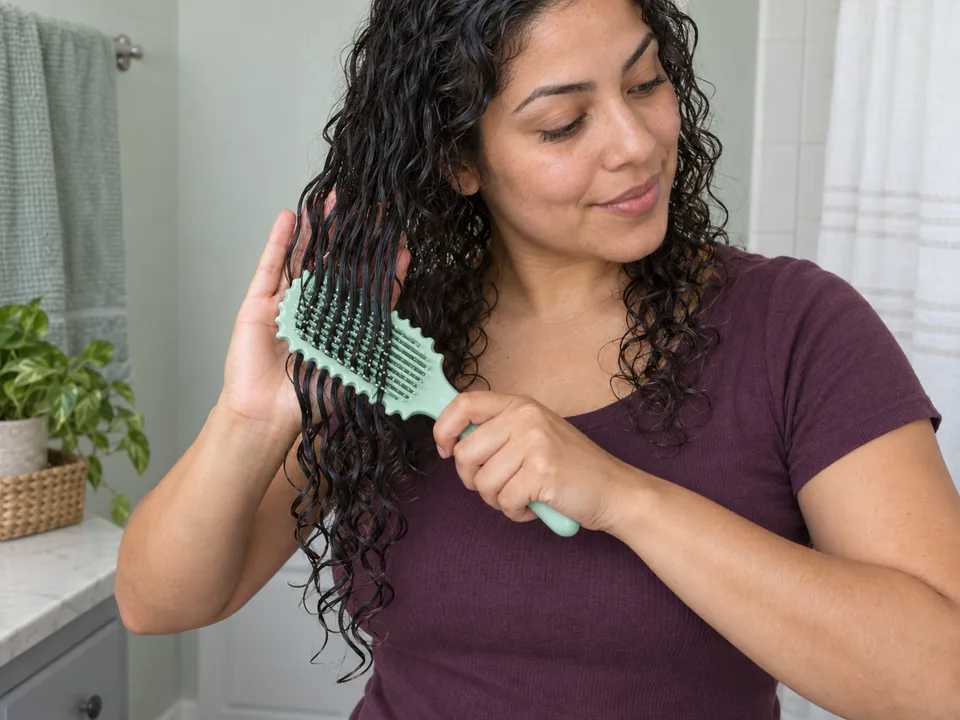
Blend a straighter top layer with wavier underlayers
Use this when the top loose layer dries straighter than the underlayers and you want a more continuous visible pattern without changing the hair chemically.
Step by step
 STEP 1 OF 3
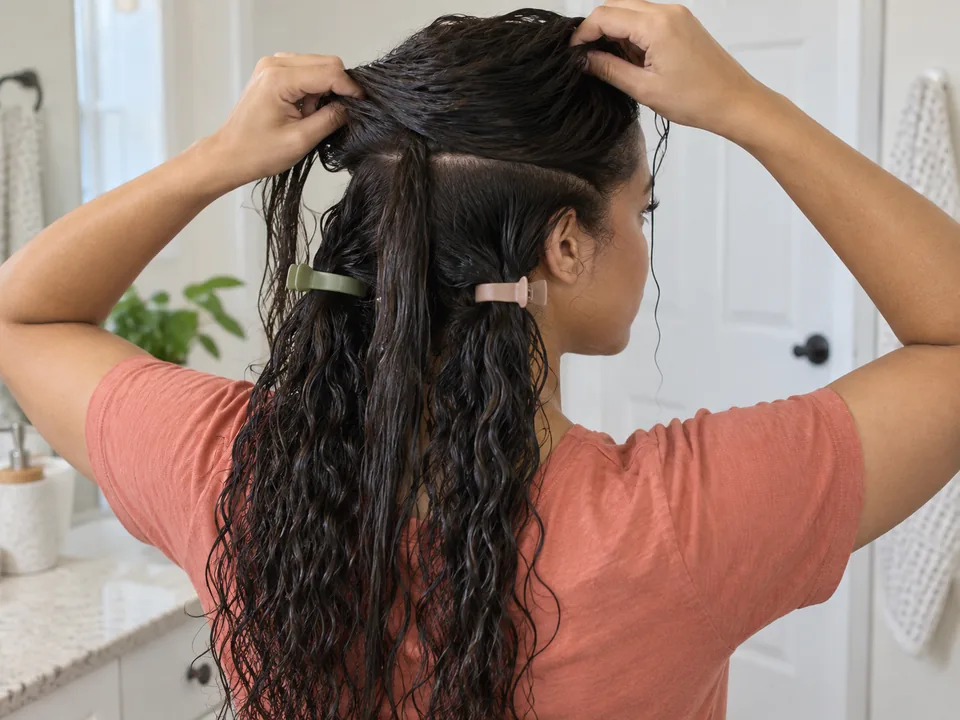
Lift the straighter canopy
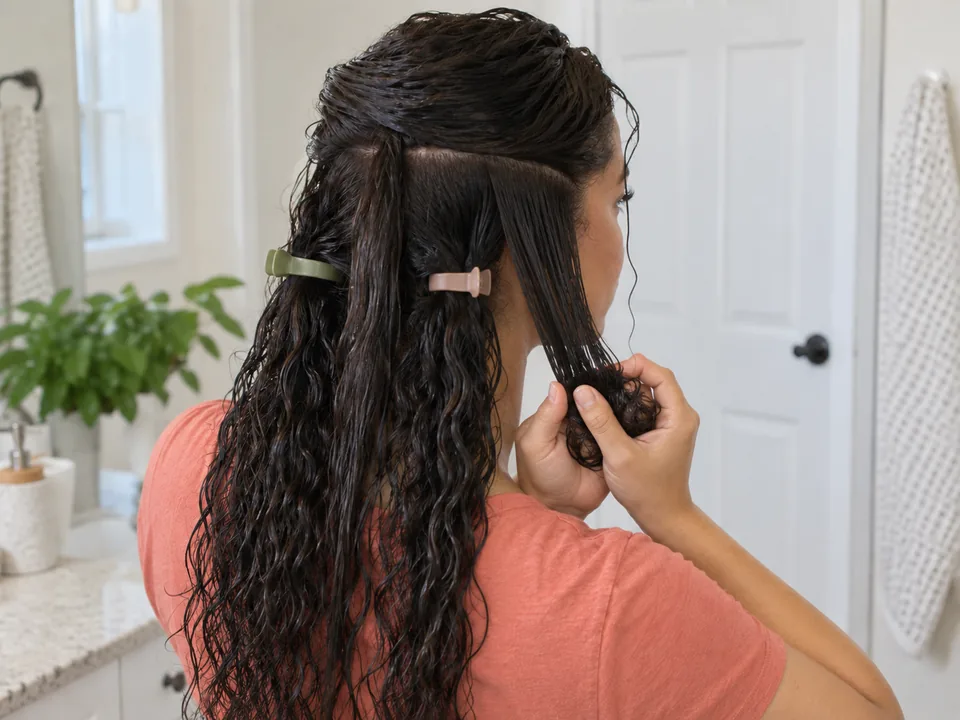
- On wet, detangled hair, clip the wavier underlayers away and leave only the straighter top sections loose.
- Re-wet the canopy if it begins to dry. Keep the section edges soft so no hard line forms.
- STEP 2 OF 3
Shape only the top layer
- Apply a compatible label-directed styler if used. Scrunch, finger-coil or brush-shape the top sections to echo the scale of the waves below.
- Release a narrow edge of the underlayer and gently join it with each top section; do not brush through the established underlayer pattern.
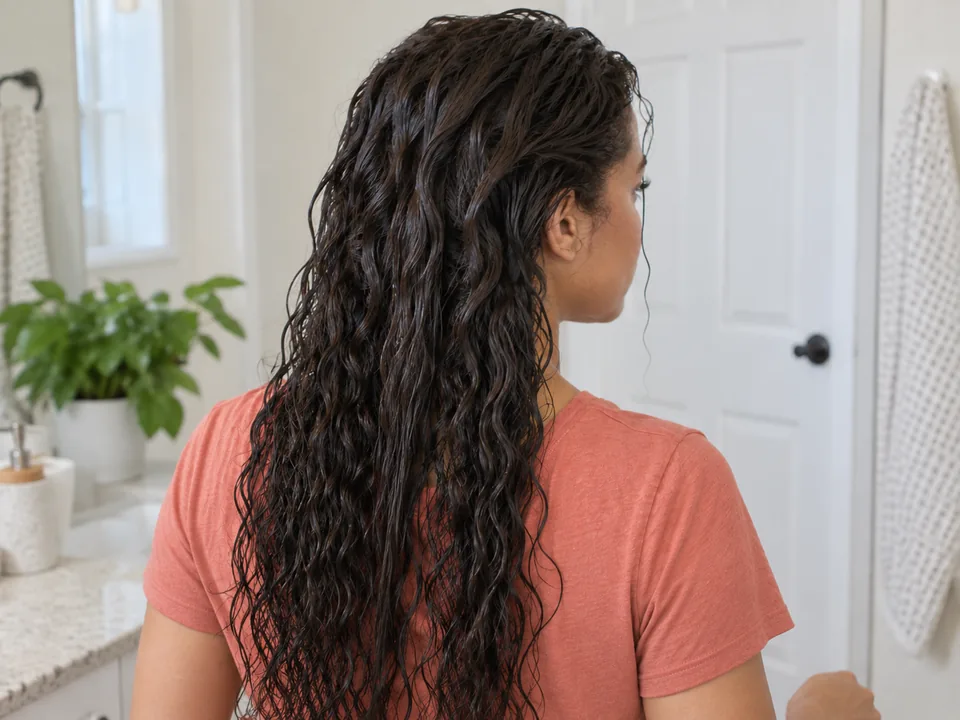 STEP 3 OF 3
Leave the blend undisturbed
- Release all clips without pulling the formed groups apart. Arrange the canopy over the underlayers.
- Air-dry or use a separately reviewed diffuser method. Do not judge the blend or separate groups until every layer is dry.
About 5–15 min hands-on for isolating, shaping and blending the straighter top layer. Start with wet, detangled hair. Add air-drying or a separate active diffuser session.
You’re done when…
Every layer is fully dry and the canopy joins the underlayer in connected groups without further handling.
Related techniques
Connected steps for your routine.