Scrunch gel into waves and curls
Scrunching helps you apply styling gel while gathering waves, curls or coils into their natural shape. Start with wet or damp hair as your gel directs, and release each section before moving on.
Step by step
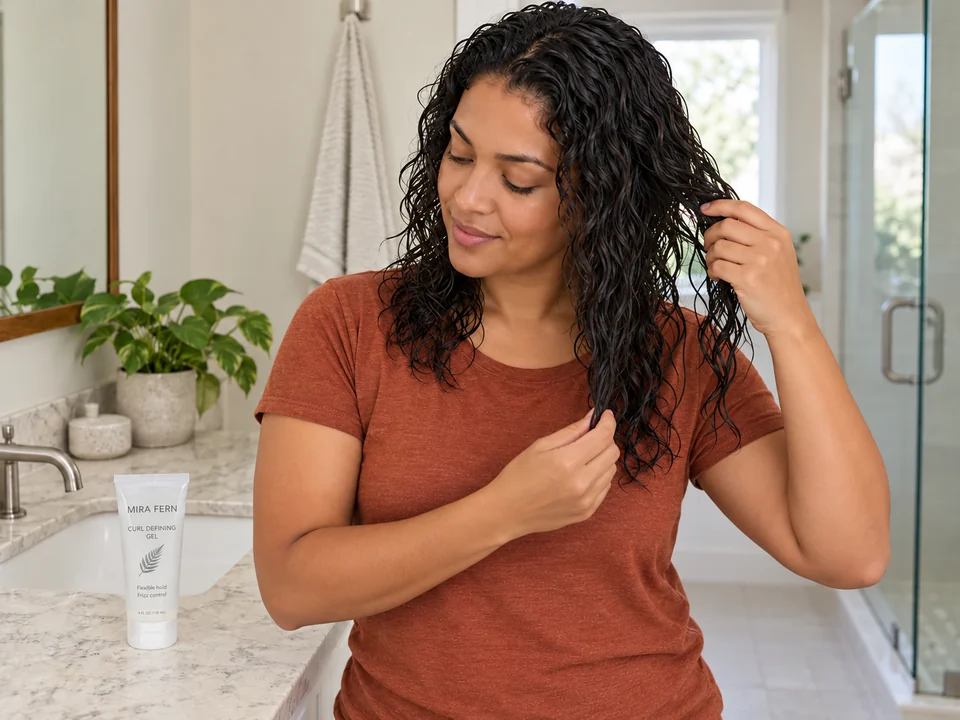 STEP 1 OF 9
Check the hair and starting state
- Start with detangled hair in the wet or damp state your gel requires. If it says soaking wet, do not towel-dry first.
- Wet hair sticks together in clumps, and each clump dries into a curl. The gel holds those clumps, so put it on before the hair dries.
- Bring the loose lengths forward over your shoulders so you can reach them. Keep the gel within reach on the counter.
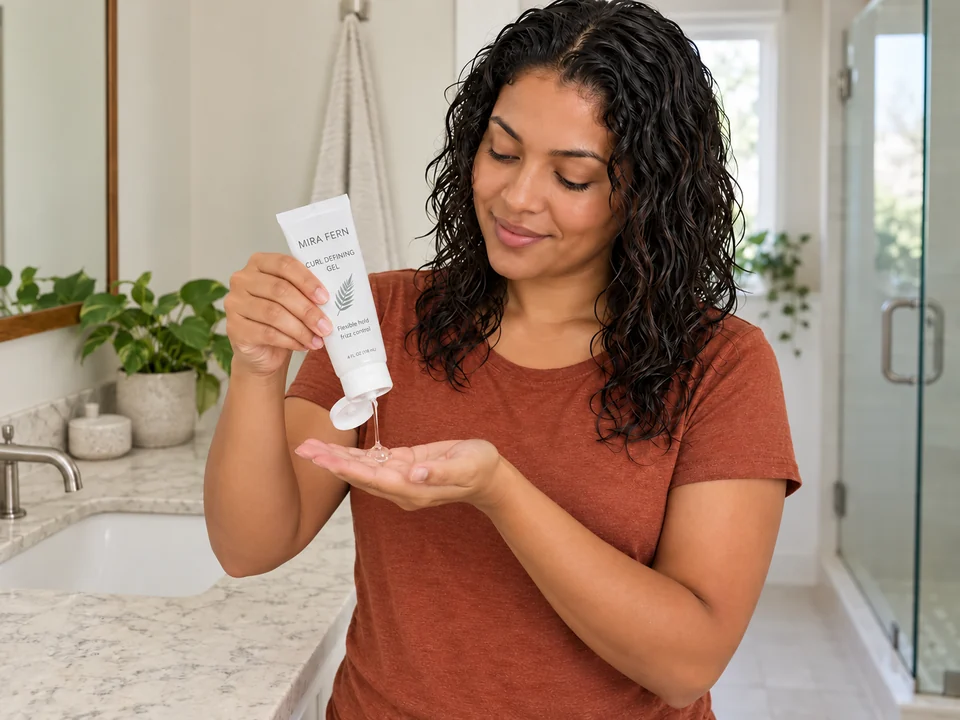 STEP 2 OF 9
Dispense the gel
- Put the label-directed amount into one clean palm. The small amount in the photo is an example; the amount you need depends on your gel and hair.
- Close the container and set it down before using both hands on your hair.
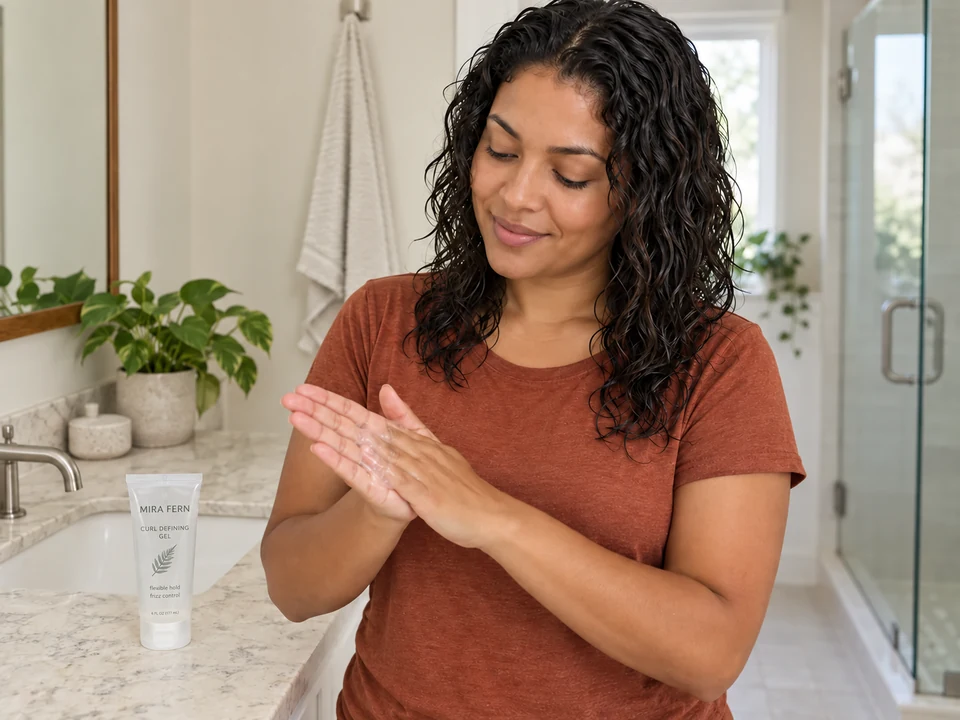 STEP 3 OF 9
Spread it between your palms
- Rub your palms lightly together to spread the gel over both hands.
- Keep the gel on your palms for the lengths. Don't rub your hair between your hands: rubbing splits the clumps apart into frizz.
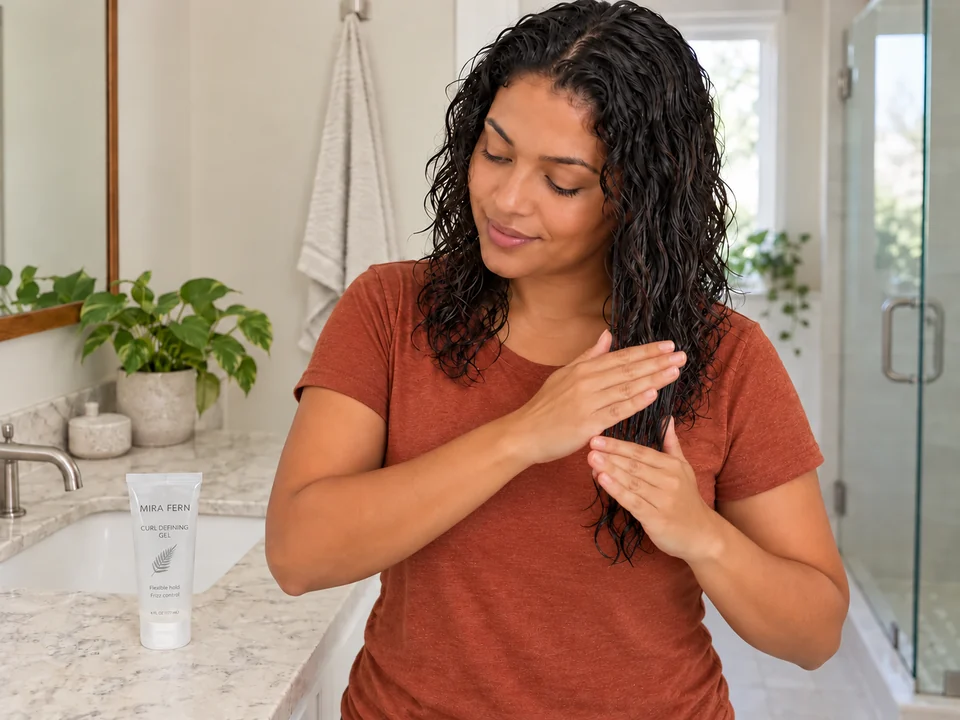 STEP 4 OF 9
Spread gel along the lengths
- Work on a section you can hold comfortably. Lightly smooth your palms down its lengths toward the ends, following any different spreading method on your label.
- Avoid leaving all the gel on the very tips or repeatedly coating only the outer layer. Do not pull the section taut.
 STEP 5 OF 9
Cup the ends
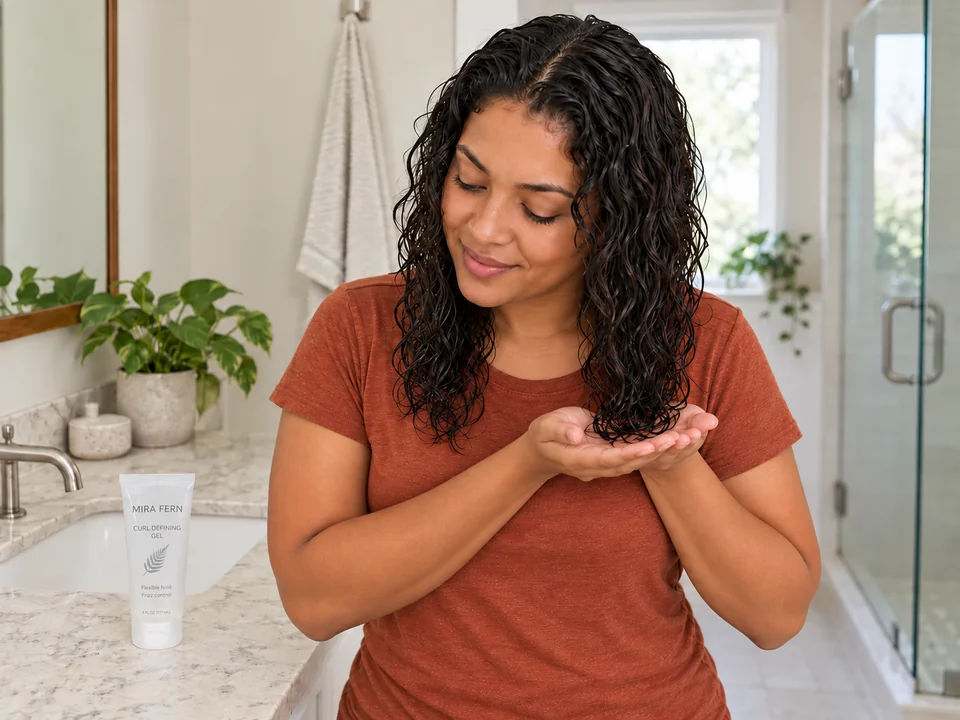
- Place both open palms underneath the ends of that section. Let the ends rest in your hands before lifting.
- Keep your fingers relaxed and your elbows as low as comfortable. Use a smaller section if hair spills out of your palms.
 STEP 6 OF 9
Lift and press gently
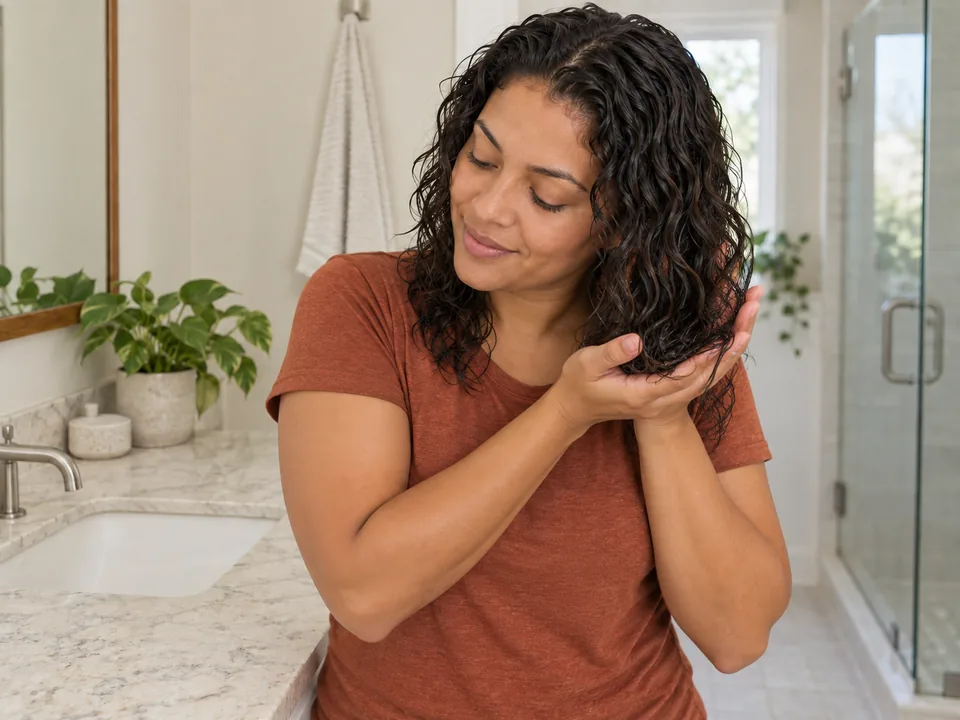
- Lift your palms toward your head, letting the lengths fold into your hands. You do not need to reach the scalp.
- Press the gathered hair gently once with relaxed fingers. Do not squeeze it into a tight fist or twist it.
 STEP 7 OF 9
Open your hands and let go
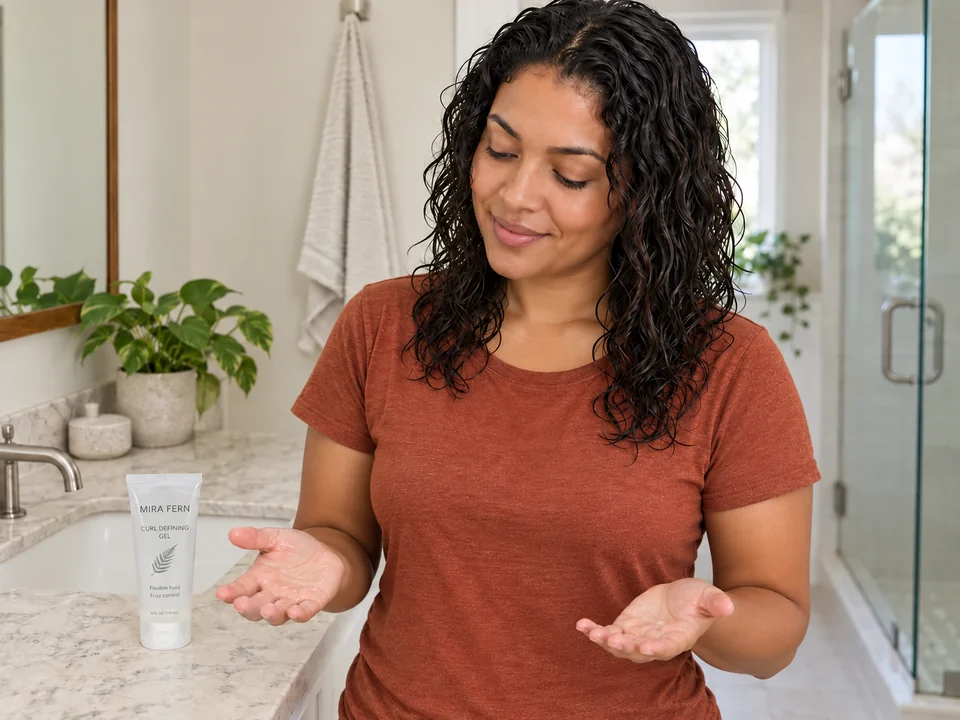
- Open your fingers and lower both hands until the hair falls completely free.
- Let the section hang before you move on. Don't squeeze the same curls again: a second squeeze splits the clumps.
 STEP 8 OF 9
Work around the remaining lengths
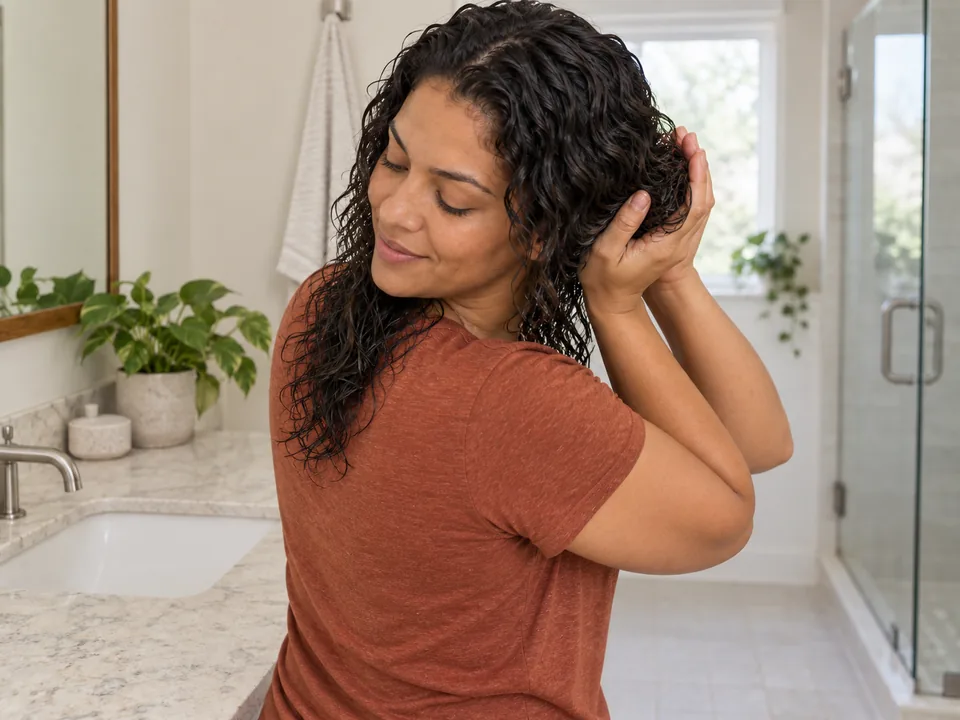
- Repeat the spread, cup, lift and release on the other areas you are styling. Bring back sections forward rather than reaching behind your head.
- Check that you have reached the inner and underneath lengths as well as the outside; lengths the gel misses dry without its film and can frizz.
- Add more gel only as the label directs, not automatically for every scrunch.
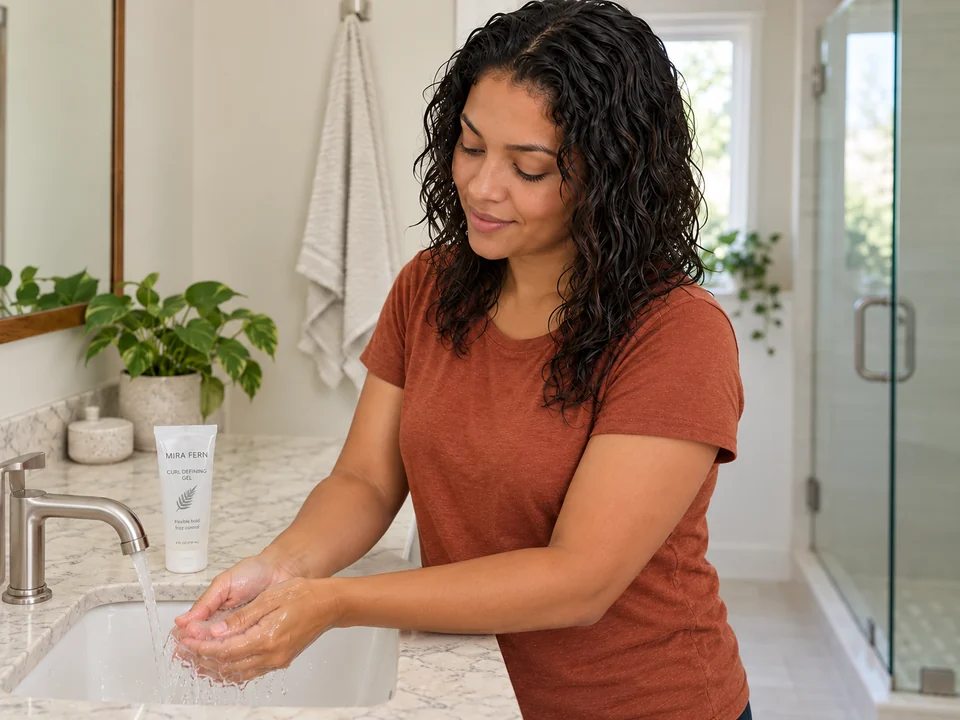 STEP 9 OF 9
Clean your hands and move to drying
- Rinse the gel from your hands, leaving the gel in your hair. Let every section hang freely.
- Air-dry or use a diffuser as your product and routine direct. Keep your hands off until it is fully dry: touching before the gel sets splits the clumps into frizz.
About 1–3 minutes to dispense, spread and scrunch gel through reachable lengths, then rinse your hands. Start with detangled hair in the required wet or damp state. Drying is separate.
You’re done when…
The gel has been spread through the lengths you are styling, every section hangs free, and your hands are clean. The hair still needs to dry.
Put this step in context
- Build a curl routine with fewer layers
If you are deciding where gel belongs, start with washing and conditioning, then choose the hold you want.
- Help curls keep the shape you want
If definition is your goal, connect gel application with drying, softening a dry cast and refreshing flattened sections.
Related techniques
Connected steps for your routine.
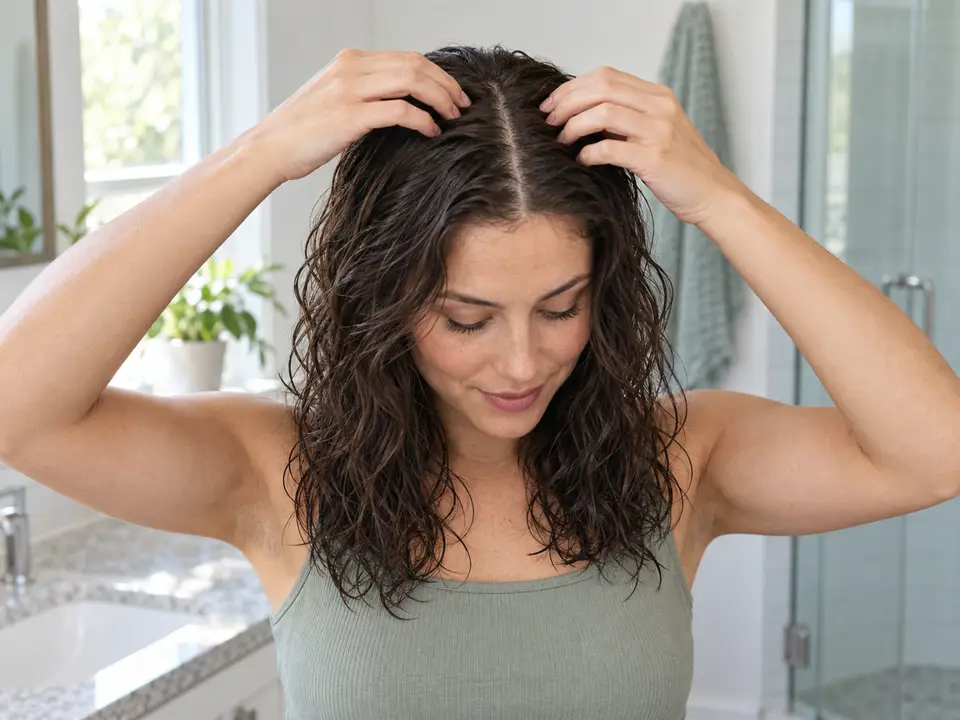
Air-dry your hair
Use the air-drying guide after application if that is your chosen drying method and the gel directions allow it.
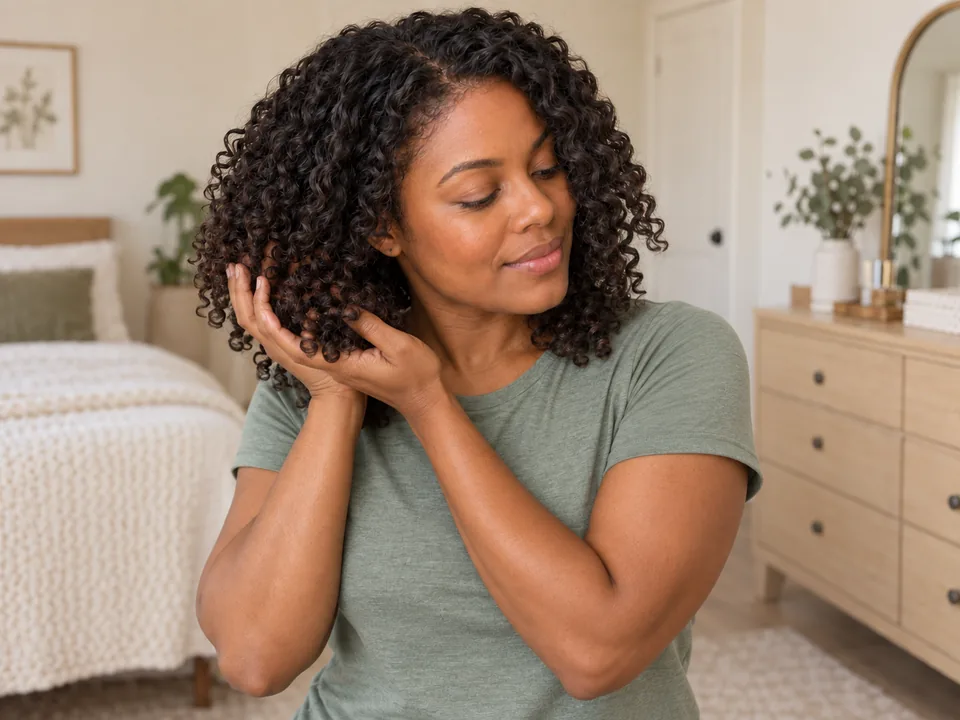
Soften a dry gel cast
If the gel leaves a firm cast, wait until the hair is fully dry before softening it for a less stiff feel.
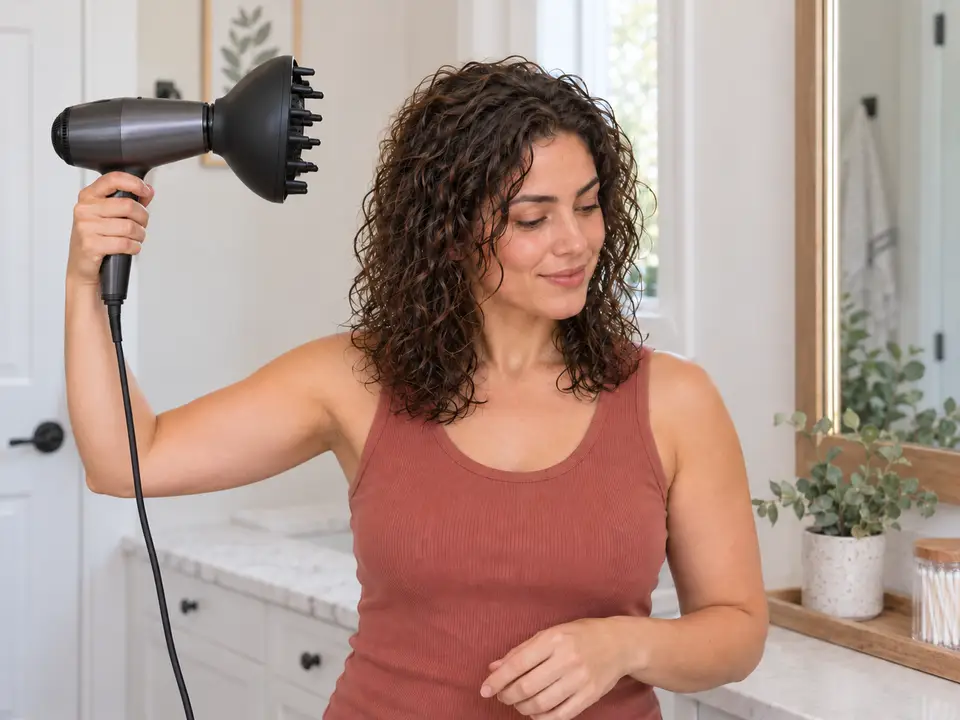
Dry waves and curls with a diffuser
Use the diffuser guide if your product directions allow it and you choose to dry with a diffuser.