Wash only your fringe between full washes
If your fringe feels oily while the rest of your hair is still clean, you can wash just the front. This basin method lets you freshen that small section without soaking all the lengths.
Step by step
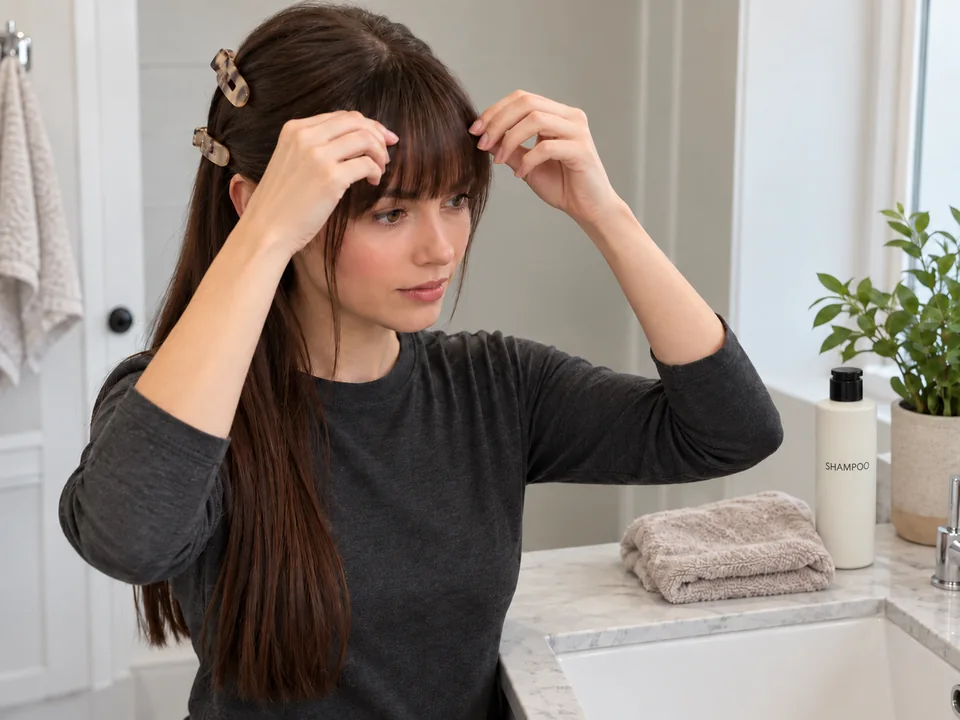 STEP 1 OF 8
Separate the fringe and clip the rest away
- Start with dry hair. Use your fingers to leave only the fringe and its roots loose at the front. Clip the surrounding lengths back without pulling.
- Set a small cup or handheld sprayer, shampoo and soft towel within reach of a clean basin. Keep optional rinse-out conditioner nearby if using it.
- Check that you can lean over the basin steadily and work with both hands. Stop if the position strains your neck or back.
 STEP 2 OF 8
Wet the front roots and fringe
- Lean over the basin so the fringe hangs forward. Use comfortably warm water from the cup or sprayer to wet the front roots and strands.
- Keep the stream directed down into the basin, away from your eyes. Use your free hand to guide the section, then put the cup or sprayer down.
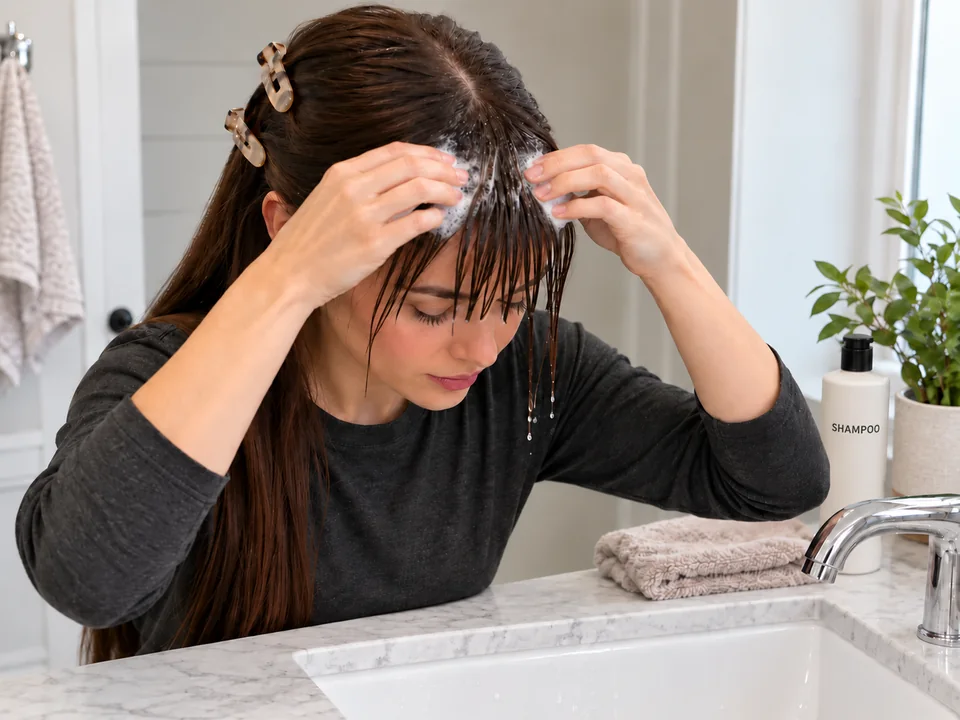 STEP 3 OF 8
Massage shampoo into the front roots
- Dispense a small amount of shampoo and put the bottle down. Spread the shampoo between your fingertips.
- Gently massage the scalp beneath the fringe with your finger pads. Keep nails off the scalp and avoid rubbing the short lengths into a knot.
- Use less shampoo than for your whole head. If it specifies a contact time, keep that timing.
 STEP 4 OF 8
Rinse the shampoo away
- Pour or spray clean water through the front roots and down the fringe. Gently part the section with your free hand so water reaches underneath.
- Rinse until no suds or shampoo residue remain. Refill the cup as needed; keep the clipped hair clear of the stream.
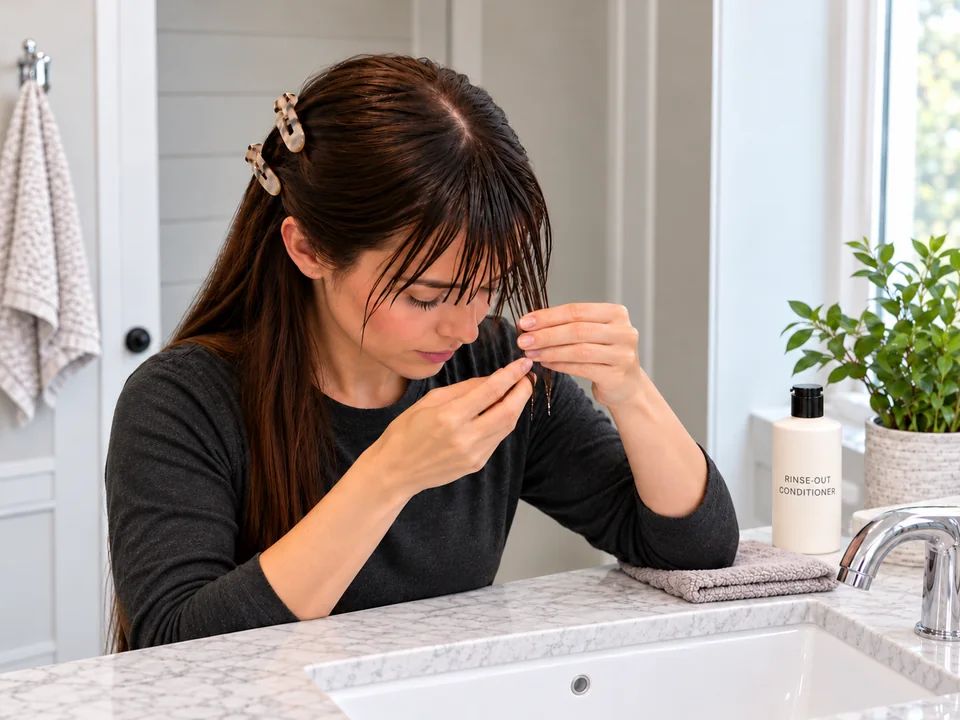 STEP 5 OF 8
Condition the ends if needed
- Put the cup or sprayer down. Smooth a small amount of rinse-out conditioner onto the fringe ends that feel rough or catch easily.
- Keep it away from your eyes and oily roots. Leave it on for the waiting time stated on your conditioner’s label.
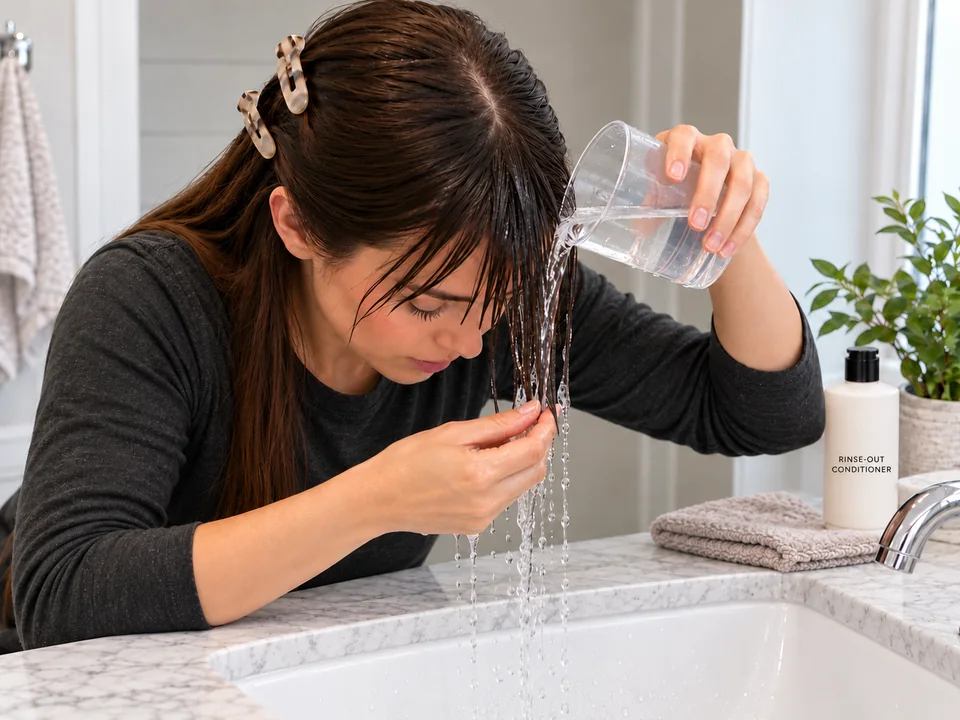 STEP 6 OF 8
Rinse out the conditioner
- Direct clean water through the conditioned ends and gently separate them with your free hand. Let the water drain into the basin.
- Continue until the conditioner is rinsed out. Put down the cup or sprayer and turn off the water before picking up the towel.
 STEP 7 OF 8
Press out drips with a towel
- Put the cup or sprayer down and turn off the water. Pick up the towel with both hands.
- Lightly press a soft towel around the wet fringe. Lift it away between presses instead of rubbing or twisting the hair.
- Stop when the section no longer drips. Leave it damp for arranging, and put the towel down.
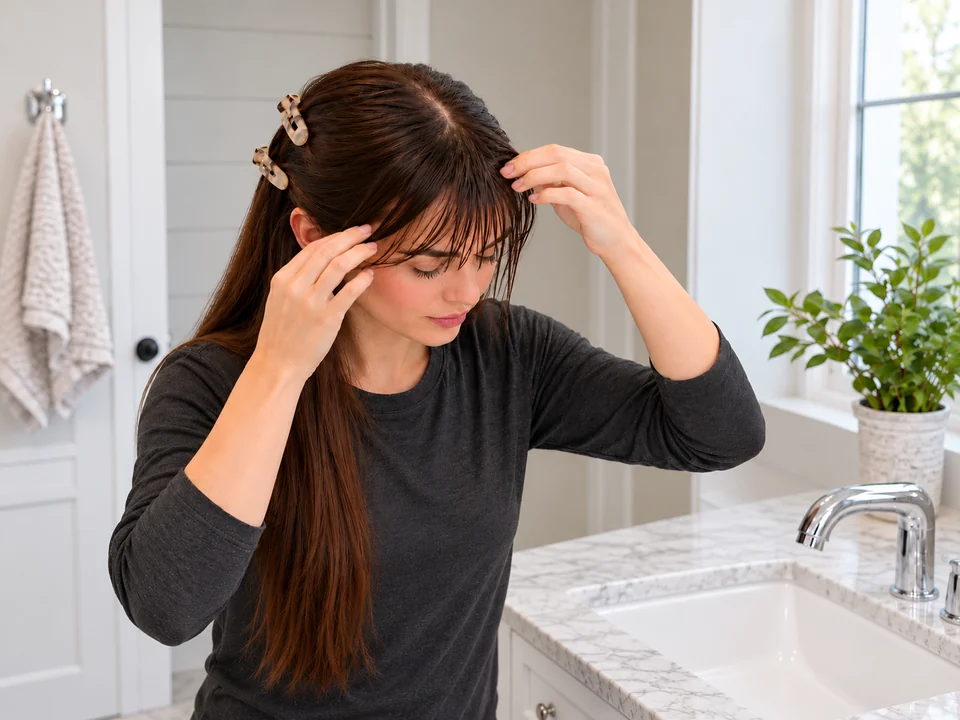 STEP 8 OF 8
Arrange the fringe and release the clips
- Use your fingers to place the damp fringe in the direction you want it to fall. Keep waves or curls in their small groups rather than brushing them flat.
- Open and remove the side clips once the front stops dripping. Let the fringe air-dry without repeatedly touching it.
- Rinse the cup if used, put supplies away and wipe splashes from the basin and floor. Allow drying time before covering the fringe.
About 2–5 minutes of handling for a small fringe, including setup, washing, rinsing, blotting and cleanup. Optional conditioner can add handling and waiting; drying takes extra time.
You’re done when…
The front roots and fringe are rinsed free of shampoo and any conditioner. The fringe is no longer dripping, the clips are out, and you can leave it to dry or use your usual styling method.