Take down extension braids at home
A no-cut method for taking down accessible, freely separating individual extension braids.
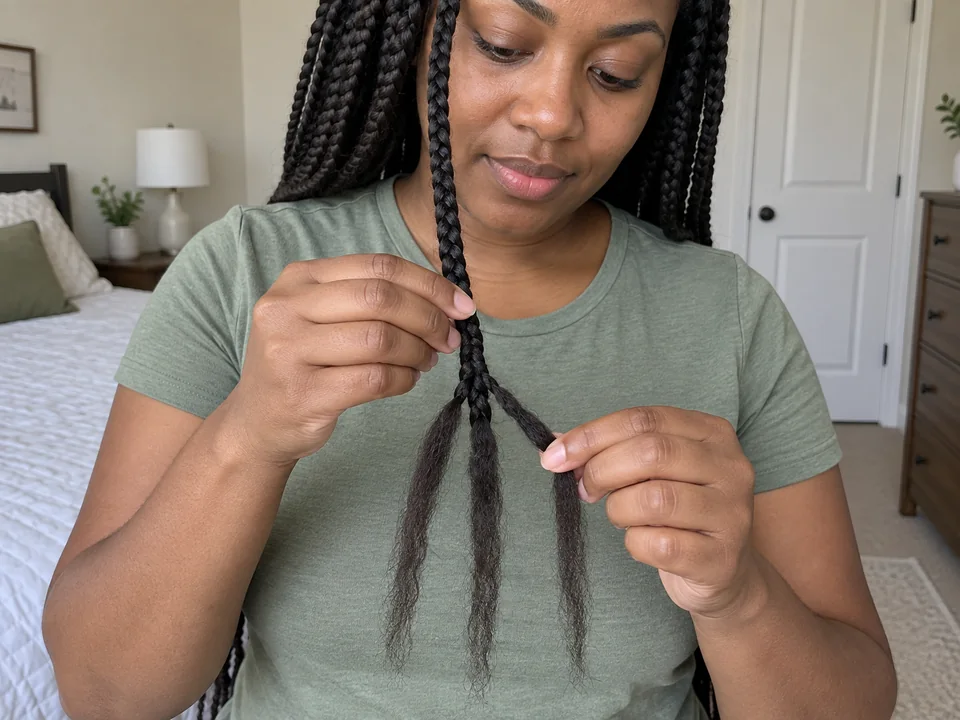
Step by step
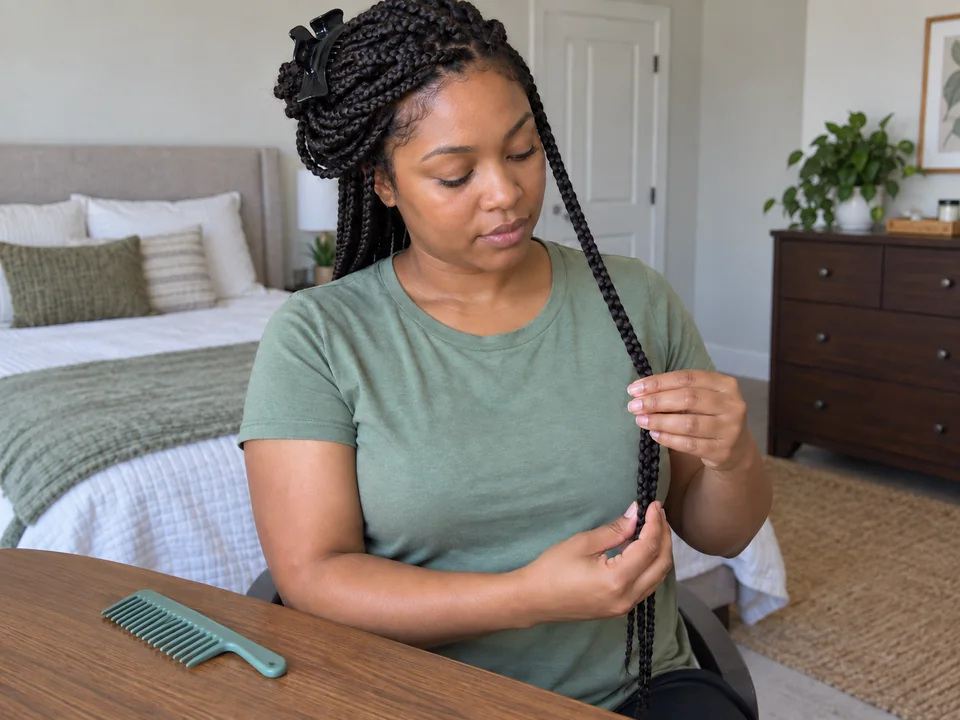 STEP 1 OF 3
Check one braid before starting
- Sit with good light, clean hands and a mirror. Keep undone hair and added fiber separate with loose clips and a towel for collecting released fiber.
- Choose one reachable braid. Identify an open end that separates with fingers; never cut based on a guessed natural-hair length.
- If the end is sealed, the root is matted or you cannot identify the construction, stop and arrange specialist takedown.
- STEP 2 OF 3
Undo from the end upward
- Hold the braid above your working point with one hand; use the other fingertips to reverse its lowest crossing.
- Alternate hands to separate one crossing at a time, moving toward the root without pulling on the scalp.
- When added fiber separates freely, lift it away. Do not yank the final root crossing or scrape buildup with a sharp tool.
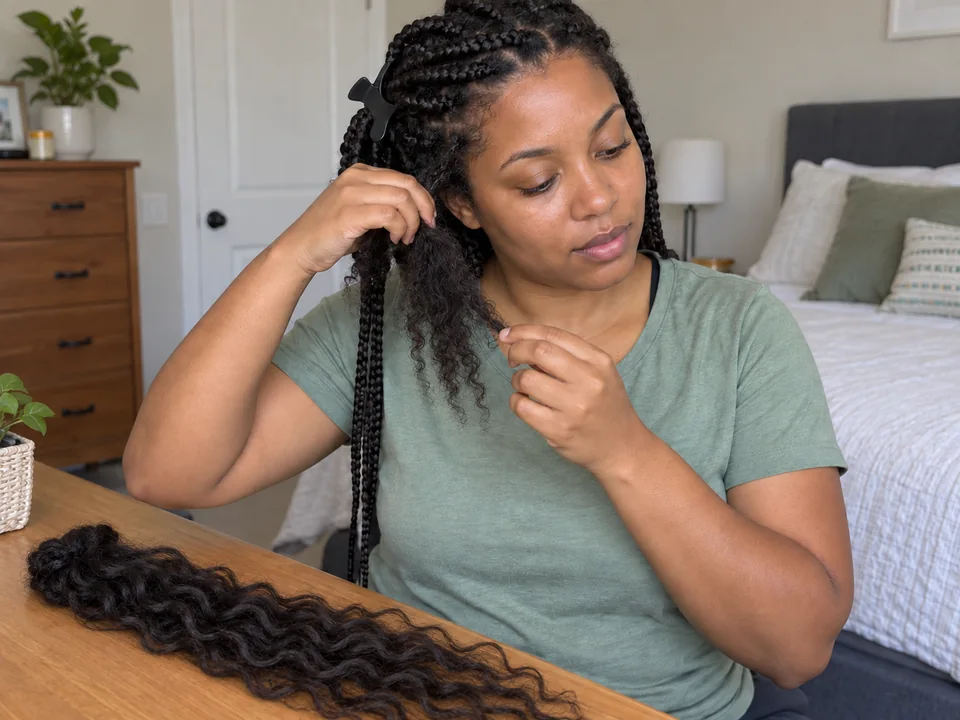 STEP 3 OF 3
Release shed hair before washing
- Support the released section and gently separate loose shed strands with your fingers, starting at the ends.
- Keep that section loosely apart while you repeat. Take breaks, then complete gentle detangling before the wash routine.
- Collect discarded fiber and clean your tools. Leave unresolved tangles for specialist help, without cutting or tearing.
About 2–6 hr hands-on for undoing a full head of extension braids from open ends without cutting, freeing shed hair and cleanup. Add breaks; washing and subsequent drying are separate.
You’re done when…
Added fiber is removed from every completed section and loose shed hair separates without pulling. Any resistant or inaccessible area is a stop point, not a reason to force it.