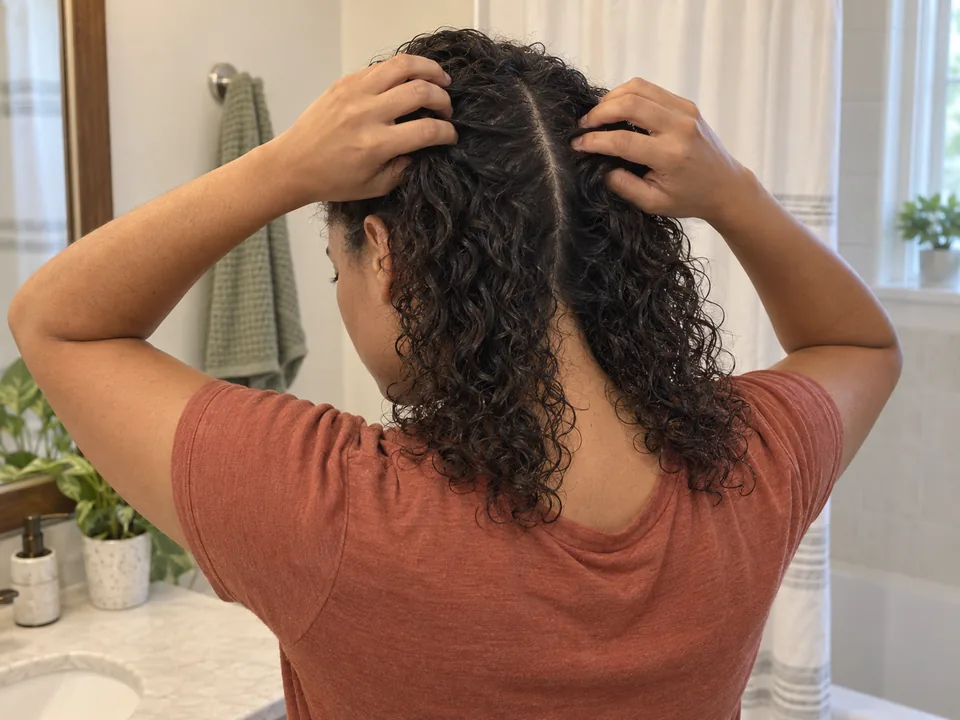
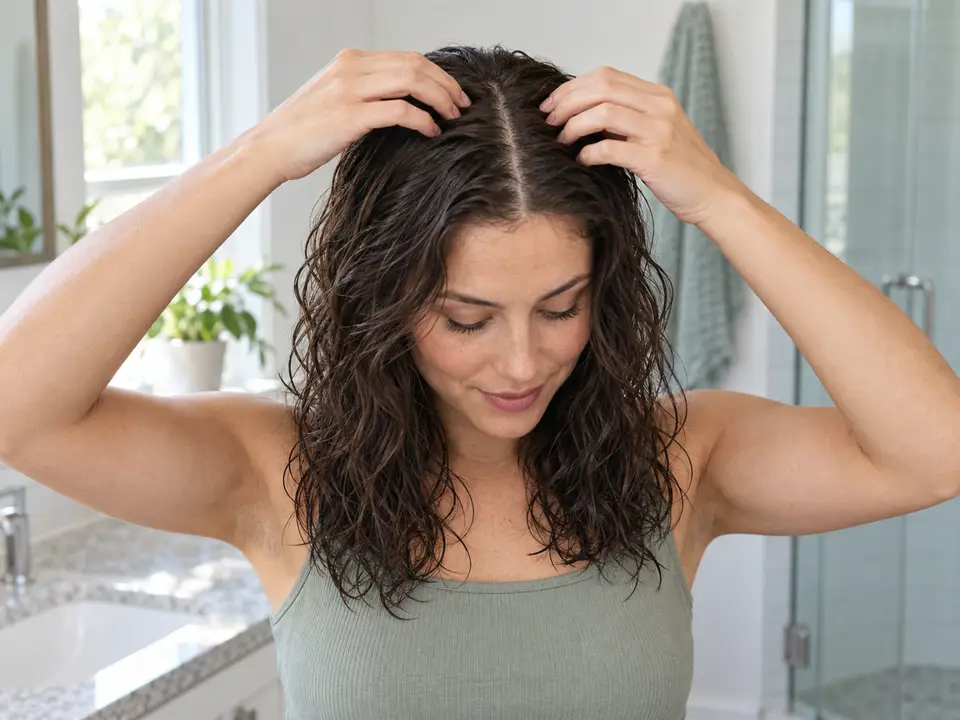
Smooth individual curls with shingling
Try shingling when a few curls need more individual shaping than a quick pass through a section. Start with a reachable front or side area, smooth one small curl group at a time, then let it settle.
Step by step
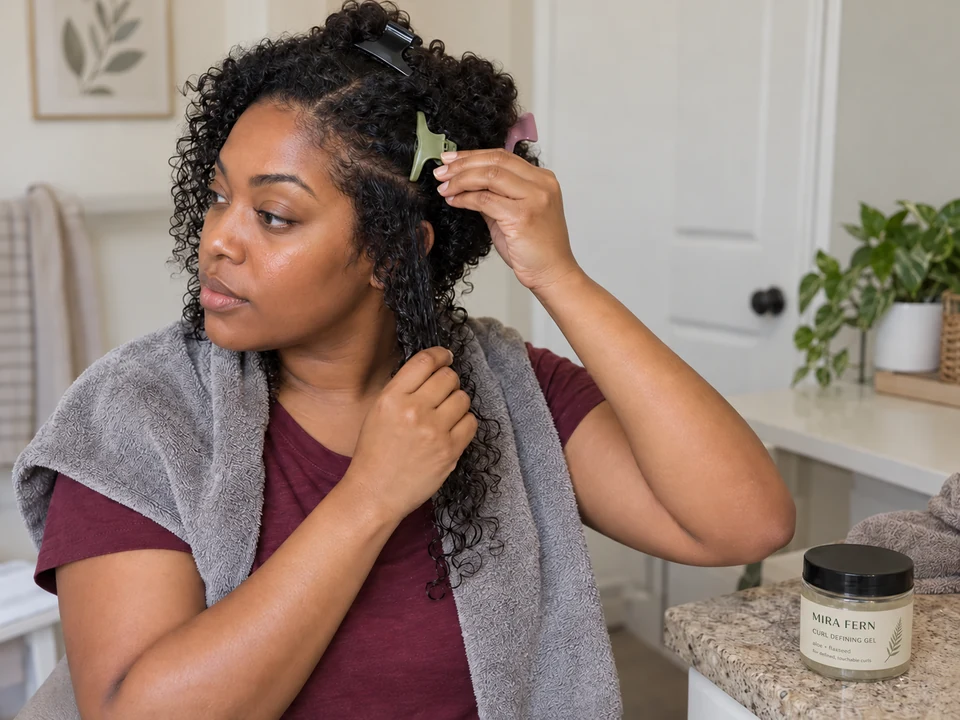 STEP 1 OF 8
Leave one wet side area free
- Start with clean hands and washed, detangled hair. Keep one reachable front or side area wet.
- Clip the surrounding hair loosely out of the way. A towel over your shoulders can catch drips.
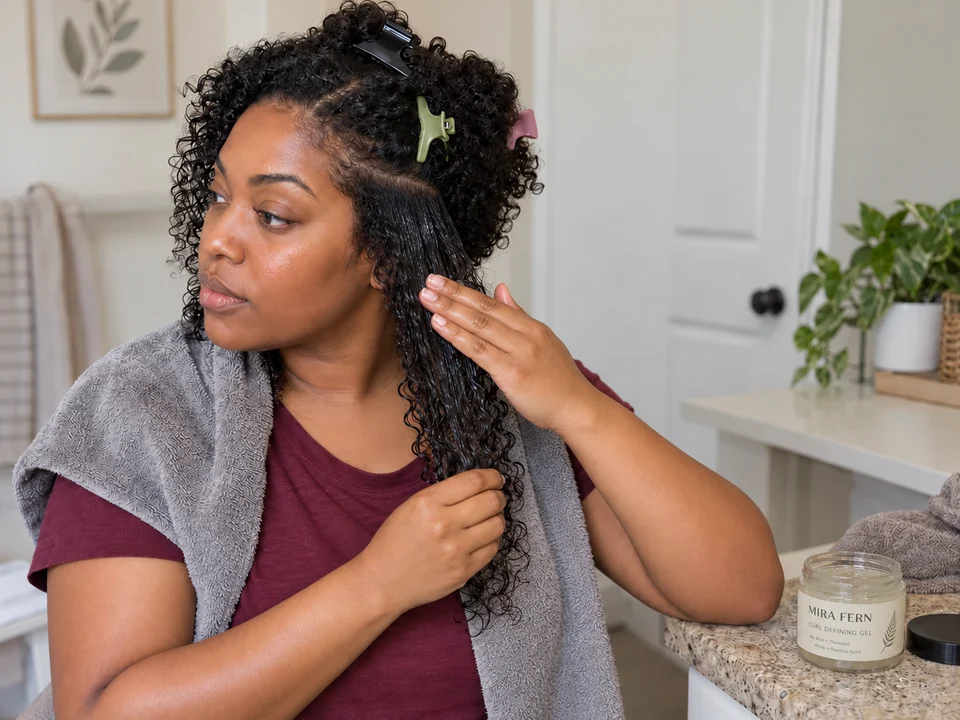 STEP 2 OF 8
Spread your styler through that area
- Use a leave-in curl gel or cream whose directions allow wet-hair use and air-drying. Follow its directions for amount and placement.
- Support the lower lengths loosely while spreading product through the working area. Close the container and put it down before separating curls.
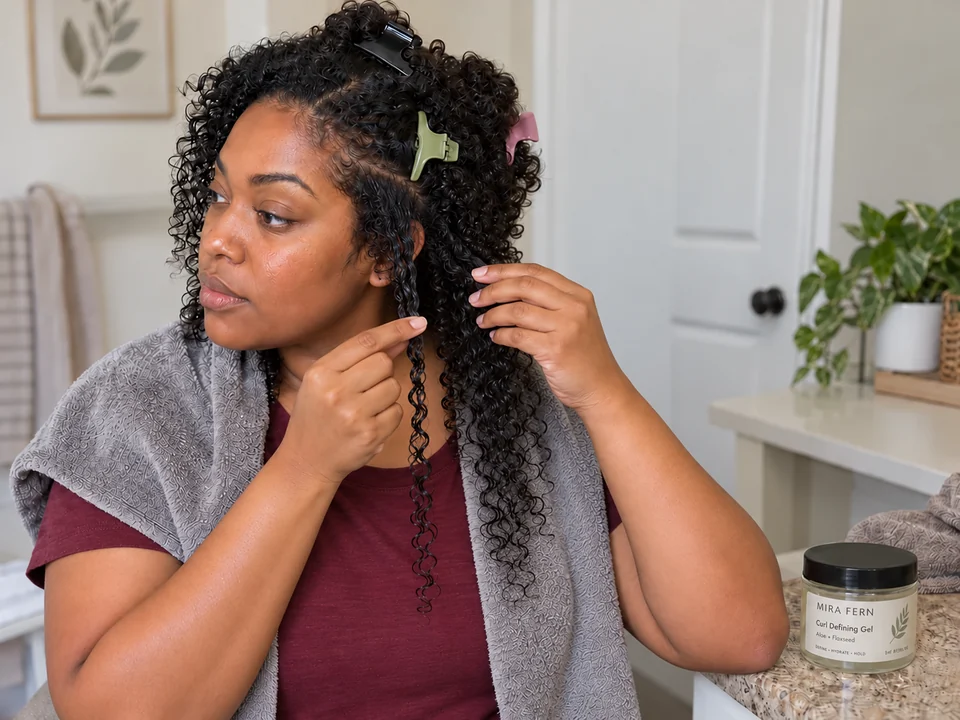 STEP 3 OF 8
Choose one natural curl group
- Use your fingers to find a small group that already sits together within the wet section. Move neighboring hair aside.
- Separate that group down to its ends without pulling through tangles. It should be easy to hold between a thumb and finger.
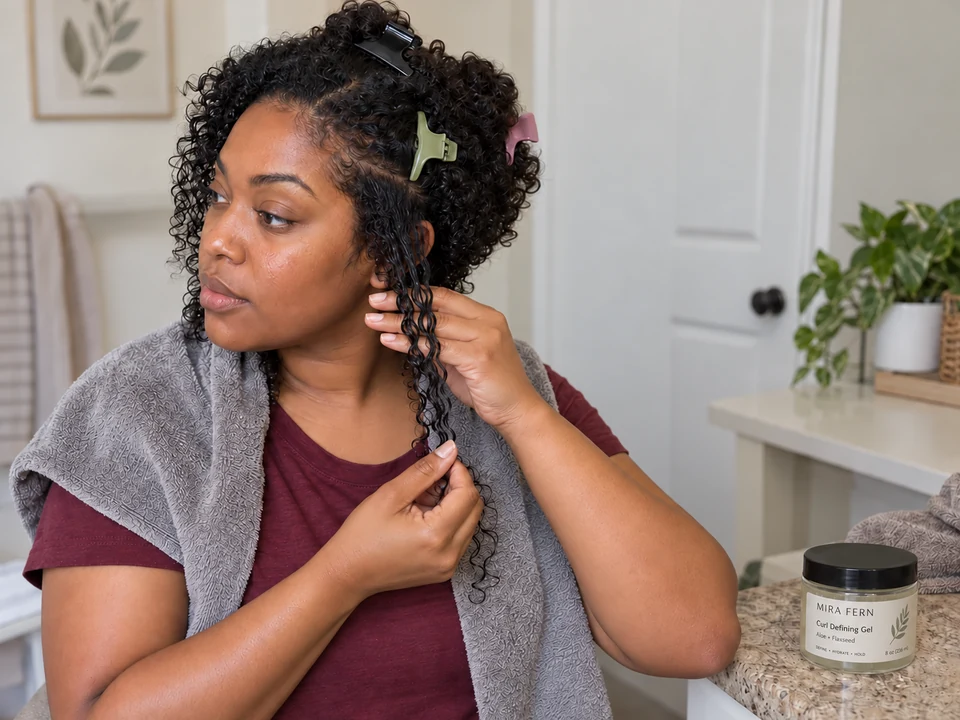 STEP 4 OF 8
Glide down the curl group
- Hold the group gently near its upper length with one hand. Keep slack between that hand and your scalp.
- With the other thumb and finger, glide lightly down the group toward its tips. Keep your grip loose enough for the hair to slide.
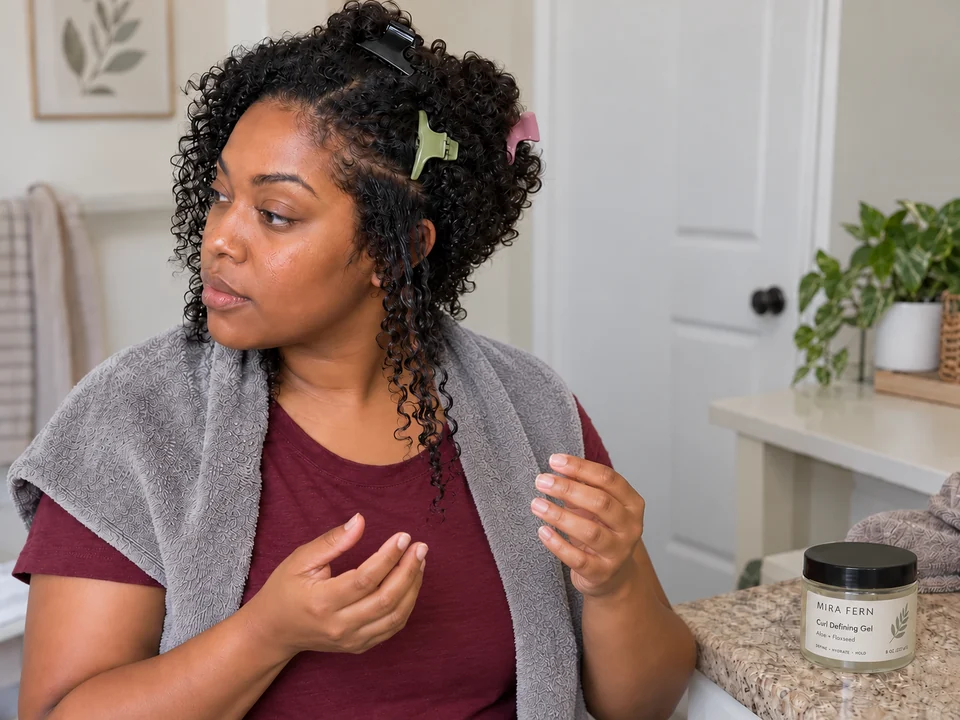 STEP 5 OF 8
Let the curl go before choosing another
- Open the fingers at the tips, then release the supporting hand. Move both hands away so the curl can settle.
- Repeat on neighboring groups you want to shape. Leave finished groups loose instead of smoothing them again or clipping them up.
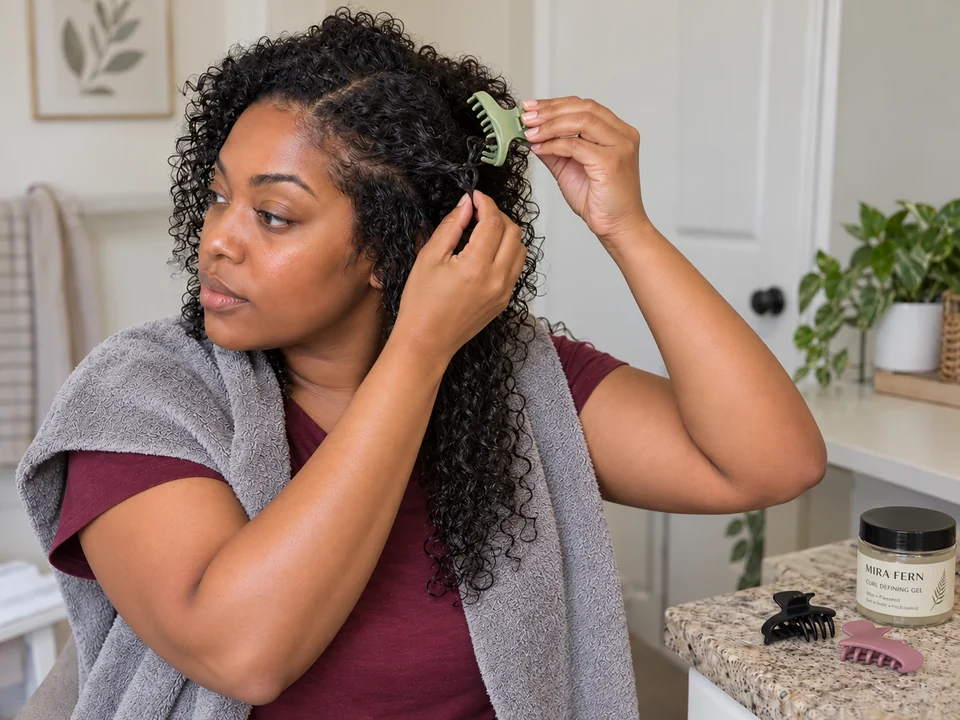 STEP 6 OF 8
Take out the sectioning clips
- When you finish the chosen area, open each remaining clip fully. Free any caught strands before lifting the clip away.
- Let the hair hang loose to air-dry. Avoid more separating or smoothing while it dries.
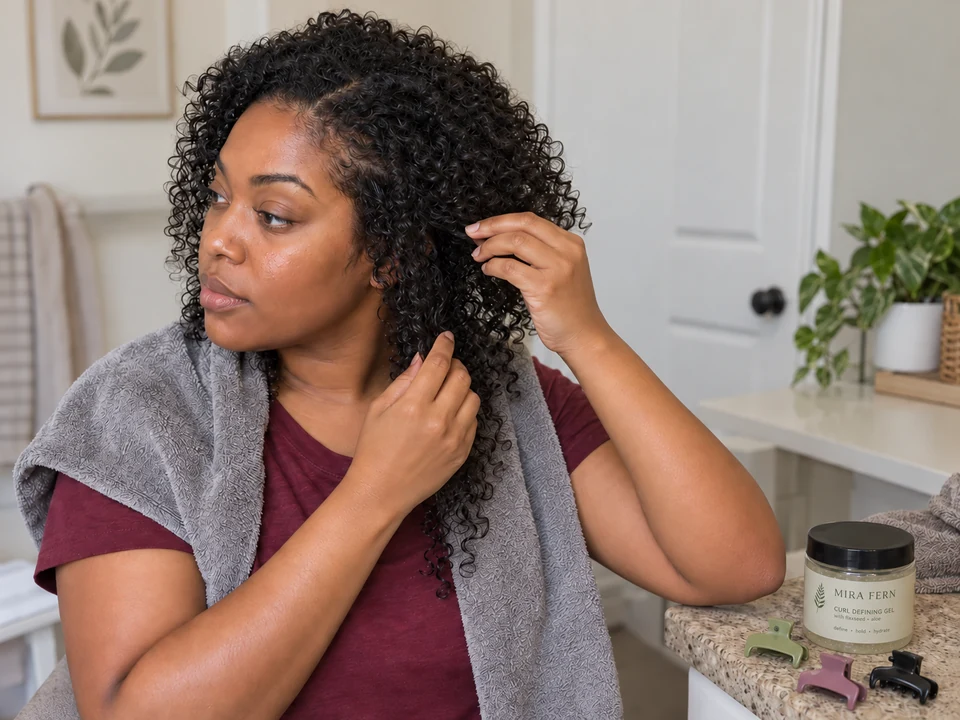 STEP 7 OF 8
Check the roots and inner lengths
- Once the surface seems dry, lift an outer curl gently and feel near the roots, through the inner lengths and at the ends.
- Give any damp area more time. Arrange the curls lightly only when the whole area you styled feels dry.
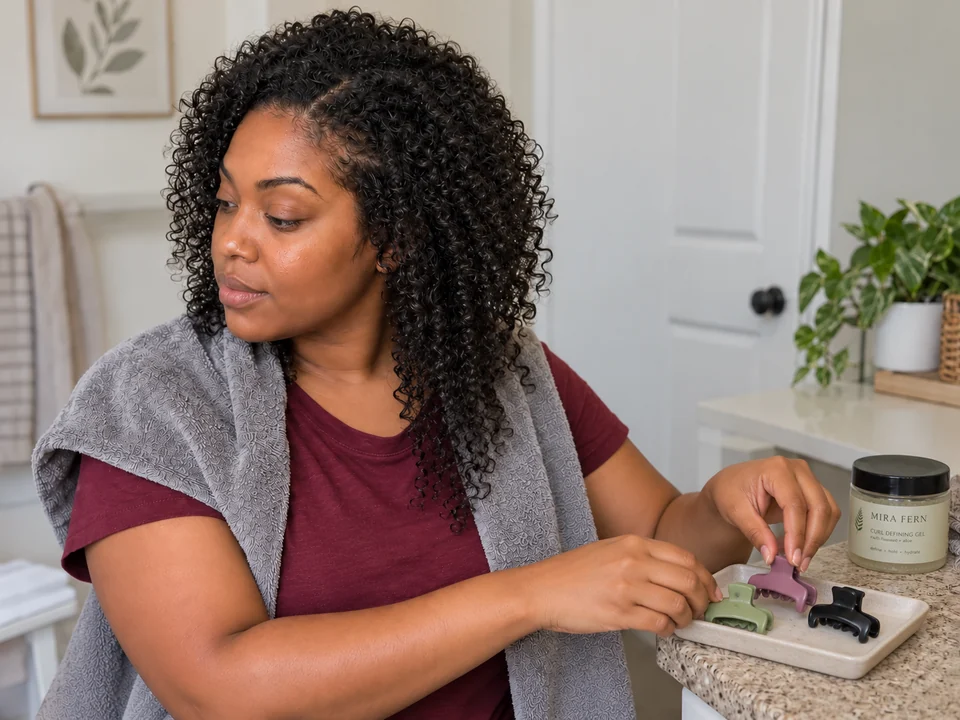 STEP 8 OF 8
Put away the clips
- Leave the dry curls as they are, or adjust only the few pieces you want to move.
- Wash your hands and clean used clips according to their care directions. Let the clips dry before putting them away.
About 8–20 minutes of handling for one front or side area, including sectioning, styler application, smoothing, clip removal, checks and cleanup. Add drying time.
You’re done when…
All clips are out, the chosen area feels dry at the roots, inner lengths and ends, and the curl groups hang freely. Arrange only the pieces you want to move.
Related techniques
Connected steps for your routine.