Put on a loose sleep bonnet
Use a roomy bonnet when you want to tuck dry, loose hair away for sleep. Choose the forward-leaning or upright method, then check the band against your pillow.
Step by step
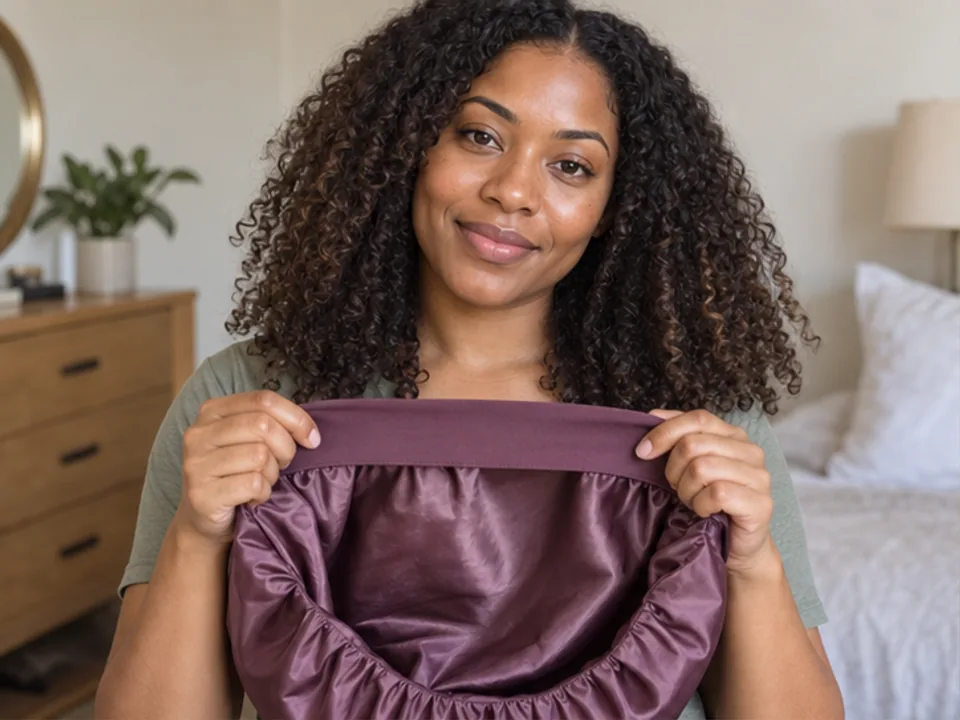 STEP 1 OF 10
Open the bonnet
- Check that your hair, scalp and bonnet are dry. Remove hard clips and choose a bonnet deep enough for your loose hair.
- Open the band with both hands, with the smooth hair-facing side inward. Follow any first-wash care directions before using a new bonnet.
- Choose the forward-leaning steps next, or skip to the upright option if bending is uncomfortable.
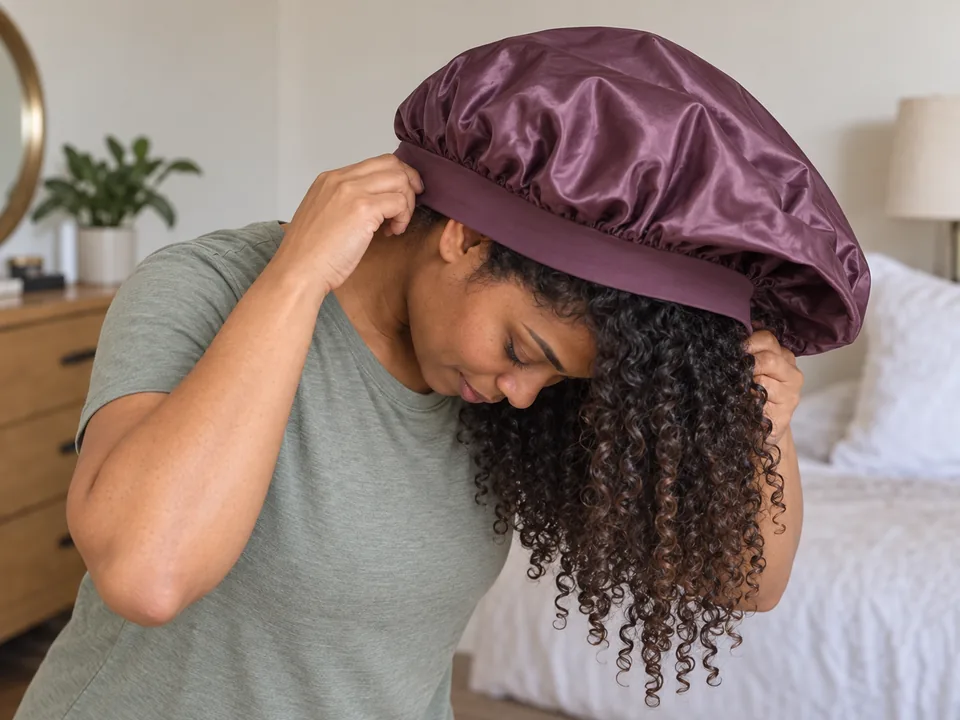 STEP 2 OF 10
Forward option: set the back band
- Lean forward only as far as is comfortable and let the loose lengths hang toward your face.
- Hold the band open with both hands. Set the back edge at your nape, where the neck meets your hairline, and bring the sides forward.
- Keep the front open so the lengths can hang outside without being caught under the band.
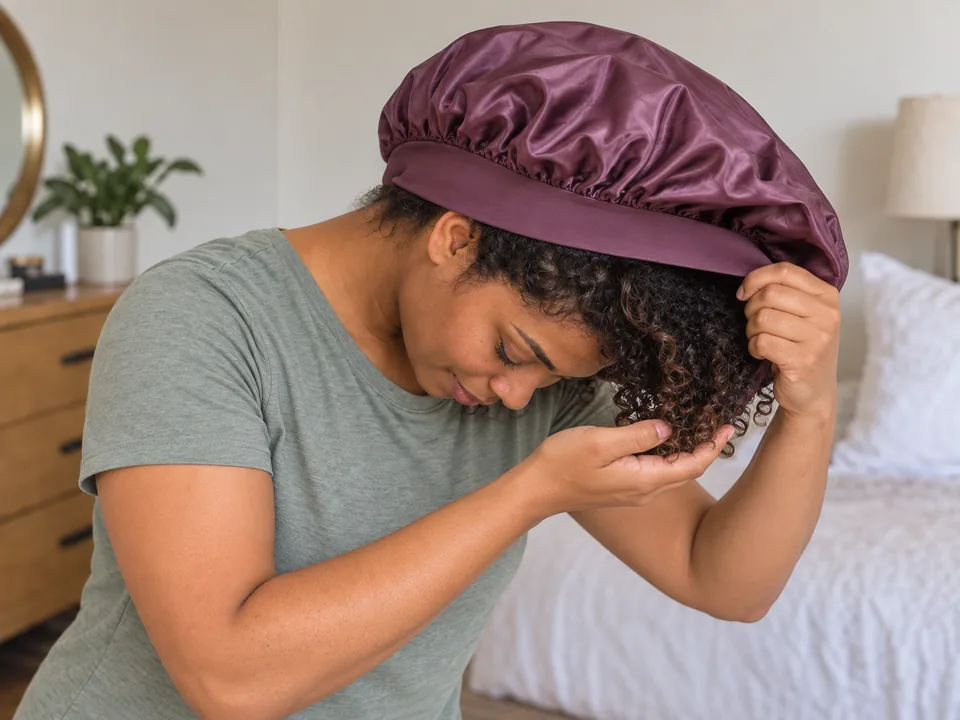 STEP 3 OF 10
Lift the hanging lengths inside
- Keep the front edge open with one hand. Cup the ends with your other palm and lift them into the bonnet in small portions.
- Fold longer lengths loosely inside. If the back band slips or the hair feels packed in, pause and reposition or use a deeper bonnet.
- Once the lengths are inside, skip the two upright-option steps and continue to settling the front band.
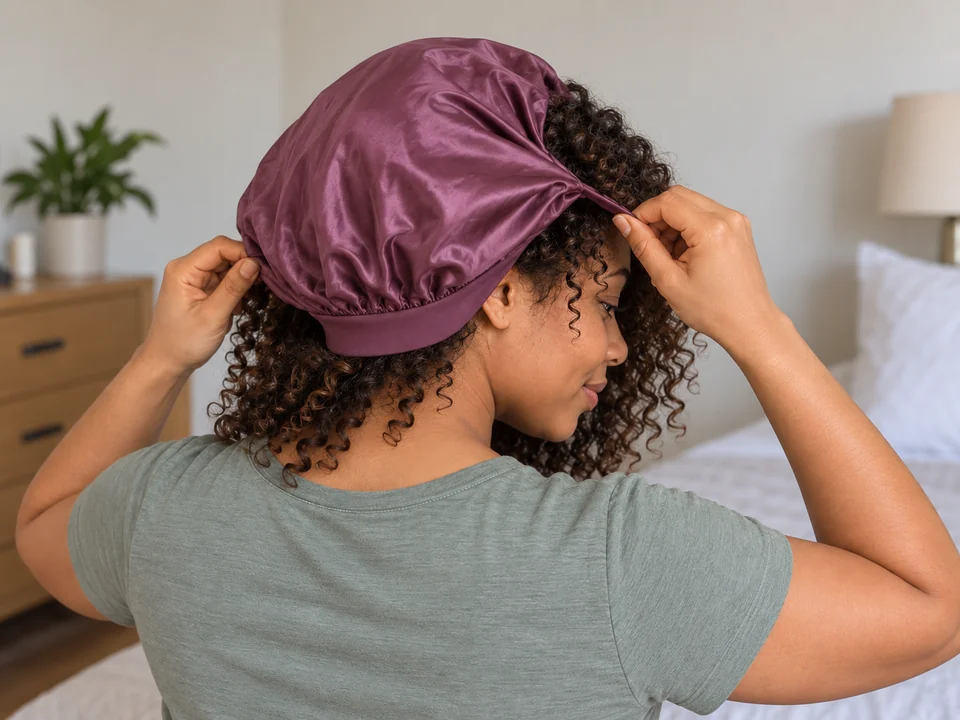 STEP 4 OF 10
Upright option: rest the bonnet over your hair
- Use this and the next step instead of leaning forward. Sit or stand with your head upright.
- Hold the opening with both hands and rest the loose cap over the back and crown of your head. Keep the front and sides open.
- Leave any hair outside the edge loose while you position the cap. Do not pull the band tight over it.
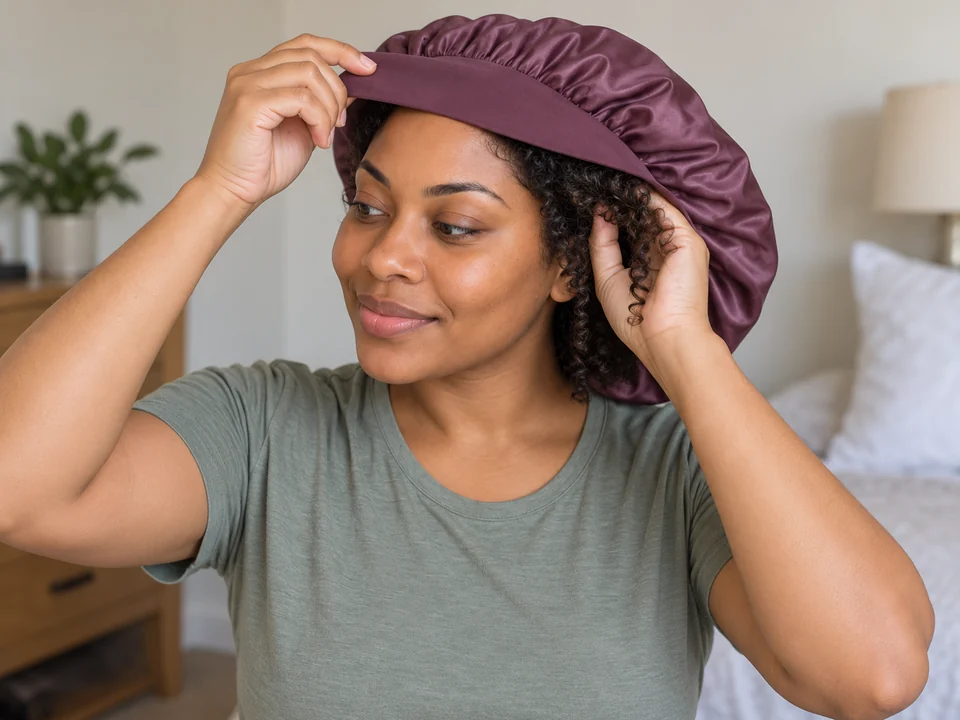 STEP 5 OF 10
Tuck small portions while staying upright
- Hold one part of the edge open with one hand. Use the other to lift a small portion of hair inside, then switch hands as needed.
- Work around the sides and back. Lower the back band toward your nape as the hair goes inside, keeping strands clear of its edge.
- Leave the front band loose until the lengths are inside. Pause if your arms tire or the hair needs to be forced in.
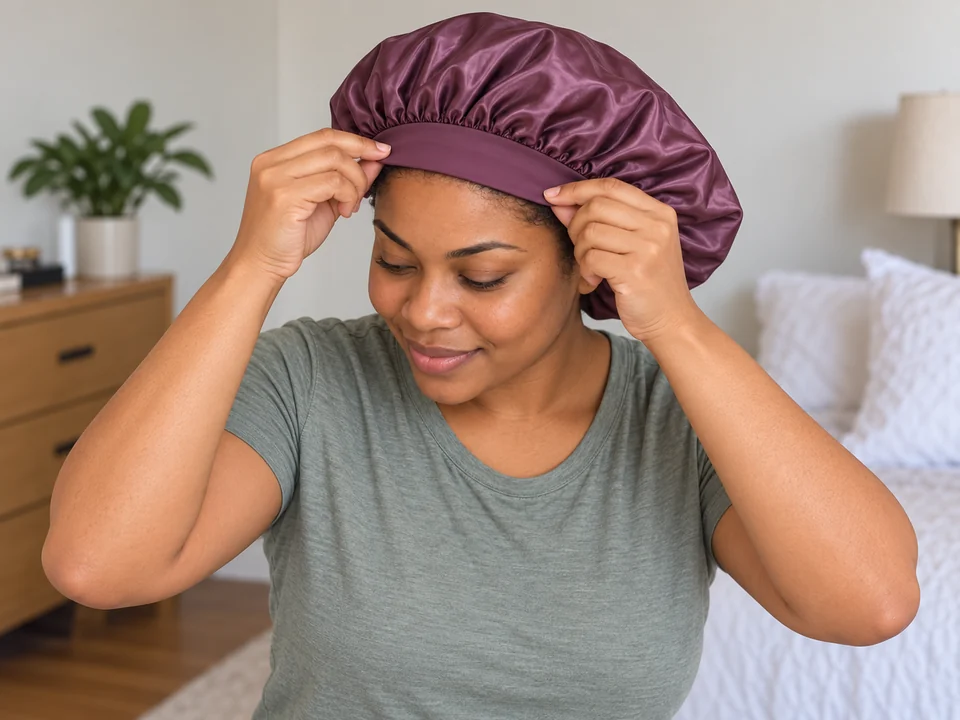 STEP 6 OF 10
Settle the front band
- Once the lengths are inside, use both hands to ease the front band into place at your hairline. Keep it clear of short hairs as it moves.
- If you leaned forward, raise your head slowly. Let the hair rest loosely inside rather than pulling the band down to squeeze it in.
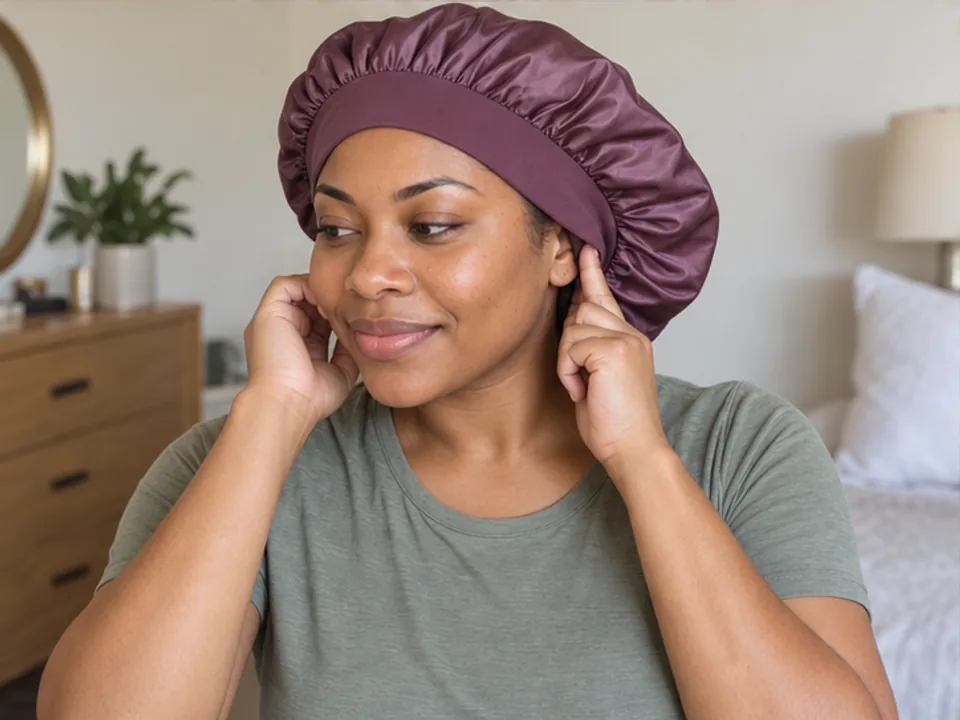 STEP 7 OF 10
Check around the band
- Feel around the front, sides and nape. Flatten any folded band and gently free hair caught beneath it.
- Lift the edge a little to tuck a stray end, then let it rest again. The band should stay comfortable without pulling your hair or pressing your ears.
 STEP 8 OF 10
Check it on your pillow
- Rest in your usual sleeping position and turn your head gently. Check for a pressing seam, folded band or pulling at the hairline.
- Sit up and refit anything uncomfortable. If the bonnet still slips or presses, take it off and try another size or design.
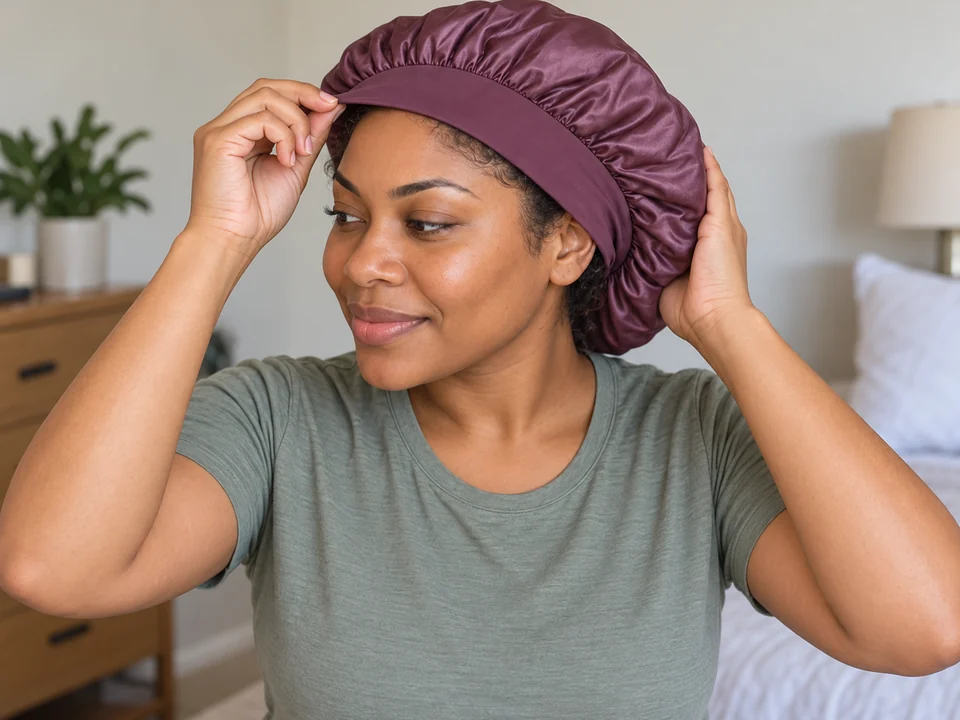 STEP 9 OF 10
In the morning, free the band
- Support the loose hair through the cap with one hand. Use the other to lift the band gently away from your hairline.
- Work around the edge and release any caught hairs before lifting farther. Stop if you feel a snag.
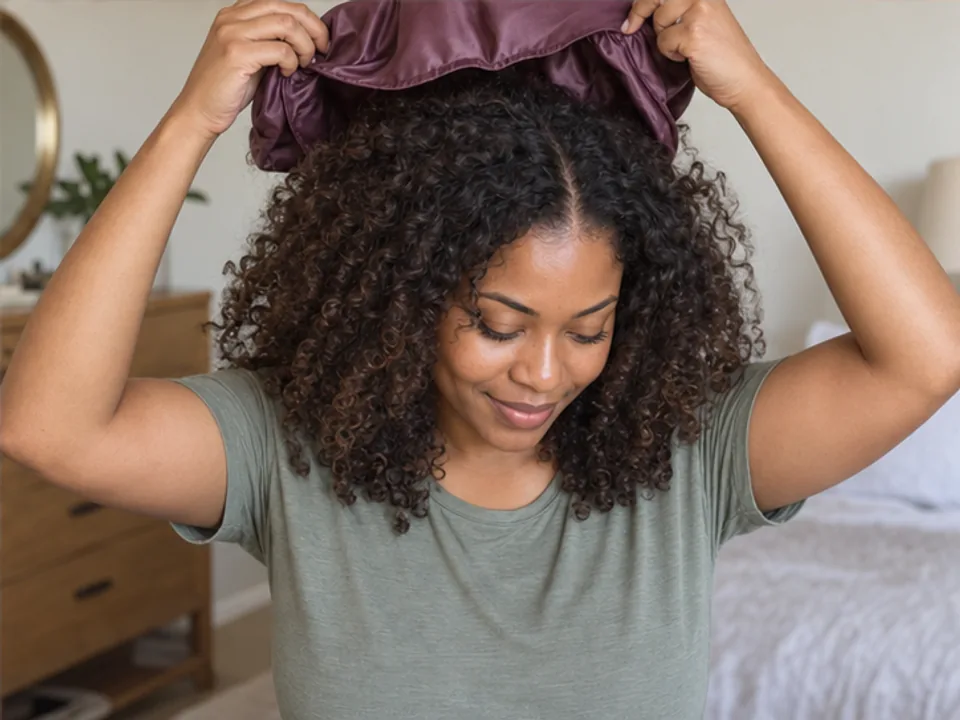 STEP 10 OF 10
Lift the bonnet clear
- Once the edge is free, hold it open with both hands and lift the bonnet clear, letting your hair fall out.
- If hair catches, lower the bonnet slightly and free it before continuing.
- Set the bonnet somewhere clean and dry. Wash it when it needs cleaning, following its care directions.
About 1–4 minutes of handling to fit the bonnet, check it on your pillow and remove it afterward. Add sleep time; drying and washing the bonnet are separate.
You’re done when…
Your hair rests loosely inside, the band lies flat, and it feels comfortable when you turn your head and rest on your pillow. In the morning, the bonnet lifts away without catching.
Related techniques
Connected steps for your routine.

Air-dry your hair
For loose hair that is still damp. Finish air-drying before putting on your bonnet.
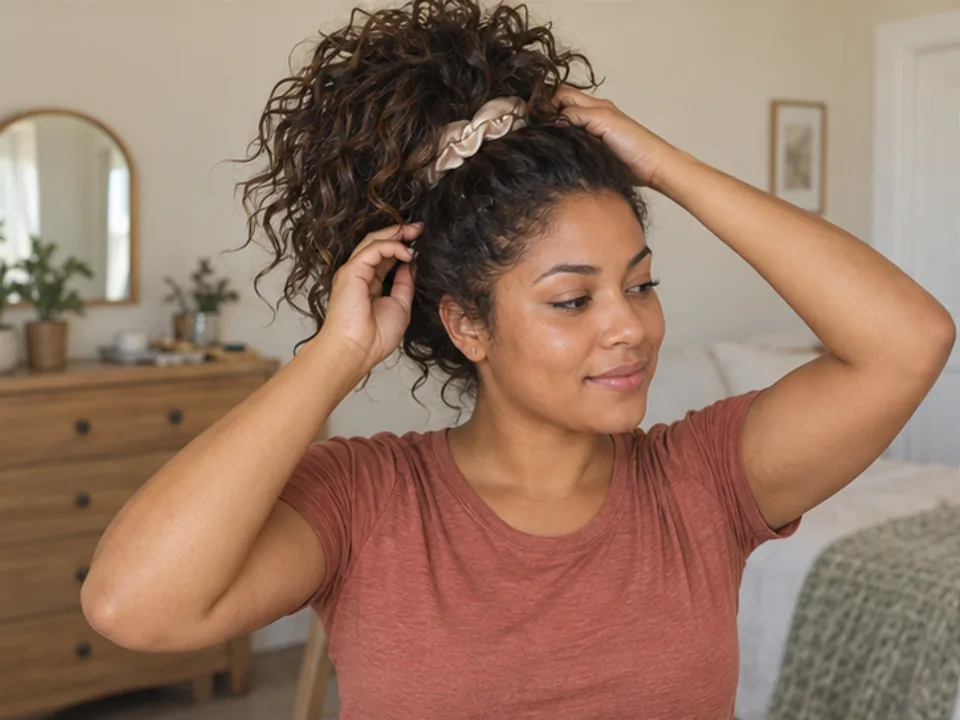
Put waves or curls in a loose pineapple
For dry waves, curls or coils long enough to gather high without pulling. A loose pineapple uses a soft tie instead of enclosing the hair.