Plop waves or curls with a T-shirt
Try plopping when you want to hold damp waves or curls together while a soft shirt absorbs some water. It is an optional pause before drying your hair loose, not a way to dry it fully inside a wrap.
Step by step
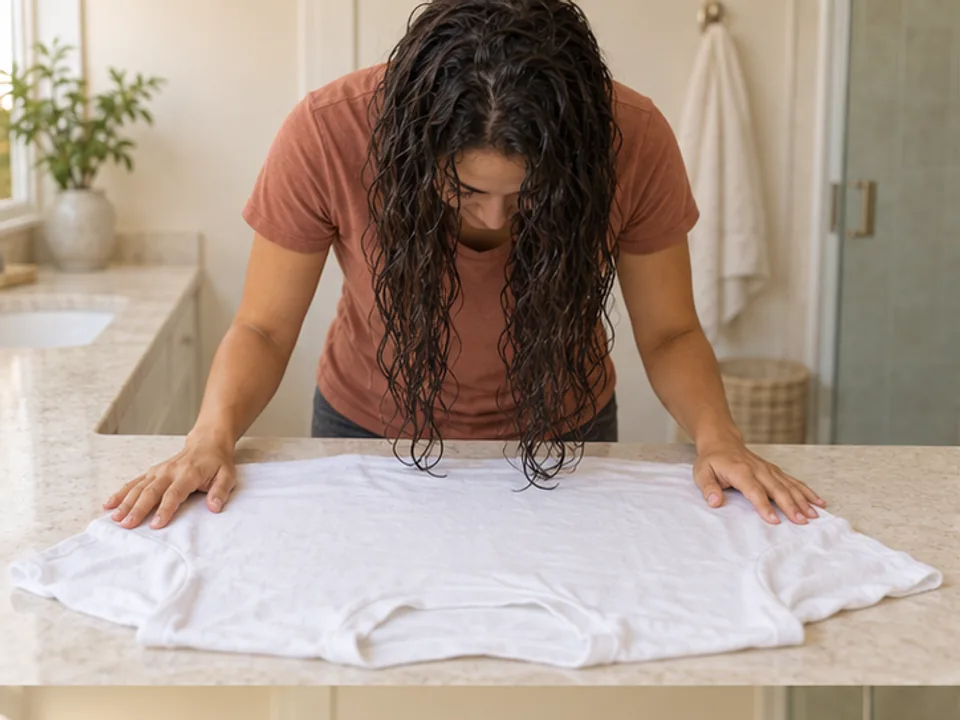 STEP 1 OF 9
Lay out the shirt
- Start with detangled, damp hair that is no longer dripping. Finish any styling you want first, following your product’s directions.
- Spread a clean, soft cotton T-shirt on a dry, stable surface. Put the hem nearest you and the neckline and sleeves farther away.
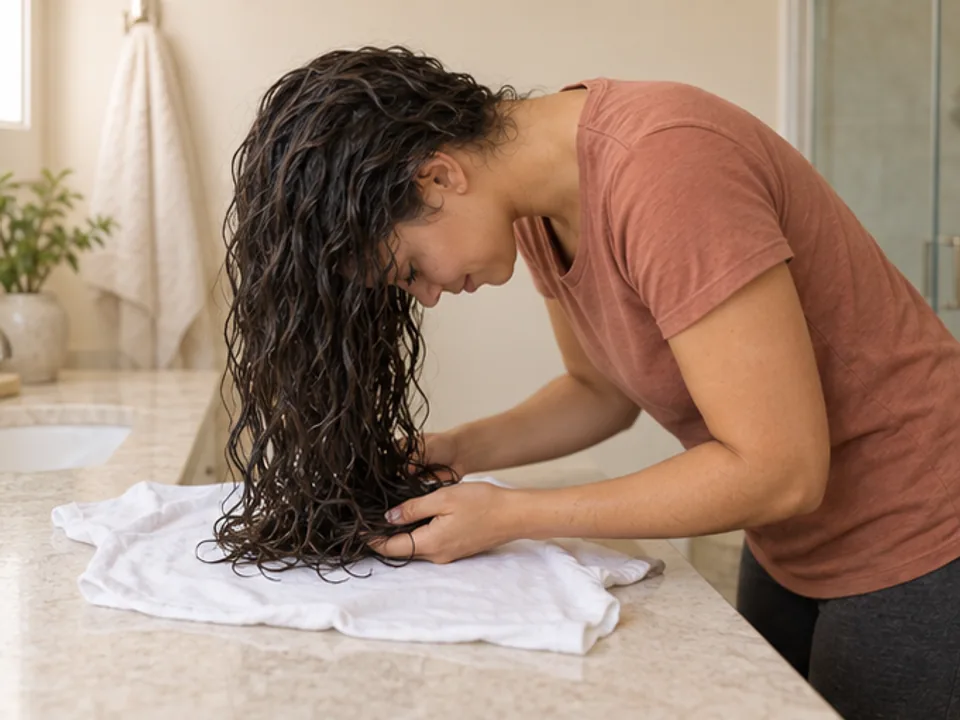 STEP 2 OF 9
Lower the ends into the center
- Bend forward and let the ends land in the middle of the shirt. Lower your head gradually so the rest of the lengths fold over the ends.
- Keep the hair in a loose pile beneath your crown. Do not rub it, twist it or press your weight onto your head.
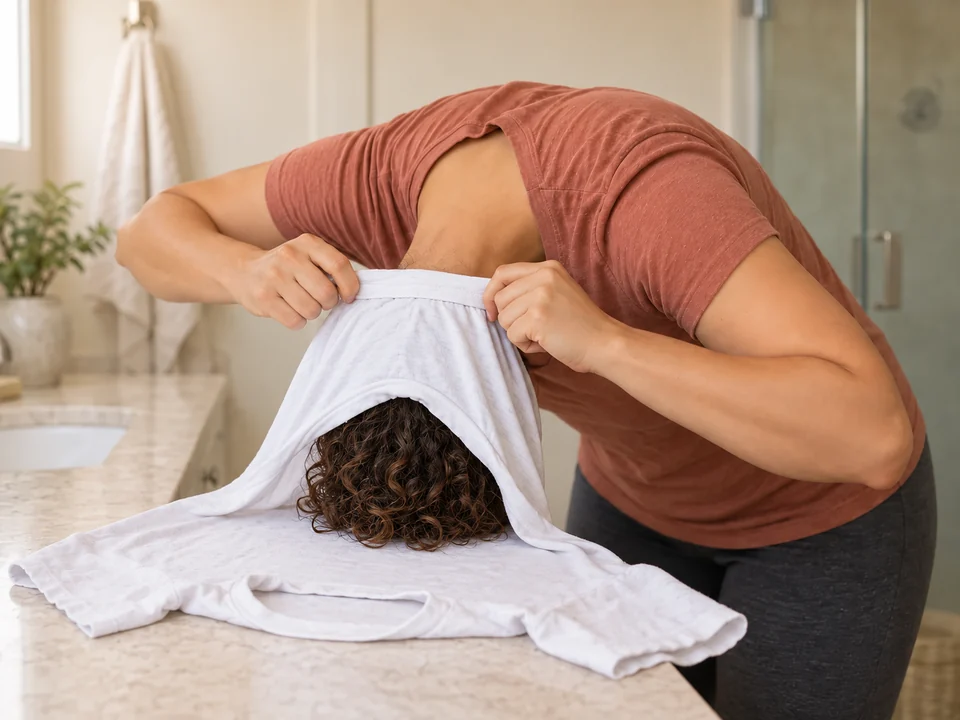 STEP 3 OF 9
Bring the near hem to the back of your head
- Keep your head lowered over the pile. Lift the hem edge nearest you with both hands and bring it to the back of your head, just above your neck.
- Hold that edge in place with one hand. Keep the lengths gathered inside the fabric without pulling them straight.
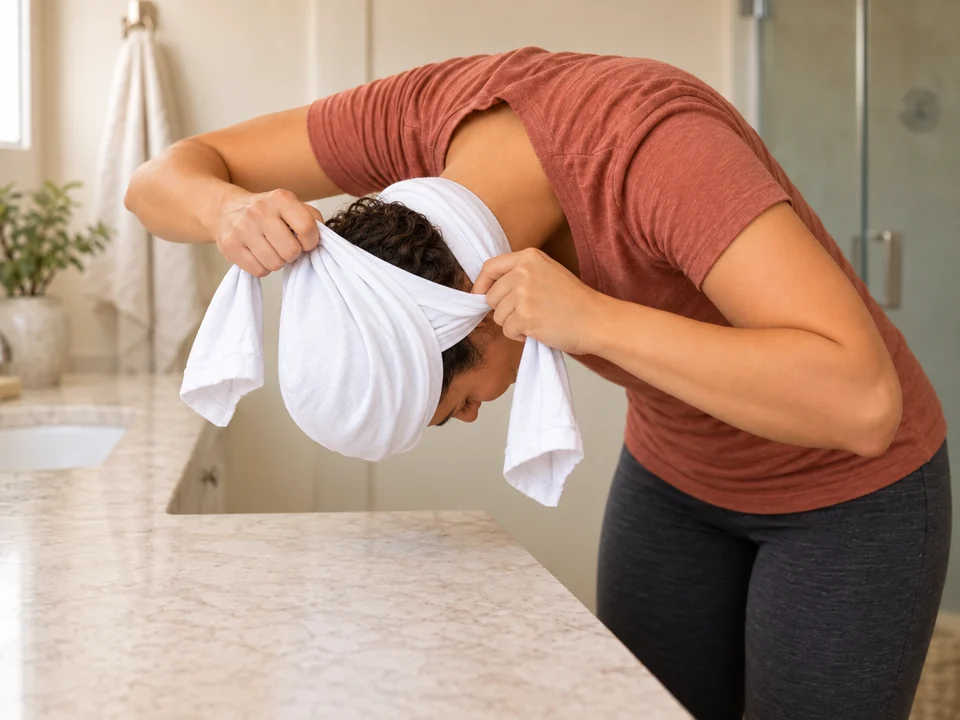 STEP 4 OF 9
Bring the neckline side to your forehead
- With your free hand, lift the far neckline edge toward your forehead, enclosing the remaining hair in a loose fabric pouch.
- With the far edge resting at your forehead, take a sleeve in each hand. Let the folded fabric rest loosely against your head, keeping your face and neck clear.
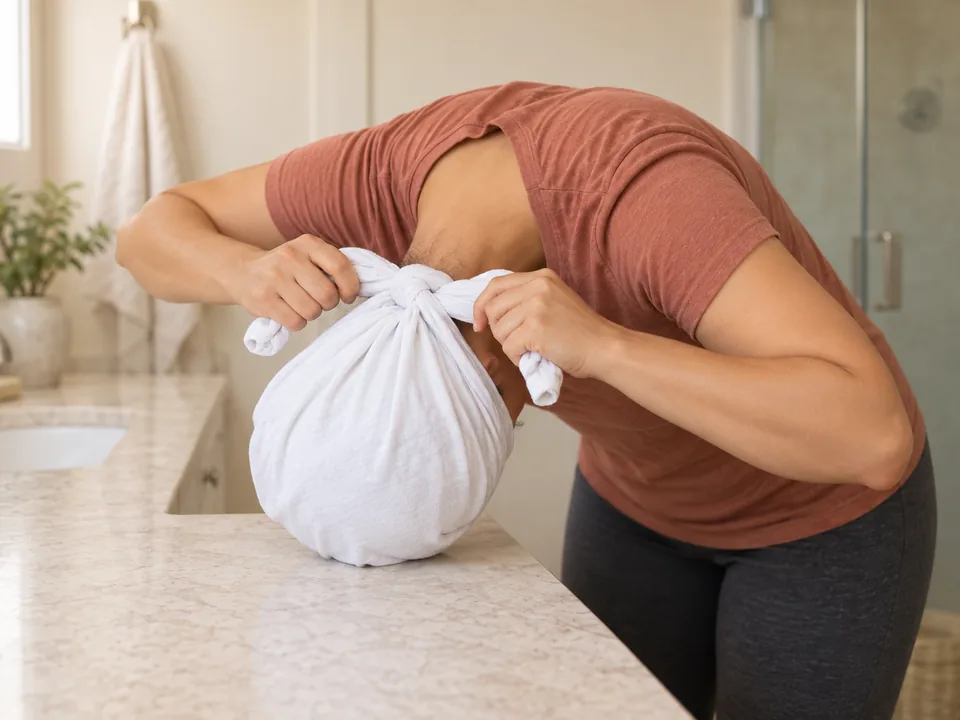 STEP 5 OF 9
Tie the sleeves behind your head
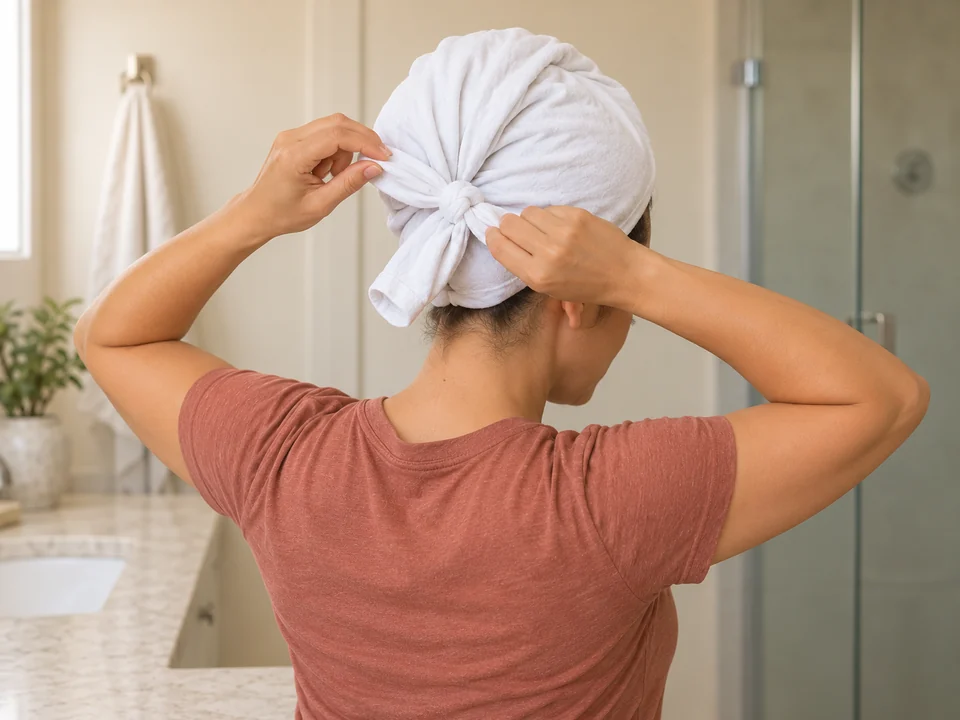
- Take one sleeve in each hand. Gather the loose fabric beside your ears, keeping hair out of the sleeve ends, and bring them together behind your head.
- Cross one sleeve over the other, pass it underneath, then repeat the crossing to make a loose knot. Stop tightening as soon as the wrap holds.
 STEP 6 OF 9
Straighten up and check the fit
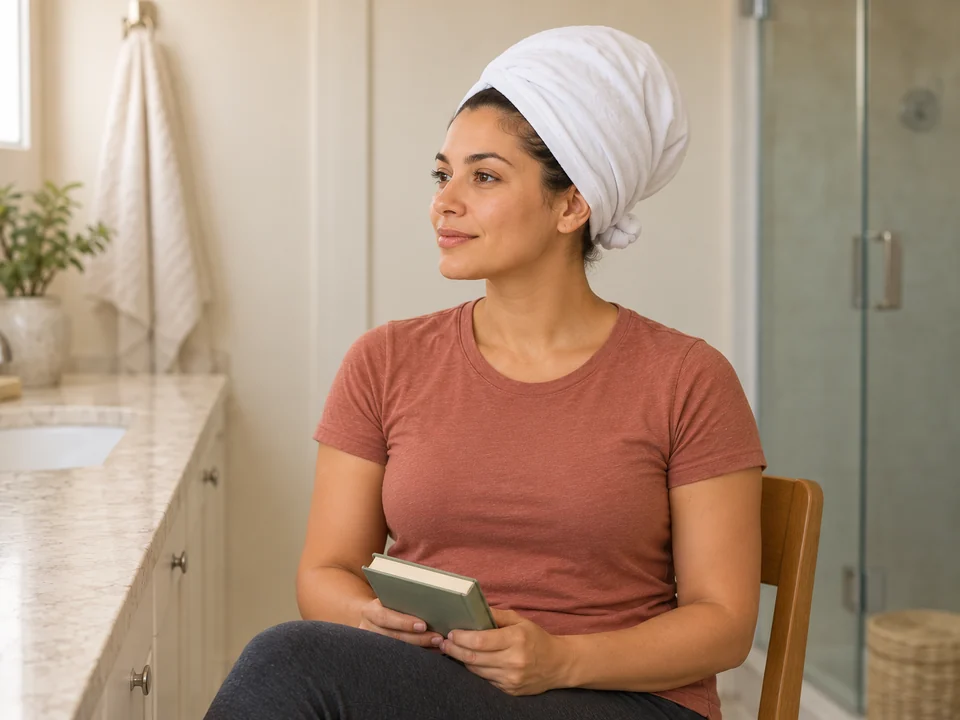
- Once the knot holds, straighten slowly. Check that the wrap stays in place without pulling the roots, pressing your neck or covering your face.
- Leave it on while you do something else at home. About 30–60 minutes is a starting range; you can unwrap sooner.
 STEP 7 OF 9
Loosen the knot before lifting the shirt
- While upright, reach both hands to the sleeve knot. Hold it steady with one hand and ease one sleeve end back through the top crossing with the other.
- Undo the remaining crossing, then hold the loosened fabric at both sides of your head. Free any caught hair before moving the shirt.
 STEP 8 OF 9
Lift the fabric away slowly
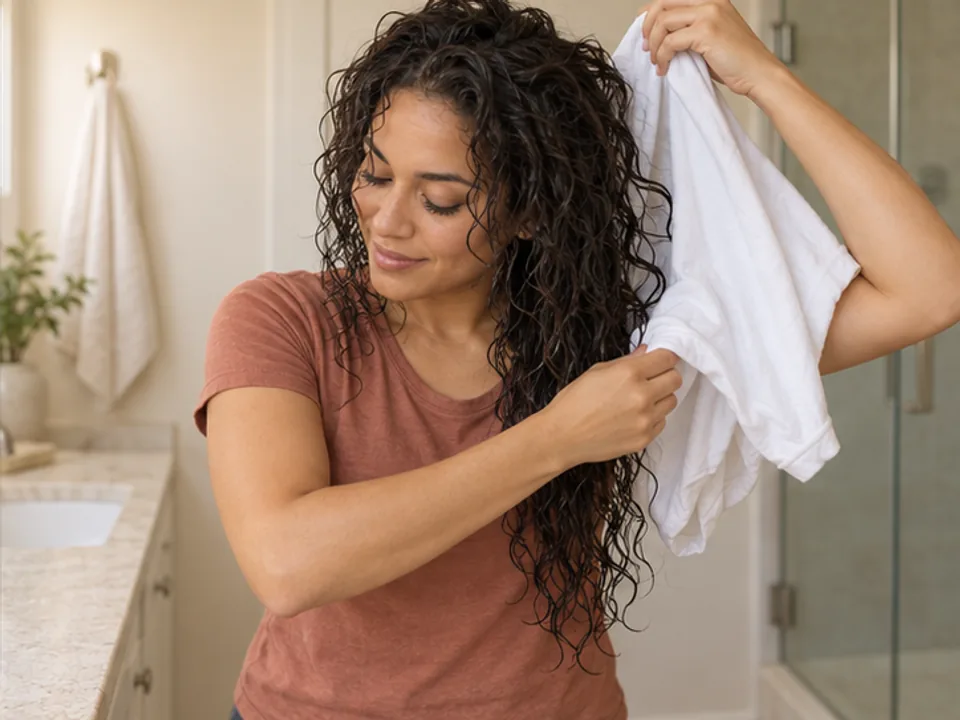
- With the sleeves untied, peel the shirt away from your head a little at a time. Let the damp lengths fall out on their own.
- If a curl catches in a fold, stop and loosen the fabric around it. Keep lifting until the shirt is completely clear of your hair.
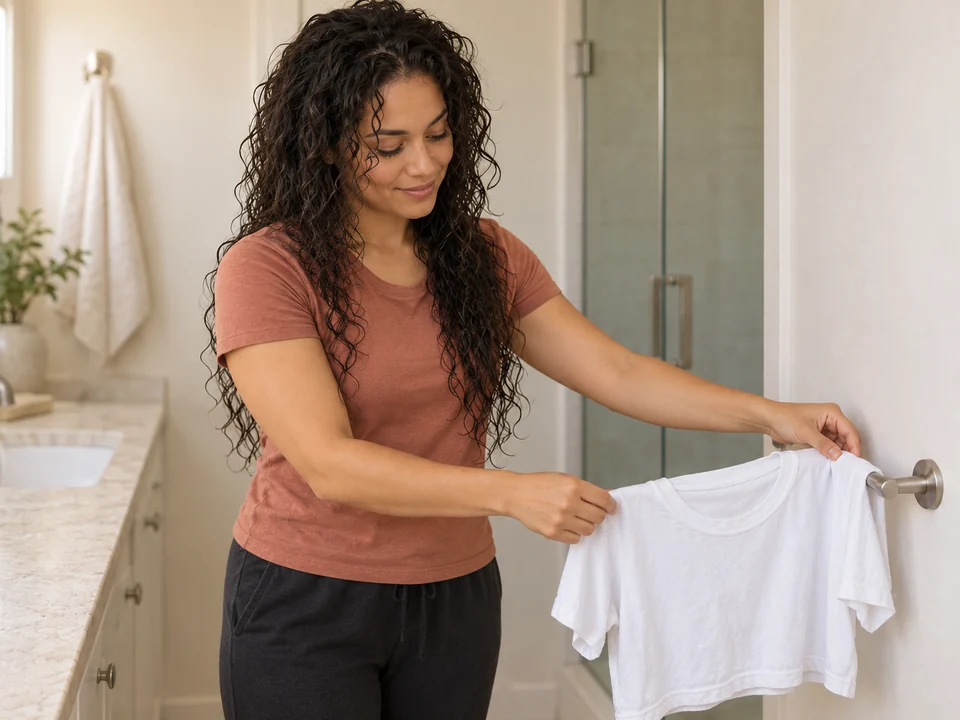 STEP 9 OF 9
Leave the hair loose and put the shirt aside
- Let the damp lengths settle without rubbing or pulling them apart. Continue with air-drying, or use the separate diffuser guide if that is your next step.
- Spread the used shirt out to dry rather than leaving it in a damp bundle. Wash it according to its care label before using it on your hair again.
About 3–6 minutes of handling for setup, wrapping, untying, removal and spreading out the shirt. Add the wrapped interval, final drying and any washing or styling beforehand.
You’re done when…
The shirt is off, the damp hair hangs freely, and you are ready to finish drying. The used shirt is spread out to dry or set aside for washing.
Related techniques
Connected steps for your routine.
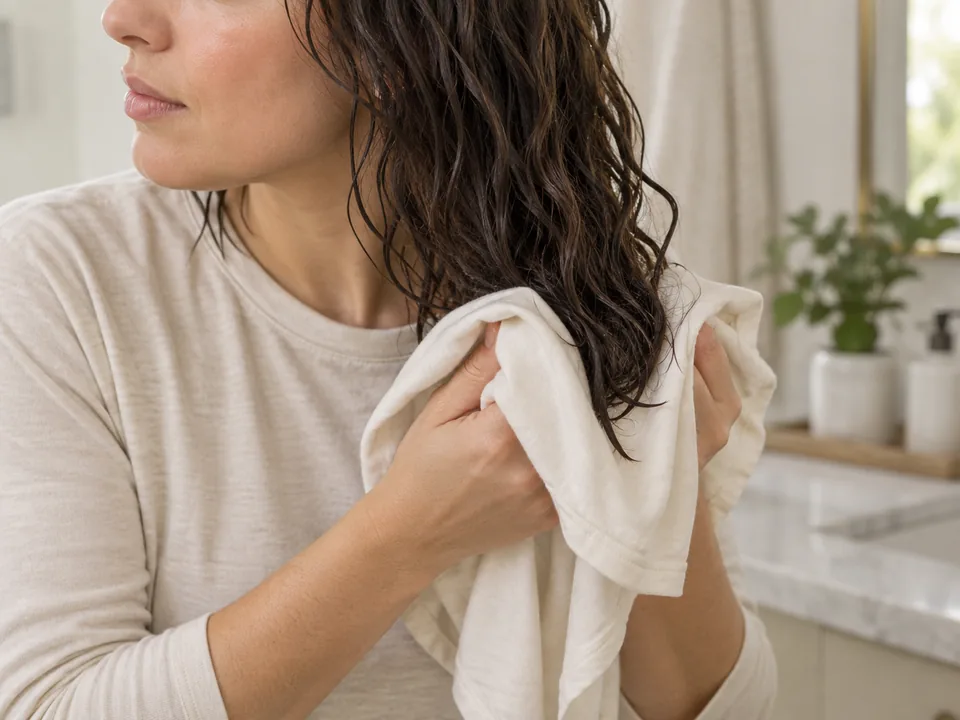
Dry hair gently with a cotton T-shirt
If bending or reaching the knot is uncomfortable, blot accessible lengths with a T-shirt while upright instead.
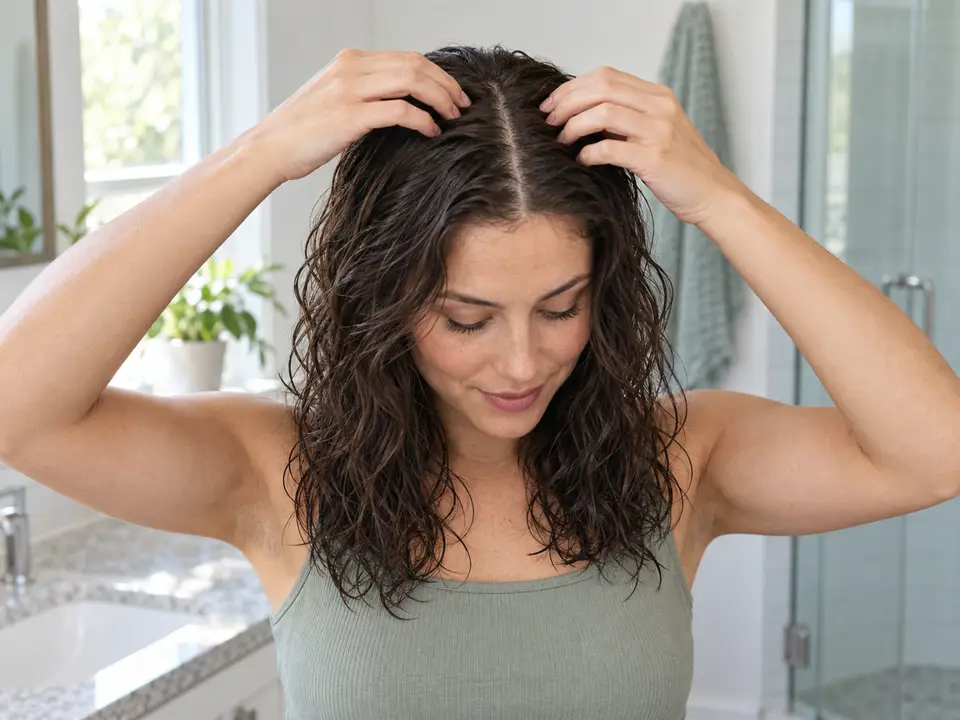
Air-dry your hair
After removing the shirt, leave the hair loose and check the roots and inner lengths as they finish drying.
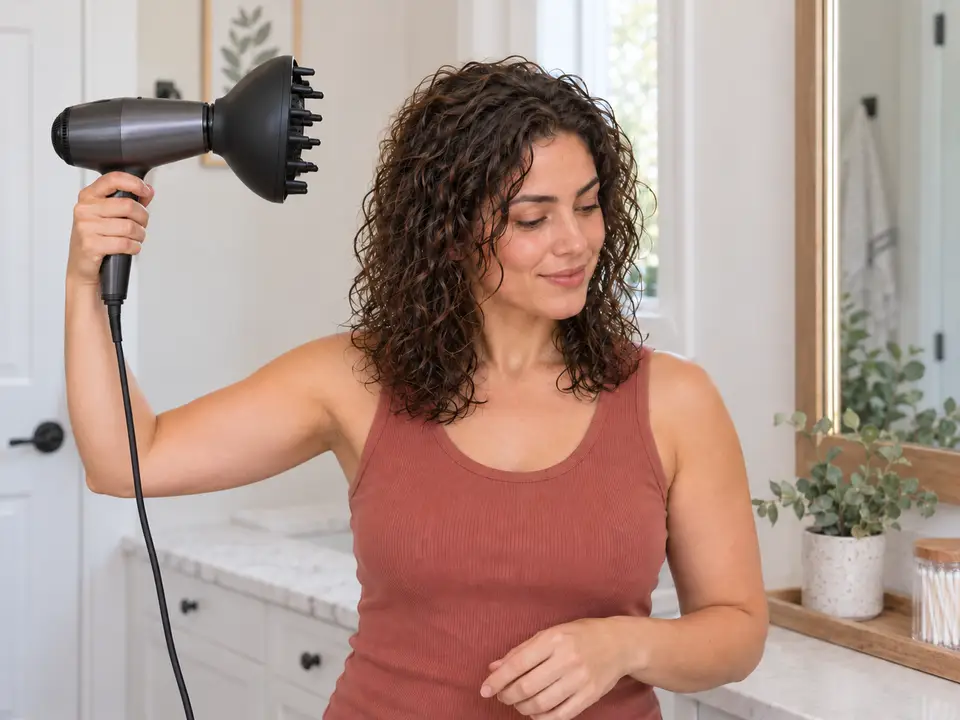
Dry waves and curls with a diffuser
For drying with a diffuser after unwrapping, follow its separate tool and handling instructions.