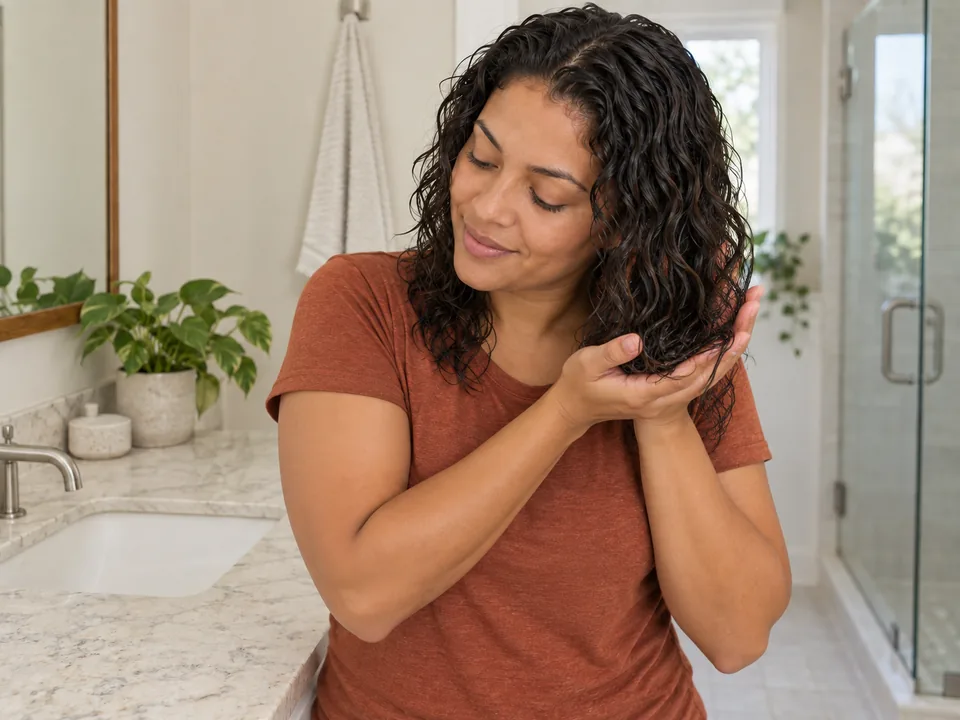
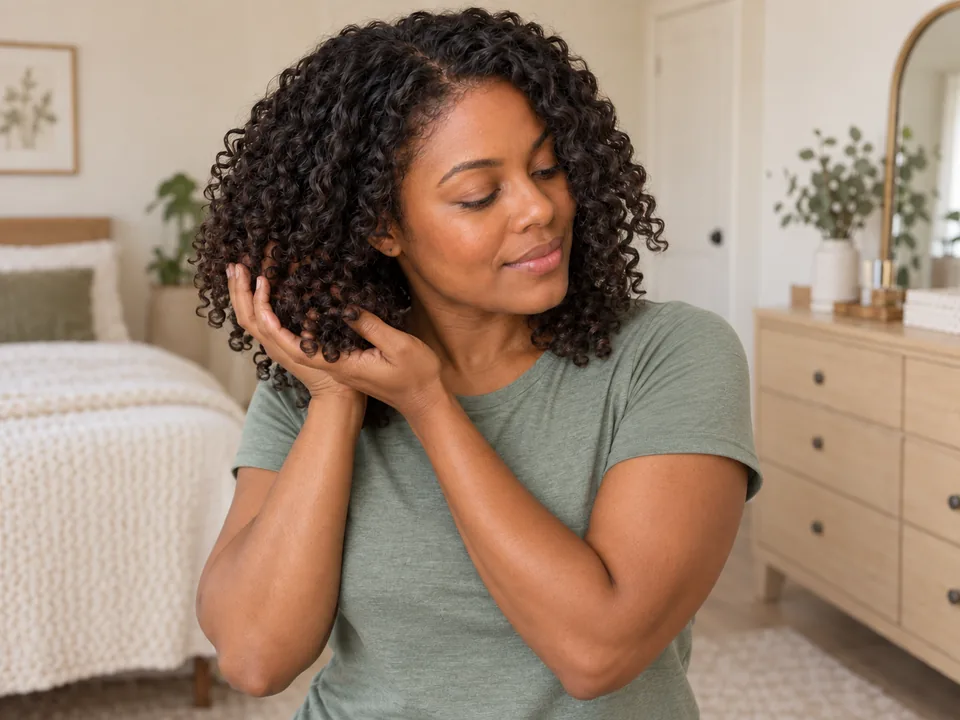
Smooth the top layer of waves while styling
Use this wet-styling step when surface groups separate into a halo before drying and you want the canopy to dry in larger connected sections.
Step by step
 STEP 1 OF 3
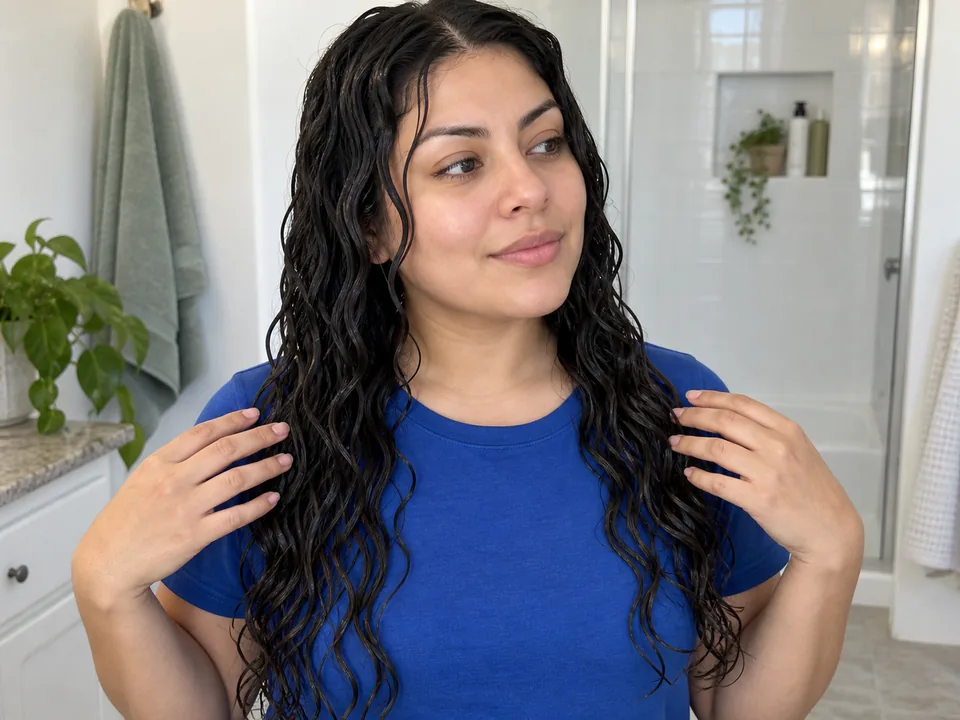
Set the wet wave groups
- Apply the selected styler through wet hair according to its label, then form the wave groups with your usual scrunch or brush method.
- Lower your hands and identify only the outer layer that needs smoothing; do not rake through the formed groups.
- STEP 2 OF 3
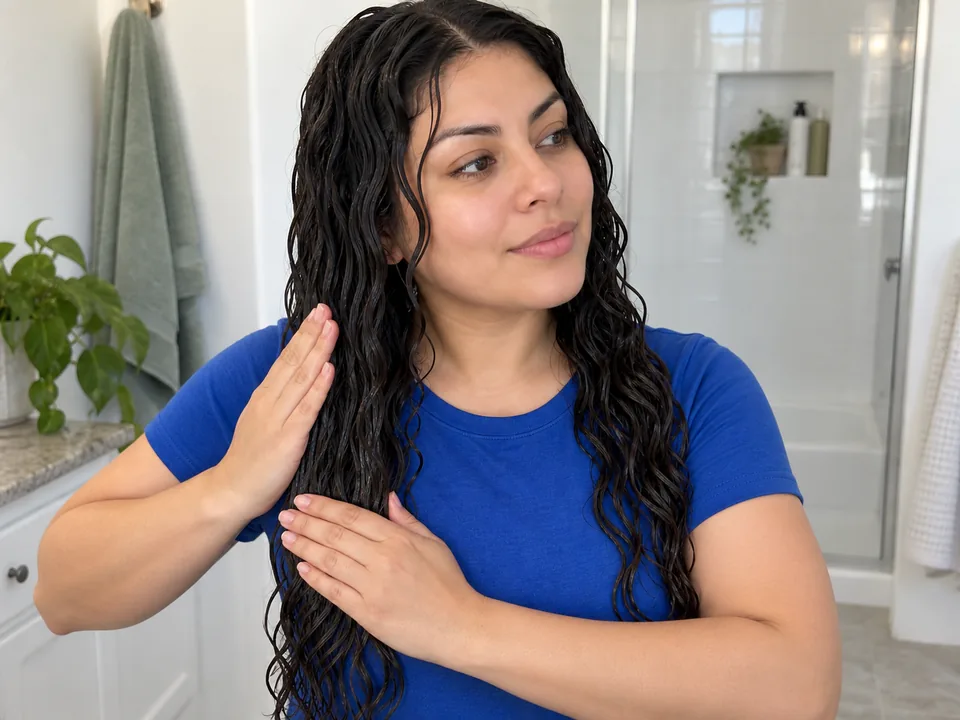
Glide over the canopy
- Spread the label-directed remaining product thinly across wet palms.
- With flat hands, lightly glide over the outer surface from below the roots toward the ends, then cup upward once if needed.
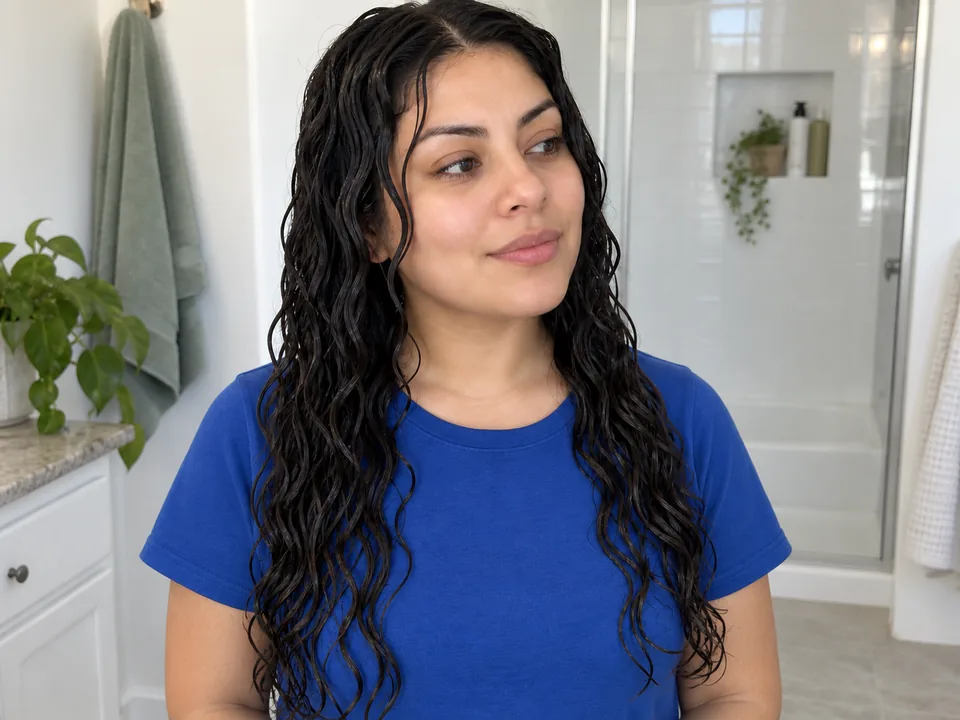 STEP 3 OF 3
Stop touching
- Arrange the canopy once and lower both hands. Air-dry or use a separate diffuser method without reopening the groups.
- Wait until fully dry before breaking any cast or adjusting the part. Clean product from your hands.
About 30 sec–2 min hands-on for lightly smoothing the canopy of already formed wet wave groups and cleaning hands. Initial product application and wave shaping are separate; add complete drying.
You’re done when…
The canopy is fully dry in connected groups and can rest without repeated glazing, raking or touching.
Related techniques
Connected steps for your routine.