Set your hair on rollers without heat
Choose a nonheated roller set when you want to shape loose hair into curls or waves without a hot tool. Smaller rollers make a tighter curve; larger rollers make a looser one.
Step by step
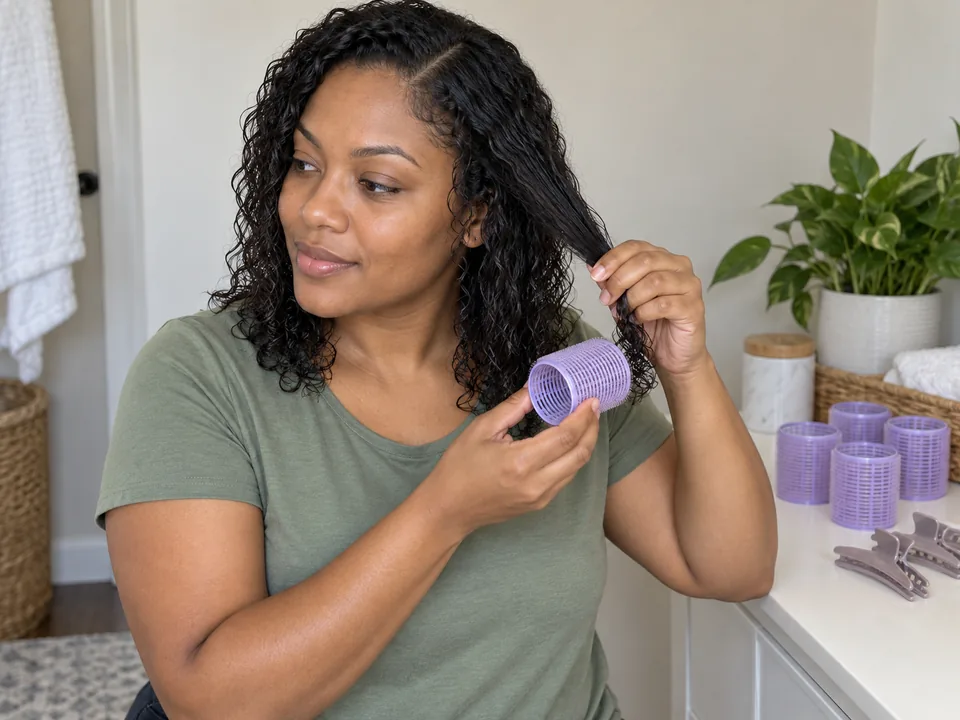 STEP 1 OF 10
Choose the rollers and prepare your hair
- Use clean nonheated rollers made for damp setting and their matching fasteners. Put them within reach on a dry counter before you begin.
- Start with detangled hair that is slightly damp, not dripping. Check that your rollers allow this starting state before rolling.
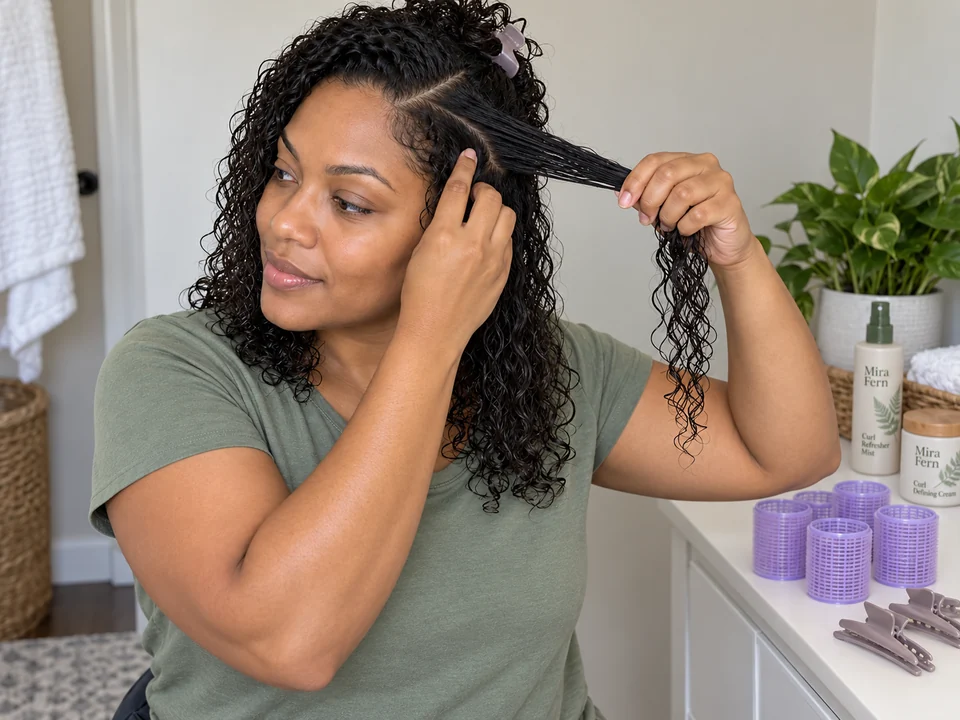 STEP 2 OF 10
Separate one reachable section
- Clip or move the rest of your hair out of the way. Start at a side you can reach with both hands and your shoulders relaxed.
- Take a section no wider than the roller. Divide a thick section into thinner ones so you can lay the ends flat.
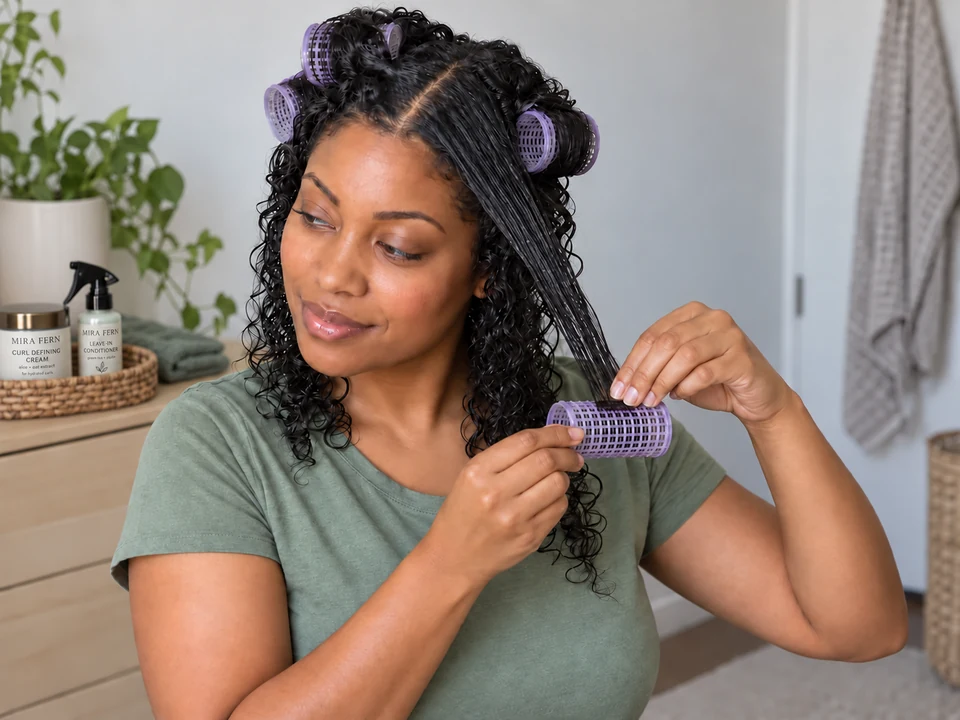 STEP 3 OF 10
Lay the ends flat on the roller
- Hold the roller across the ends of the section with one hand. Use the other hand to spread the tips flat against its surface.
- Keep the tips together as you begin the first turn. If an end folds or slips out, open that turn and lay it flat again.
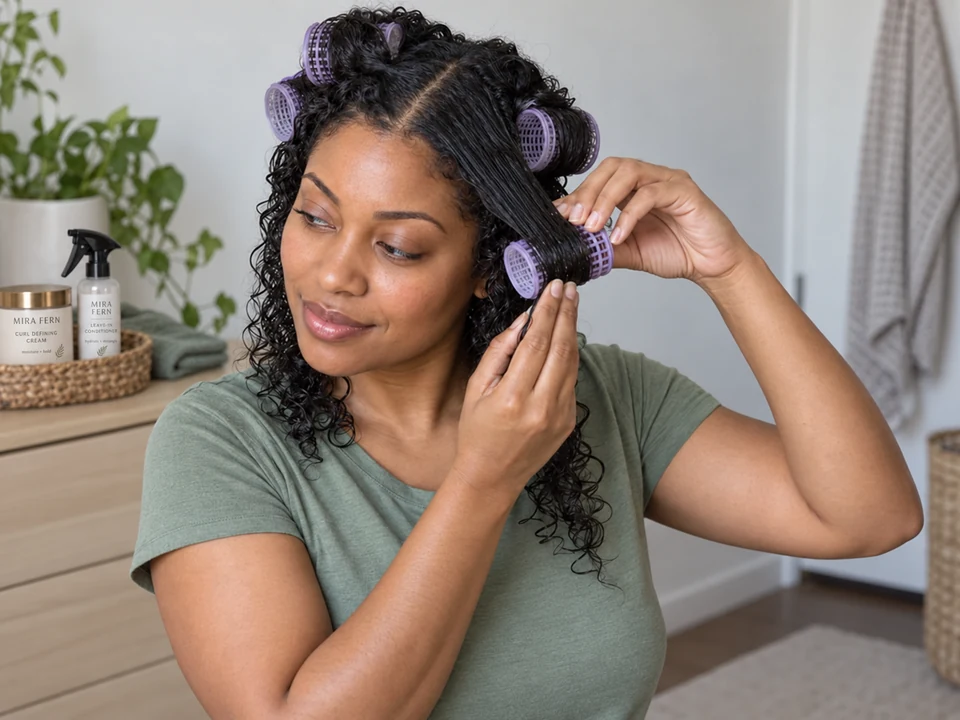 STEP 4 OF 10
Roll toward your scalp
- Turn the roller toward your head, guiding the hair around it with your free hand. Keep the section smooth as it wraps.
- Stop before the roller pulls at the roots. Unroll a little and try again with less tension if the section feels tight.
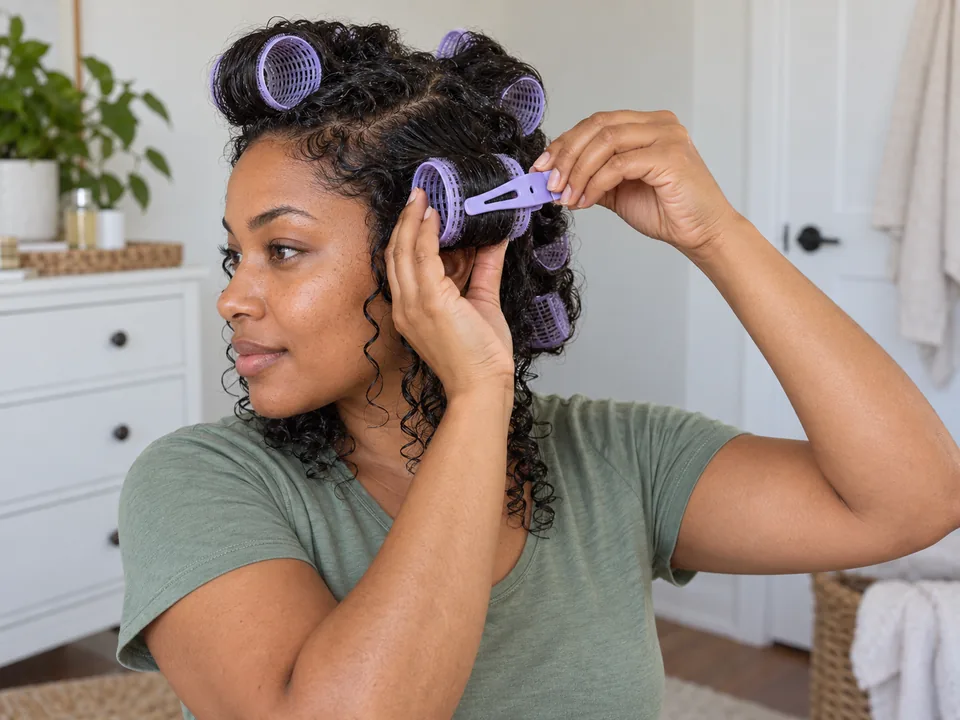 STEP 5 OF 10
Fasten the roller comfortably
- Hold the rolled section steady with one hand. With the other, close the roller’s fastener without catching nearby loose strands.
- Let go briefly to check that the roller stays in place without pinching or pulling. Adjust or remove it if it feels uncomfortable.
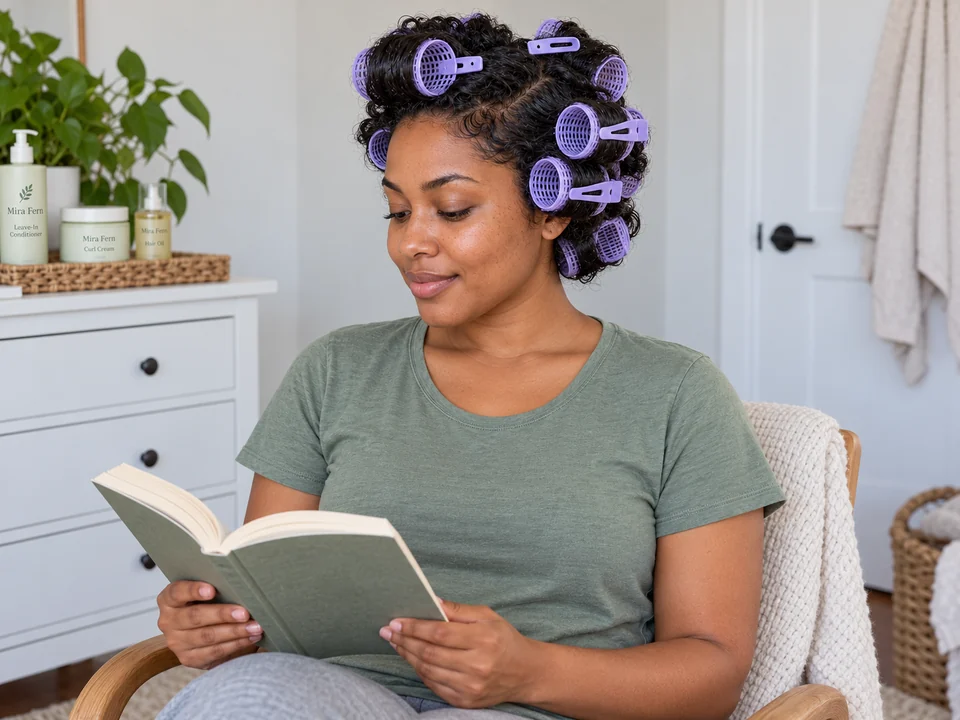 STEP 6 OF 10
Leave the set to dry
- Leave the rollers uncovered while the hair air-dries. Keep your hands away from the set and give it time.
- The outside can feel dry while the wrapped hair is damp. When it seems ready, check one reachable section using the next three steps.
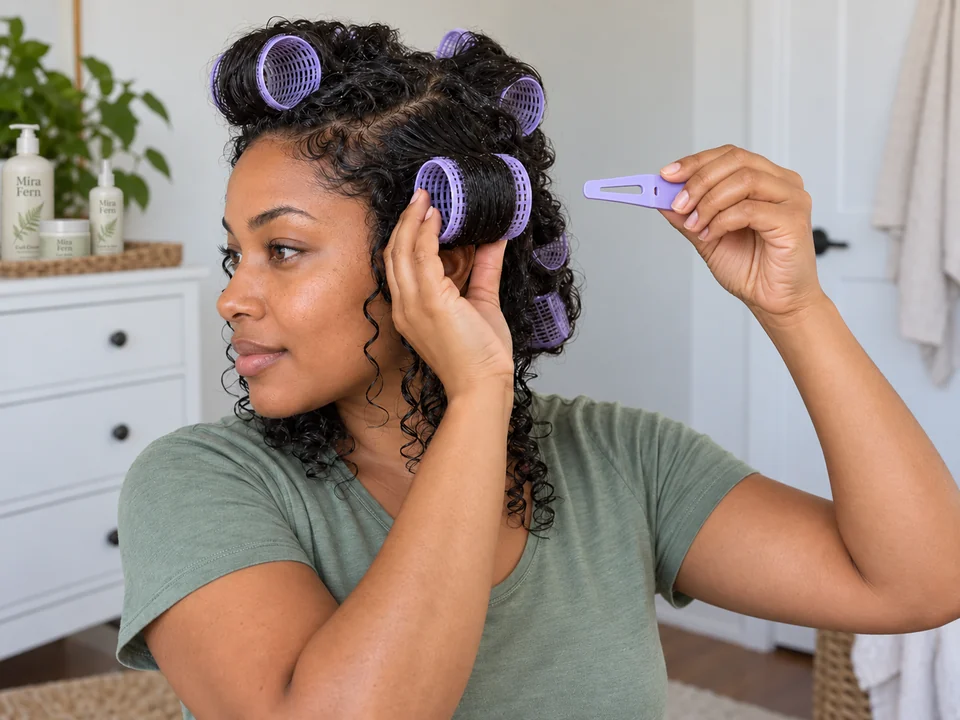 STEP 7 OF 10
Release one fastener
- Support a reachable side roller with one hand so it cannot drop or tug. Open or remove its fastener with the other hand, following the roller’s directions.
- Put a removed fastener down while you keep supporting the roller. Free any caught strands before you start unwinding.
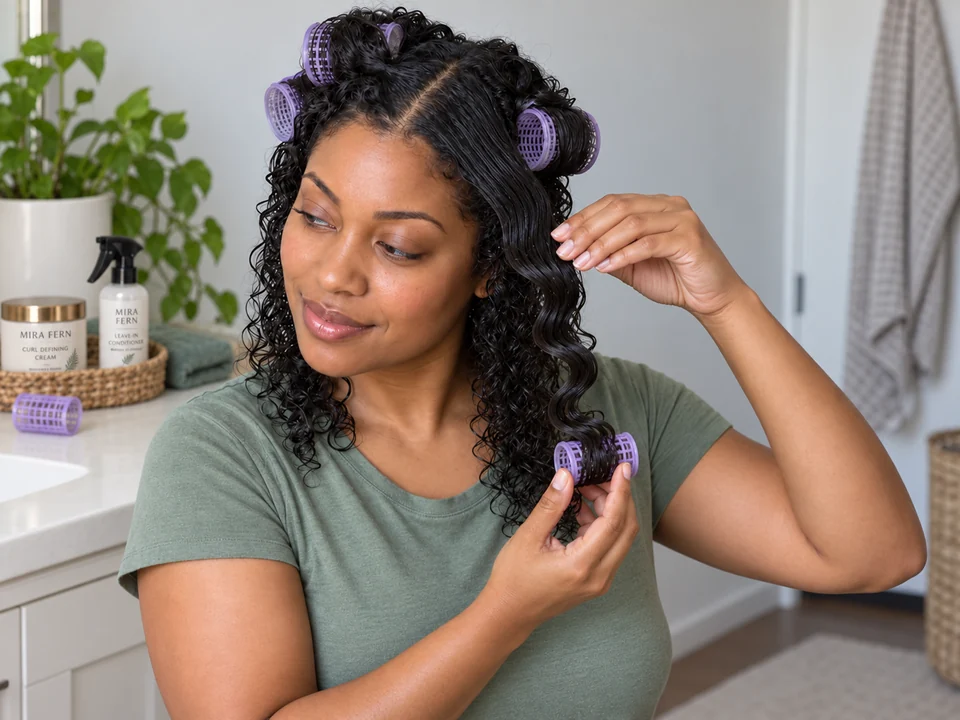 STEP 8 OF 10
Unwind the roller slowly
- Turn the roller back along the way it was wound, away from your scalp. Support the released hair with your free hand.
- Keep unwinding until the tips come free. If it catches, stop and gently ease the caught strands away before moving again.
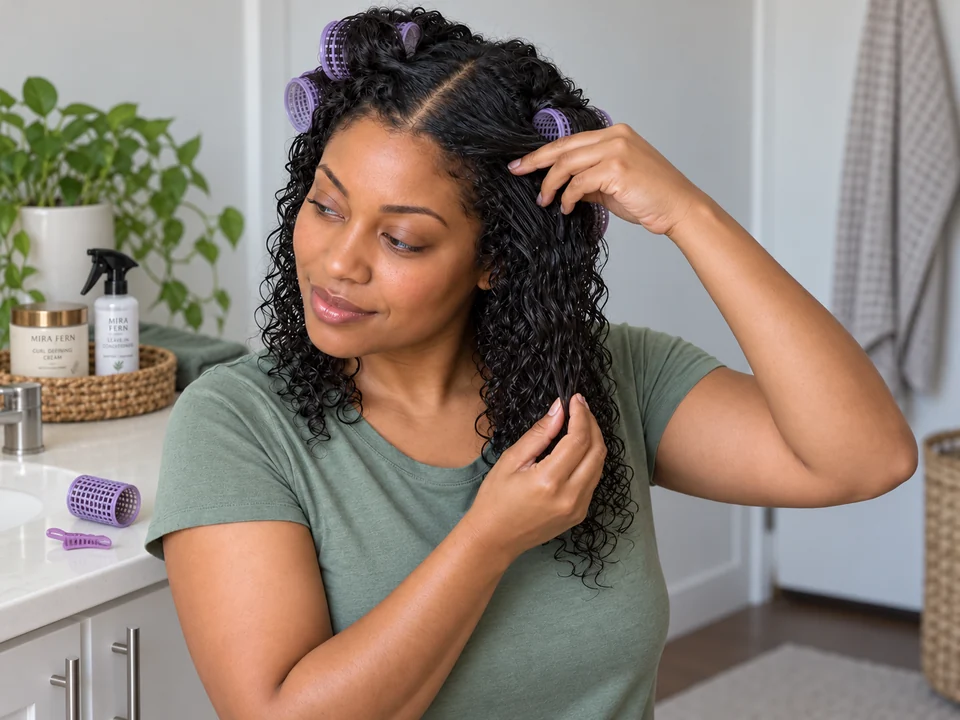 STEP 9 OF 10
Feel the hair that was wrapped inside
- Put the roller down. With clean, dry fingers, feel the roots and the released lengths, including the ends that were tucked inside.
- If the hair is damp, rewind and fasten it comfortably, then wait longer. If it is dry, check a thicker section or one at the nape next.
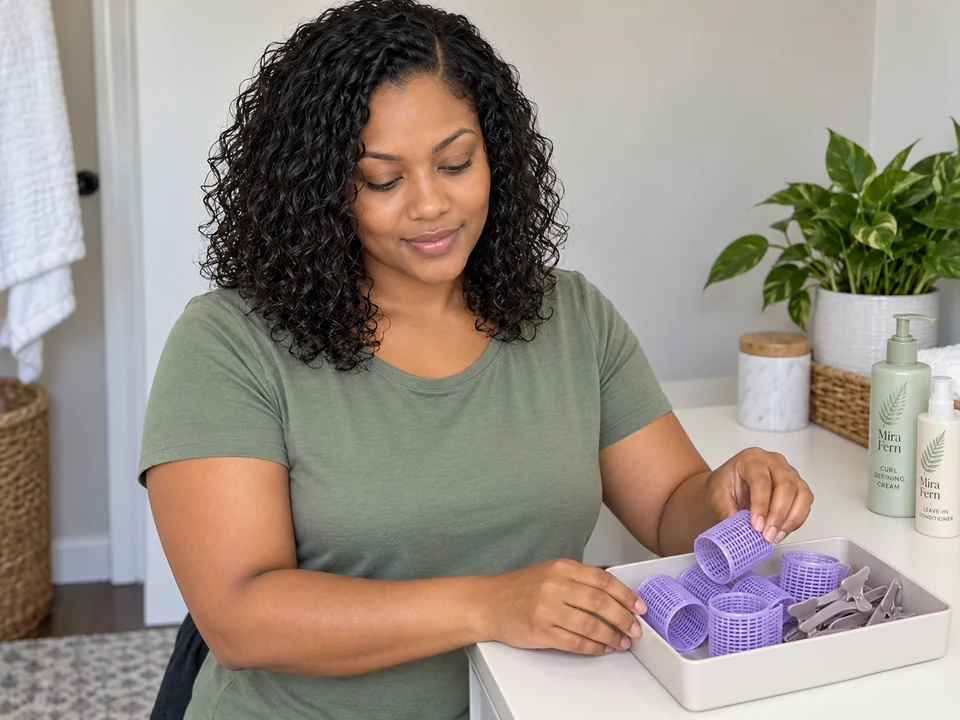 STEP 10 OF 10
Check the finish and collect the tools
- Check that every roller, fastener and sectioning clip is out. Arrange the dry curls lightly with your fingers.
- Collect the tools, remove loose shed hairs and clean them using their care instructions. Let them dry before storing them.
About 20–45 minutes of handling for a full set of medium or large rollers, including later removal and tool cleanup. Detangling, drying and breaks take additional time.
You’re done when…
Every roller, fastener and sectioning clip is out. Your hair is dry, your roots feel comfortable and the tools are ready to clean or put away.
Related techniques
Connected steps for your routine.
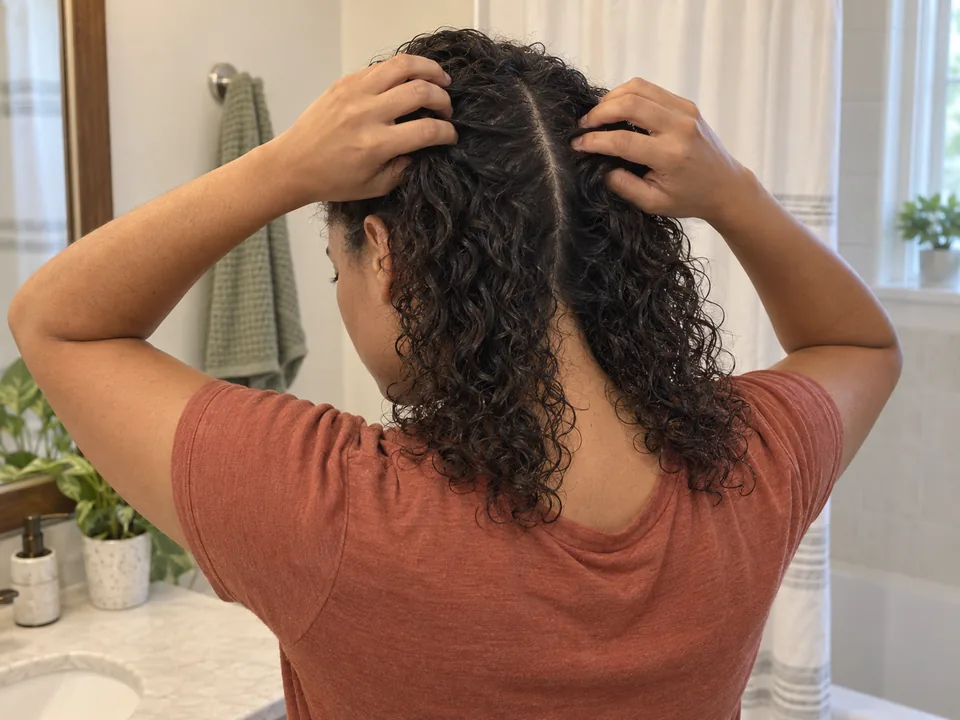
Detangle & section · 1–3 min hands-on
Section your hair for washing and styling
Sectioning helps keep loose hair out of the way while you work on one roller at a time.
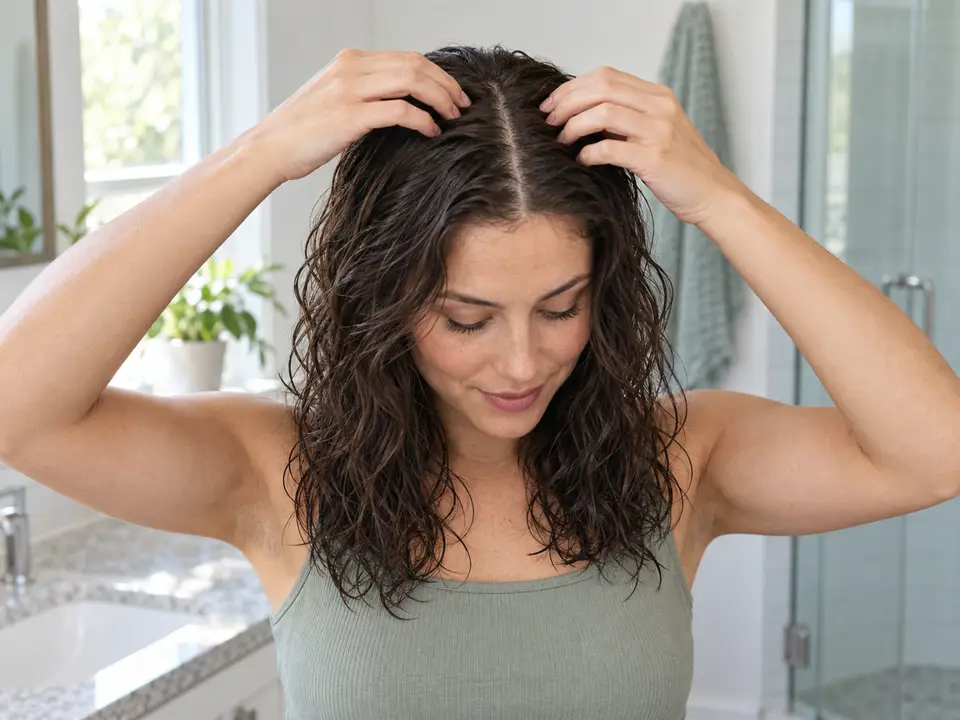
Dry your hair · 1–3 min hands-on
Air-dry your hair
If you release a damp set early, the air-drying method helps you arrange the loose lengths and check the inner layers as they finish drying.