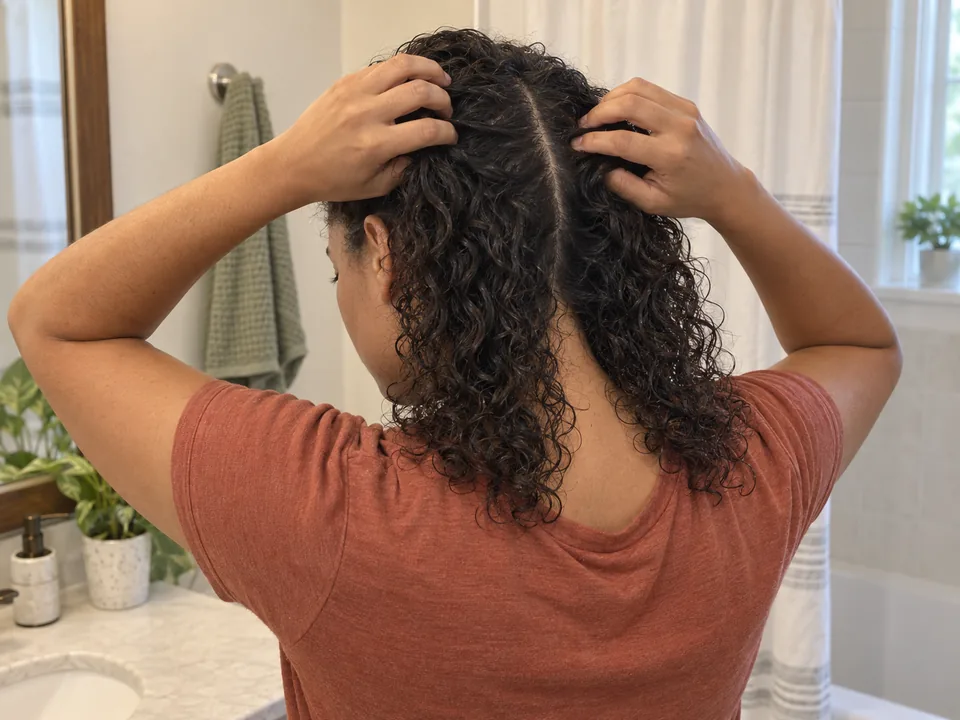
Put in and remove clip-in extensions
A temporary weft method that includes comfortable placement and complete removal.
Step by step
 STEP 1 OF 3
Practice and section
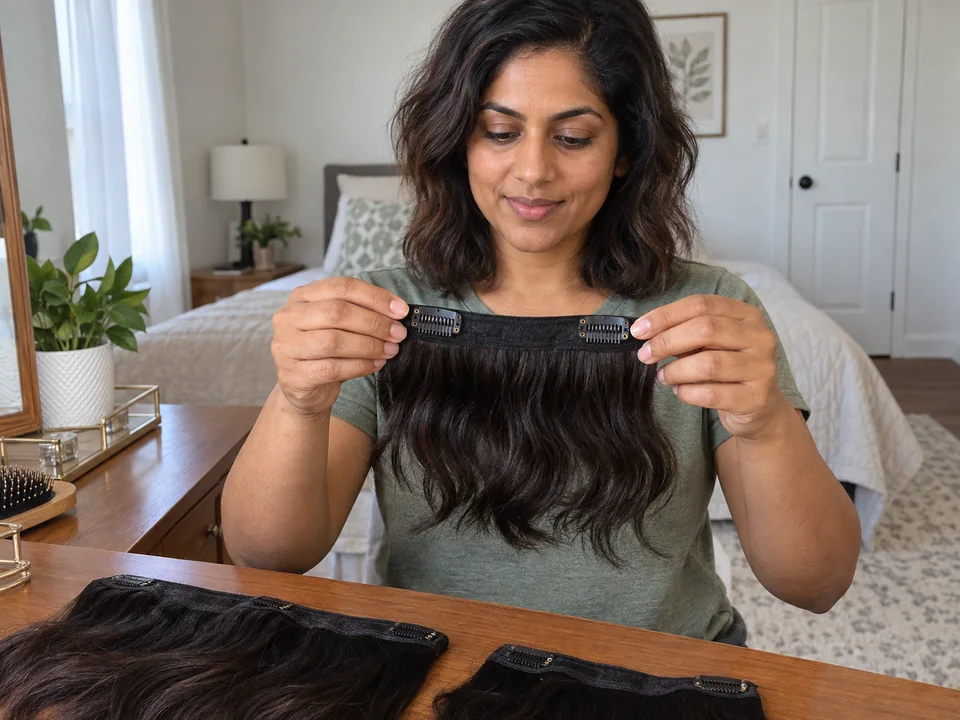
- Check the supplier’s layout and whether your hair can support the set. Do not place clips on sore skin, fragile edges or thinning areas.
- Practice opening each snap clip in your hands. Detangle your dry hair and wefts separately; lay them within reach.
- Make the lowest horizontal part specified by your set and clip upper hair away. Use stable mirrors and touch to confirm access.
- STEP 2 OF 3
Attach without pulling
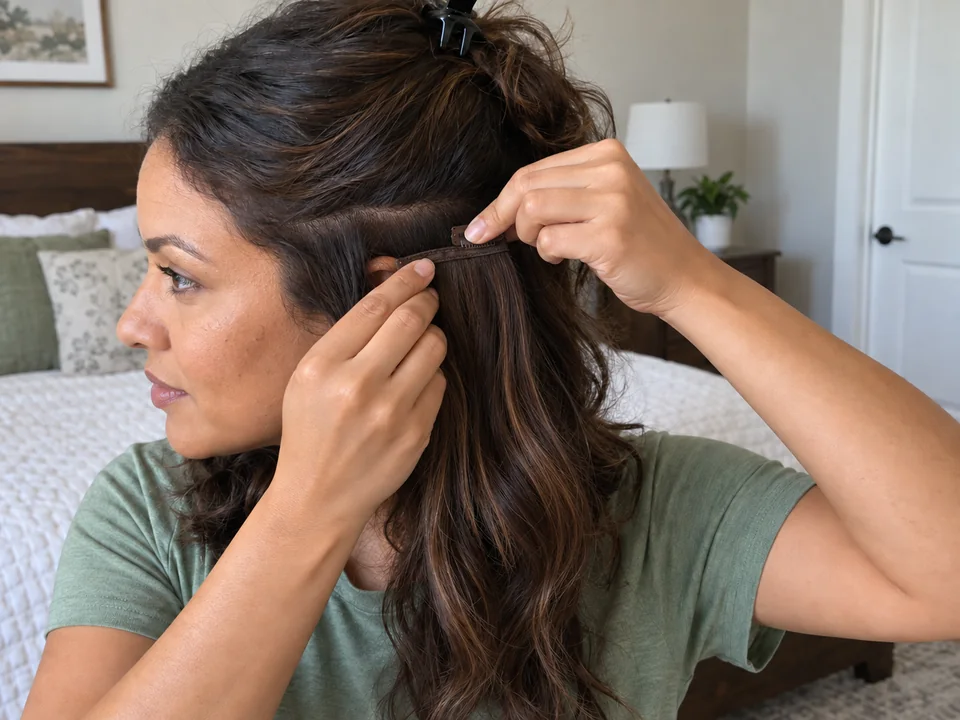
- Measure the matching weft against the part. Open all its clips before lifting it behind your head.
- Support the weft with one hand; engage and close the center clip on the section’s hair, then each side clip, as its supplier directs.
- Keep the weft relaxed rather than stretched taut. Release and reposition any pulling clip; stop if it slips without tension.
- Repeat the supplier’s row and side layout, leaving cover hair loose. Turn your head gently and remove any uncomfortable weft.
 STEP 3 OF 3
Support, open and lift away
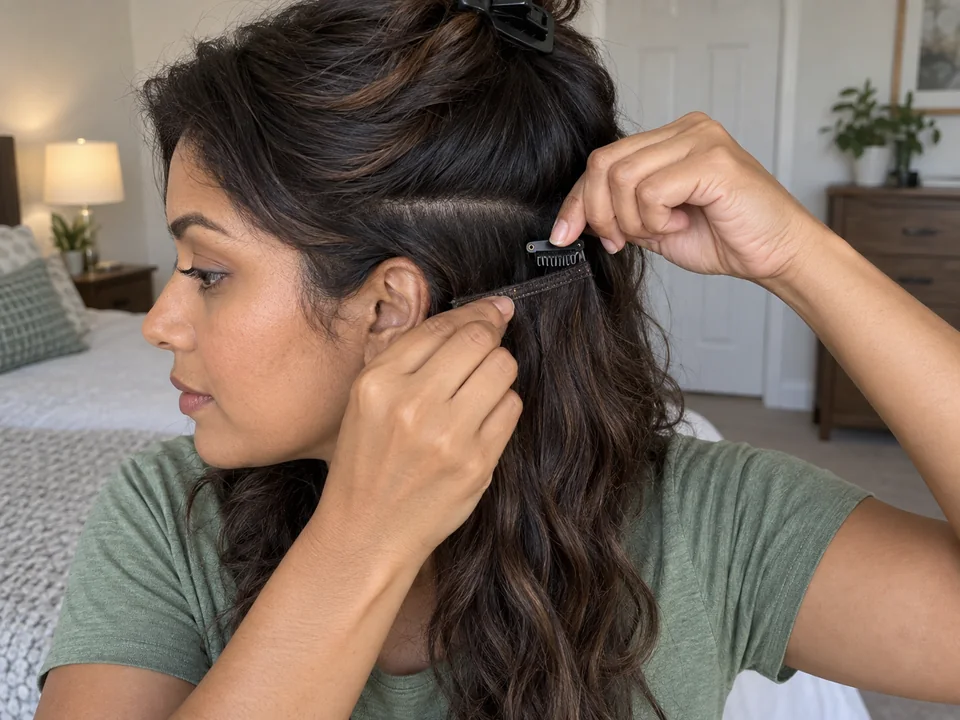
- Remove clip-ins before sleeping or washing. Expose the highest row first so loose hair does not catch.
- Support its seam with one hand while opening every clip with the other; lift teeth free without dragging them down the hair.
- Repeat down through the rows and sides, checking that no clips remain. Detangle pieces separately and store them dry.
About 10–25 min hands-on for preparing a modest clip-in set, attaching and checking each row, and later removing and storing it. Wear time is separate; washing the wefts is a different guide.
You’re done when…
For wear, every clip is comfortable and stable without pulling. After removal, no clips remain and the separate wefts are stored dry.
Related techniques
Connected steps for your routine.