Create a twist-out
Choose a twist-out when you want to reshape loose curls or coils without heat. Smaller twists give more individual curl groups; larger twists give fewer, broader groups.
Step by step
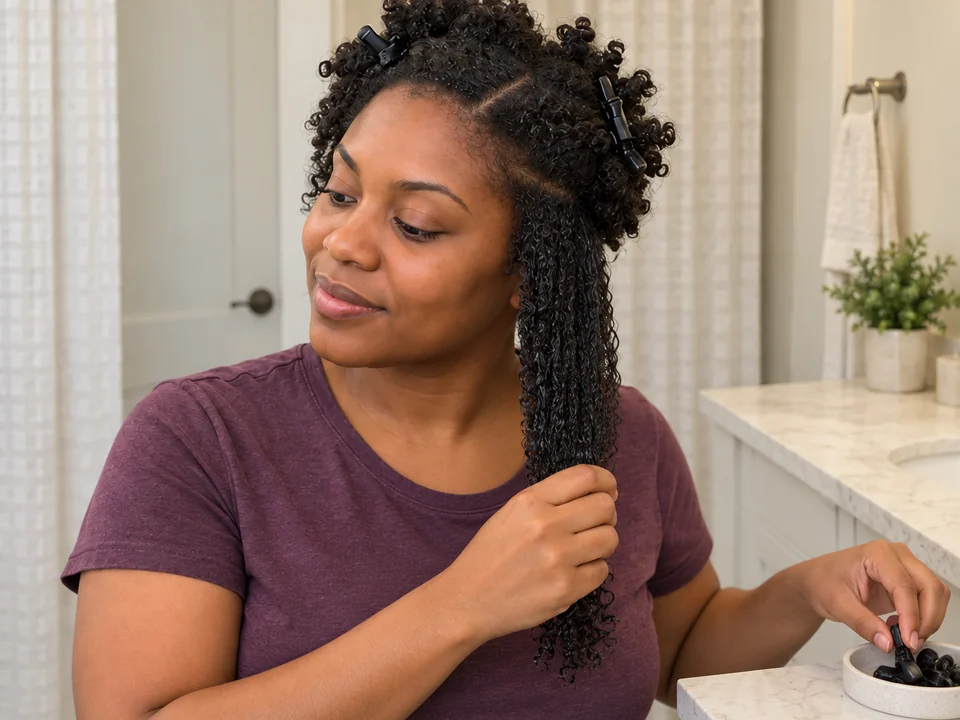 STEP 1 OF 10
Bring one damp section within reach
- Start with detangled hair that is damp, not dripping. Keep the rest out of the way with loose clips or move it to the other side.
- Bring one manageable side section forward so both hands can reach its roots and ends without raising your shoulders.
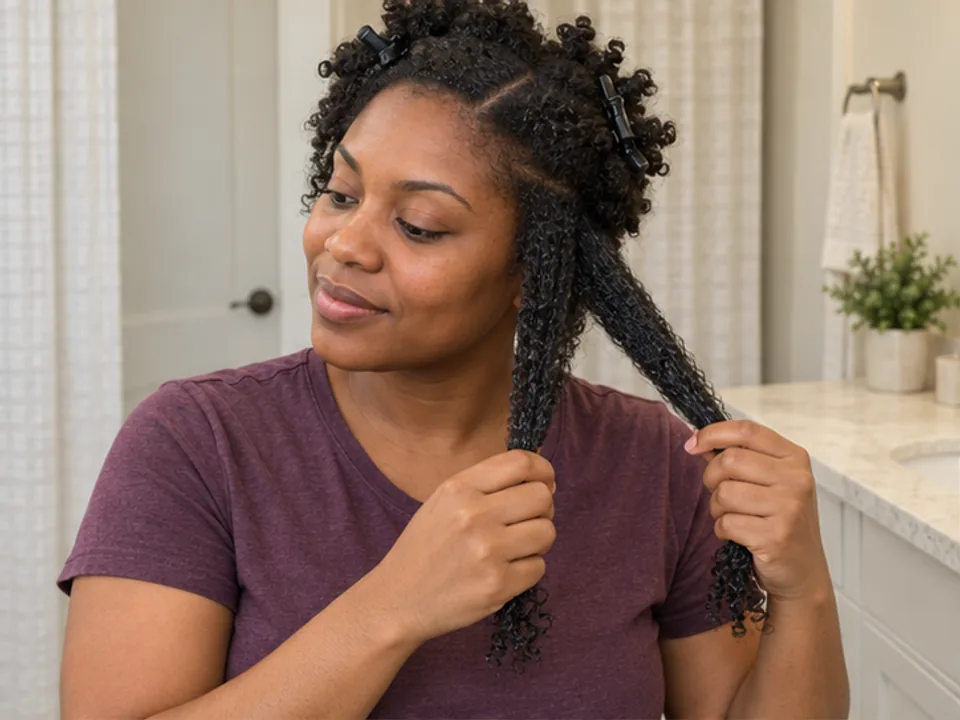 STEP 2 OF 10
Divide it into two even strands
- Split the section into two strands of roughly equal thickness, separating them all the way to the ends. Hold one in each hand.
- Keep the two strands separate. If one runs out much sooner, undo the split and divide again rather than borrowing hair midway.
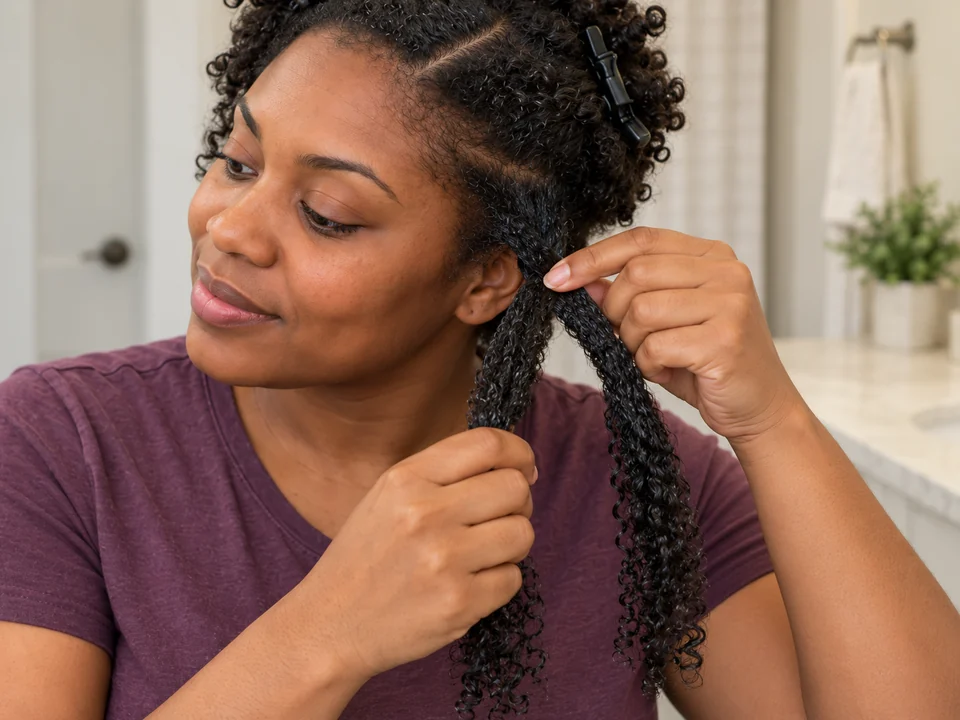 STEP 3 OF 10
Make the first crossing
- Hold the strands near the roots without pulling. Pass the strand in your right hand over the one in your left.
- Pinch that crossing gently with your left thumb and finger. Take the other strand in your right hand so each hand holds one strand again.
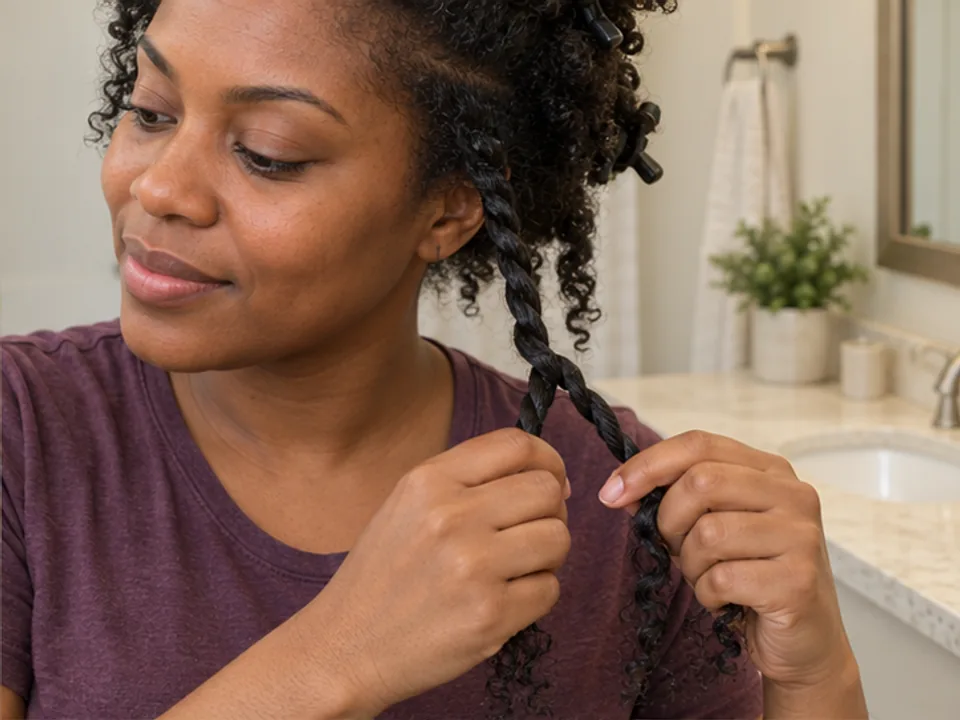 STEP 4 OF 10
Continue crossing down the section
- Cross the strand now in your right hand over the one in your left. Repeat the hand transfer and crossing, moving lower each time.
- Keep the loose ends separate as you work. If the root pulls or the ends catch, stop, undo enough to free them and restart more loosely.
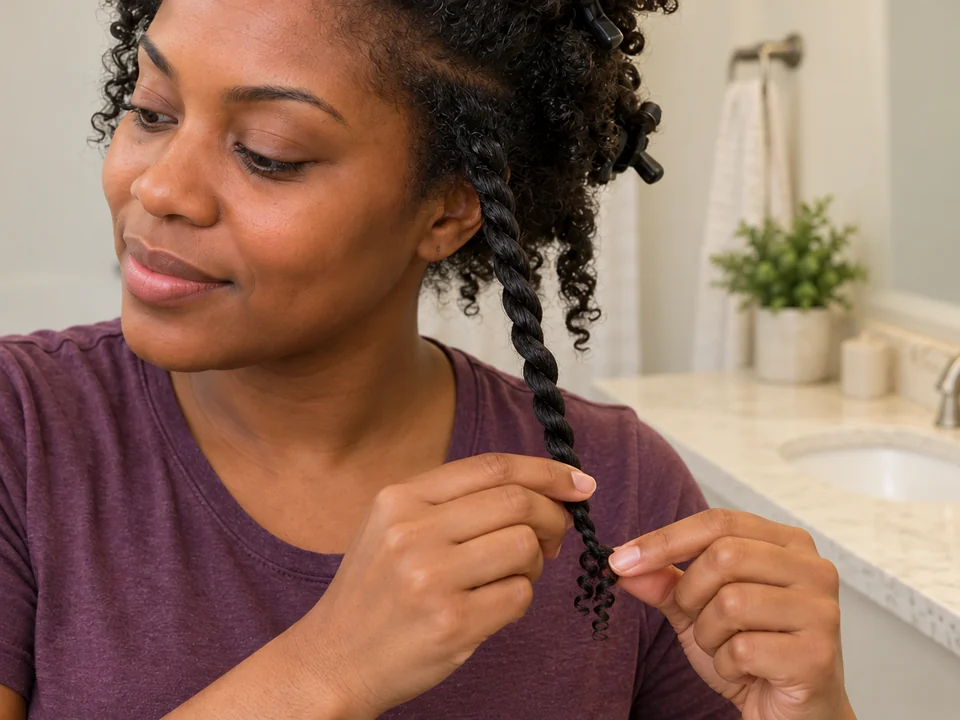 STEP 5 OF 10
Finish the tip and let the twist hang
- Near the ends, support the twist with one hand. Gently roll the last short tips together between the other thumb and finger.
- Let go and check that the twist hangs comfortably. If it immediately opens, try a smaller section rather than tightening the root.
 STEP 6 OF 10
Let the twists air-dry
- Remove any sectioning clips left in your hair. Leave the twists hanging loose and uncovered while they air-dry.
- When the outside feels dry, open one reachable test twist using the next step. The hair inside may still be damp.
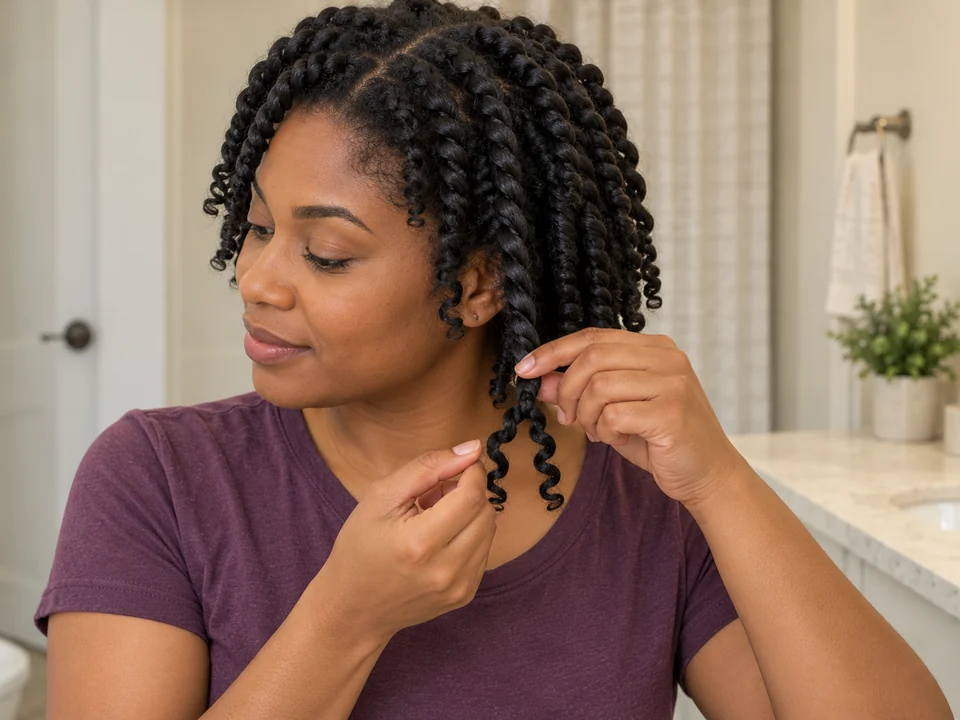 STEP 7 OF 10
Open one test twist from the tip
- Support a reachable twist just above its tip with one hand. Use the other fingertips to find and gently separate the two ends.
- Follow the turns upward, opening a little at a time until the whole twist is free. Move your supporting hand upward as you go.
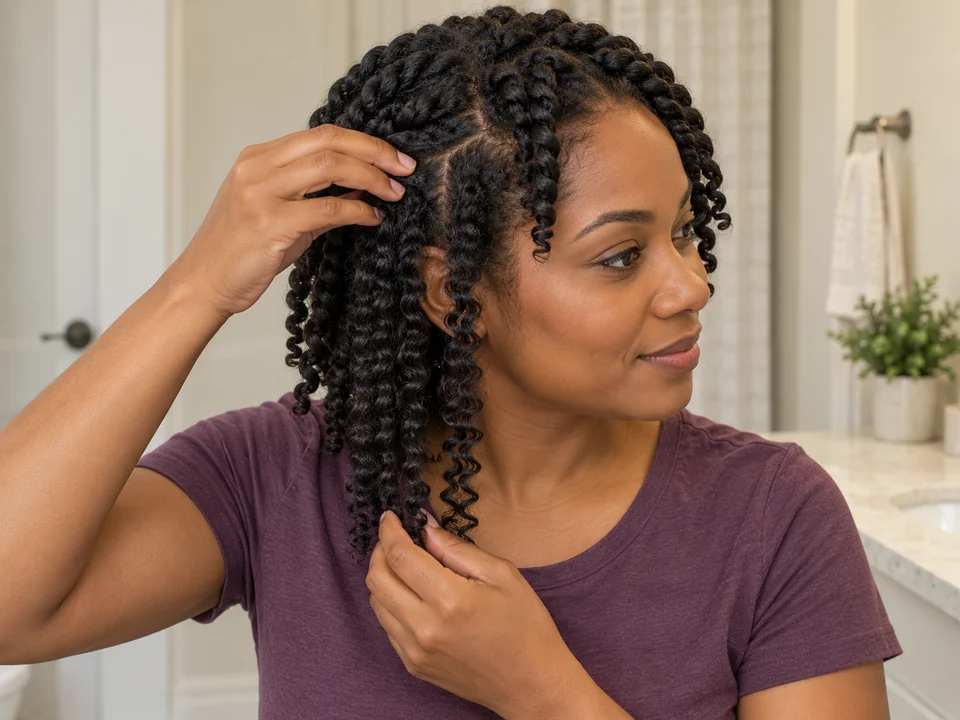 STEP 8 OF 10
Feel the roots and opened lengths
- With clean, dry fingers, feel the roots and both released strands, including the hair that was inside the twist.
- If any part feels damp, twist it again comfortably and wait longer. If dry, check a thicker twist or one near the nape next.
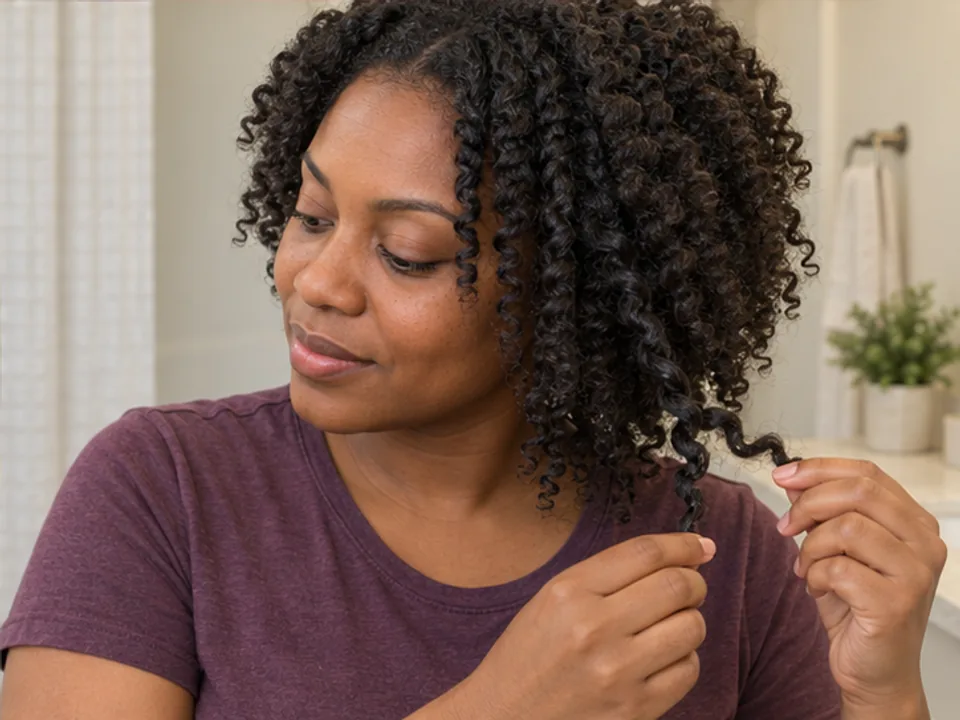 STEP 9 OF 10
Take down the remaining dry twists
- Open each remaining twist from its tips upward, supporting the hair and following the turns as you did with the test twist.
- Check the released hair as you go. Retwist a damp section and give it more time, or let it finish drying loose if you are stopping.
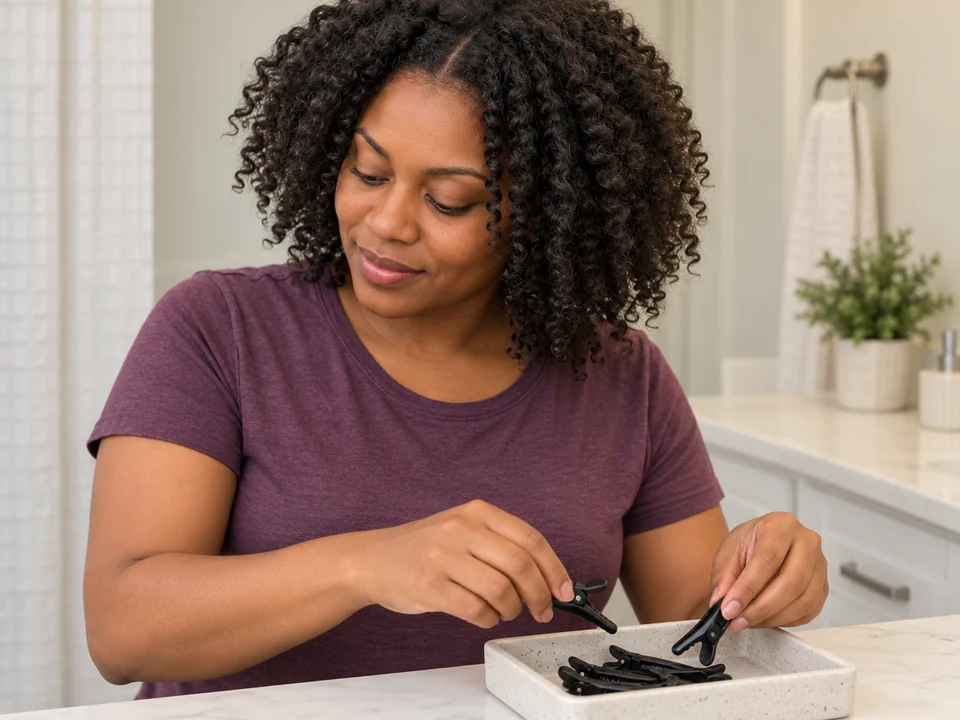 STEP 10 OF 10
Arrange the hair and collect the clips
- Feel around the nape and crown for any twist you missed. Once all sections are dry and open, arrange the curl groups with your fingers.
- Collect the clips, clear away shed hairs and clean the clips as their care directions allow. Let them dry before storing them.
About 25–60 minutes of handling for dividing, twisting a full set, later takedown and collecting clips. Washing, detangling, air-drying and breaks take additional time.
You’re done when…
Every twist and sectioning clip is out, the released hair is dry and your roots feel comfortable. The clips are collected for cleaning or storage.
Related techniques
Connected steps for your routine.
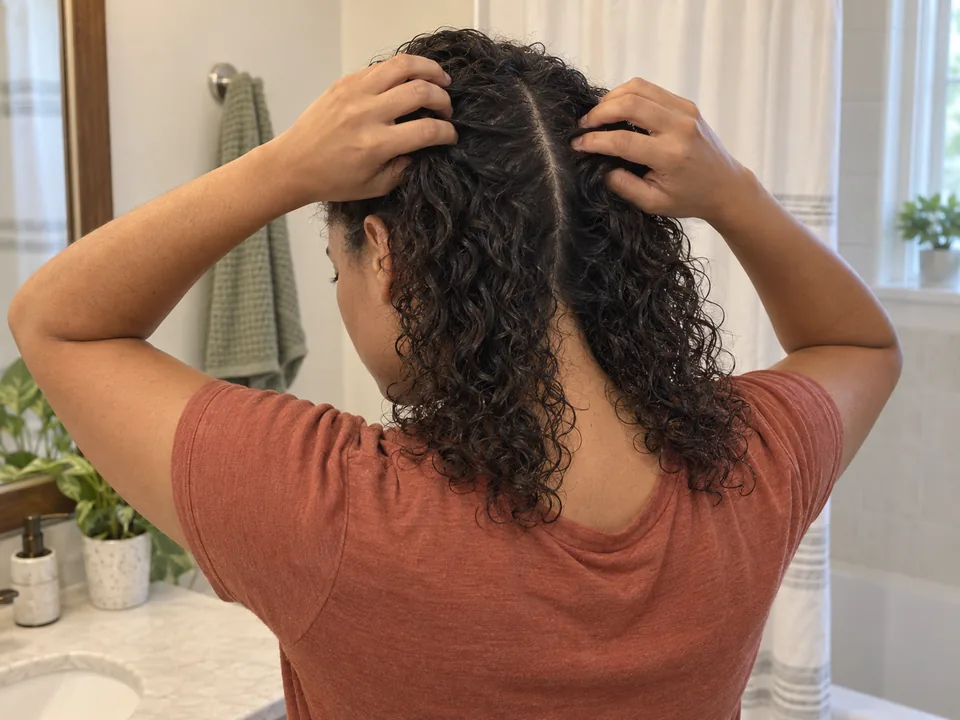
Detangle & section · 1–3 min hands-on
Section your hair for washing and styling
Sectioning keeps the remaining hair out of the way while you make one twist at a time.
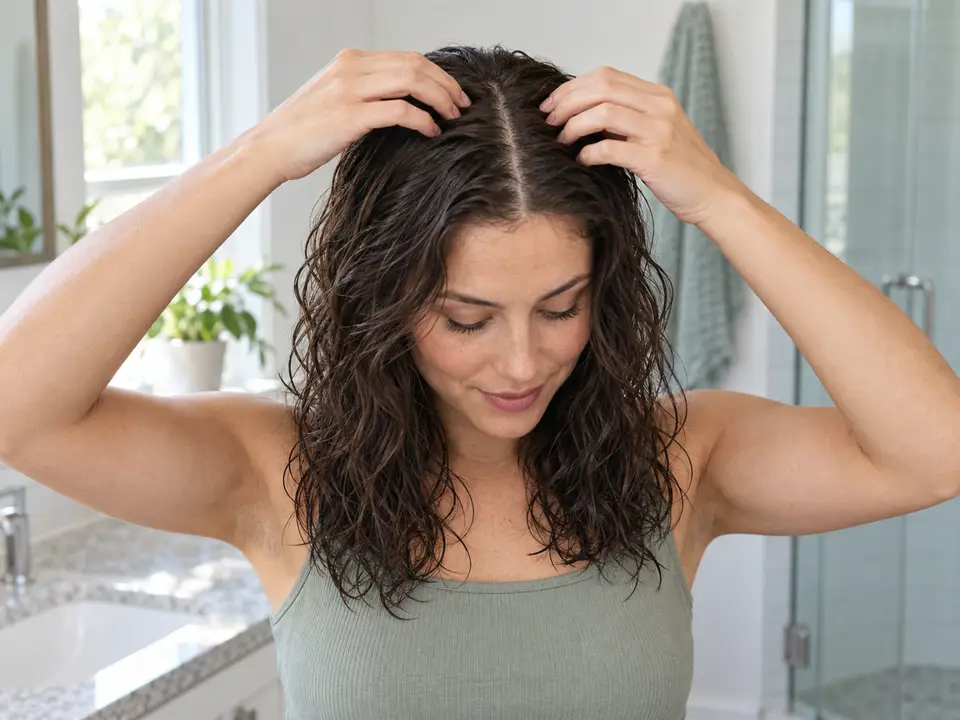
Dry your hair · 1–3 min hands-on
Air-dry your hair
If you stop a damp set early, air-drying helps you arrange the released hair and check the inner layers as they finish drying.