Create a braid-out
Choose a braid-out when you want damp loose hair to take on the shape of simple braids without extensions or a heated tool. Make hanging three-strand braids, let them dry fully, then undo them carefully.
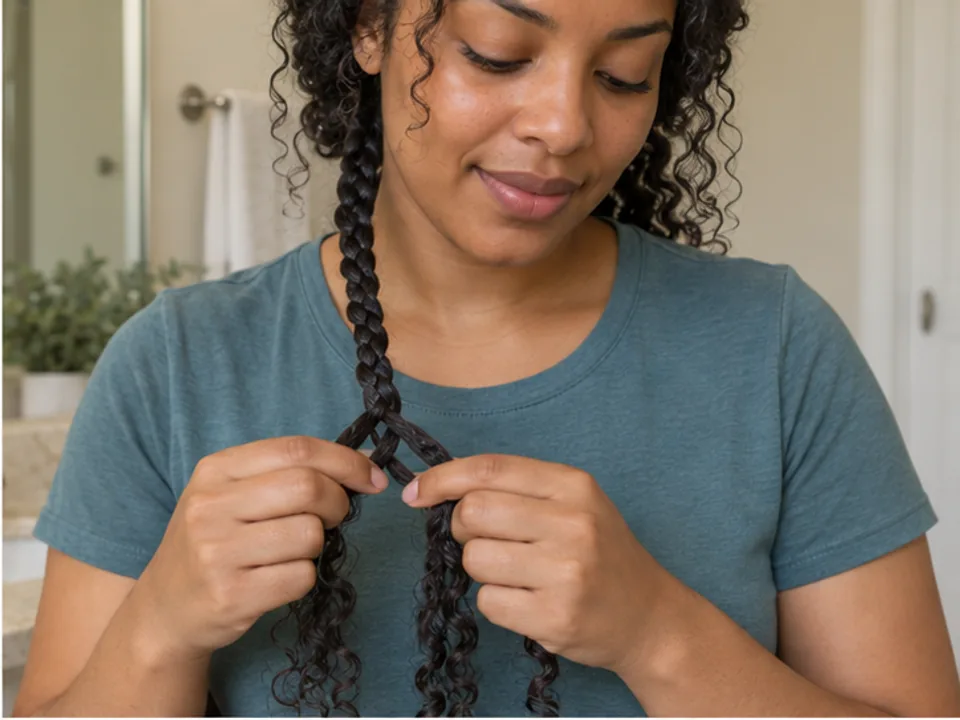
Step by step
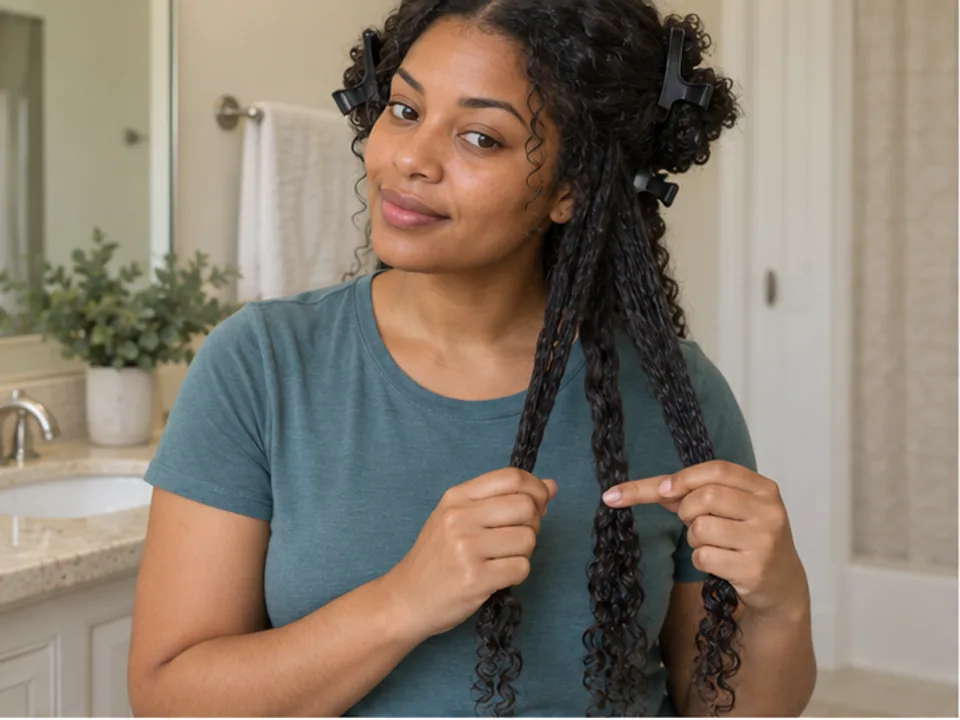 STEP 1 OF 5
Prepare and divide one damp section
- Start with loose hair that is damp and already detangled; keep the rest separate, using loose clips if helpful.
- Bring one reachable section forward over your shoulder and split it into left, middle and right strands.
- Keep the strands distinct to the ends. If one is much smaller, recombine and divide again.
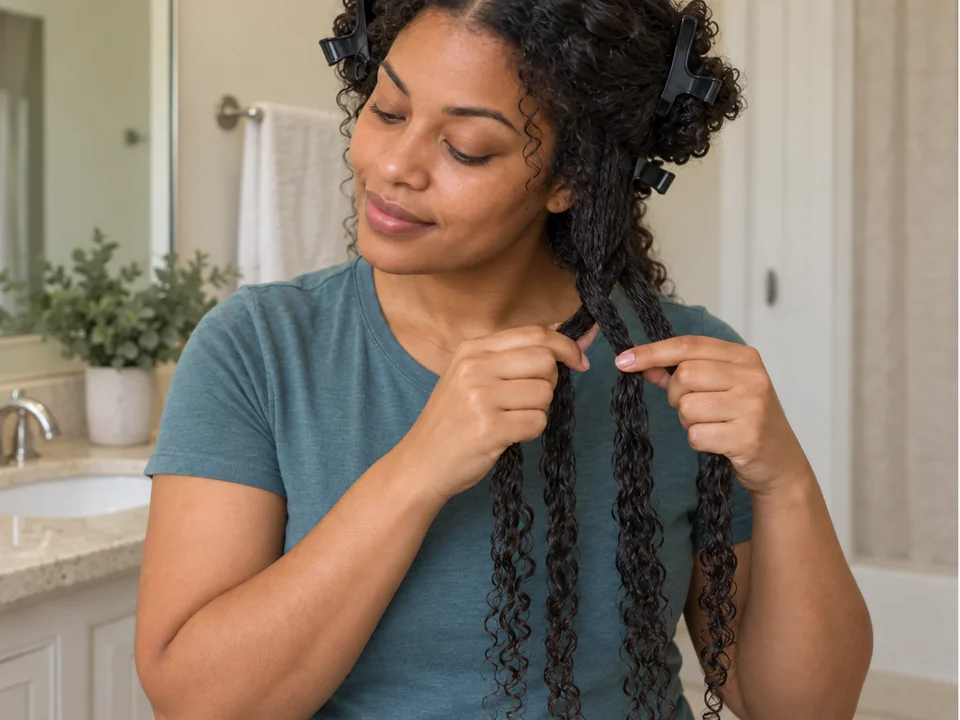 STEP 2 OF 5
Make the first two crosses
- Hold the middle and right strands separately in your right hand and the left strand in your left hand.
- Cross the right strand over the middle and pass it to the left hand, keeping it separate from the original left strand. The crossed strand is now the middle.
- Cross the outside left strand over this new middle and pass it to the right hand, keeping it separate from the strand already there. Regrip without pulling.
- STEP 3 OF 5
Alternate sides to the ends
- Repeat right outer strand over middle, regrip, then left outer strand over middle and regrip.
- Slide both hands lower as the braid grows so you do not pull at the root.
- Stop when the strands are too short to cross. Add a soft fabric-covered tie only if the end will not stay.
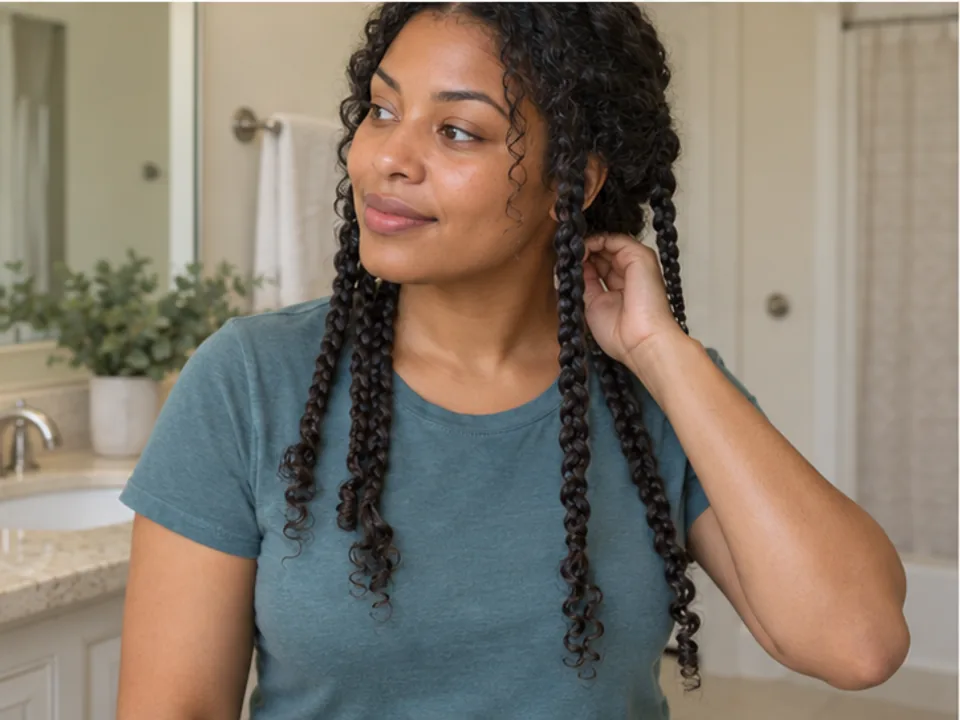 STEP 4 OF 5
Repeat, then let every braid dry
- Repeat the divide-and-cross sequence around the head, bringing back sections forward when needed.
- Leave the braids loose and let them air-dry without a heated tool.
- Feel the roots and inside of thicker braids. Wait longer wherever you still feel dampness.
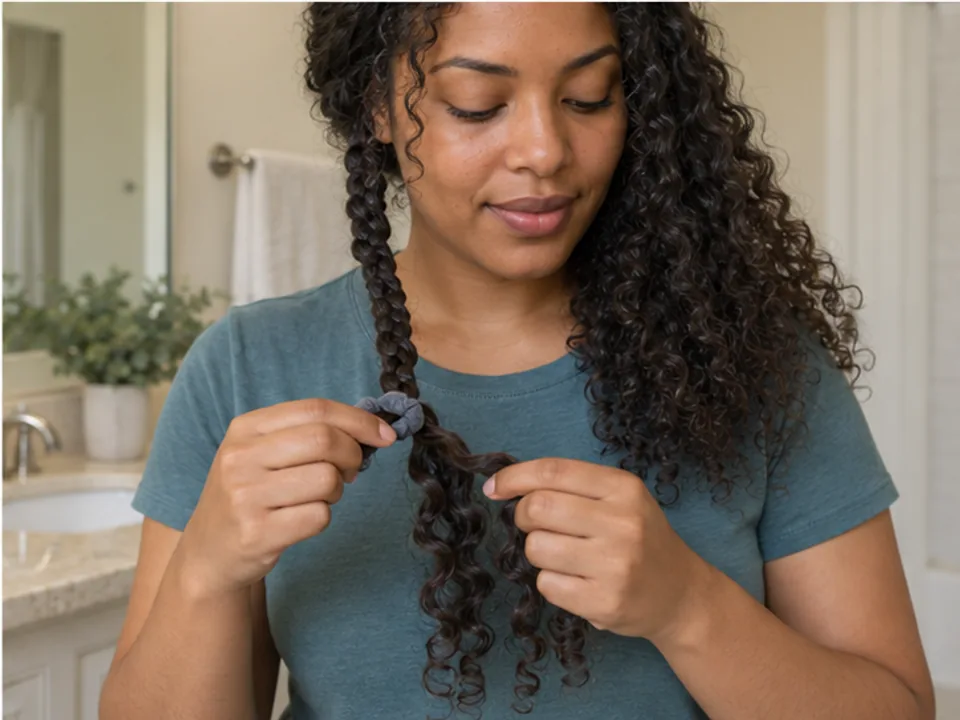 STEP 5 OF 5
Remove each tie and unbraid upward
- Choose one fully dry braid. If it has a soft tie, hold the braid above it and open the tie one loop at a time before sliding it free.
- Starting at the loose end, separate the last crossed strands with your fingertips.
- Follow the braid upward one cross at a time instead of pulling the three strands straight apart.
- Repeat until every braid is open, then collect and store all clips and ties.
About 30–75 min hands-on for dividing, braiding a full set, securing and later unbraiding it. Start with damp, detangled hair. Add complete air-drying and breaks.
You’re done when…
Every soft tie is removed and every braid is opened from the end upward, with no hidden braid at the nape or crown and no damp section released early.
Related techniques
Connected steps for your routine.
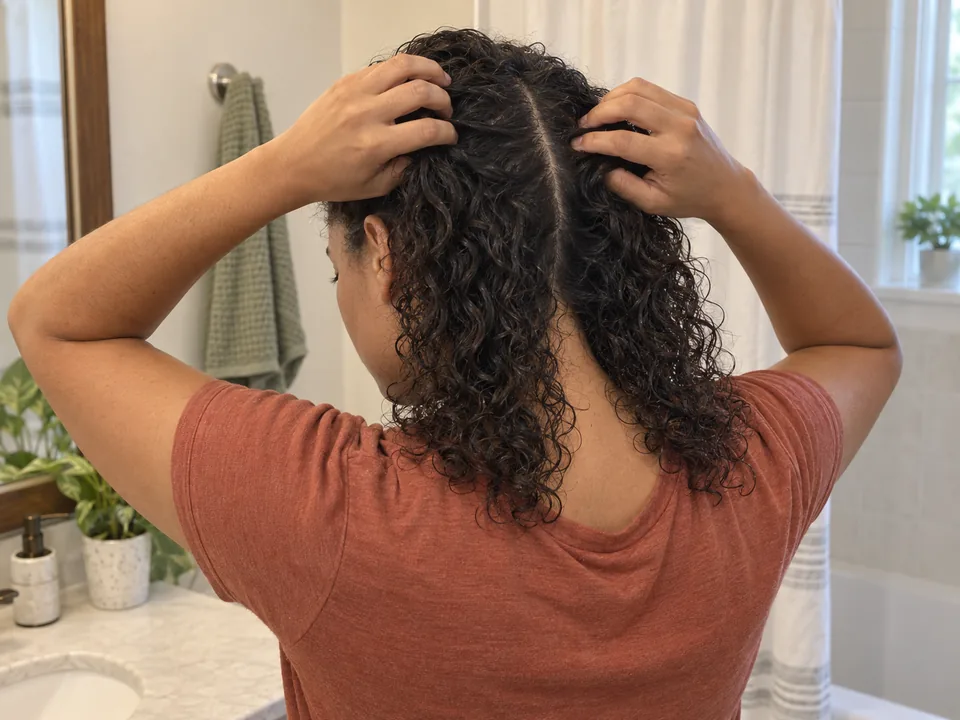
Section your hair for washing and styling
Use simple sections to keep the remaining damp hair out of the way while each hanging braid is made.
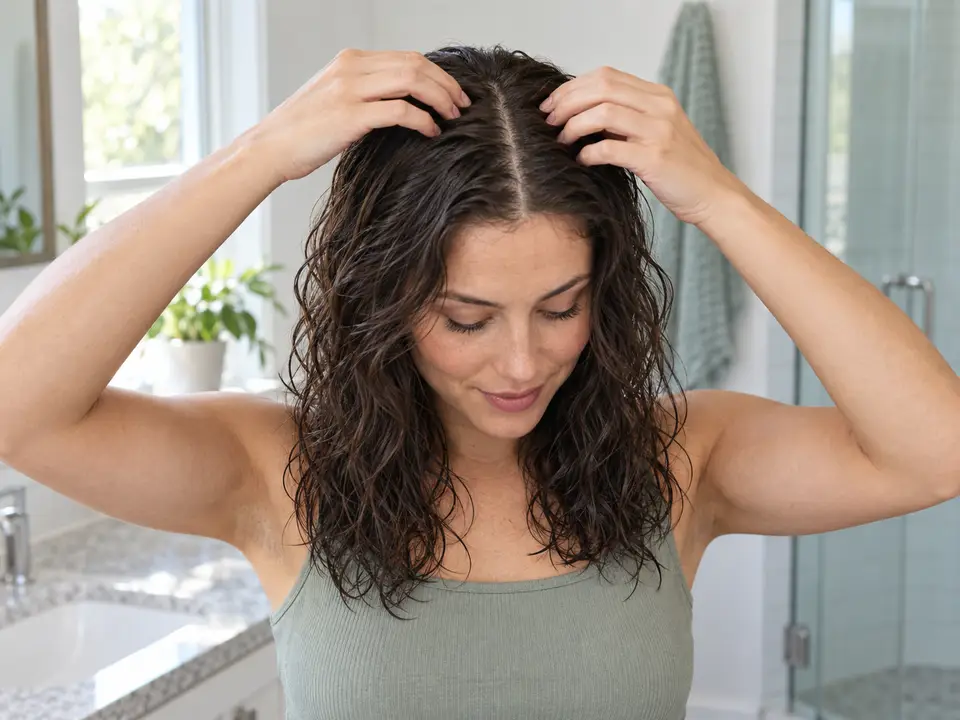
Air-dry your hair
Air-drying is the no-heat wait used here, but keep the braids in place until their roots and inner sections are dry.