Weave a three-section DNA braid
Choose this detailed side braid when you can keep three sections distinct and work slowly. The narrow center stays separate while small pieces trade sides around it.
Step by step
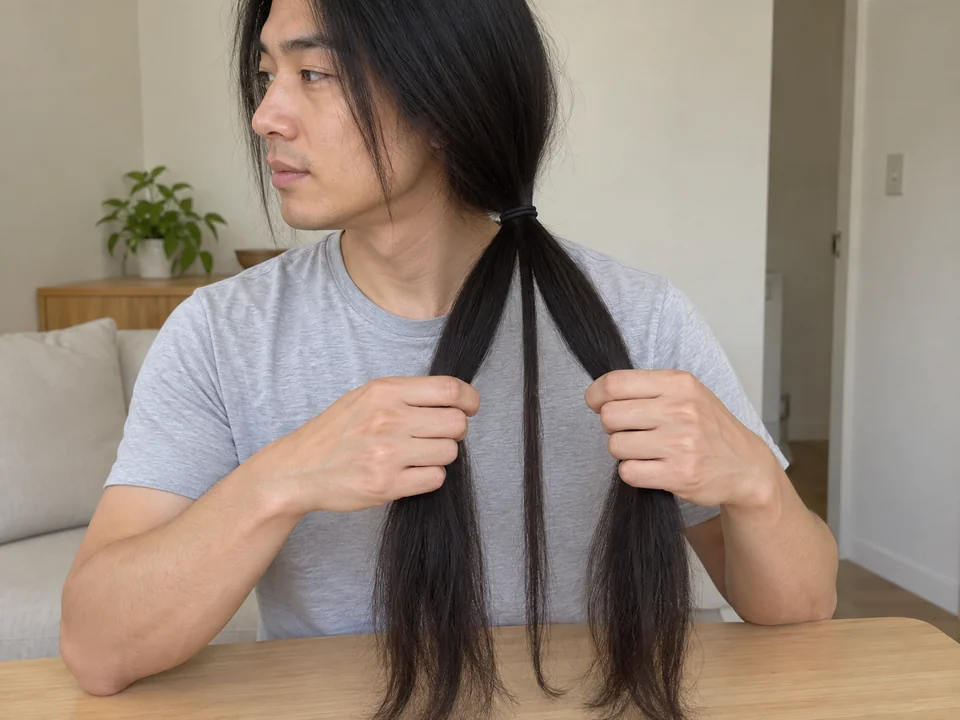 STEP 1 OF 3
Separate two outer groups and a finer center
- Make a comfortable low side ponytail with a soft tie. Divide its tail into two larger outer groups and a smaller center group.
- Keep the center separate between your fingers. The center will stay its own section as small pieces move between the outer groups.
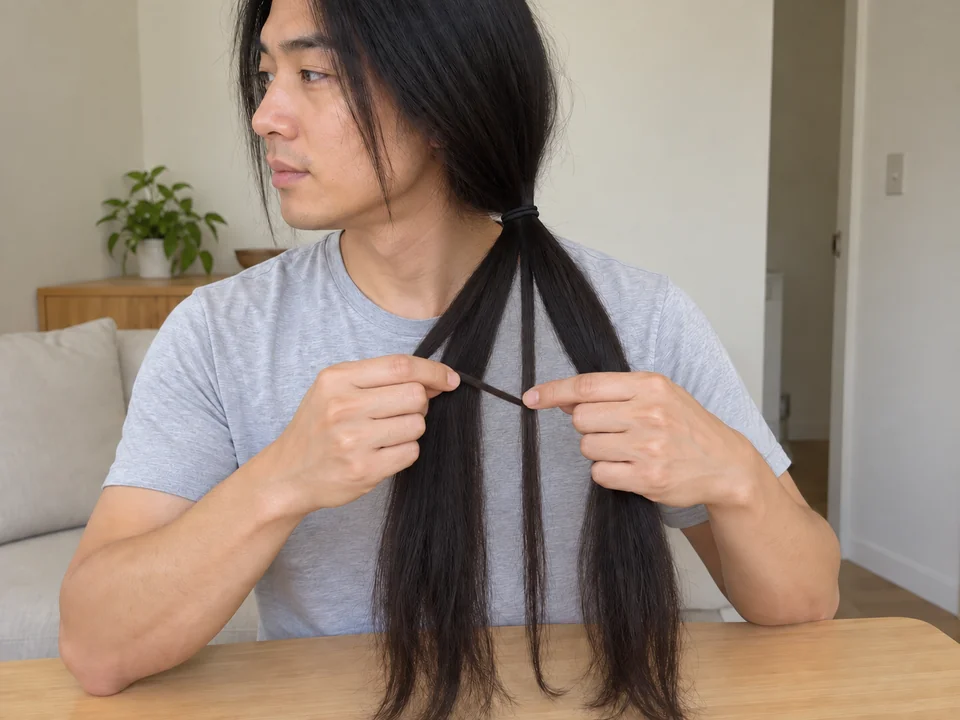 STEP 2 OF 3
Alternate the two different paths
- Take a fine piece from the outer left group. Pass it over its own left group, then under the small center, and add it to the right group.
- Take a fine piece from the outer right group. Pass it under its own right group, then over the small center, and add it to the left group.
- Repeat these two paths with comfortable handling. Let the pattern turn as it forms; do not force the whole tail into a twist. Stop before ends become hard to hold.
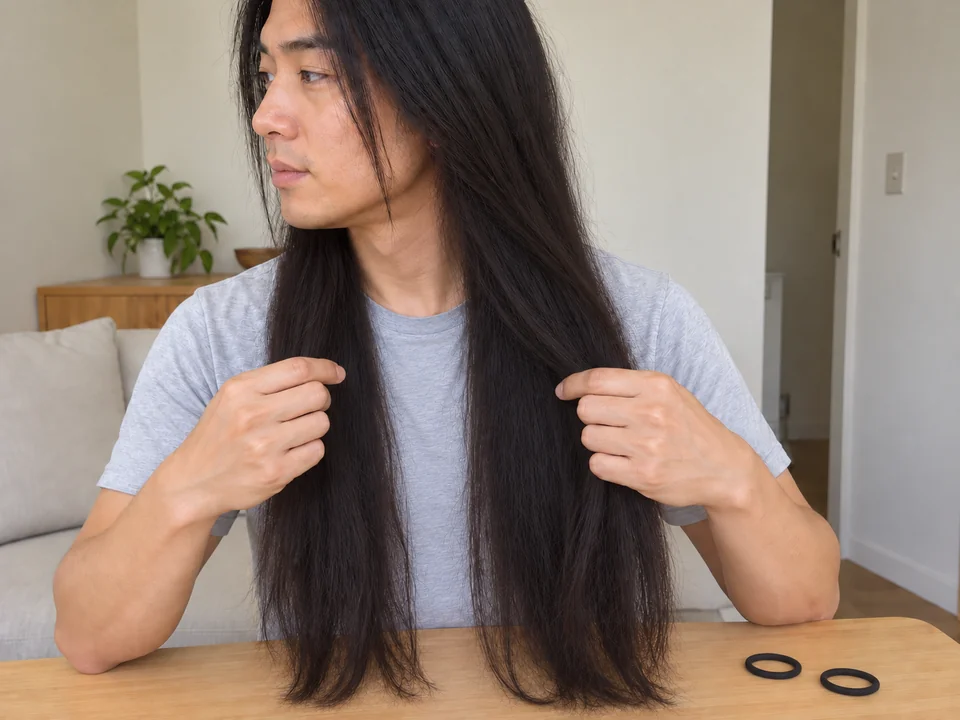 STEP 3 OF 3
Secure, then reverse the crossings to release
- Hold the last pass and tie the three groups together with the second soft tie. Check that the base is comfortable.
- For removal, take off the end tie. Open the latest outer transfer first, then the next, working back upward without pulling on the center.
- Once all sections are free, remove the base tie and gently separate any catches with your fingers.
One reachable braid, including setup and takedown; practice may take longer.
You’re done when…
The three sections form a tied temporary braid with a distinct center strand, and are later fully separated by reversing the passes.