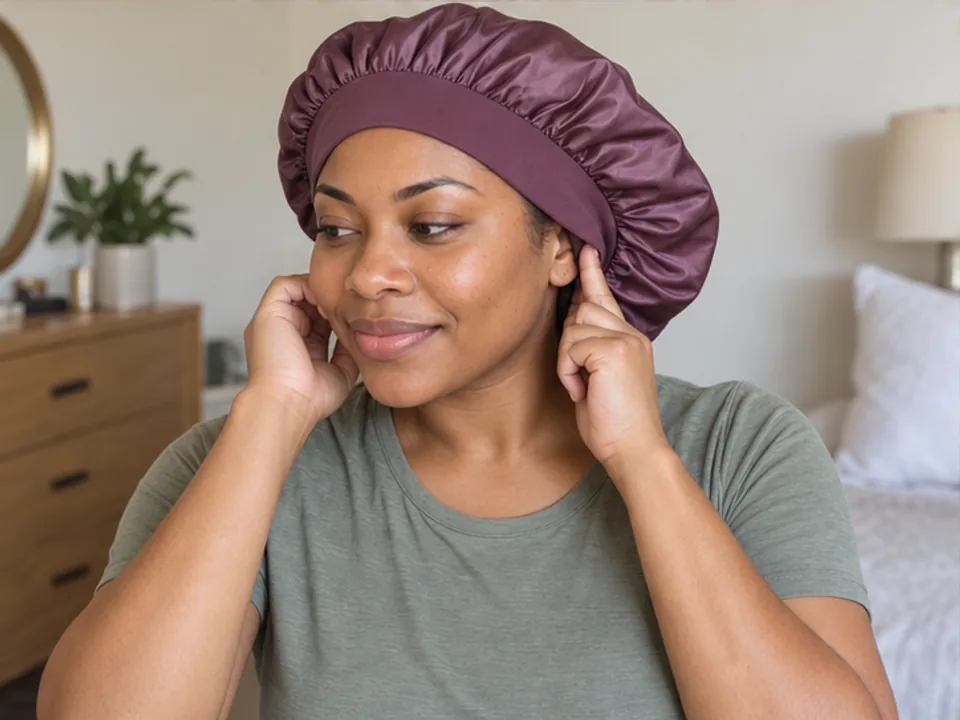
Wash your bonnet, scarf or pillowcase
Wash a bonnet, sleep scarf or pillowcase when it needs cleaning. Choose its permitted hand or machine method, rinse out the detergent and let it dry completely before using it again.
Step by step
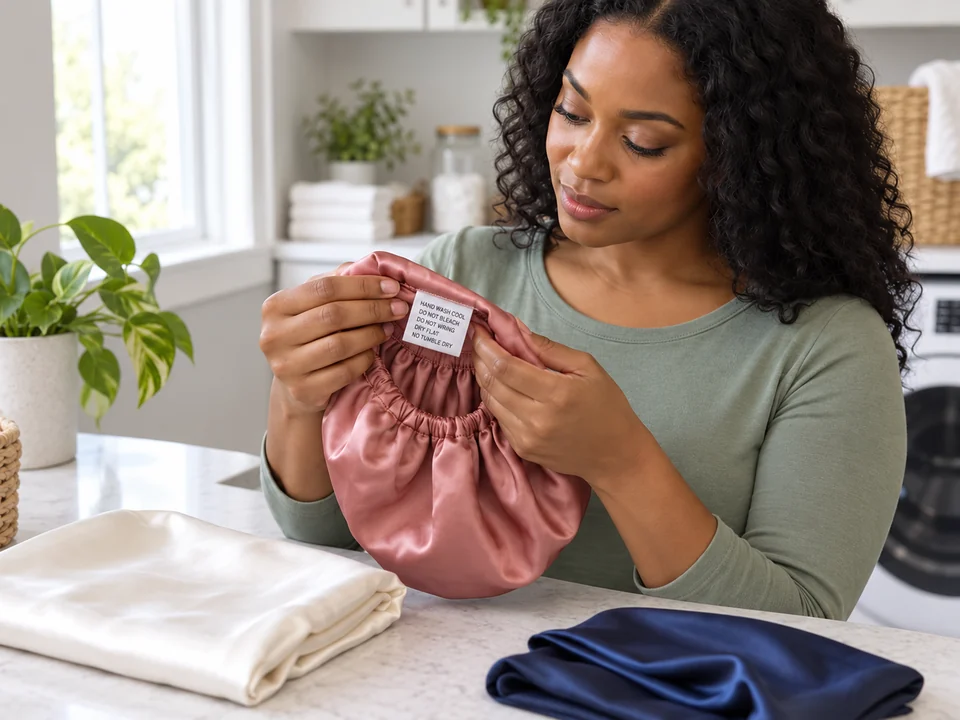 STEP 1 OF 12
Read the washing and drying directions
- Find the sewn label, packaging or maker instructions for this exact item. Check washing, detergent, temperature, drying and warnings before you start.
- Choose the permitted hand-wash or machine-wash steps below. Prepare the drying space too; do not start if you cannot follow the full care method.
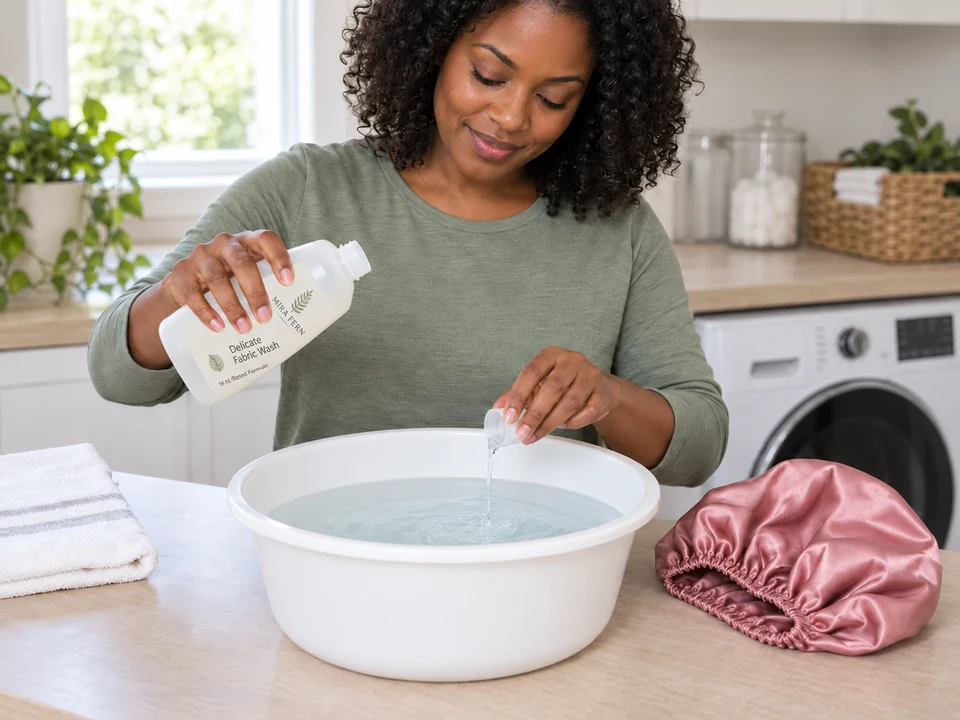 STEP 2 OF 12
For hand washing, prepare the basin
- Skip to the machine-loading step if you are machine washing. Otherwise, fill a clean basin or sink with water at the temperature specified for the item.
- Measure detergent suitable for the fabric and hand washing, using its directions for the water amount. Mix it into the water before adding the item.
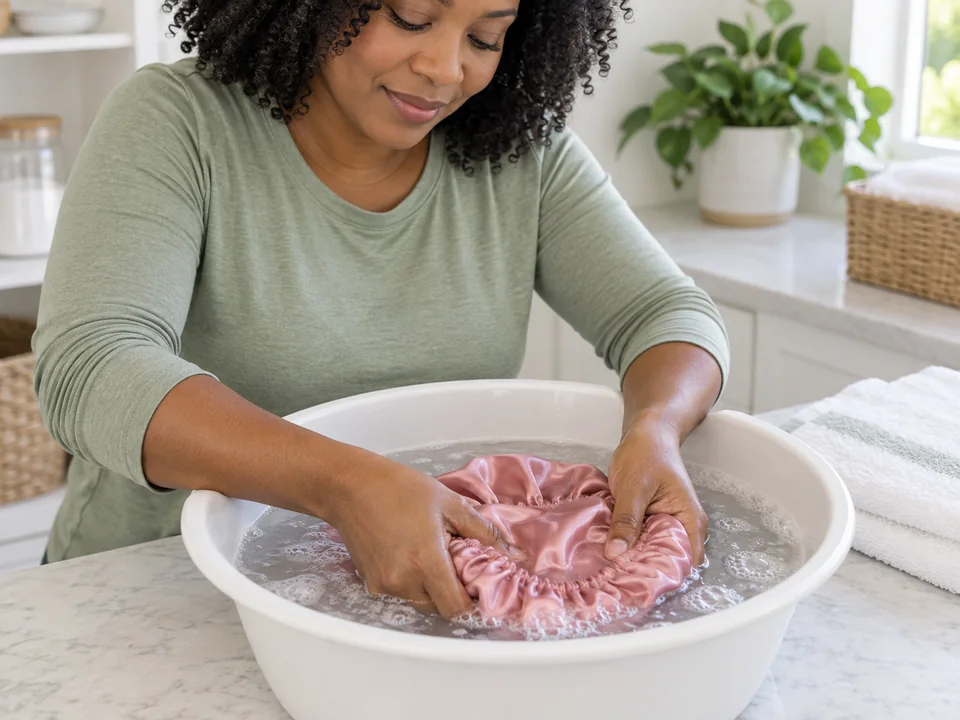 STEP 3 OF 12
Gently wash the item by hand
- Lower the item into the prepared water. Gently press and release the fabric with both hands so the water moves through it.
- Avoid rubbing, scrubbing or stretching the elastic. Follow any washing or soaking time in its directions.
 STEP 4 OF 12
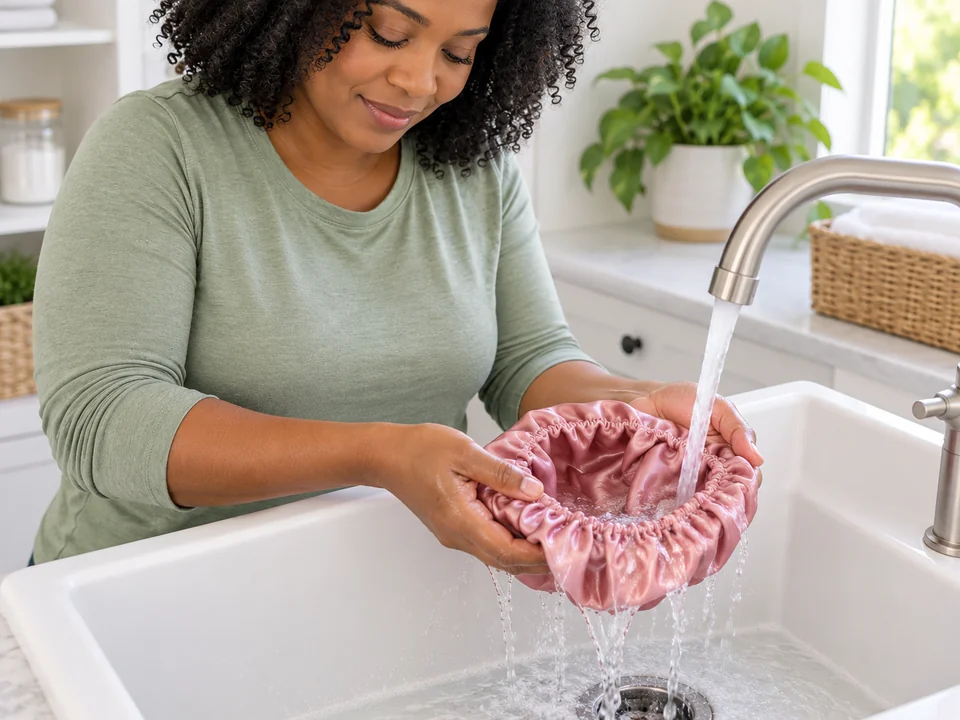
Rinse out the detergent
- Support the item while you drain the wash water. Rinse at the directed temperature, using fresh basin water or a gentle running stream as its care allows.
- Open the folds gently so rinse water reaches both sides. Keep rinsing until there are no suds or visible detergent traces; do not twist the fabric.
 STEP 5 OF 12
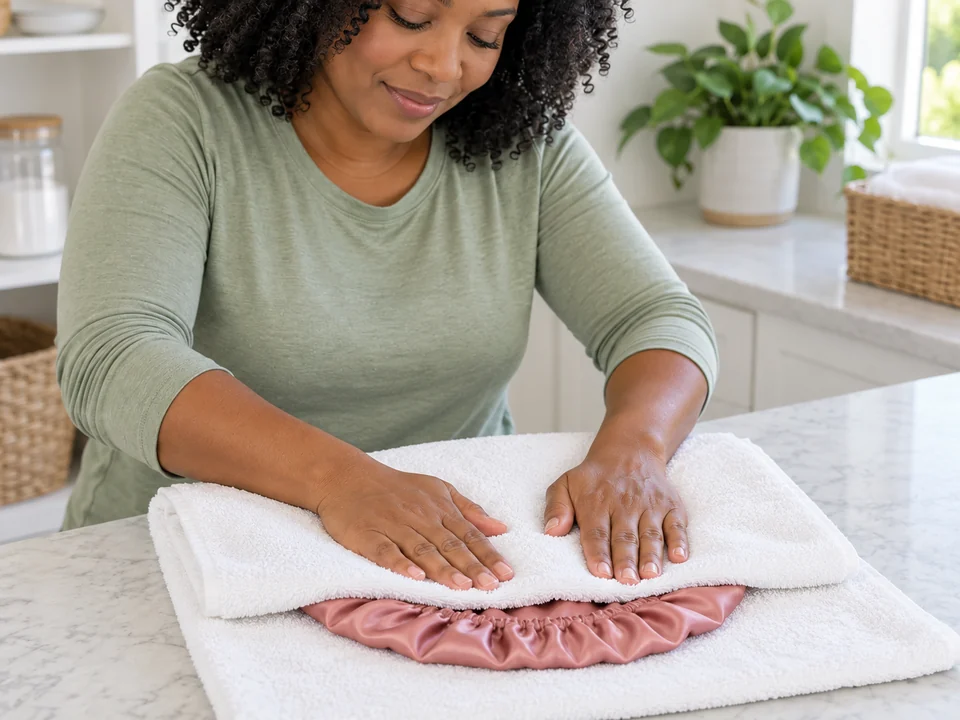
Press out excess water without twisting
- Lift the item with both hands supporting its weight. If its care permits towel pressing, lay it on a clean towel, fold the towel over it and press gently.
- Do not wring or pull the elastic. Move to the drying steps below; skip the machine-washing steps. Rinse the basin and measuring cap when finished.
 STEP 6 OF 12
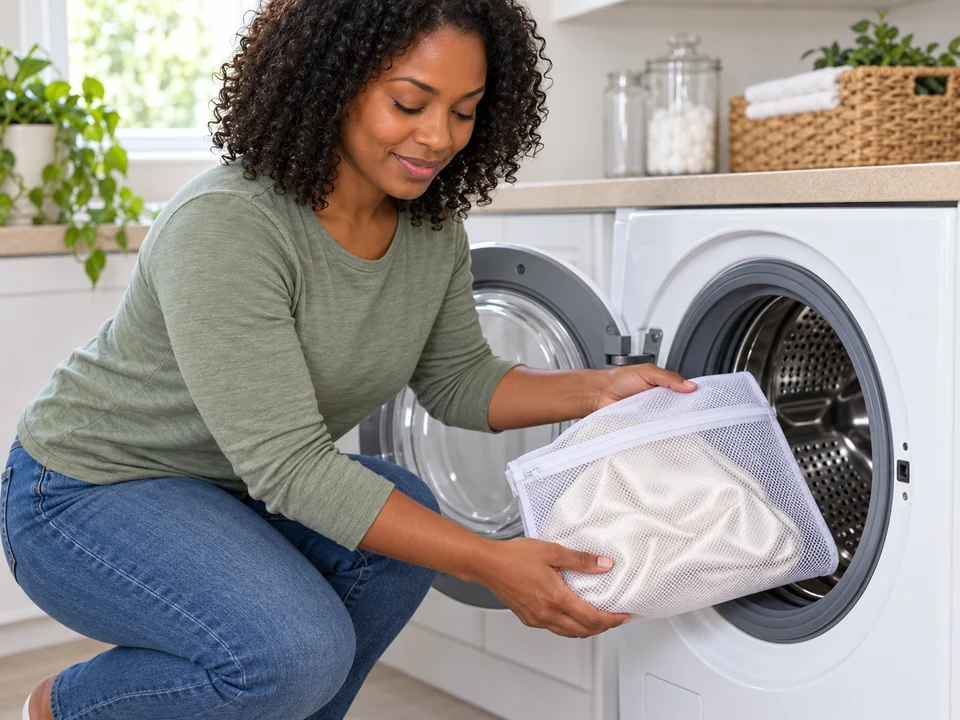
For machine washing, load the item
- Use this path only if the item permits machine washing. Sort it with a compatible load and follow any directions to turn it inside out or close fastenings.
- If a mesh bag is directed, put the item loosely inside and close the bag. Load without packing the drum; keep fabric clear of the door seal.
- If your machine requires detergent before loading, do the detergent step first.
 STEP 7 OF 12
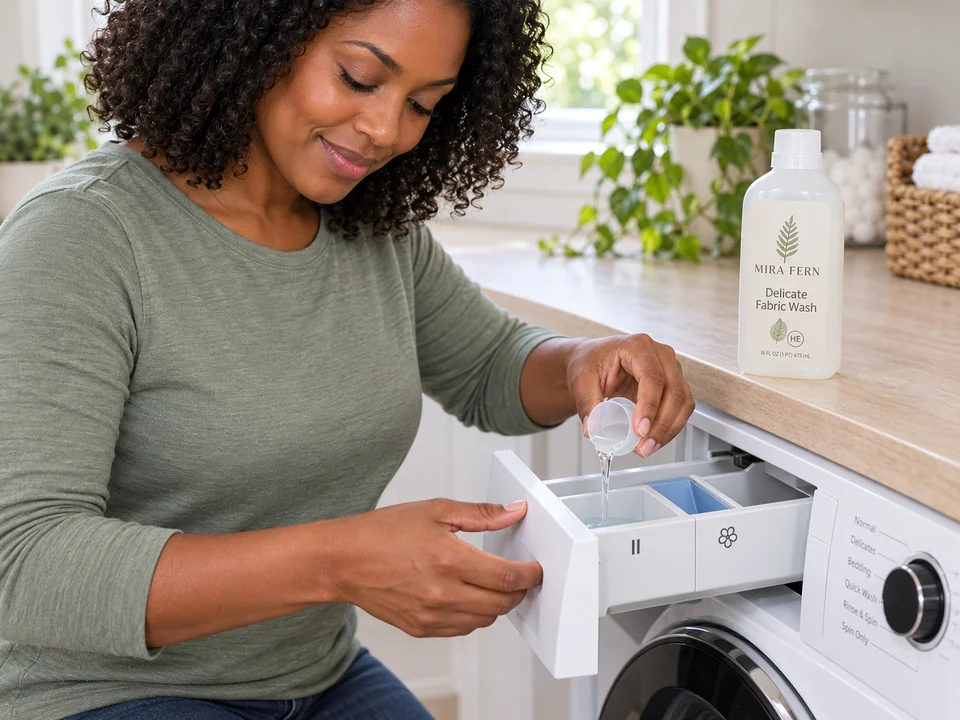
Add the measured machine detergent
- Use detergent suitable for both the fabric and washer, including HE detergent when required. Measure for the actual load using the detergent directions.
- Add it where the appliance manual specifies. The photo shows a main-wash drawer; other machines use a different dispenser or the drum.
- Do not add a second dose if you already added detergent or an automatic dispenser is supplying it.
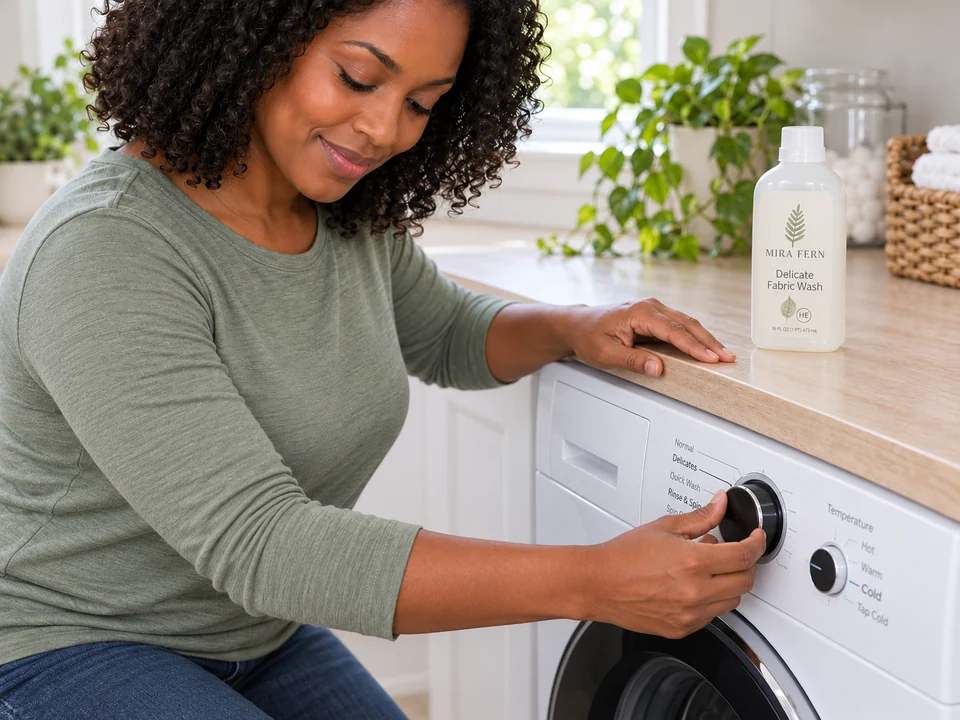 STEP 8 OF 12
Select the permitted cycle and start it
- Match the cycle, water temperature and spin settings to the care label and washer instructions. Do not assume “delicate” suits every item.
- Close the dispenser and door, then start the wash. Let the washing and rinsing cycle finish.
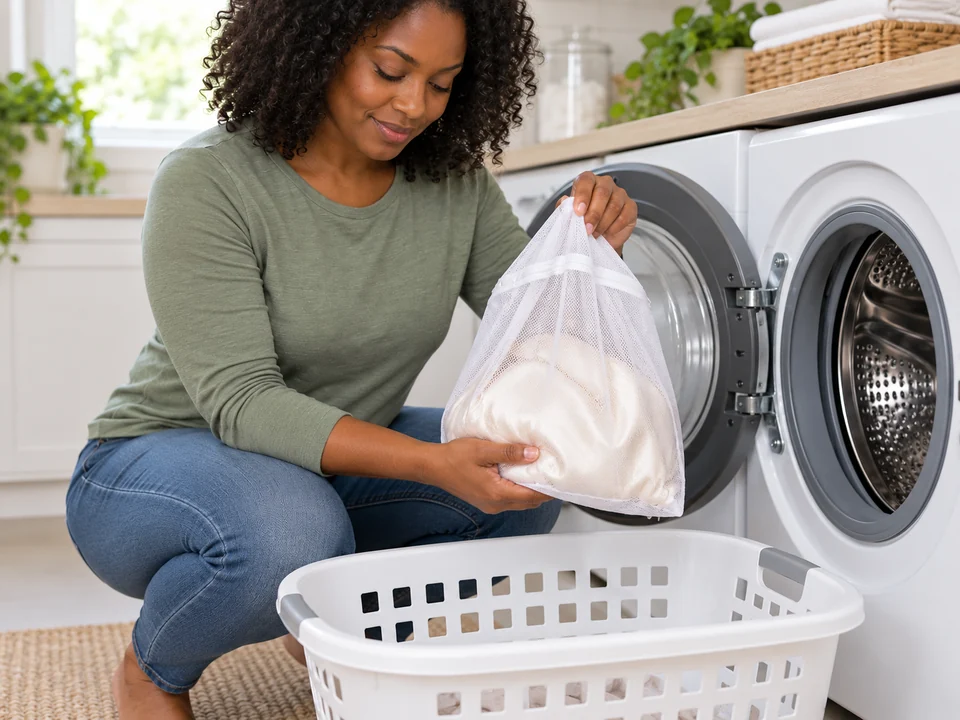 STEP 9 OF 12
Remove the washed item
- Wait for the drum to stop and the door to unlock. Lift the item out, supporting the wet fabric rather than pulling on an edge or elastic.
- Open any laundry bag and remove the item. If you see detergent residue, use a label-compatible rinse before drying.
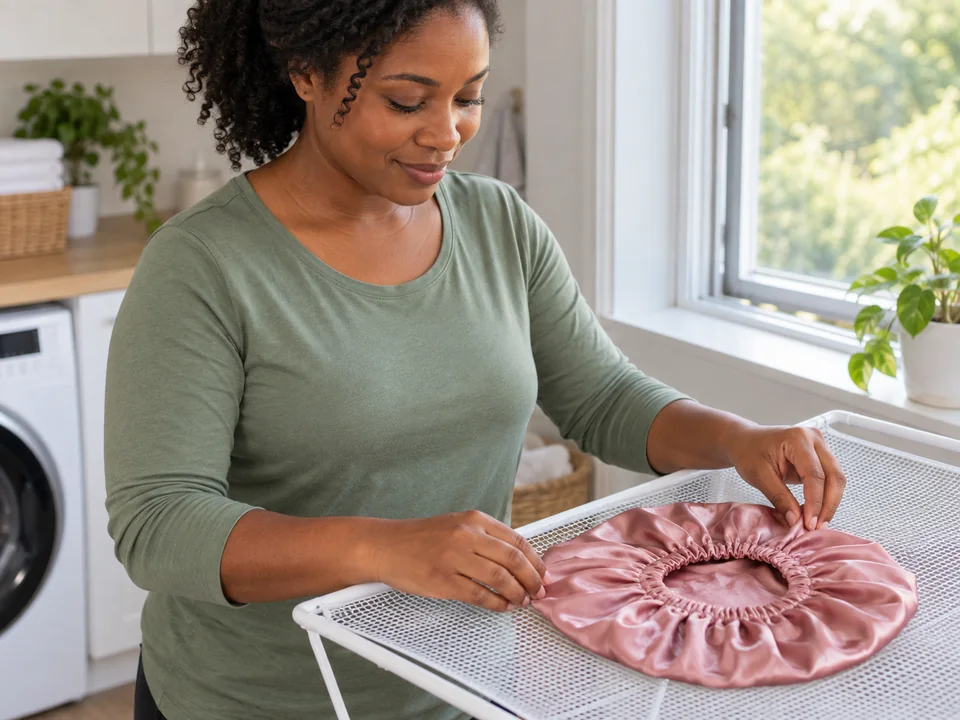 STEP 10 OF 12
Air-dry by the permitted method
- If the label permits air drying, support the wet item as you arrange it. Lay it flat or hang it in the way the label specifies.
- For flat drying, ease the fabric into shape on a clean permitted surface without stretching it. Follow any shade or direct-heat restrictions.
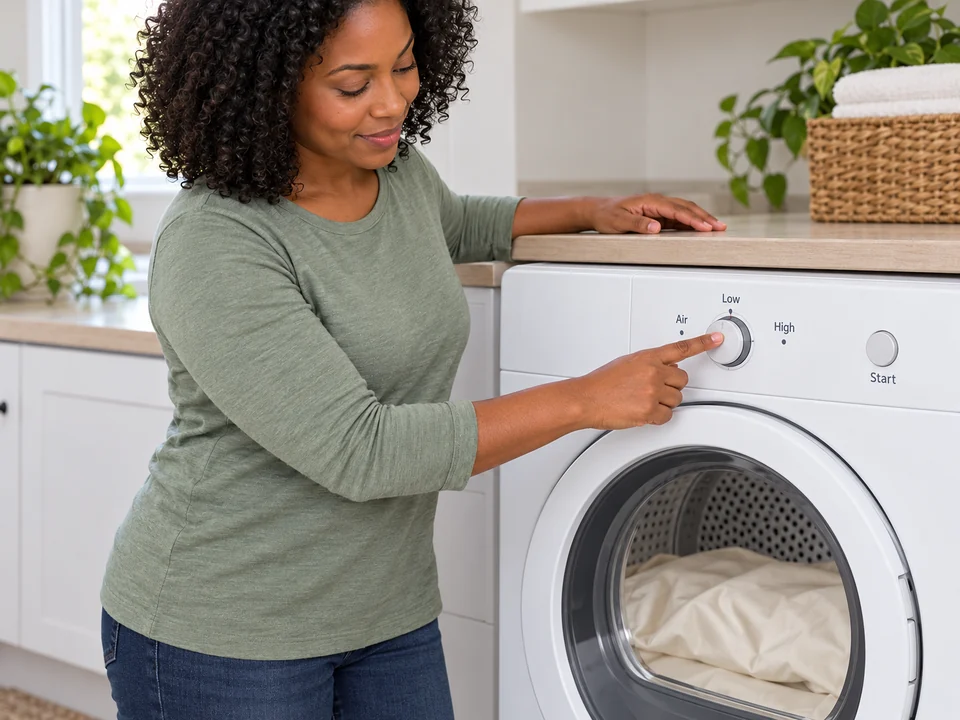 STEP 11 OF 12
Tumble-dry only when allowed
- Skip this step for an air-dried item. If tumble drying is permitted, follow the dryer’s loading instructions and make sure its lint screen is clean and fitted.
- Choose the heat and cycle allowed by the fabric label and appliance manual. Close the door and run the cycle; do not copy the photo’s setting by default.
- Wait for the drum to stop before taking the item out.
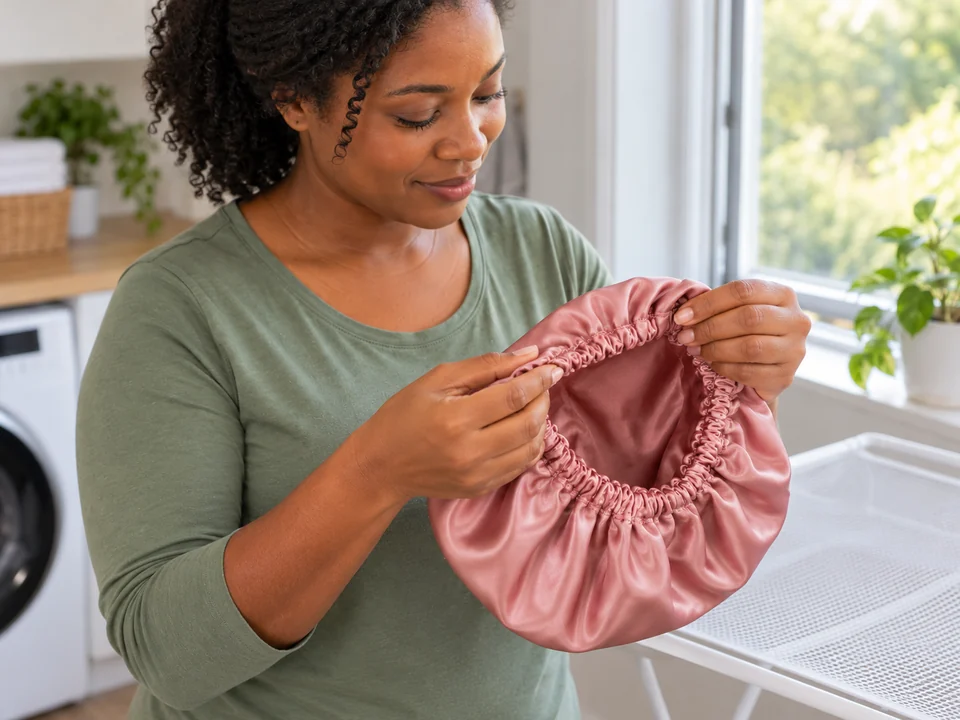 STEP 12 OF 12
Check the seams before using it again
- Feel inside folds and along thicker seams, elastic casings and closures. If any area is damp, continue drying by the permitted method.
- Check for detergent residue, loose trim or damaged stitching. Put the fully dry item away, return it to the pillow or wear it only when it is ready.
Hand washing takes about 5–10 minutes of handling for one item, including rinsing, setting it to dry and cleanup. Machine washing takes about 3–6 minutes of handling, plus the cycle. Add any directed soak and full drying.
You’re done when…
The fabric and thicker seams are fully dry, with no visible detergent residue, loose trim or damaged elastic. It is ready to wear or put back on the pillow.
Related techniques
Connected steps for your routine.