Thread and remove a bead on a braid
Add one lightweight bead to a reachable braid when its hole fits without force. Start small so you can check the weight, fastening and removal before adding more.
Step by step
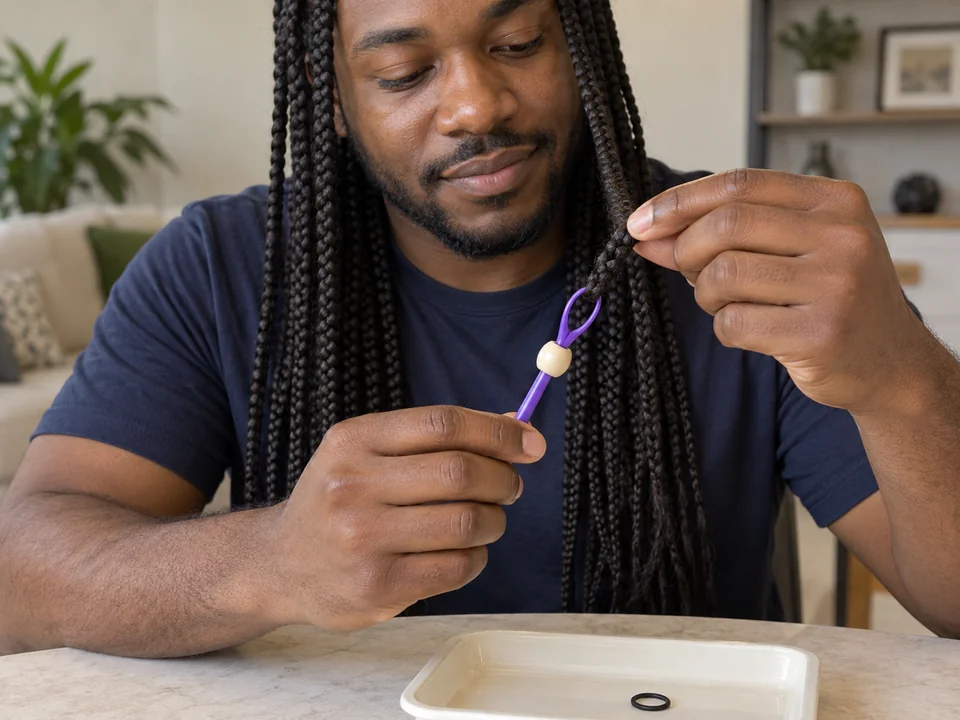 STEP 1 OF 3
Load the bead and insert the tip
- Check that the bead is smooth, lightweight and wide enough for the folded tip to pass freely. Put it onto the beader shaft, leaving its loop clear.
- Bring a comfortable braid forward. Pass only its end through the beader loop, keeping enough free tip to fold back later.
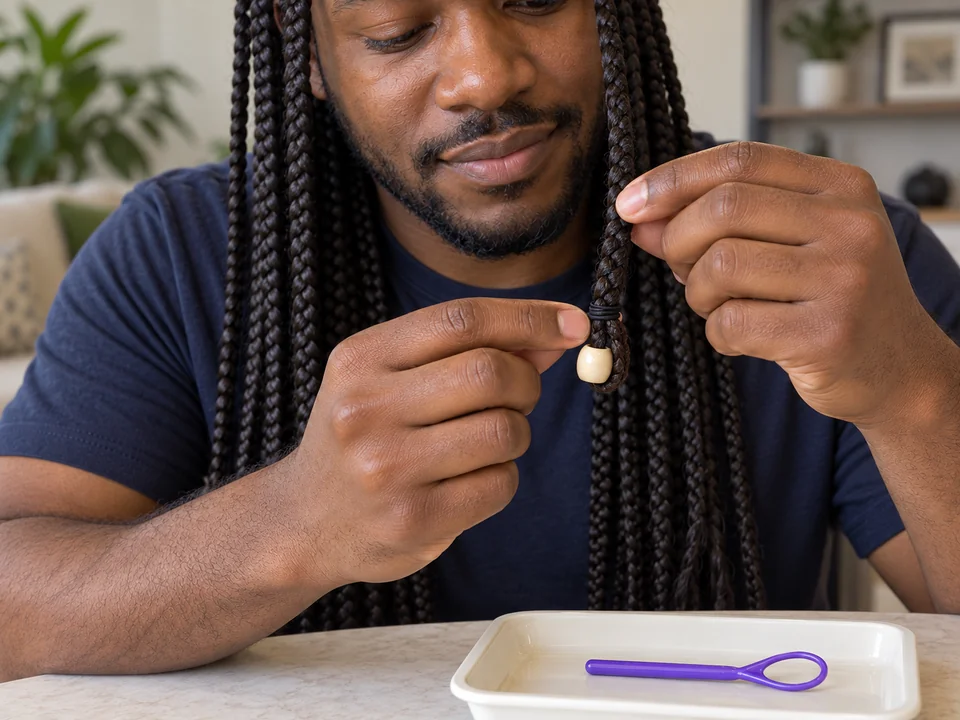 STEP 2 OF 3
Slide on and secure the bead
- Support the braid above the tip. Slide the bead from the shaft over the loop and onto the braid while easing the beader away; stop at any catch.
- Set the beader down. Fold the free braid tip back around the bottom of the bead so the tip lies alongside the braid above it.
- Hold that fold and wind the small elastic around both hair portions just above the bead. Check that it holds without tightening the braid at the scalp.
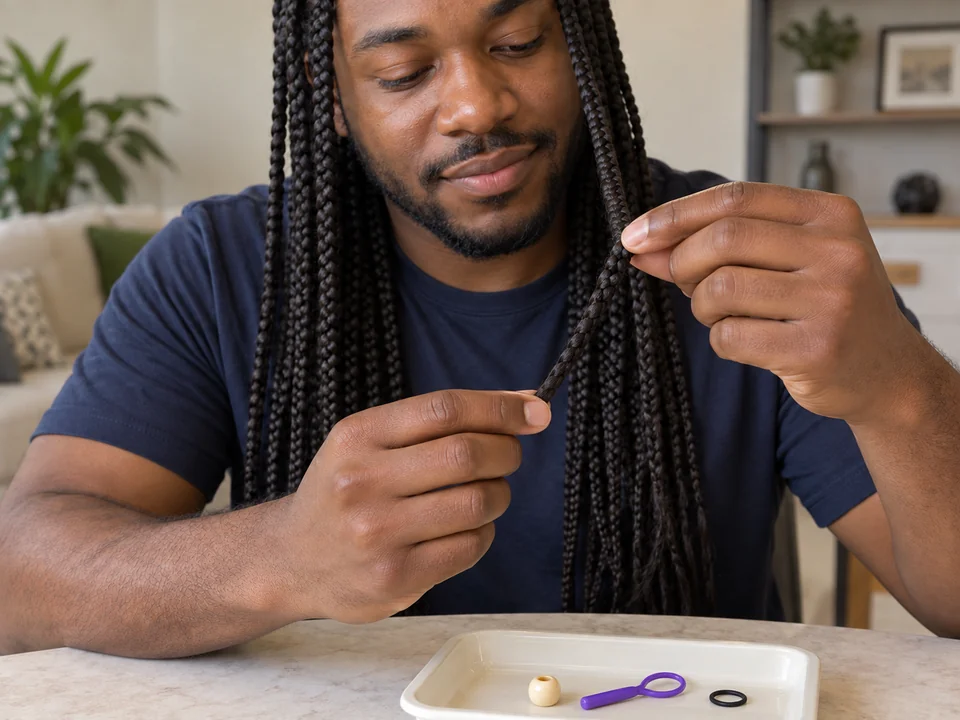 STEP 3 OF 3
Check comfort and undo in reverse
- Let the braid hang and check its weight. Remove the bead if it tugs, slips or catches; do not solve excess weight by making the roots tighter.
- For removal, support the bead over the tray. Unwind the small elastic, straighten the folded tip and gently slide the bead toward the end.
- Pause to free any catch with your fingers. Do not cut close to your hair or pull the bead through resistance. Collect every bead and elastic.
One small reachable area, including setup and removal; a larger style takes longer.
You’re done when…
The bead stays on the braid without pulling; later the elastic, folded tip and bead are released without cutting or dragging through a knot.