Set a small loc section with pipe cleaners
Try a temporary curl on one or two easy-to-reach, established locs. A small practice section lets you learn to secure and remove the supports before attempting a larger set.
Step by step
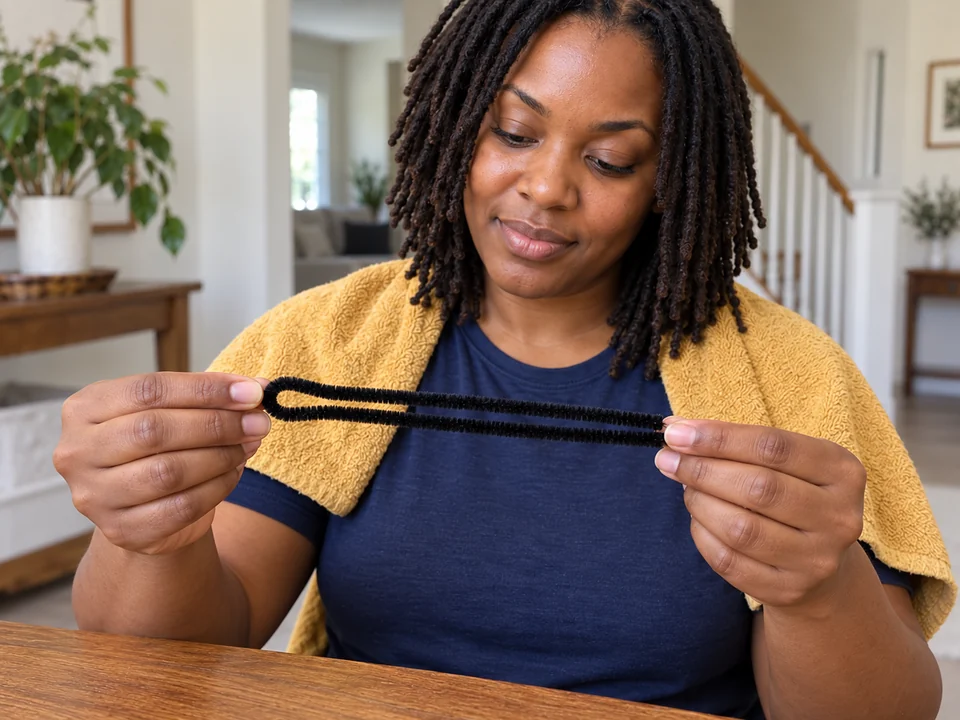 STEP 1 OF 11
Fold one pipe cleaner in half
- Sit at a table with dry hands. Bring the ends of one clean pipe cleaner together, leaving a small rounded loop at the fold.
- Keep it away from your hair while you prepare it. Do not use a cleaner that sheds fuzz.
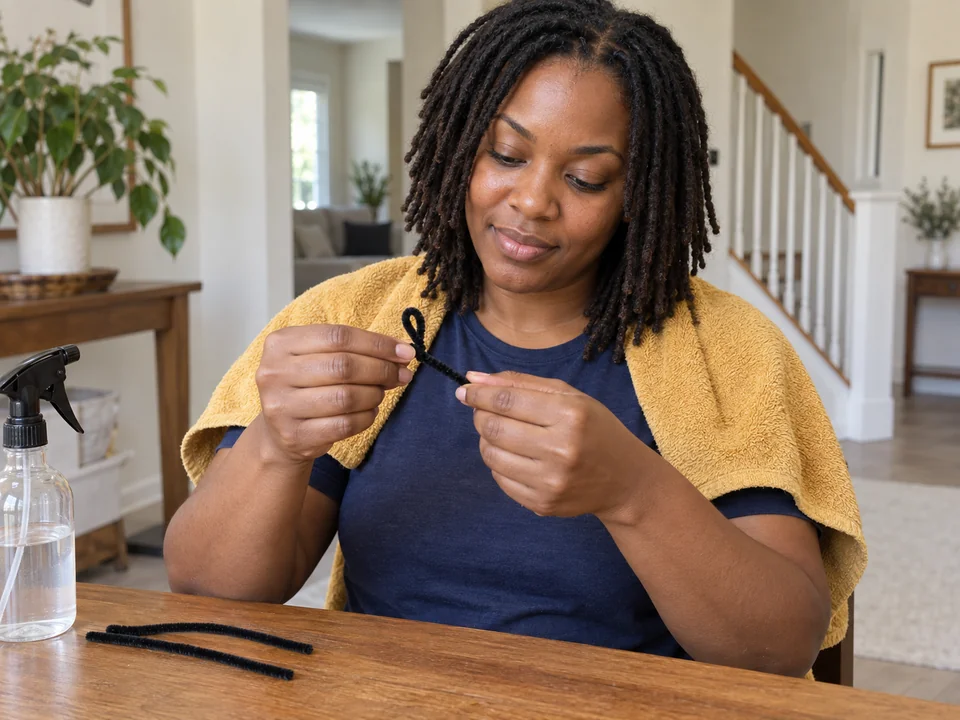 STEP 2 OF 11
Twist the two legs together
- Hold the loop between one thumb and finger. Use the other hand to wind the two legs around each other, working toward their tips.
- Keep the small loop open. The two legs should form one even support, with no loose wire sticking out.
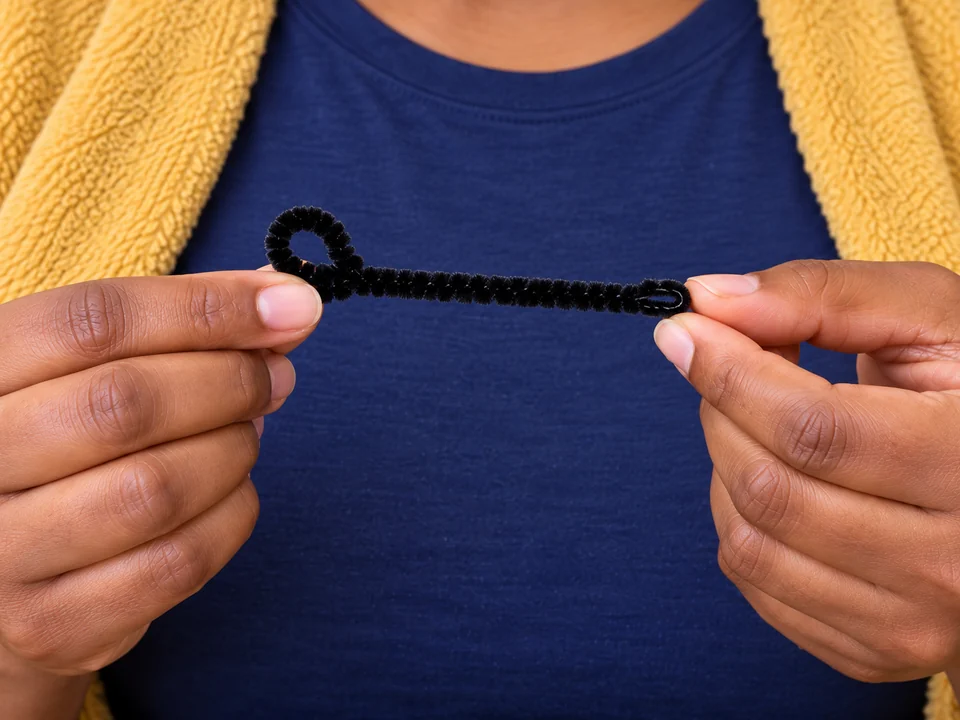 STEP 3 OF 11
Fold in the tips and check the support
- Turn the joined tips back against the twisted stem so they do not point outward. Keep the small loop at the opposite end.
- Look and feel gently for a sharp point, rough spot or loose fuzz. Discard the support if any remain; do not test it by dragging it through hair.
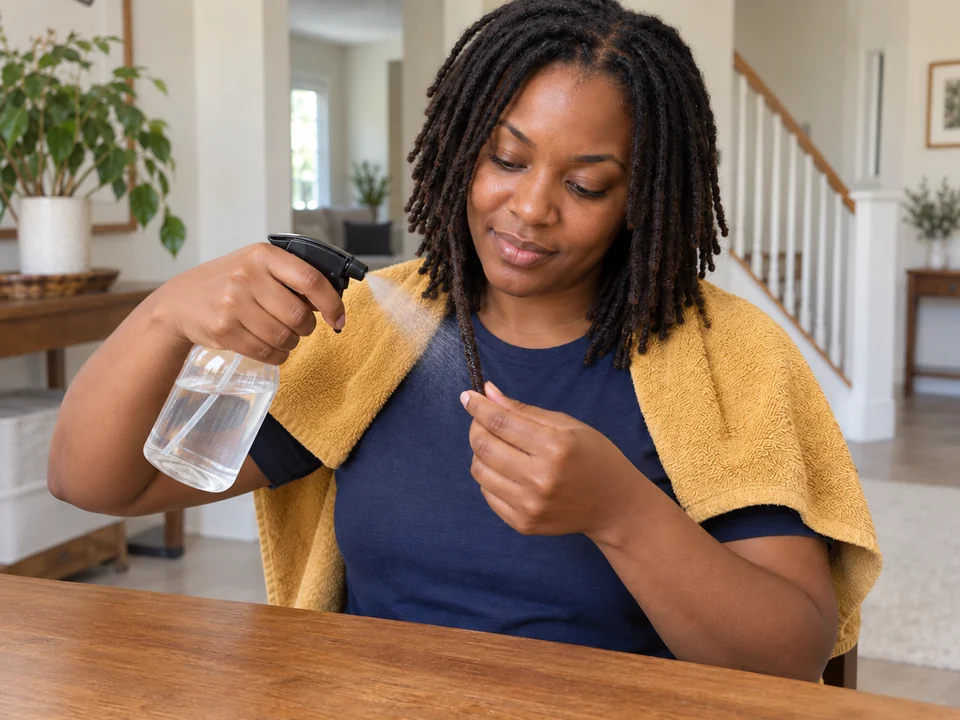 STEP 4 OF 11
Lightly dampen one reachable loc
- Choose one established side loc long enough to wrap comfortably. Move neighboring locs aside, clipping them loosely if needed.
- Dampen that loc with clean water. Use wet palms or a light spray, then put the bottle down. It should feel damp, not drip.
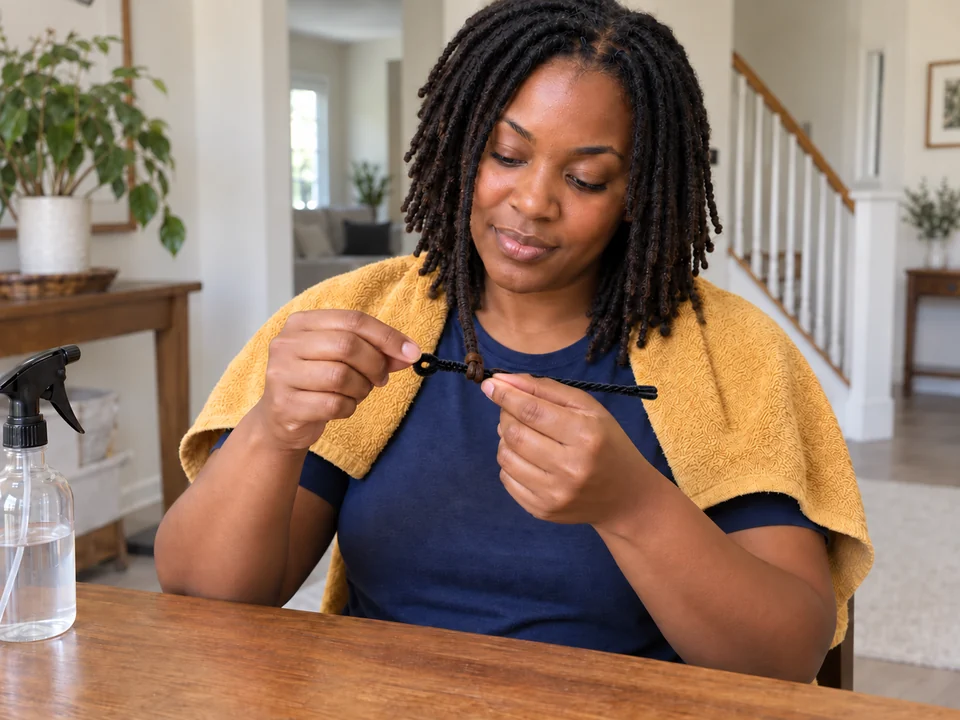 STEP 5 OF 11
Roll from the tip toward the head
- Lay the loc tip across the middle of the prepared support. Hold the tip against it with one hand and begin turning the support with the other.
- Keep rolling so the loc winds around the support. Leave both support ends free for bending; do not force a short loc into the wrap.
- Stop while the root still hangs relaxed and the roll stays clear of your skin. Do not roll tighter to make it stay.
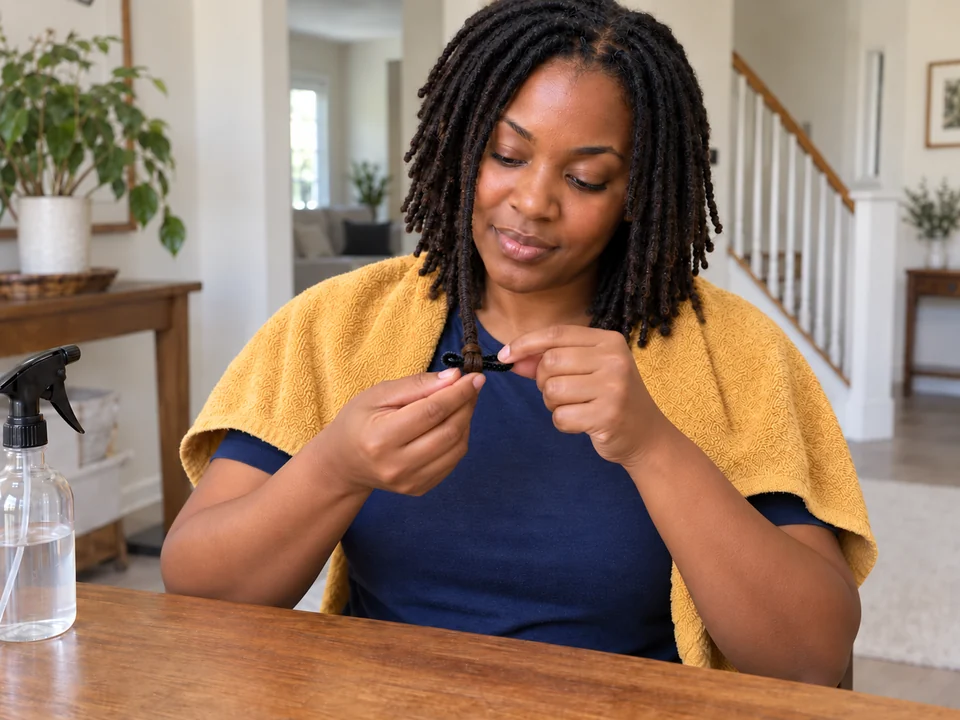 STEP 6 OF 11
Bend the ends to hold the roll
- Hold the roll steady with one hand. With the other, bend one free end inward over the wrap, then the other.
- Keep the folded wire tips contained and off your skin. Let go gently: if the wrap pulls, reopen and loosen it. Try a second loc only when this feels comfortable.
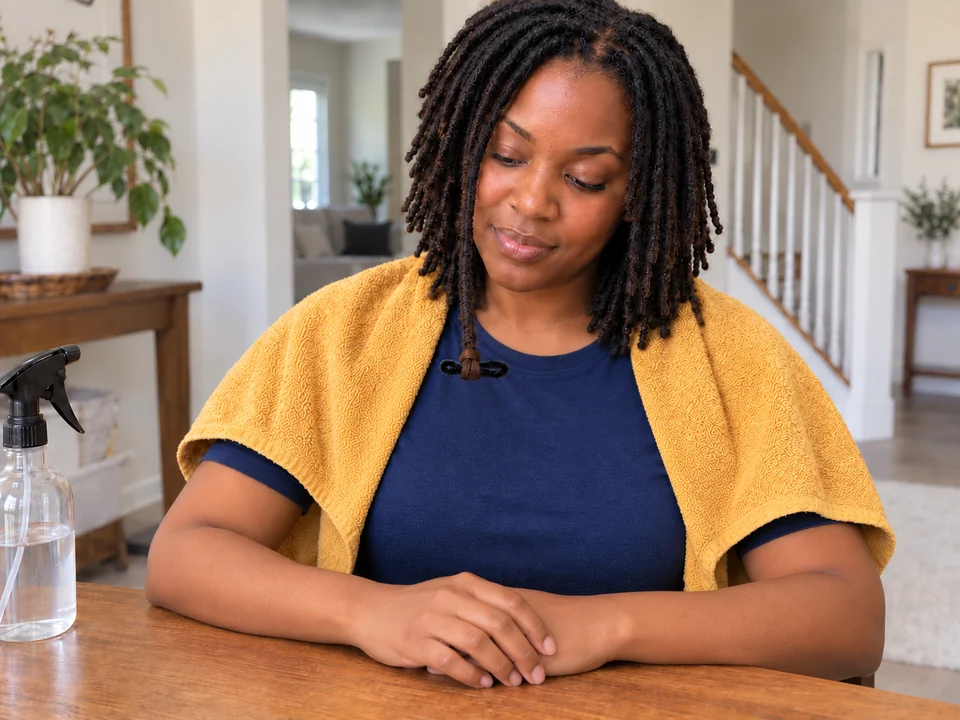 STEP 7 OF 11
Let the wrap air-dry
- Leave the wrap uncovered while you are awake. Keep it off your skin and avoid resting your head against it.
- Drying may take hours. Use no heat and remove the supports before bed, even if that means leaving the locs loose to finish drying.
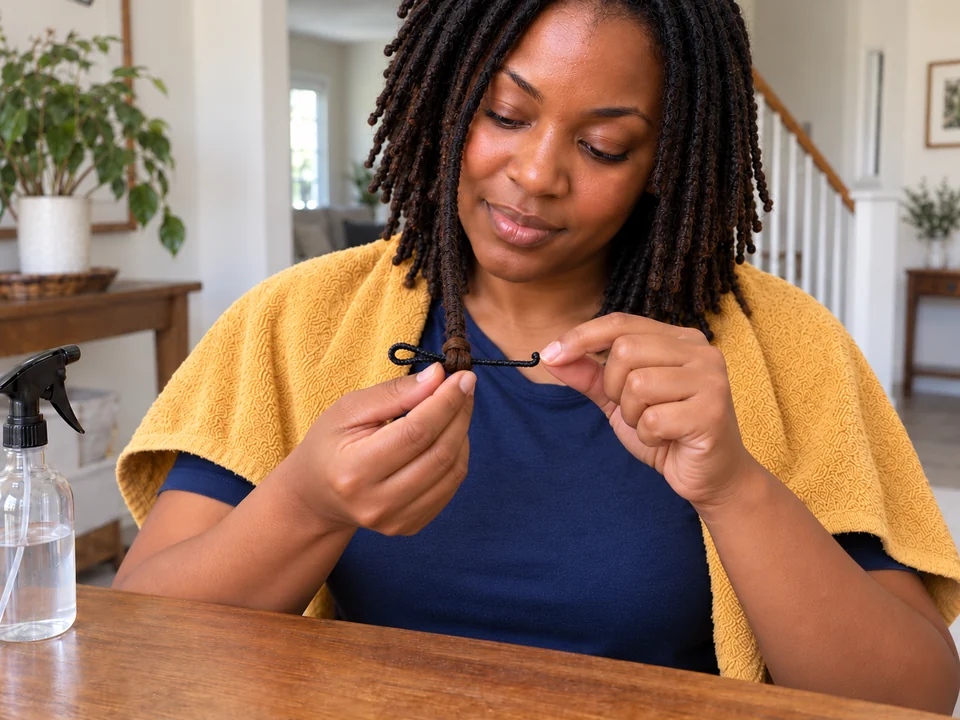 STEP 8 OF 11
Open both securing bends
- When you are ready to check or remove a wrap, support its rolled hair with one hand.
- With the other hand, gently straighten each securing bend until both ends point away from the roll. Keep the tiny wire-tip fold intact.
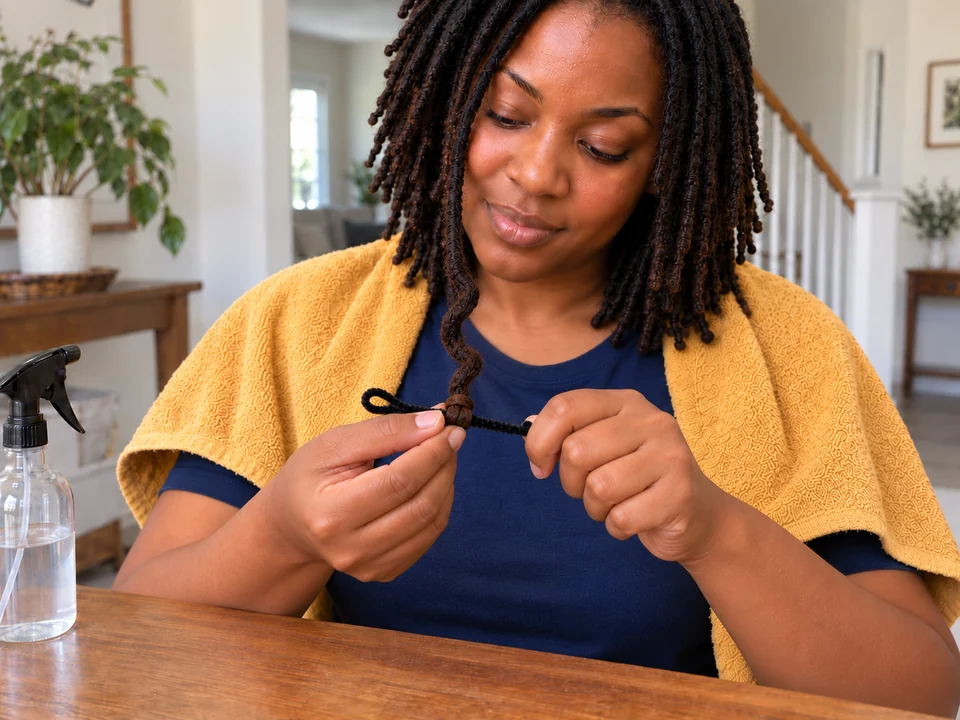 STEP 9 OF 11
Reverse the roll slowly
- Turn the opened support downward to unwind the loc, one turn at a time. Use the other hand to support the hair so its root stays relaxed.
- Free the last turn from the loc tip before lifting the support away. If hair catches, stop and ease it free; do not pull the support through the curl.
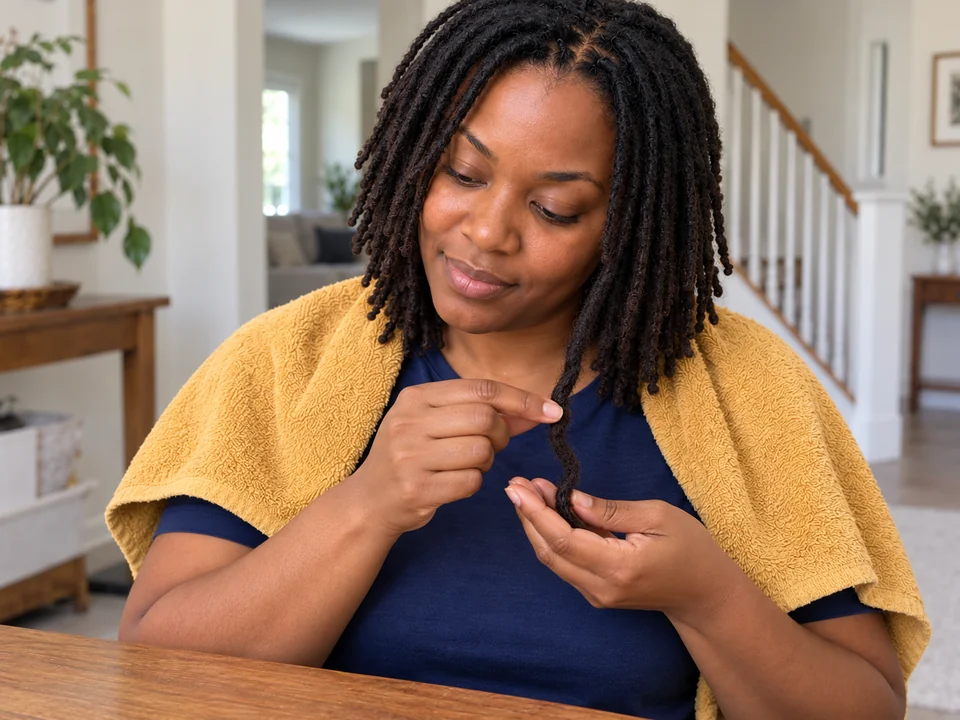 STEP 10 OF 11
Feel the released loc for dampness
- With dry hands, feel the root and the lengths that were wrapped, including the tip. An outside that feels dry does not tell you about the covered hair.
- If you feel dampness, leave this loc loose to finish drying and give the other wraps more time. Open and check them individually.
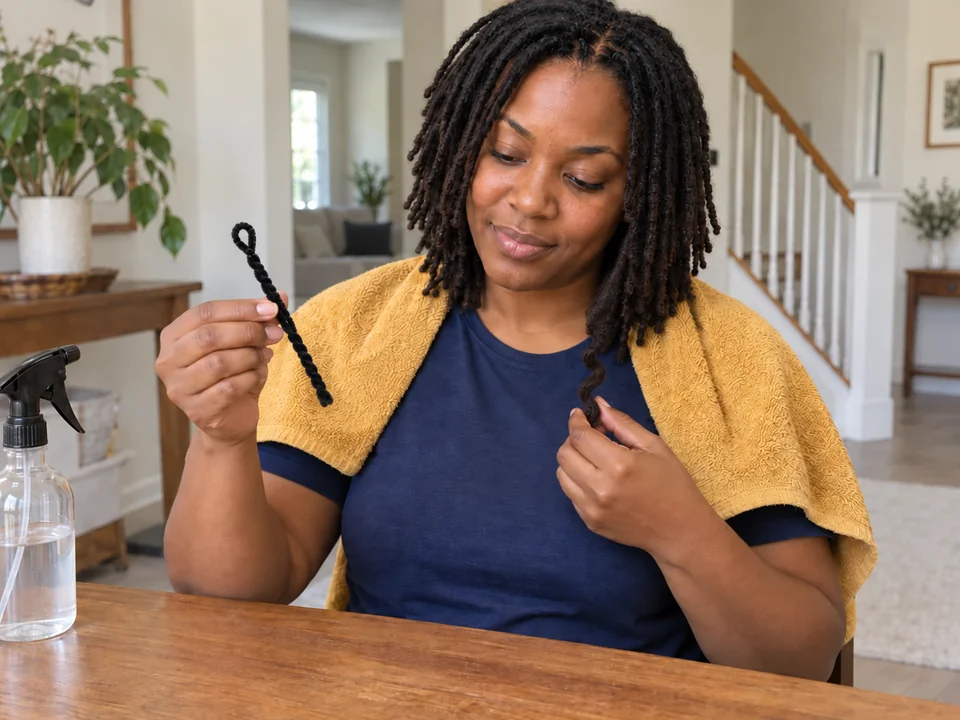 STEP 11 OF 11
Remove the remaining supports
- Open and unwind each remaining wrap the same way. Keep each loc intact; do not comb out the curl.
- Collect every support and clip. Discard damaged supports, let any damp locs finish drying loose, and put away dry supplies.
About 5–15 active minutes for a few reachable locs, including support preparation and removal. Allow longer while learning; this is not a whole-head estimate.
You’re done when…
Every support is out, each loc remains intact, and any damp areas have finished drying loose before you cover your hair or go to bed.