Pin curls into a faux hawk
Arrange existing dry curls with small side twists and comfortable pins. Use a fixed rear view to keep the work within reach and remove every pin before taking the twists down.
Step by step
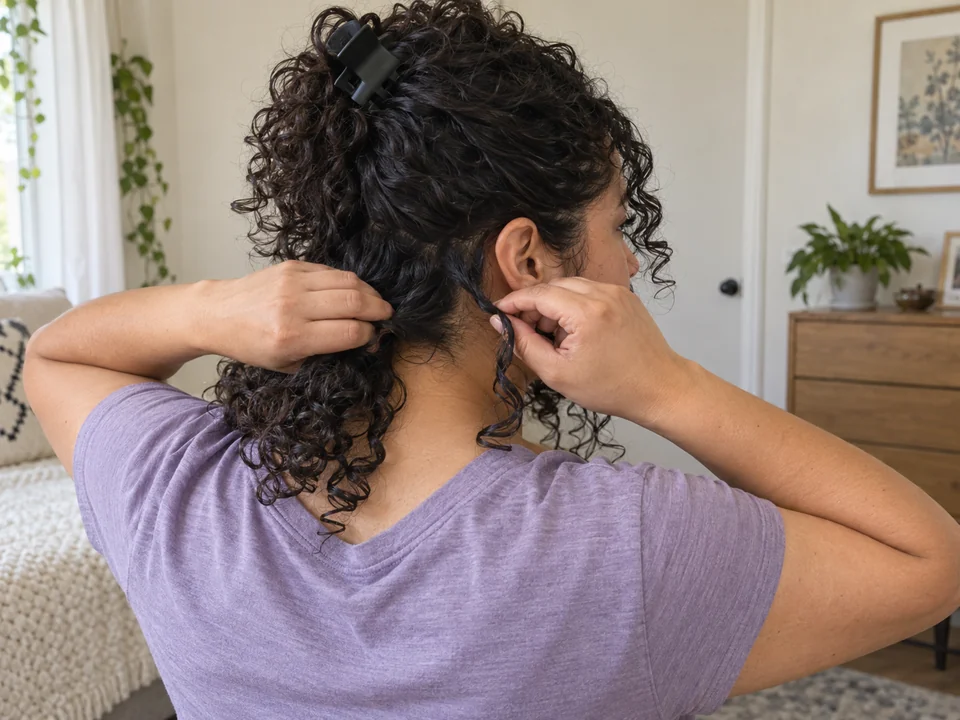 STEP 1 OF 3
Set a rear view and free the side sections
- Arrange dry curls and set a fixed rear view that leaves both hands free. Keep pins within reach; clip the top/front curls aside if they cover the working area.
- Take a small section behind one ear. Check that it can reach the center-back comfortably without pulling at the roots.
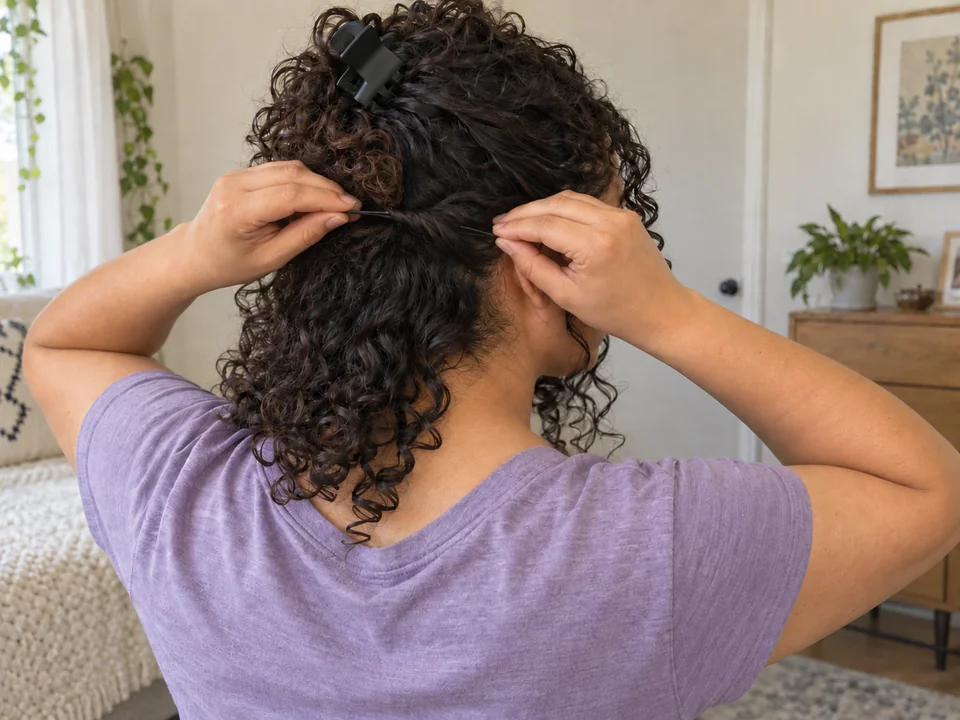 STEP 2 OF 3
Twist the sides toward a loose center crest
- Twist the section away from your face and lay it toward the center-back, directing the curled ends forward along the top. Hold it with one hand and pin with the other.
- Repeat with small sections below it toward the nape, then work the other side. Keep twists slack, pins comfortable and the curled ends loose along the center.
- Release any top section clip and arrange the loose curls with your fingers. Check the rear view and undo any section that pulls or needs a pin pressed into the scalp.
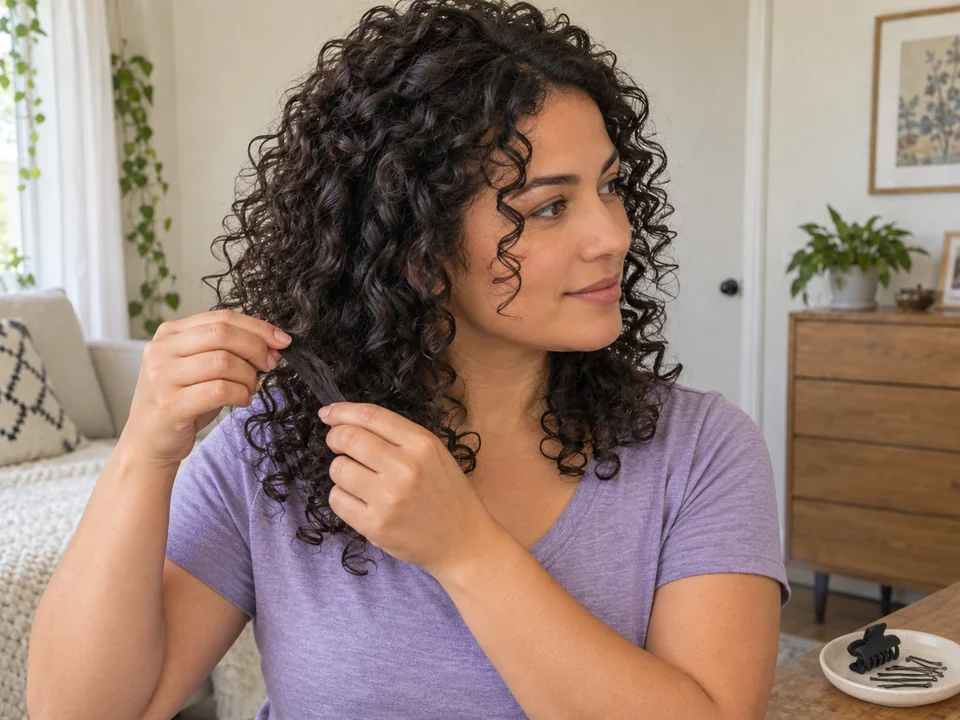 STEP 3 OF 3
Remove every pin before unwinding
- Support each pinned section while taking its pins out. Work through the whole style and check that no pins remain before loosening the twists.
- Unwind the side sections in reverse order and let the curls fall free. Remove any remaining sectioning clip and set every pin aside.
One style; learning and full removal can take longer.
You’re done when…
The sides are held in comfortable small twists and the curled ends sit loosely along the center, with all pins findable for removal.