Photograph your hair and scalp
When you want to show a change or ask a professional a more specific question, clear photos can help. They document appearance; they do not measure density or diagnose the cause.
Step by step
 STEP 1 OF 3
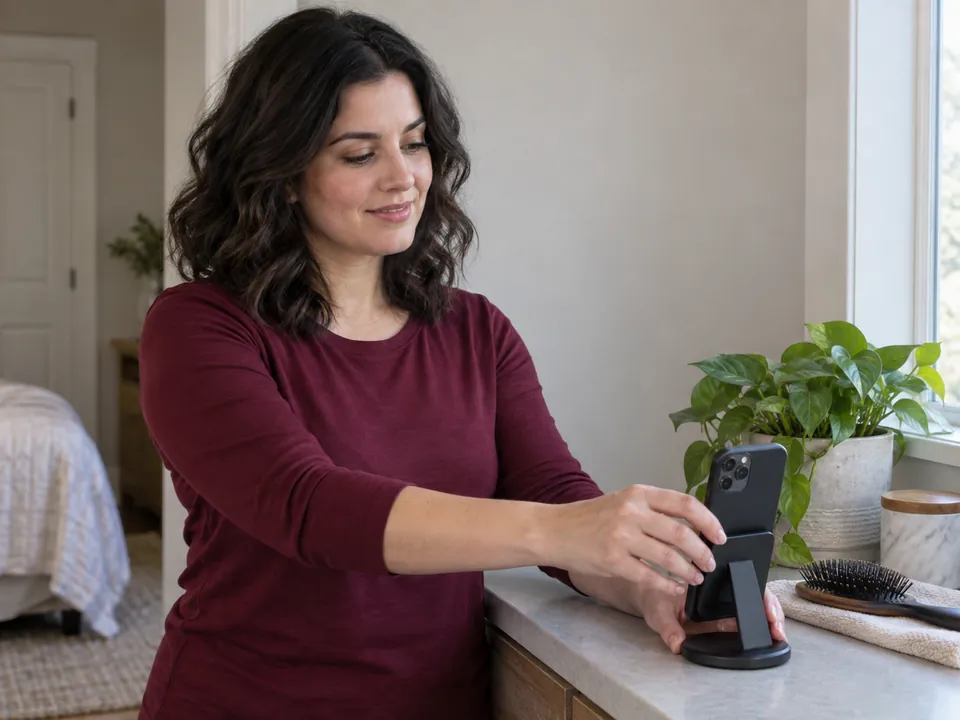
Set consistent light and framing
- Choose even daylight and a plain background. Clean the lens, disable beauty filters and prop the phone securely at a comfortable height.
- Use a self-timer so both hands can rest. Record dryness, part and products present; do not stop prescribed care for a photo.
- STEP 2 OF 3
Take clear reachable views
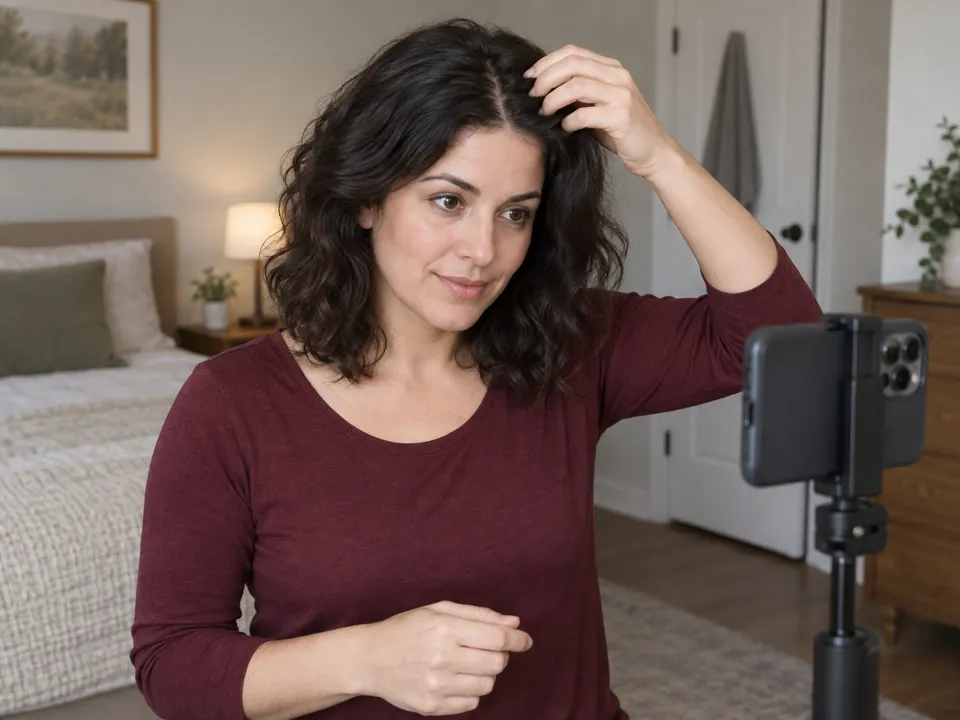
- Take one overall front view, then a reachable side or part view. Keep the same distance and lighting for later comparisons when possible.
- For part detail, separate only enough to show the area, then release. Skip a back view if obtaining it means straining or holding the phone precariously.
 STEP 3 OF 3
Check focus and save privately
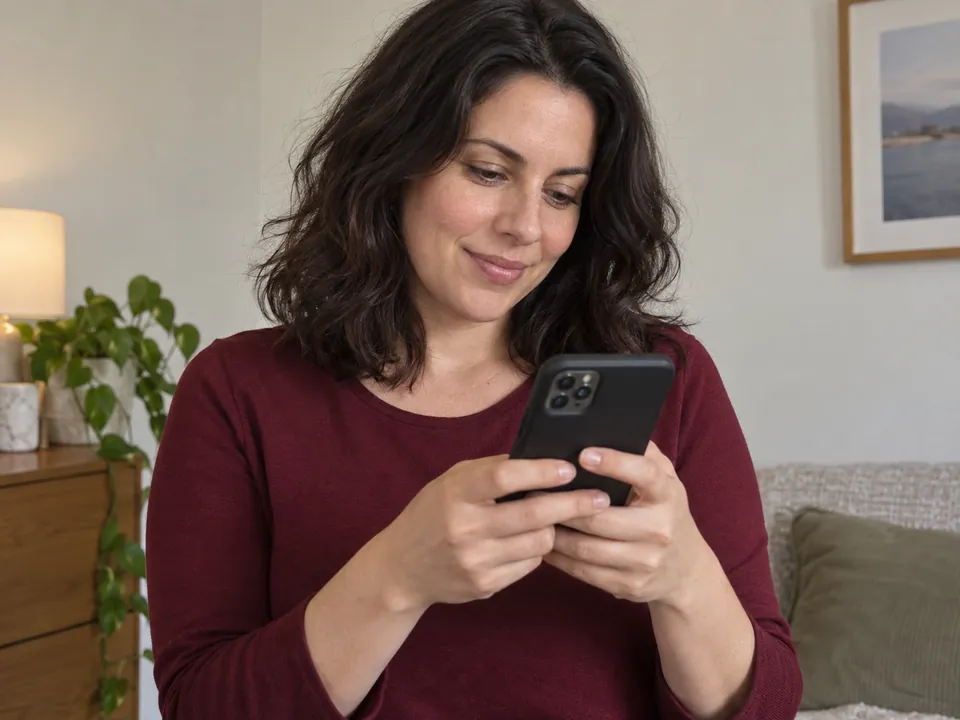
- Review for focus and a clear view of the intended area; retake a blurry image once the phone is stable. Save the date and conditions with it.
- If sharing, use the requested secure route and remove unrelated private background details. Store the phone and return hair to a comfortable position.
About 3–5 min hands-on for setting the phone, taking front and reachable side or part views, and saving notes. First-time setup or several retakes can take longer.
You’re done when…
You have clear dated views with their conditions recorded and a private, appropriate way to store or share them.