Make heatless curls with a soft curling ribbon
Choose a soft curling ribbon when your loose hair is long enough to wrap down both sides of one padded form. It creates a temporary curl or wave setting pattern without a heated barrel.
Step by step
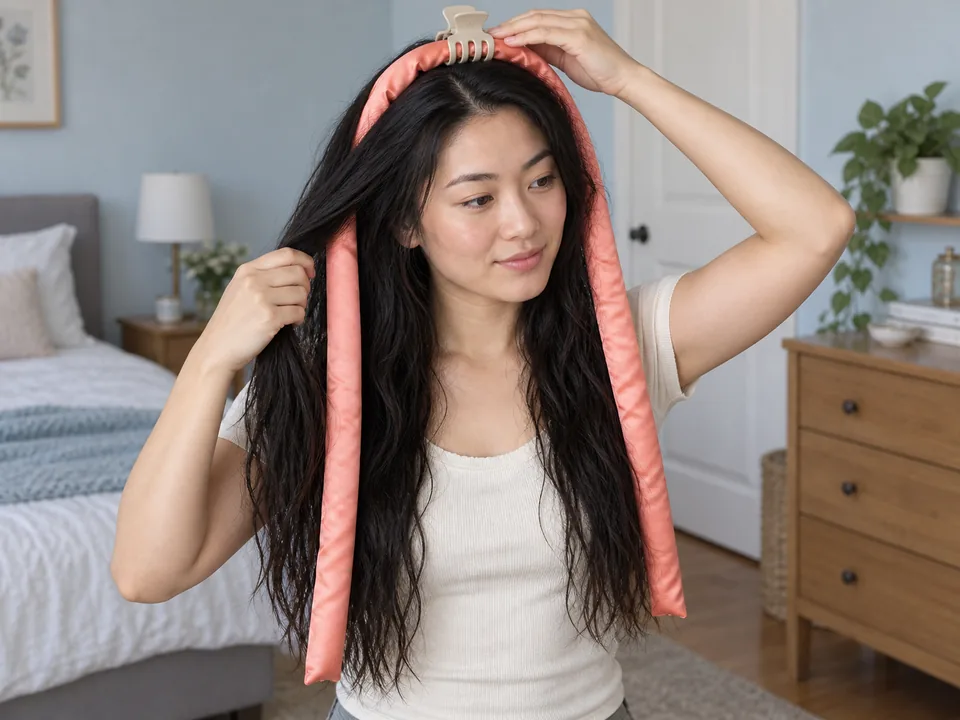 STEP 1 OF 5
Center the ribbon
- Blot detangled hair with a towel until it is damp, not dripping; soaked hair can't dry inside a wrap.
- Part it into left and right sides.
- Place the ribbon across the crown and use its top clip to keep both ends even.
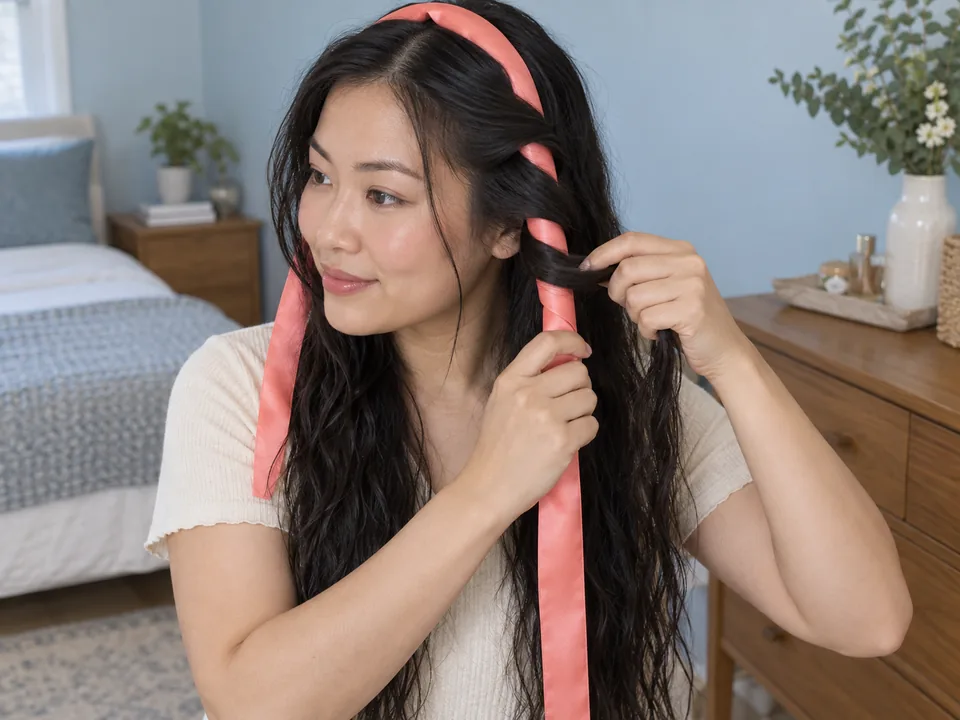 STEP 2 OF 5
Make the first wrap
- Take a thin front piece and pass it over and around the ribbon.
- Keep each piece thin: thin wraps dry all the way through, while a thick one stays damp in the middle.
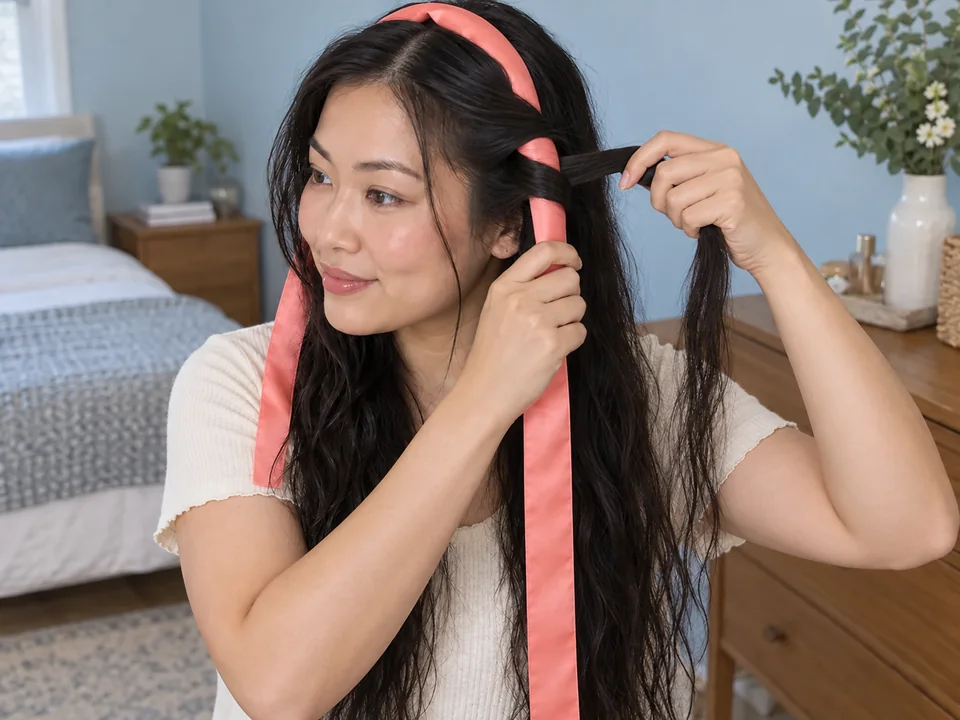 STEP 3 OF 5
Add the next piece and continue wrapping
- Add the next thin piece of hair to the same wrap, then pass the combined section around the ribbon.
- Continue downward with both hands in front of your shoulder, keeping the turns smooth and comfortable.
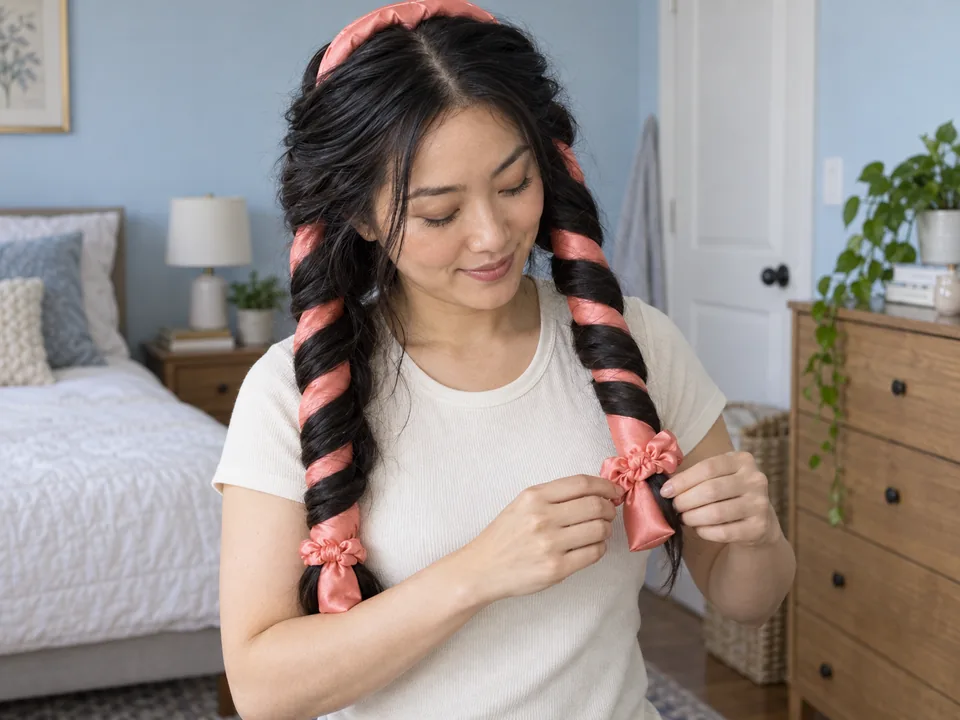 STEP 4 OF 5
Secure both sides
- Fasten the first end with the ribbon’s smooth tie, then repeat the same direction on the other side.
- Skip tight elastics: hair keeps any dent it dries in.
- Check that the crown and roots do not pull; remove the top clip after both wrapped ends hold securely.
- Check that every intended length is wrapped and both end fasteners feel comfortable.
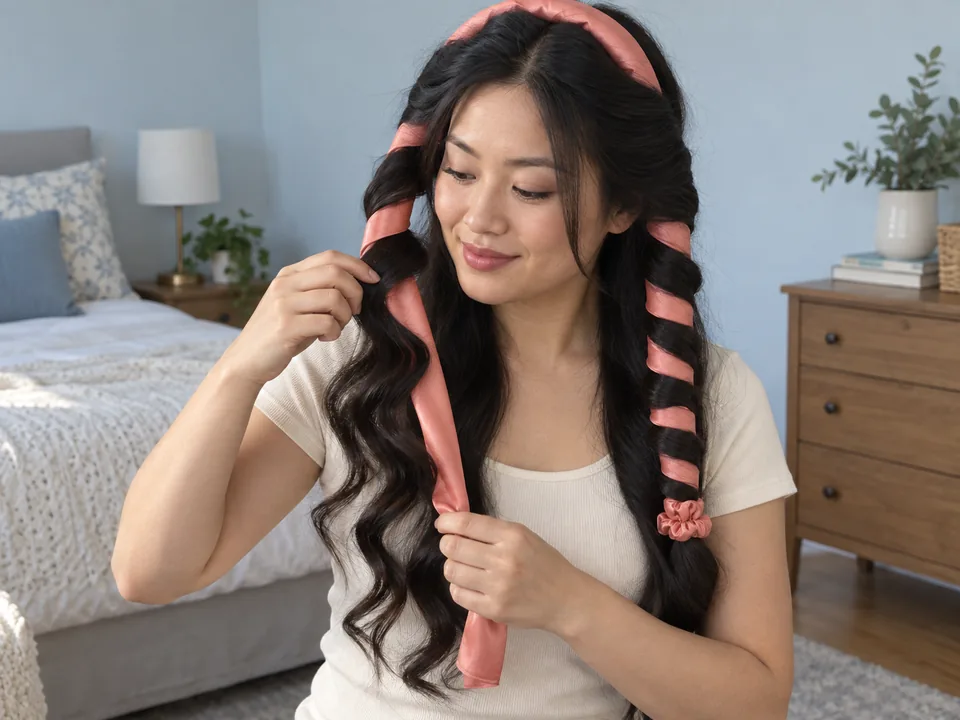 STEP 5 OF 5
Dry and unwrap
- Press a fingertip into the middle of each wrap. If it feels cool, the hair inside is still damp, so wait longer.
- Remove the end fasteners, unwind each side from the bottom upward, then lift the ribbon away.
- Separate the curls lightly with your fingers rather than a brush, which pulls curls apart into frizz.
- Collect the ribbon, its fasteners and any sectioning clips.
About 5–15 min hands-on for parting, wrapping both sides of a soft ribbon, securing and later unwrapping them. Start with damp, detangled hair. Add complete air-drying and optional overnight wear.
You’re done when…
The ribbon, clip and both fasteners are out, each wrap was fully dry before release, and no section was pulled or snagged.
Related techniques
Connected steps for your routine.
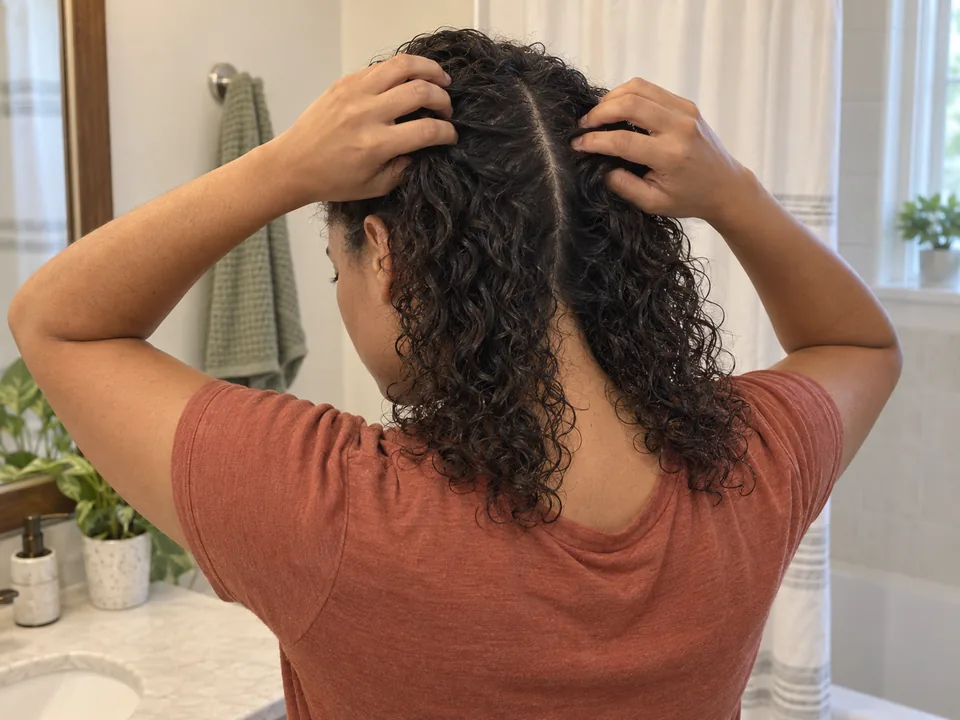
Detangle & section · 1–3 min hands-on
Section your hair for washing and styling
A clean left-right division keeps the two wraps distinct and makes the sequence easier to perform alone.
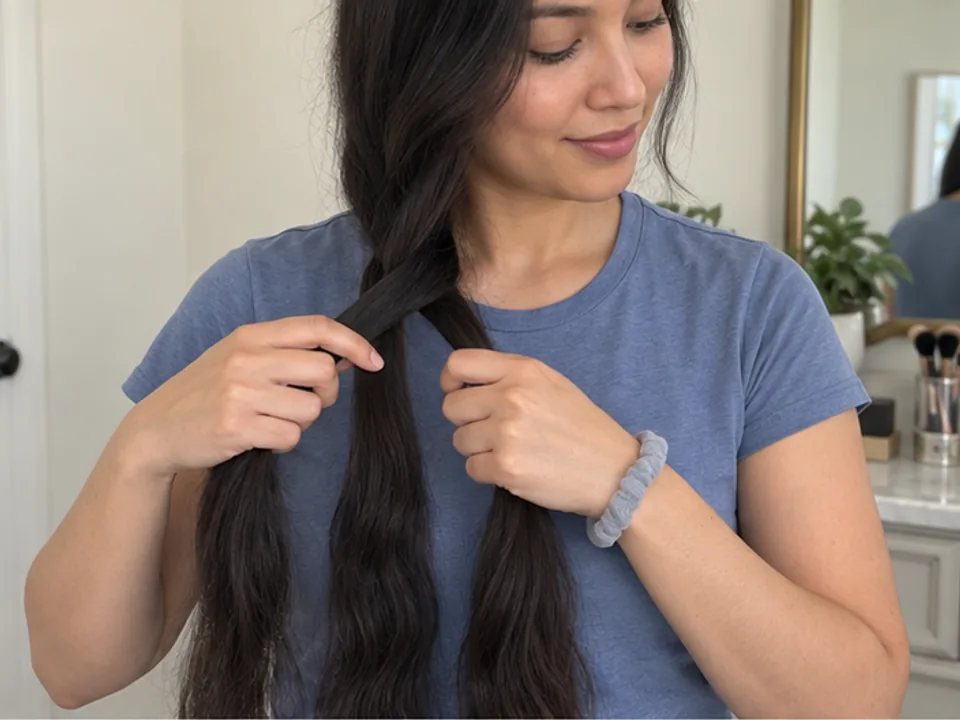
Style without heat · 2–5 min hands-on
Make a loose everyday braid
Use a loose braid when the goal is simple containment rather than a two-sided curl setting pattern.