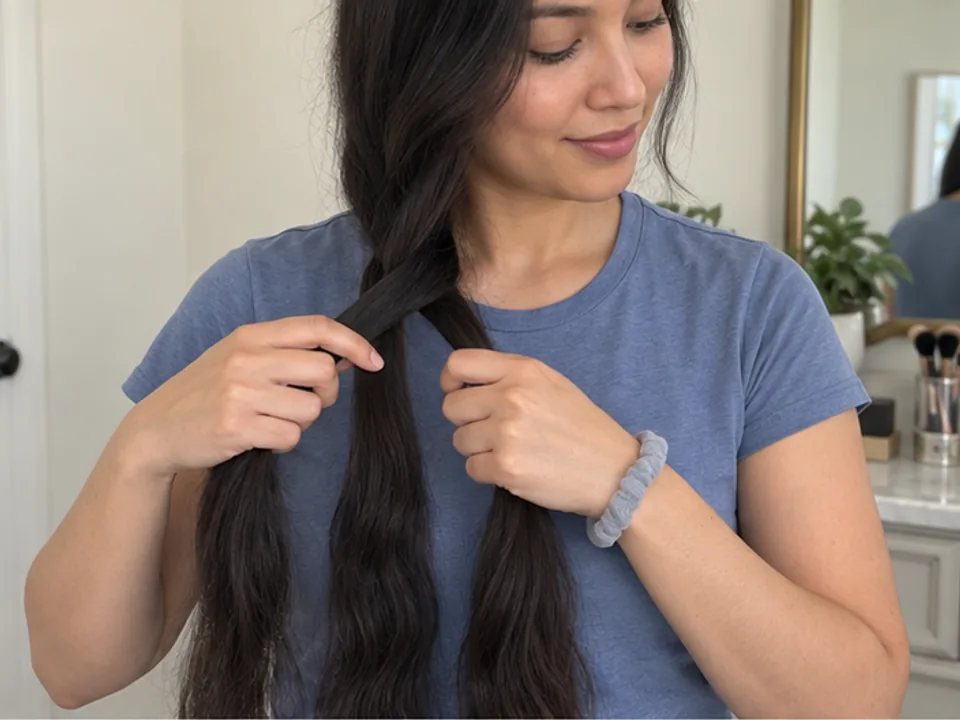
Make a waterfall braid
Choose a short side braid when you want a woven line with loose lengths falling below it. The dropped sections stay outside the working braid.
Step by step
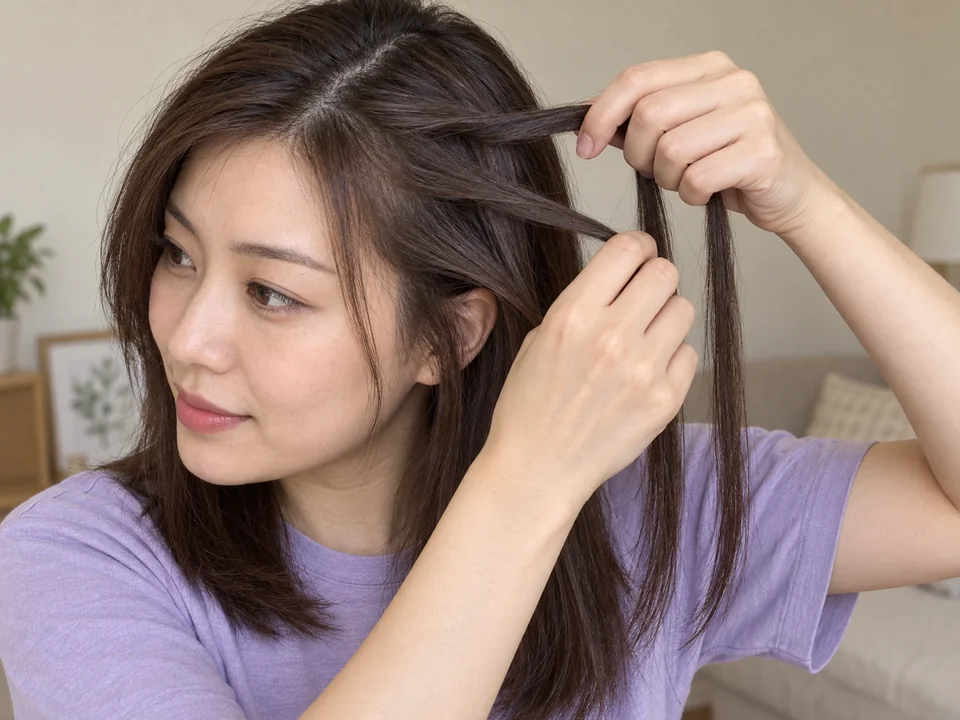 STEP 1 OF 3
Begin with three small strands
- Start with dry detangled loose hair and a smooth tie within reach. Pick a short side path from the part toward one ear.
- Divide a small front section into upper, middle and lower strands. Cross the upper over the middle, then the lower over the new middle.
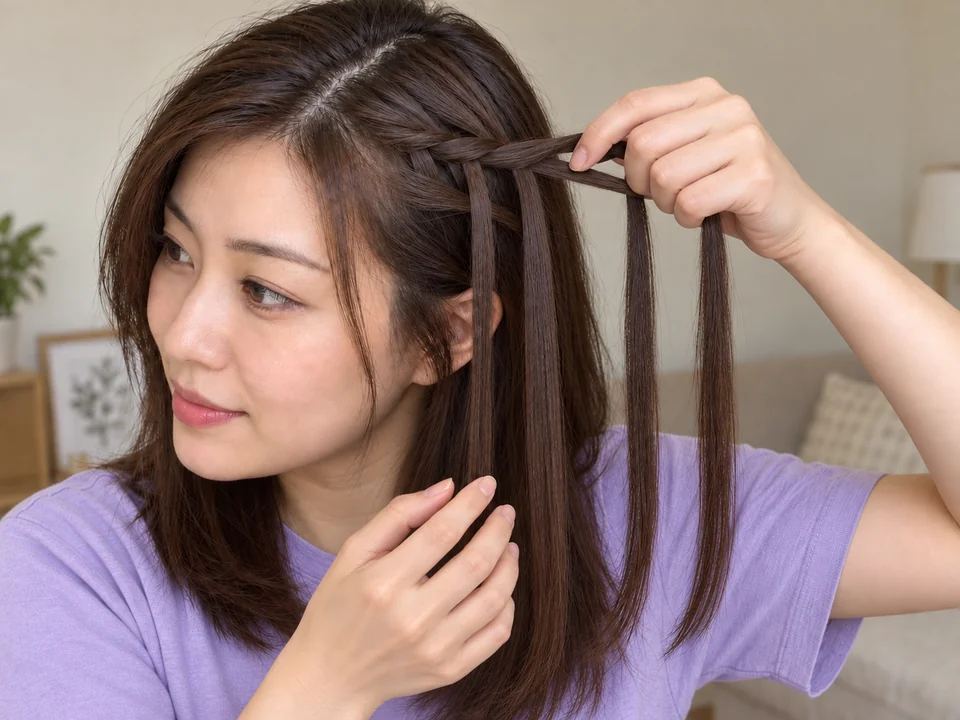 STEP 2 OF 3
Feed above, drop and replace below
- Add a small nearby slice to the upper working strand and cross it over the middle. Support the braid and the two strands that continue in one hand.
- Let the strand now at the lower edge hang freely. Pick up a similar-sized fresh section just behind it; do not pick the dropped strand back up.
- Cross this replacement over the middle to restore three working strands. Repeat the upper pickup and crossing, then the lower drop, replacement and crossing.
- Keep the braid within easy reach. Leave the dropped lengths loose and stop for catching or root pulling instead of stretching the openings.
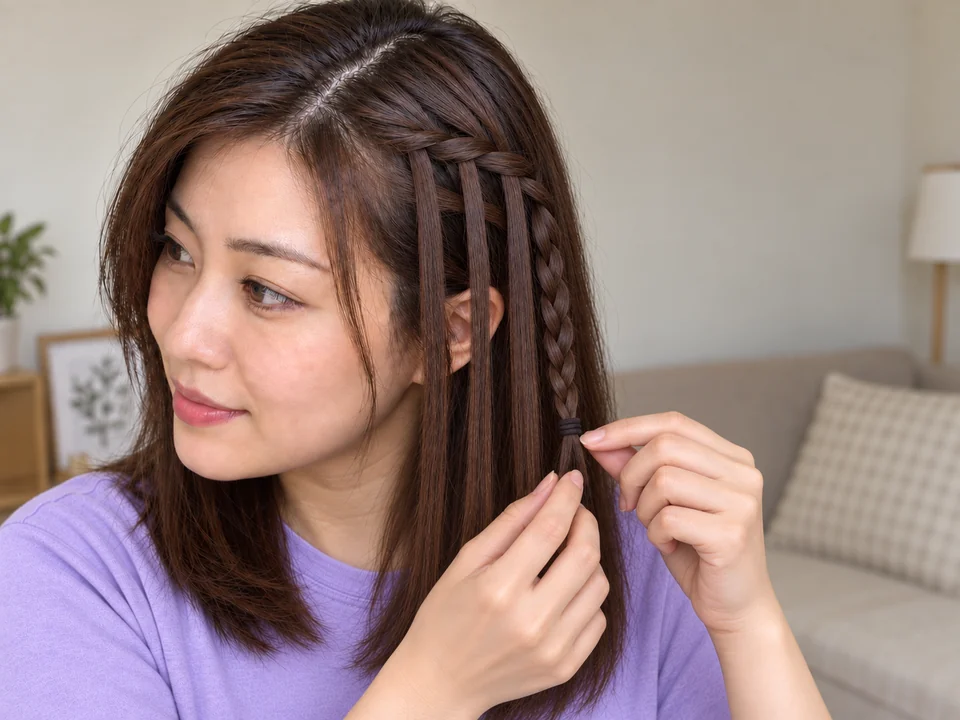 STEP 3 OF 3
Finish the free end and take down
- At the end of your short side path, stop adding or dropping hair. Braid the three active strands normally by alternating each outer strand over the middle.
- Tie the free end and lower your hands. Check that the braid and dropped lengths sit comfortably without pulling.
- For removal, support the braid and unwind the tie. Open each crossing from the end upward, easing out the fed-in and dropped sections with your fingers.
One short side waterfall braid including setup and later release; learning the drop-and-replace exchange and detangling take additional time.
You’re done when…
Loose strands hang below a short supported braid, the free end is tied and all roots remain comfortable when you lower your hands.
Related techniques
Connected steps for your routine.