Make a ring braid in a side section
Practice a short row beside the face where both hands can reach. Keep every loop loose enough to reverse without pulling on the roots.
Step by step
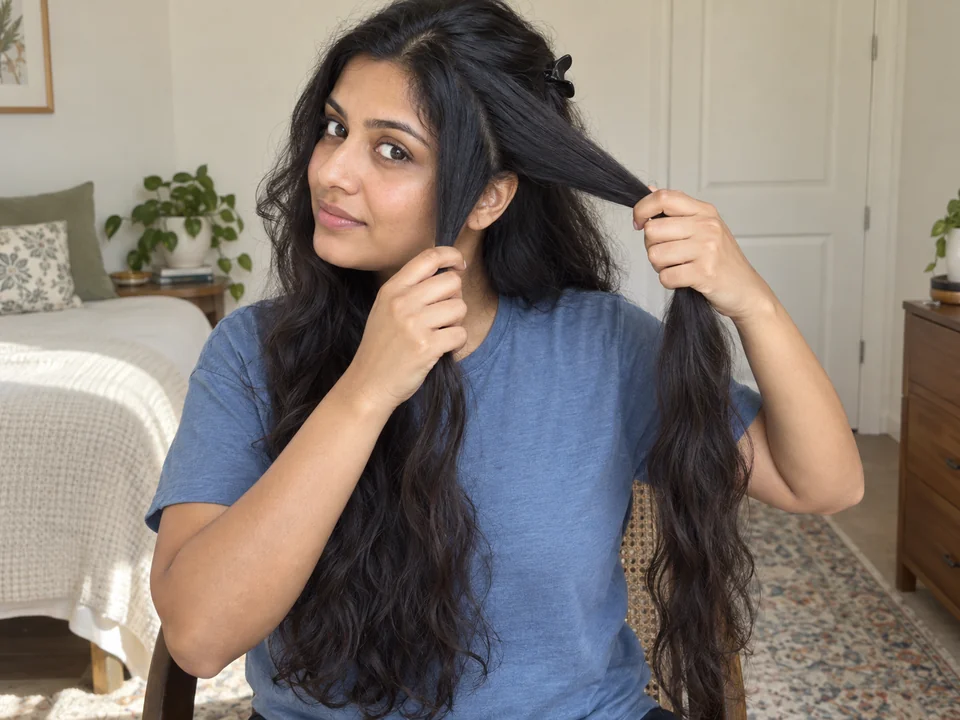 STEP 1 OF 2
Make a short row of loose loops
- Clip unrelated hair away. Hold a larger temple section in your left hand and a smaller hairline section in your right; keep both roots slack.
- Wrap the small section around your right ring finger to hold a loop open. Use left fingers to guide its tail under the larger section and upward.
- Catch the tail with your right index and middle fingers and draw it through the open loop. Slide your ring finger free, settle loosely, and join the tail to the main hair.
- Pick up the next small hairline section and repeat. Stop at an easy-to-reach point near the ear, leaving enough tail to secure the combined hair with a soft tie.
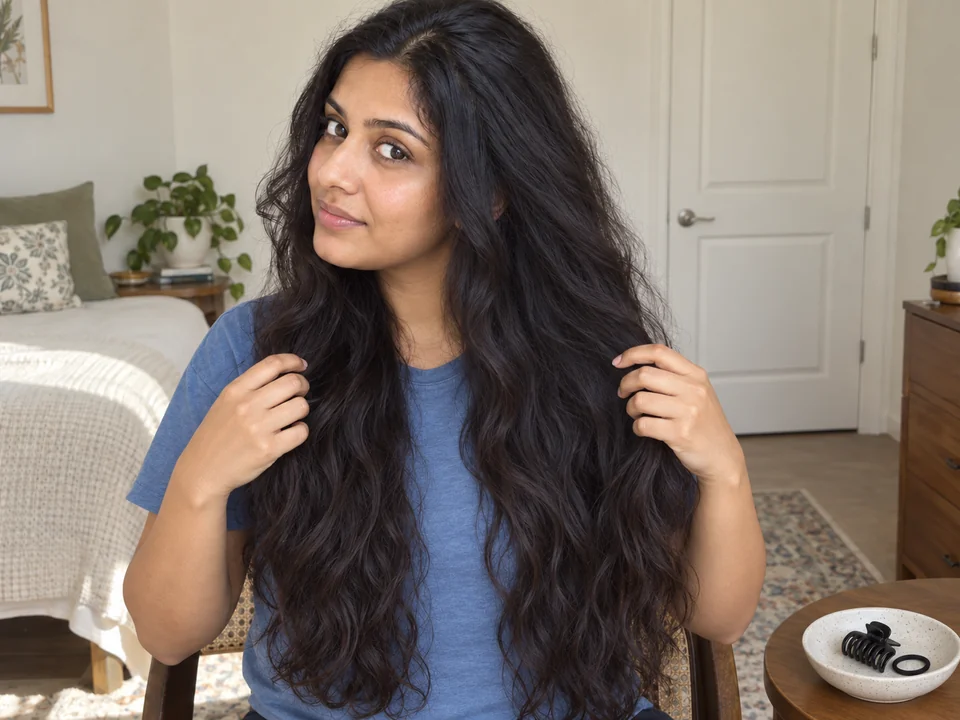 STEP 2 OF 2
Release each loop from the end
- Check for root pulling; loosen or undo the row if needed. To remove, take out the end tie and locate the tail from the last loop.
- Separate that tail from the main section. Feed it backward through its loop, unwrap it from the larger section and continue toward the first loop; then remove the clip.
One reachable braid; learning and removal can take longer.
You’re done when…
The small loops form a short row held by an end tie, with slack roots and each loop still easy to identify.