Make a Dutch braid
Gather upper layers into a raised braid that follows the head. This method suits a styling session when you can comfortably hold and add sections with both hands.
Step by step
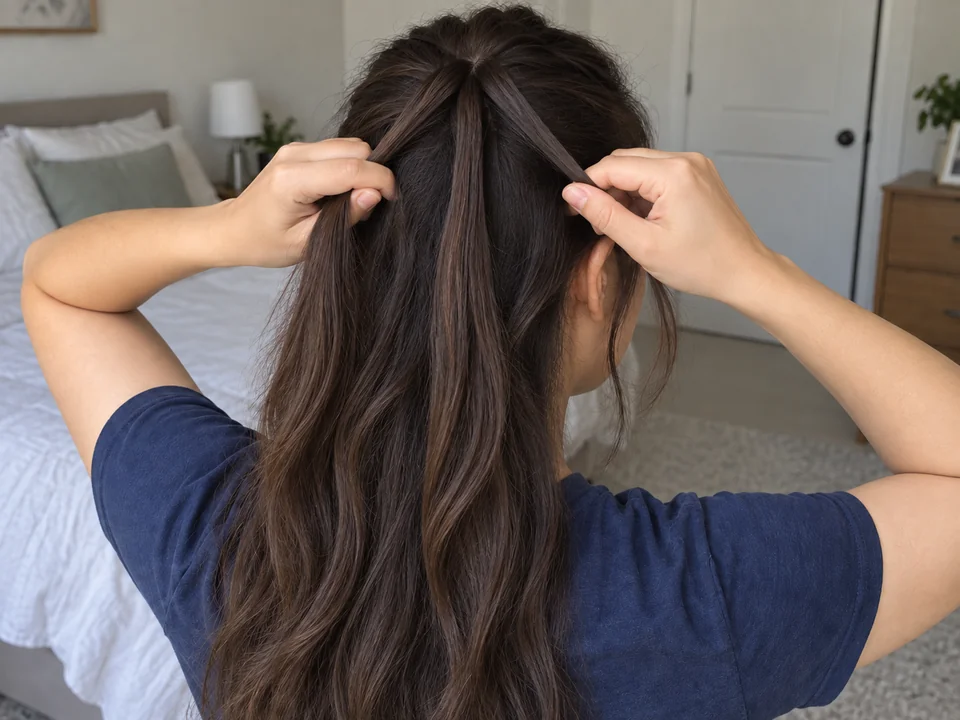 STEP 1 OF 3
Start with under-crossings
- Detangle first using your usual gentle method. Sit upright with a soft tie within reach; a stable mirror is optional.
- Lift a small crown section and divide it into three. Keep the remaining hair loose and the working strands separated between your fingers.
- Pass the right strand under the middle, then the left under the new middle. Keep your grip near the crossing without tightening the roots.
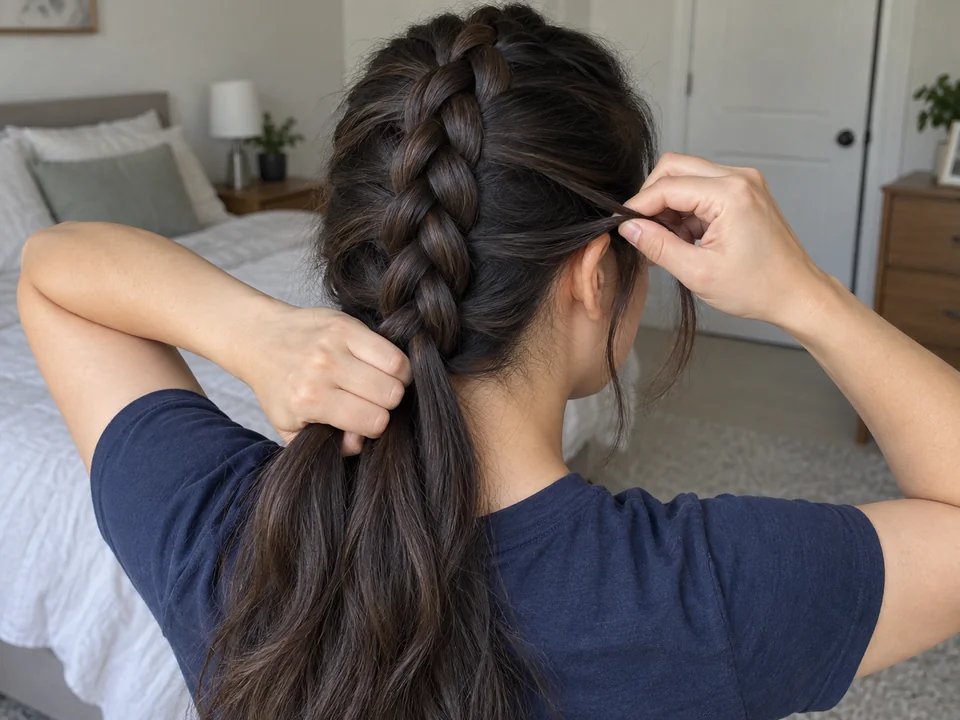 STEP 2 OF 3
Add each side under the center
- Hold the working strands with one hand. With the free hand, gather a small loose side section and join it to the strand on that side.
- Pass the enlarged outer strand under the middle. Transfer the grip, gather hair on the other side, and pass that strand under the new middle.
- Continue toward the nape, alternating sides. Release snags before crossing; the raised braid should hold without pulling at the hairline.
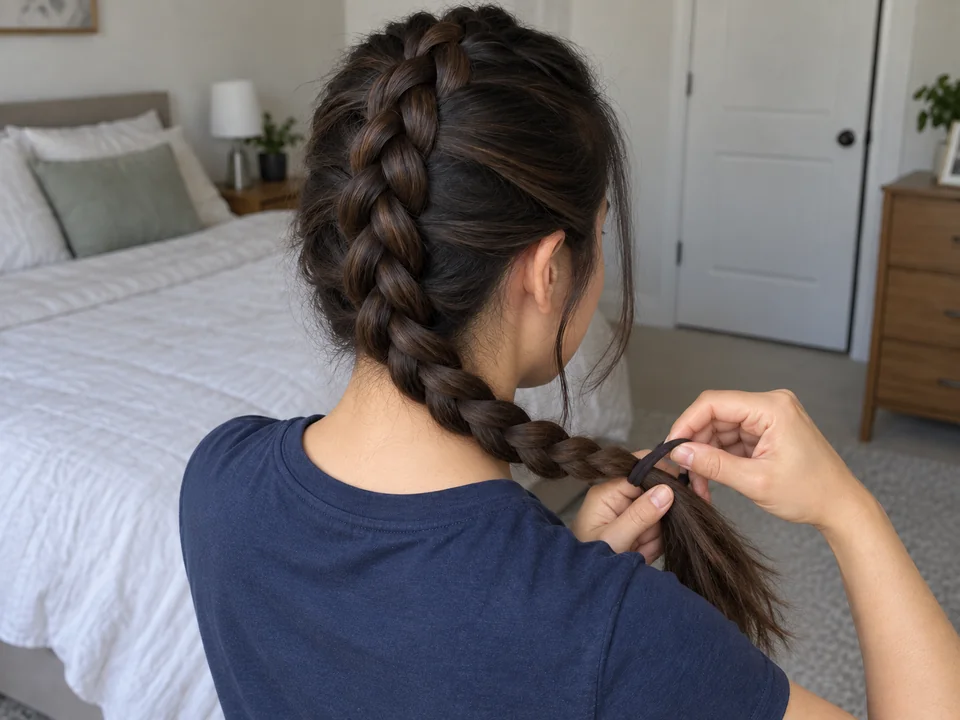 STEP 3 OF 3
Finish the free tail
- When no loose side hair remains, keep passing each outer strand under the middle without adding more hair.
- Bring the tail over a shoulder if it reaches comfortably. Secure with a soft tie, then turn your head to check for pulling.
- To release, remove the tie and separate crossings upward from the end. Do not drag a comb through the intact braid; put away loose tools.
One braid, including setup, securing and later takedown. Preparatory detangling is separate; practice may take longer.
You’re done when…
The raised braid stays in place without pulling, and your head turns comfortably.
Related techniques
Connected steps for your routine.
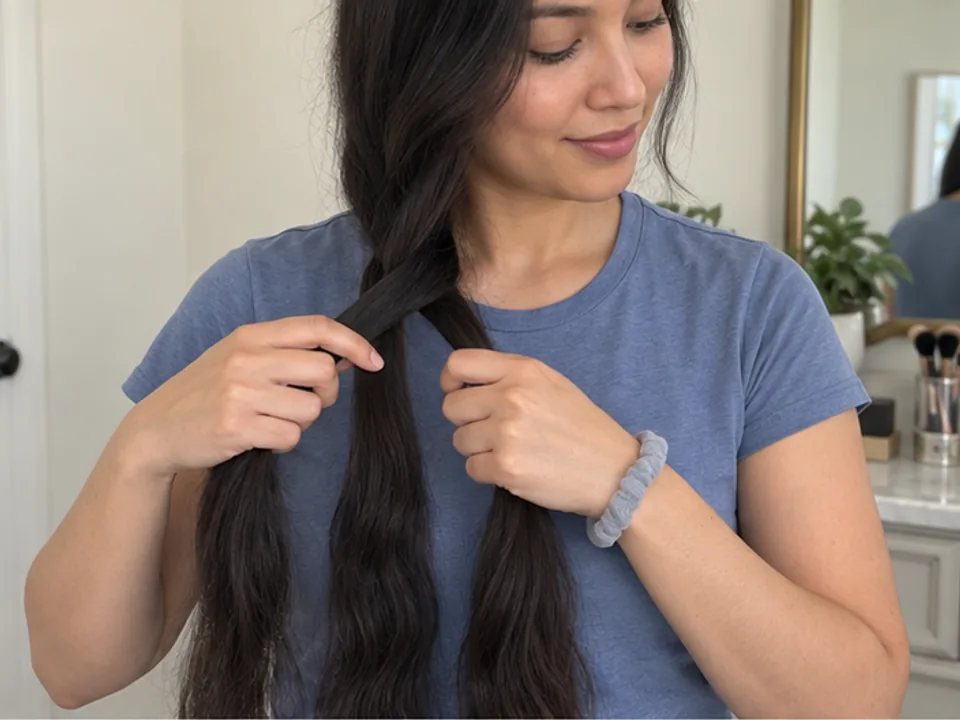
Style without heat · 2–5 min hands-on
Make a loose everyday braid
Practice separating and transferring three strands on a reachable free tail before adding sections along the head.
Observe & document · 15–60 sec hands-on
Loosen a hairstyle that pulls
A comfort check helps you decide when to loosen or remove a held style.