Make a continuous crown braid
Choose this circular braid when you can comfortably reach the whole route. It needs hand changes as the braid travels, so practice those transitions before starting.
Step by step
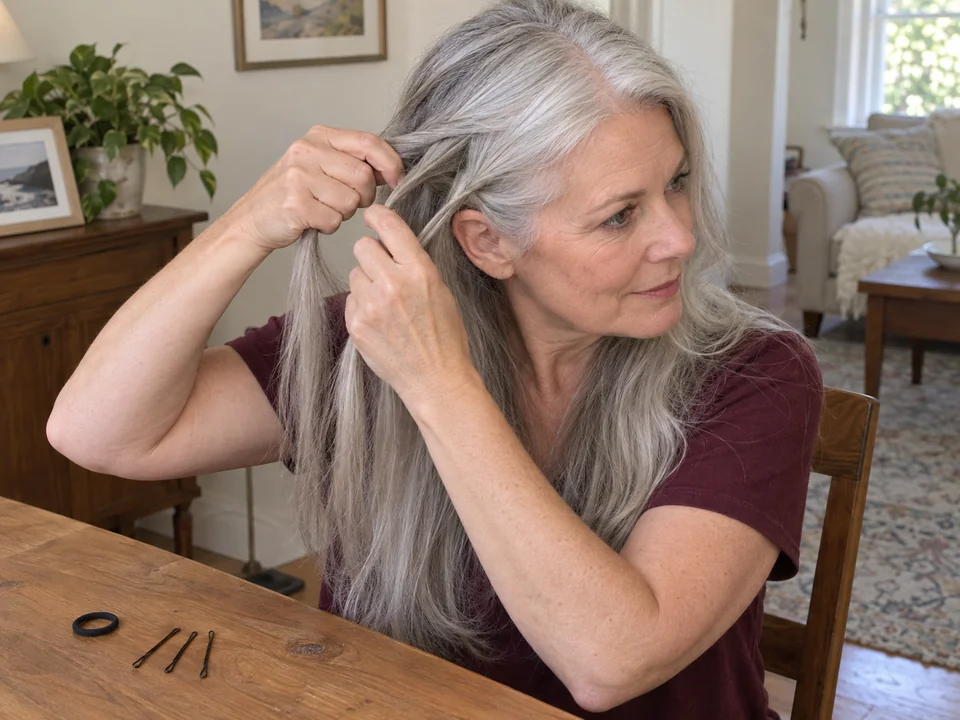 STEP 1 OF 4
Start behind one ear
- Plan a circle around the head. Separate three small sections just behind your right ear; leave the remaining hair loose for pickups.
- Pass one outer section under the center, then the other outer section under the new center. Keep a little slack at the roots.
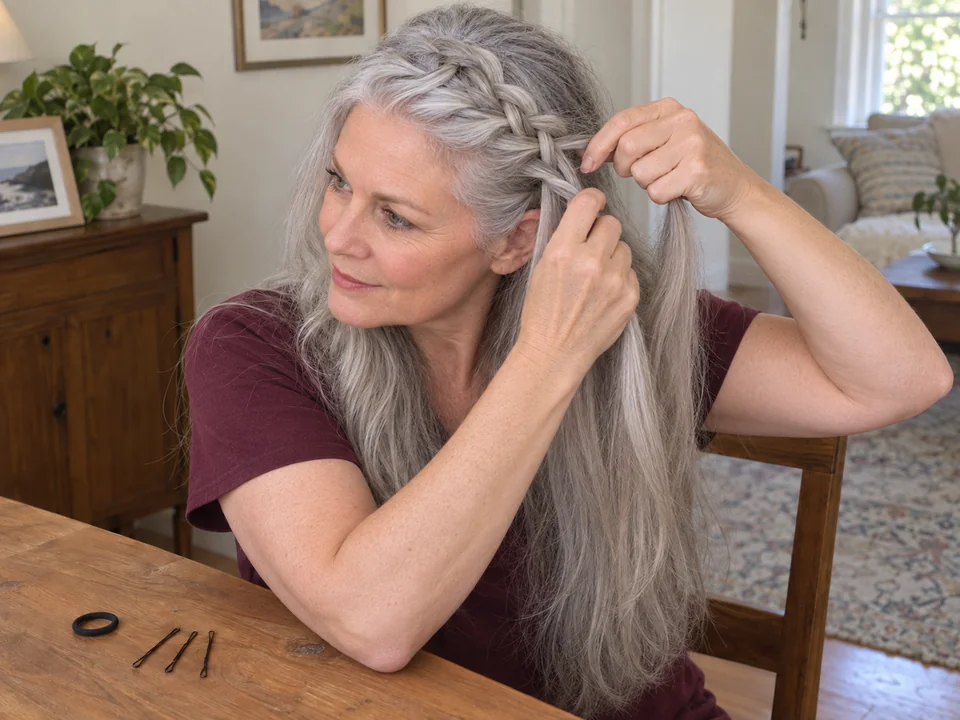 STEP 2 OF 4
Add hair as the braid travels
- Guide the braid up beside the right ear, across the front, down the left side and around the back toward its start.
- Before each under-center crossing, add nearby loose hair to that outer section. Use hair from both sides of the braid’s path.
- Hold all three sections apart in one hand while moving the other to a comfortable grip. Recheck the center strand and continue; stop for strain.
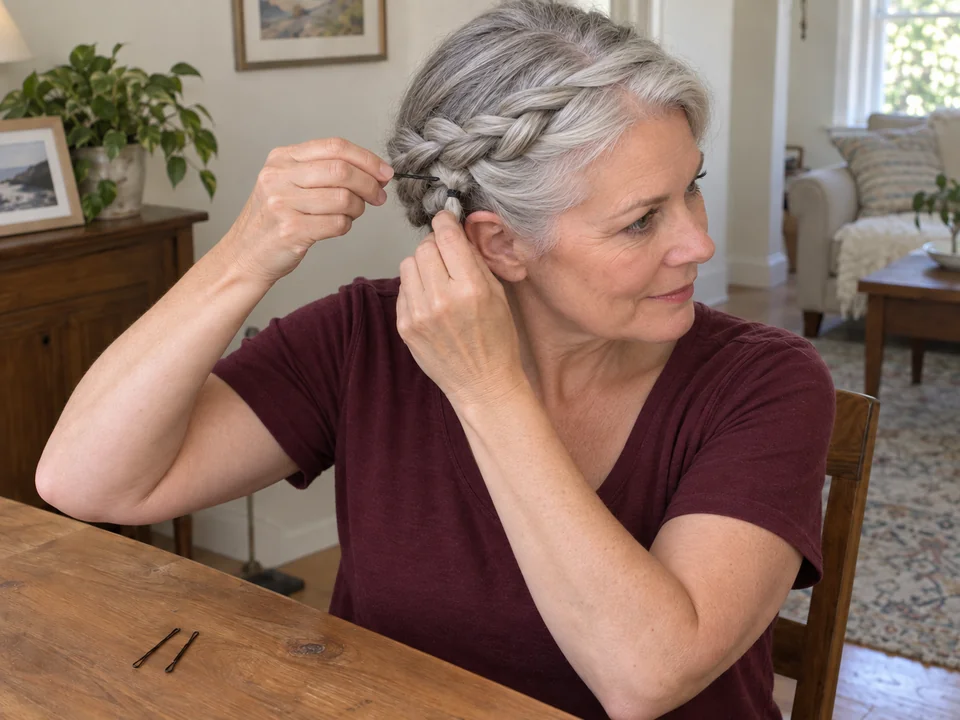 STEP 3 OF 4
Tuck and pin the finishing tail
- When all hair is included, finish the free tail with alternating under-center crossings and secure its end with the hair tie.
- Lay the tail along the circle and tuck the end beneath the start. Support it with one hand while sliding pins along the braid with the other.
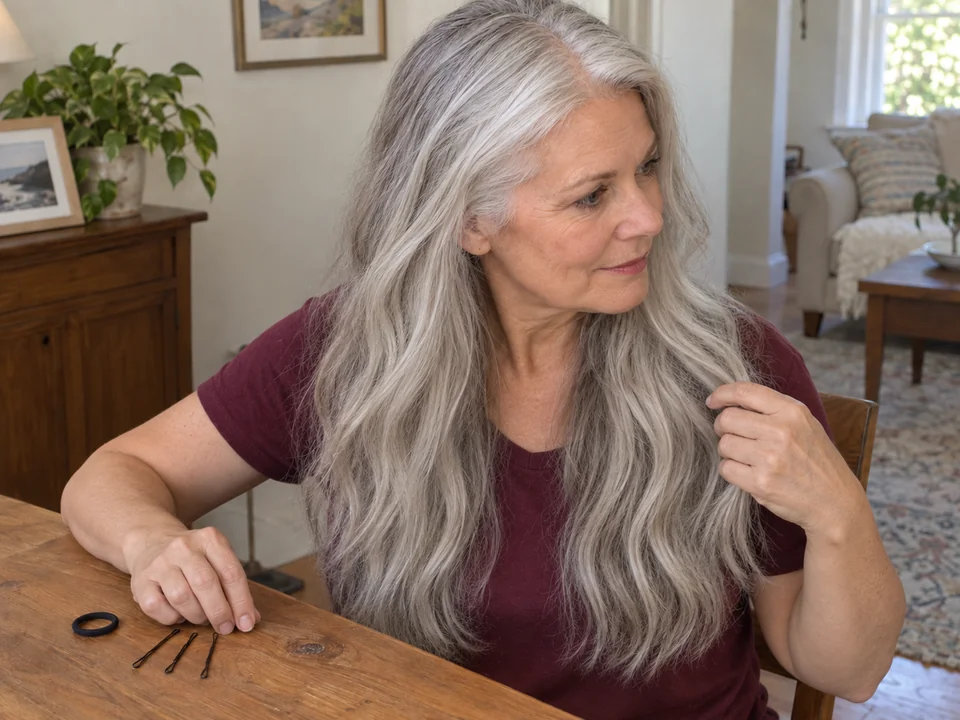 STEP 4 OF 4
Check comfort and release in reverse
- Check the front, sides and rear view. Remove or reposition any pin that pokes; undo the braid if it pulls.
- To take down, remove every pin, free the tail and remove its tie. Unbraid from the end upward, releasing each pickup gently.
One complete style; learning and takedown can take longer.
You’re done when…
The tail is tucked and pinned, the circular braid feels comfortable, and every pin can be located for removal.