Make a Celtic knot in a side section
Work beside your face so you can see the crossings. Keep the loop wide while threading, then shape it gently and pin any loose tail.
Step by step
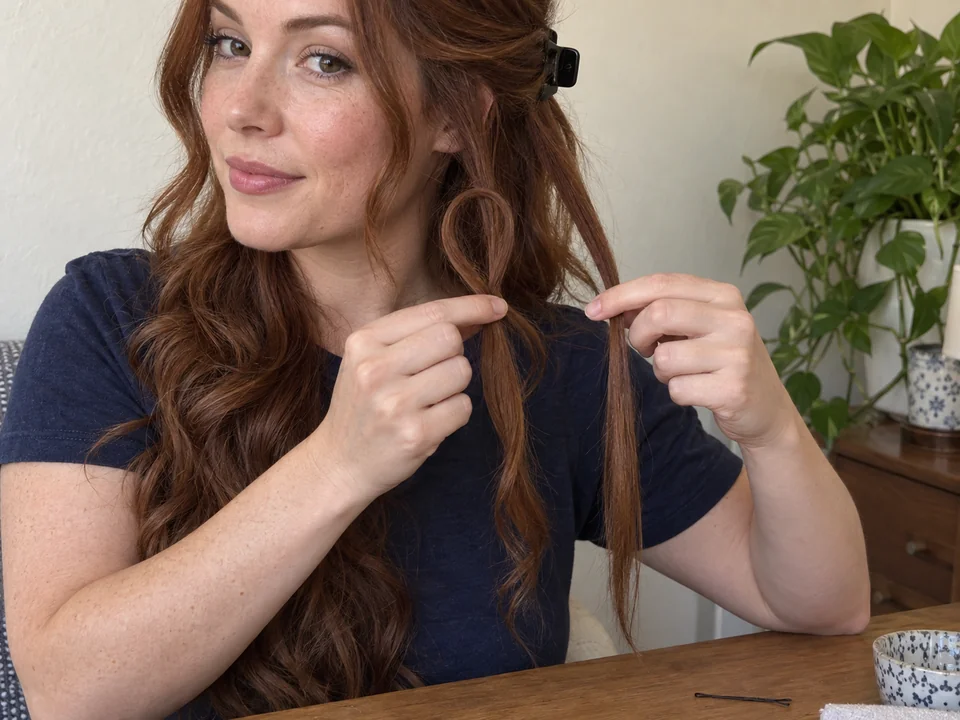 STEP 1 OF 3
Hold two sections and an open loop
- Separate two small side sections, A and B. Make an upward loop in A, crossing its free tail over its upper length; hold that crossing with one hand.
- Leave B loose beside it. Keep both roots slack and the loop large enough to see through. Clip unrelated hair away if needed.
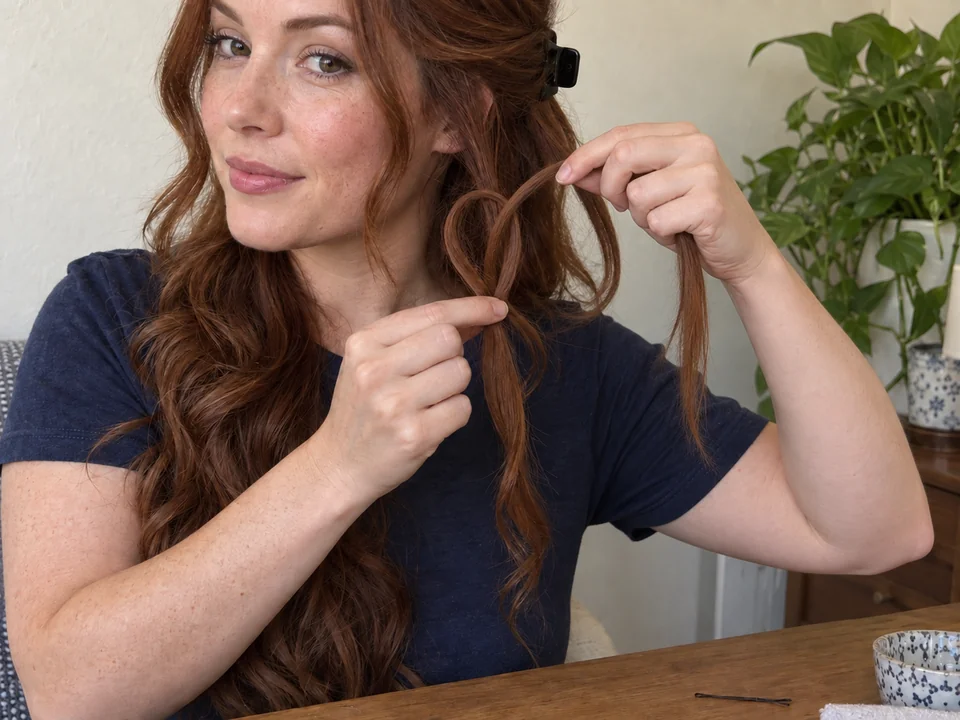 STEP 2 OF 3
Weave B through the loop twice
- Bring B’s tail under A’s upper length, then up and over the top of A’s loop. Feed it through the loop toward your head.
- Pass that same tail under B’s own upper length. Bring it back through A’s loop, now away from your head. Keep the crossings open until the path is clear.
- Release your fingers gradually and ease the knot into shape without pulling the roots. Pin a loose tail into nearby hair if needed; leave its end accessible.
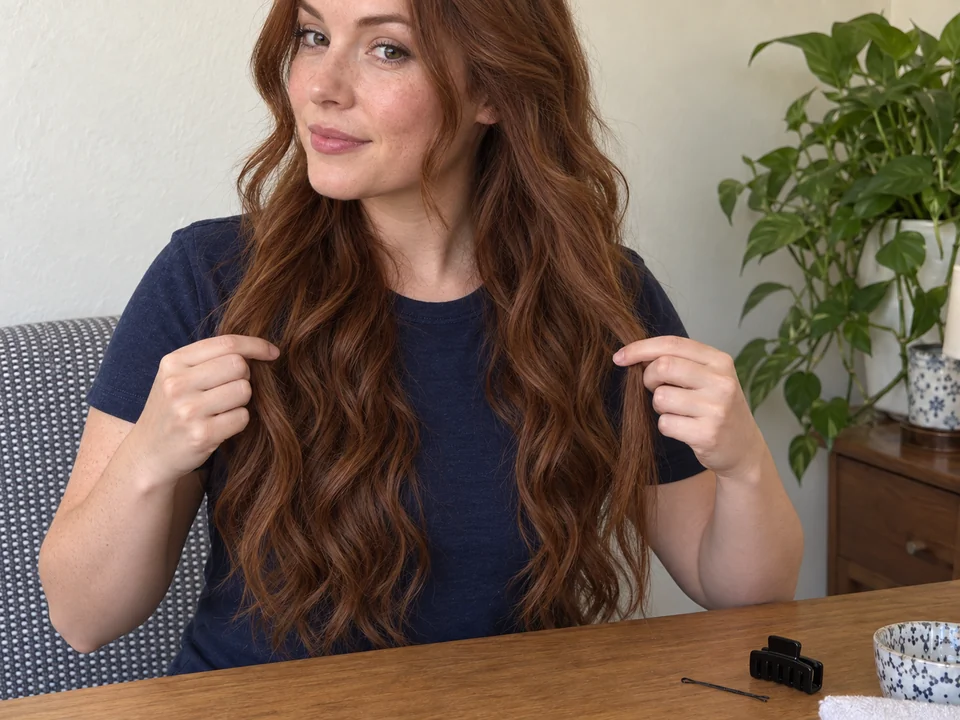 STEP 3 OF 3
Release in the reverse order
- Remove the pin first. Loosen the knot and feed B’s tail back through the loop toward the head, out from under B’s upper length, then back outward.
- Lift B back over the top of A’s loop and out from under A’s upper length. Open A’s loop completely and remove the clip. Stop and loosen any catch.
One small side accent; learning and removal may take longer.
You’re done when…
The knot lies loosely at the side, its tails remain accessible and any supporting pin can be found for removal.