Fit and remove a clip-in hair topper
Put on an already fitted clip-in topper without tugging your own hair. Learn where to support the base, how to fasten it and how to release every clip before lifting it off.
Step by step
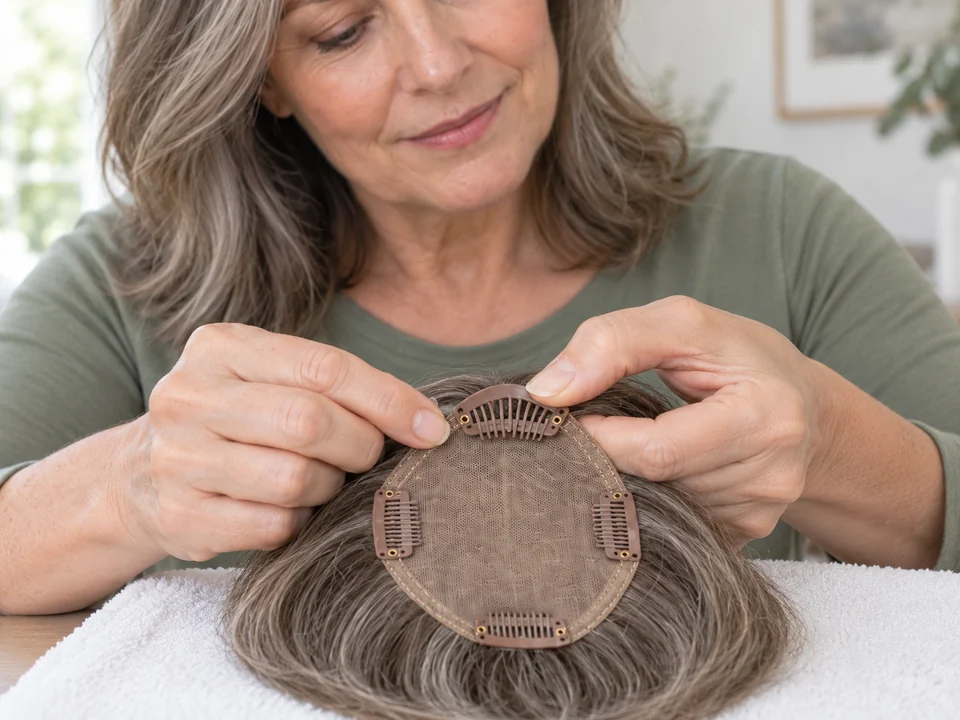 STEP 1 OF 7
Check how each clip opens
- Start with dry, detangled hair and a fitted topper with front, rear and side snap-comb clips. Find its front and every clip, including any hidden by hair.
- For snap-comb clips, support the ends and gently press the middle to pop it open. Practice closing it by pressing the ends back down.
- Follow your clip’s instructions if its mechanism differs. Never force a stiff or damaged clip; ask the supplier to check it.
- Leave every clip open. Use only a fitted piece with enough hair at each attachment point to hold it comfortably.
 STEP 2 OF 7
Place the base with the clips open
- Hold the sturdy edges with both hands and lower the topper into the position established at your fitting.
- Line up the part as intended. Keep the base flat without stretching it, and leave the clips open while you adjust.
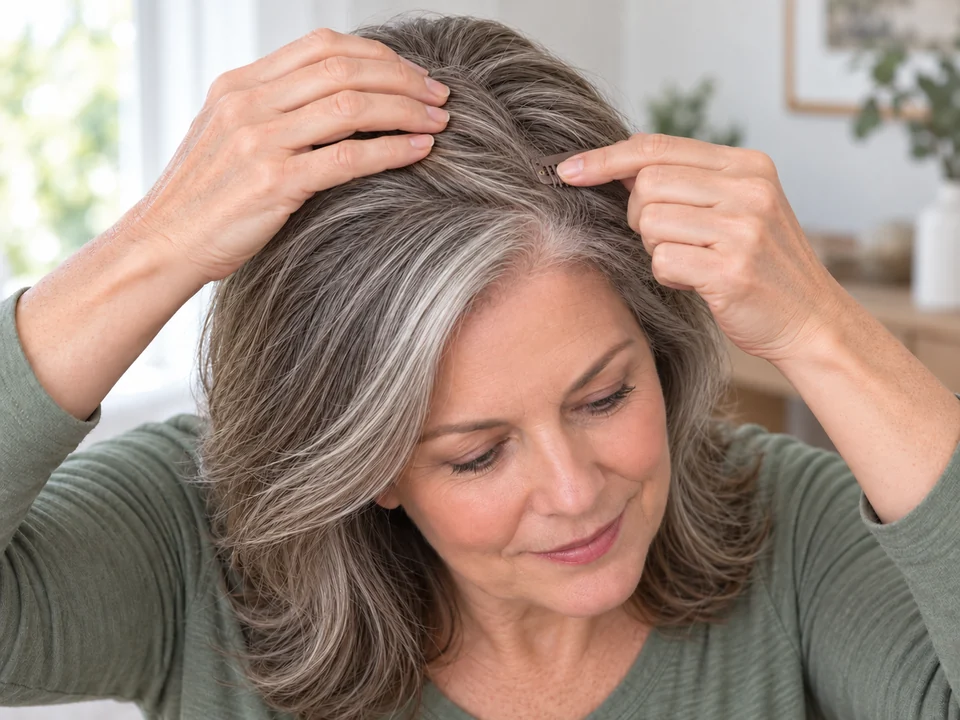 STEP 3 OF 7
Support the base and close the front clip
- Keep one hand on the base to hold its position. Guide the open front clip into the supporting hair shown at your fitting.
- Press the clip’s ends gently to snap it closed around the hair. Keep its teeth off bare skin; if it pulls, reopen it before moving the base.
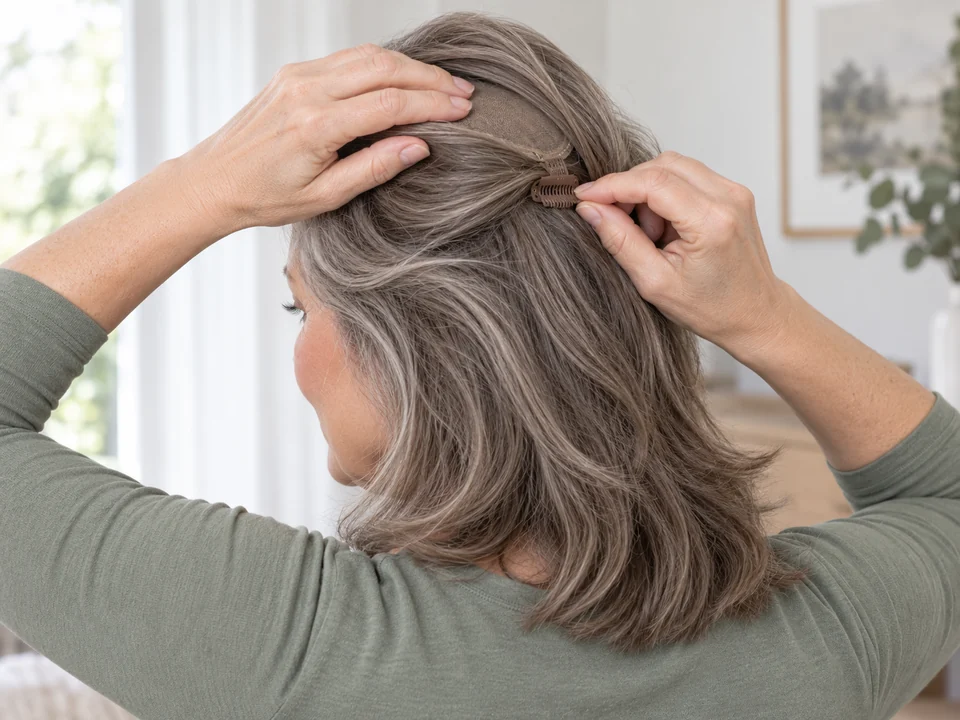 STEP 4 OF 7
Fasten the rear and side clips
- Keep the base supported as you close the rear clip, then the side clips, following your topper’s layout. Change supporting hands as needed.
- Check each clip for pulling. Reopen clips before repositioning; remove the topper if it will not sit flat and comfortable.
 STEP 5 OF 7
Blend the lengths gently
- Rest one hand on the base while gently arranging the topper’s hair with your own. Use fingers or a tool approved for its fiber.
- Leave firm tangles or further styling until the topper is off your head. Stop if arranging the hair pulls on a clip.
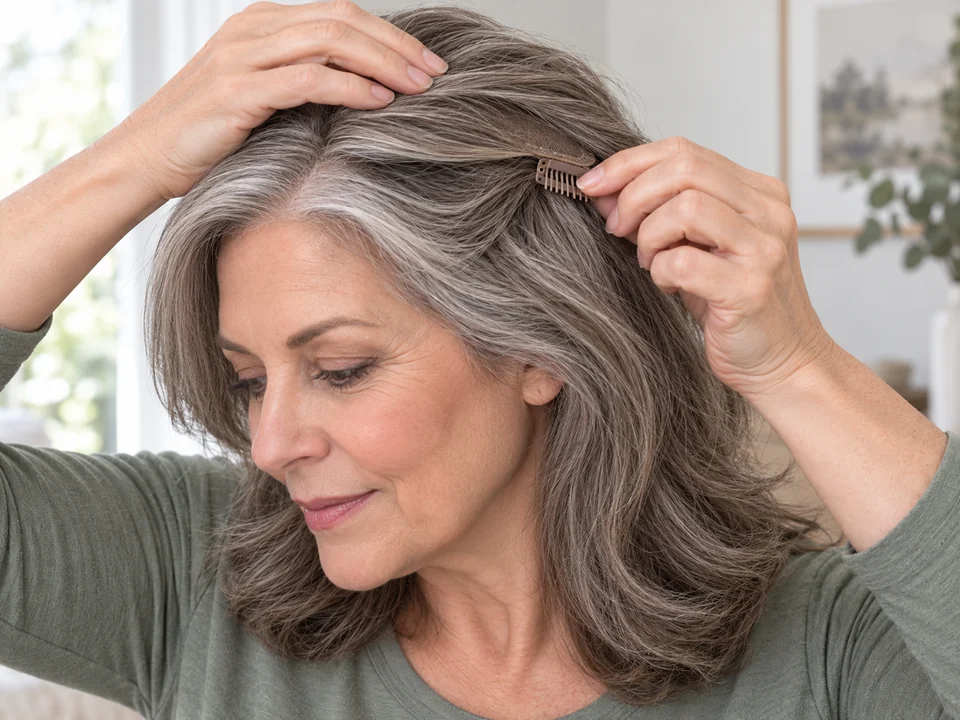 STEP 6 OF 7
Open every clip before lifting
- Support the base with one hand. Open the side and rear clips one at a time, gently freeing any caught natural hair.
- Keep supporting the piece as you open the front and any remaining clips. Check around the whole base that every attachment is clear.
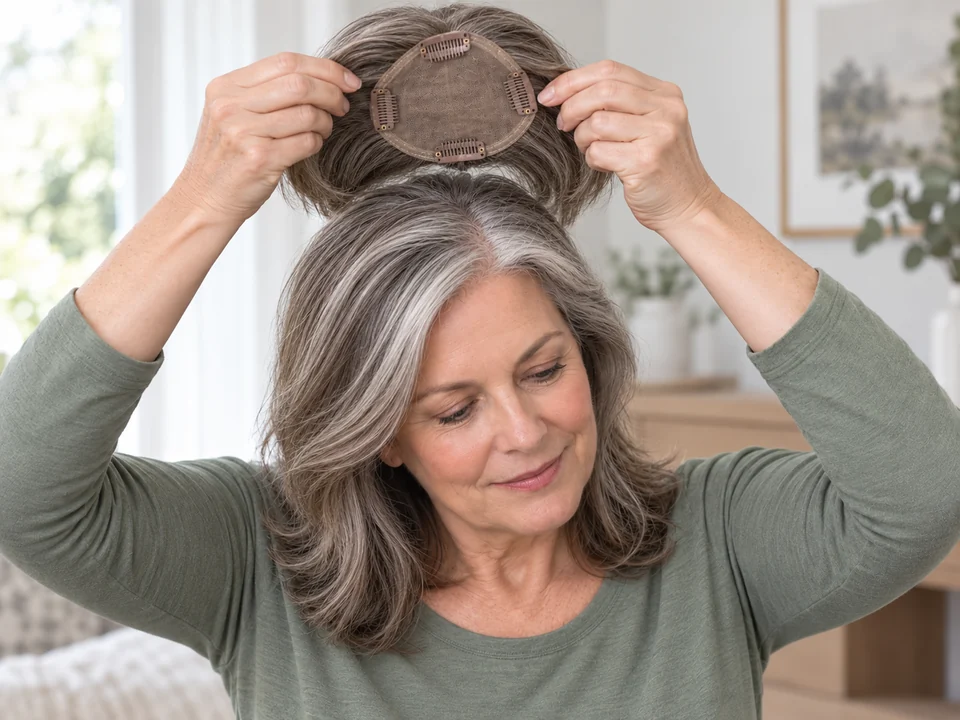 STEP 7 OF 7
Lift the released base away
- Hold the sturdy base edges with both hands and lift the topper clear. If any hair catches, lower it and free the hair before continuing.
- Set the piece on its clean storage support. Let your own hair settle; store the topper by its supplier’s instructions.
Fitting and later removal; separate detangling, sizing and styling are not included.
You’re done when…
The topper sits without pulling during wear. At removal, every clip opens and releases your hair before the base lifts away.