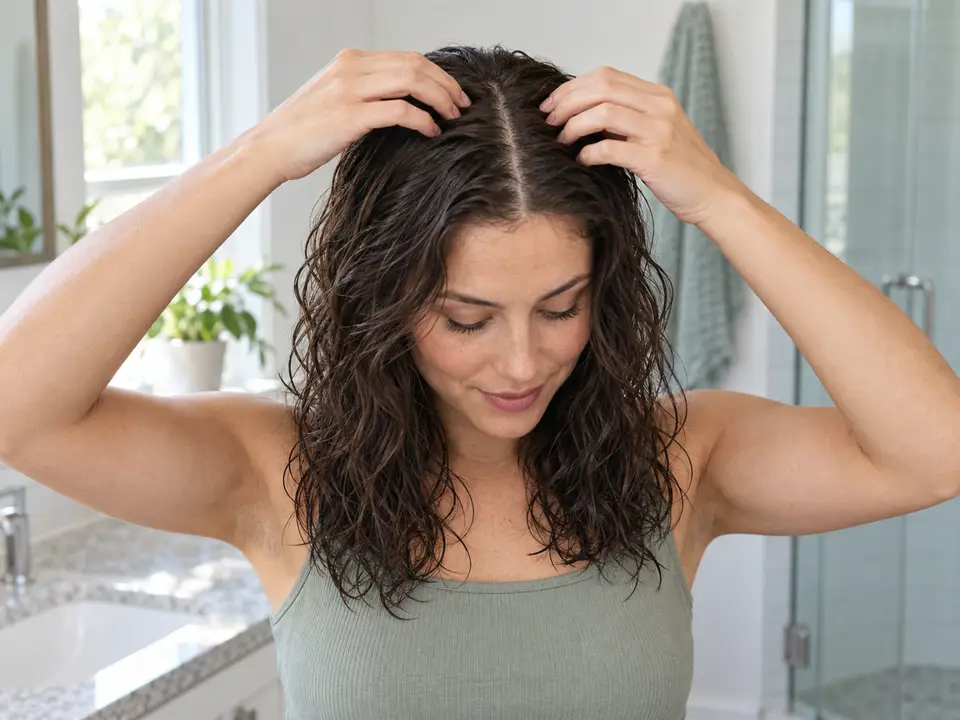
Fit a hair-covering liner
Use a soft liner when you want to contain loose hair beneath an everyday covering. Check the fit of both layers together so the liner stays comfortable without pulling your hair.
Step by step
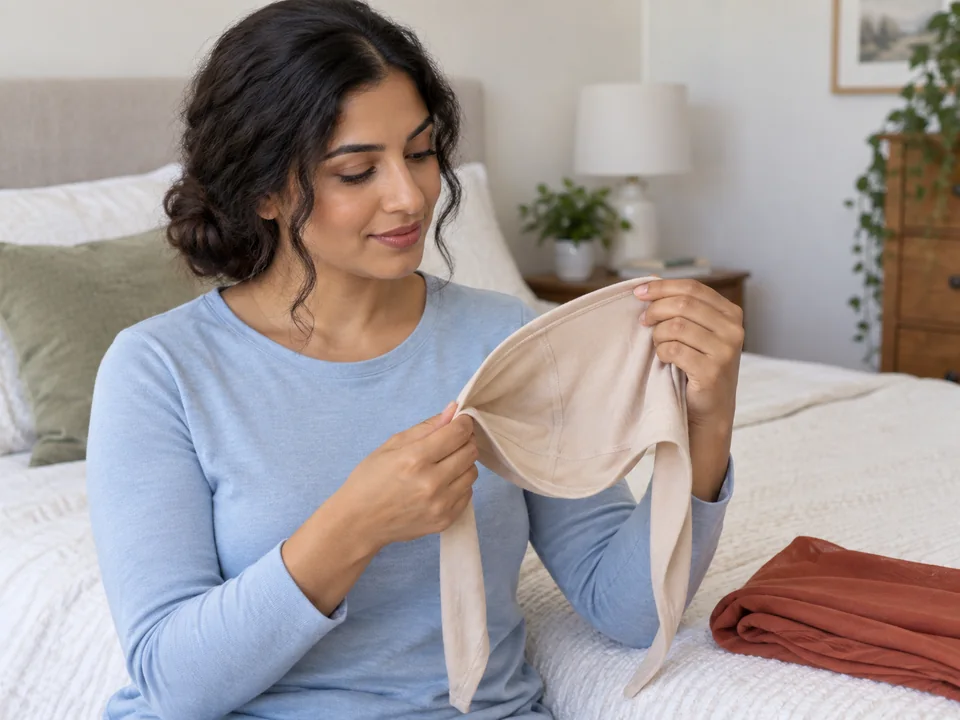 STEP 1 OF 12
Check the liner and find its front
- Start with dry hair worn loose or in a low, loose style that fits beneath your covering. Loosen any hairstyle that pulls before putting the liner on.
- Open the clean, dry liner. Use its instructions to identify the front edge, inside and fastening. Practice opening and closing it while it is off.
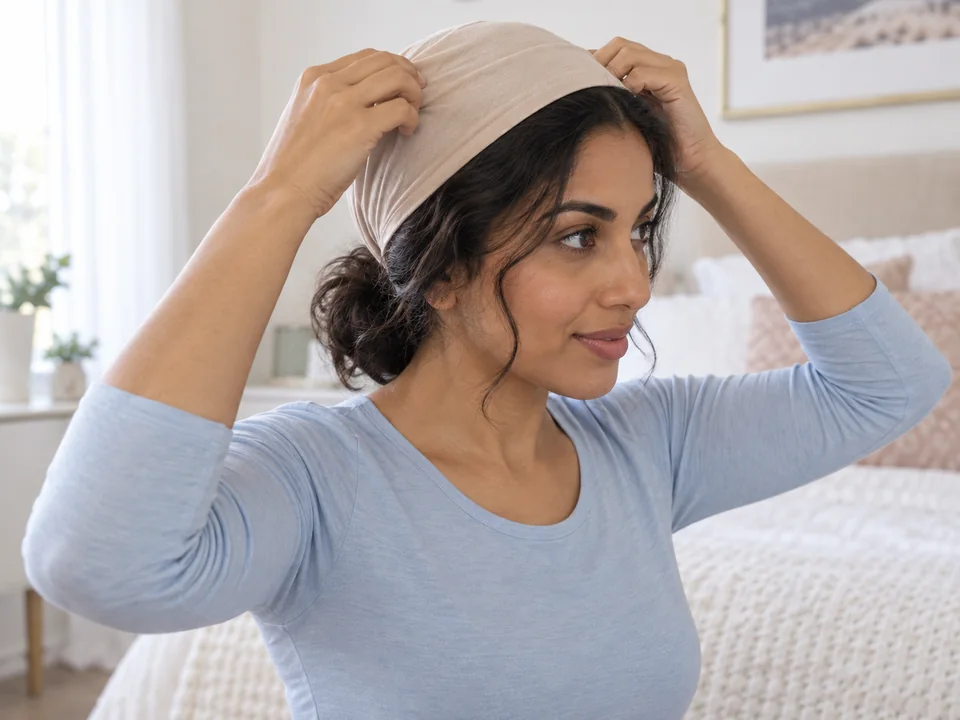 STEP 2 OF 12
Place the front edge, then lower the back
- Hold the liner open with both hands. Rest its front edge where its instructions show, then lower the back over your hair.
- Keep the fastening loose. Lift and reposition the cap if it drags along your hairline instead of pulling it into place.
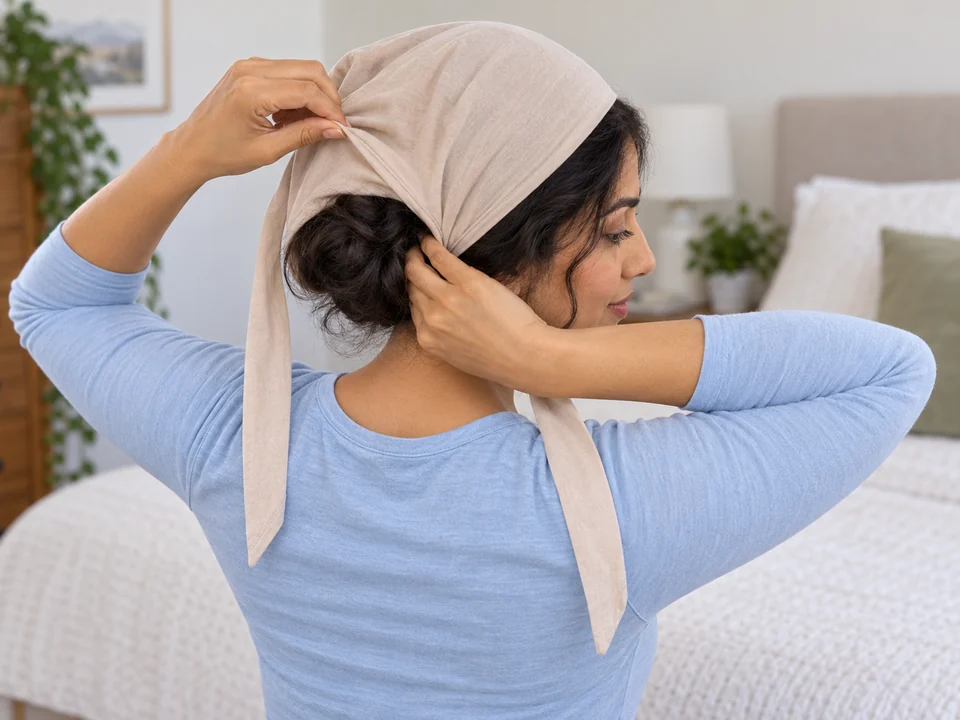 STEP 3 OF 12
Guide loose lengths inside
- Lift the lower edge a little with one hand. Use the other to guide reachable loose lengths into the cap without pulling at the roots.
- If your hair will not fit easily, take the cap off and choose a roomier one or a looser, flatter hairstyle.
 STEP 4 OF 12
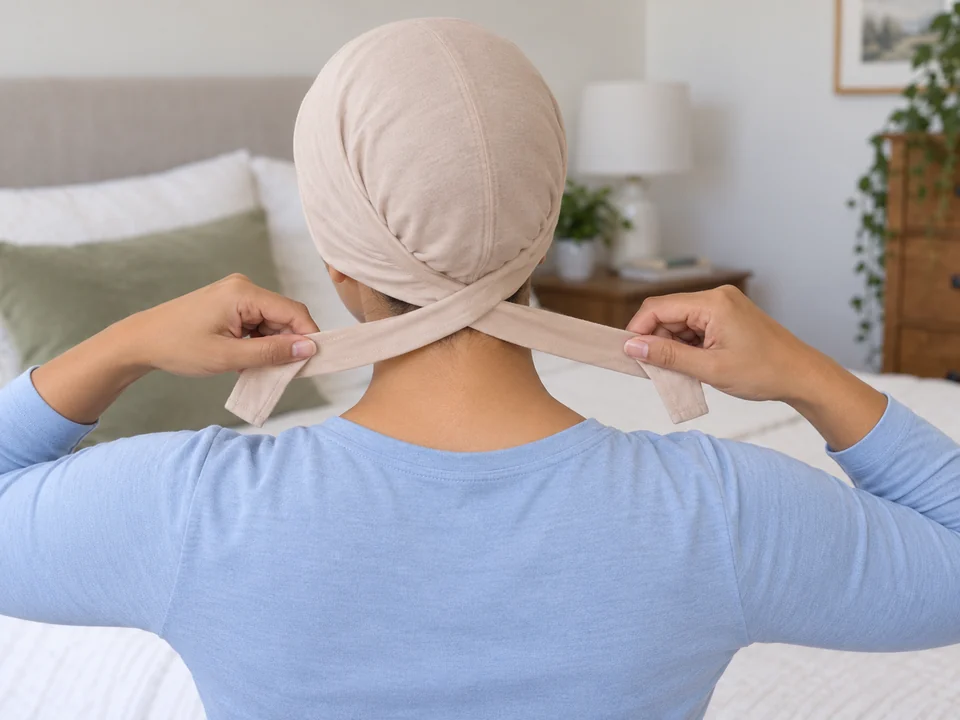
With ties, start the knot loosely
- If your liner has a band instead of ties, use the band step below. For ties, follow the knot its maker permits.
- For a simple flat double knot, cross one tie over the other at the nape. Pass that end underneath and through the gap.
- Draw the ends together gently, leaving the cap comfortable. Keep hair out of the crossing.
 STEP 5 OF 12
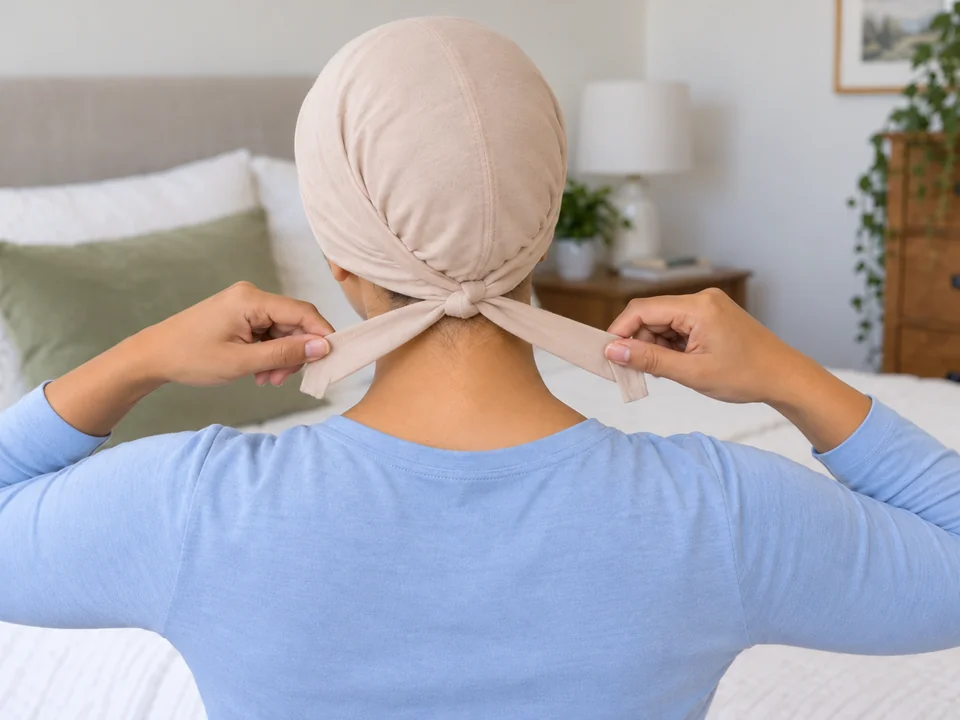
Finish the tie without tightening the cap
- Cross the ends the opposite way, then pass the upper end underneath and through again. Ease the knot together.
- Stop if the cap pulls or presses. Undo it and retie more loosely. Once it holds comfortably, go to the smoothing step.
 STEP 6 OF 12
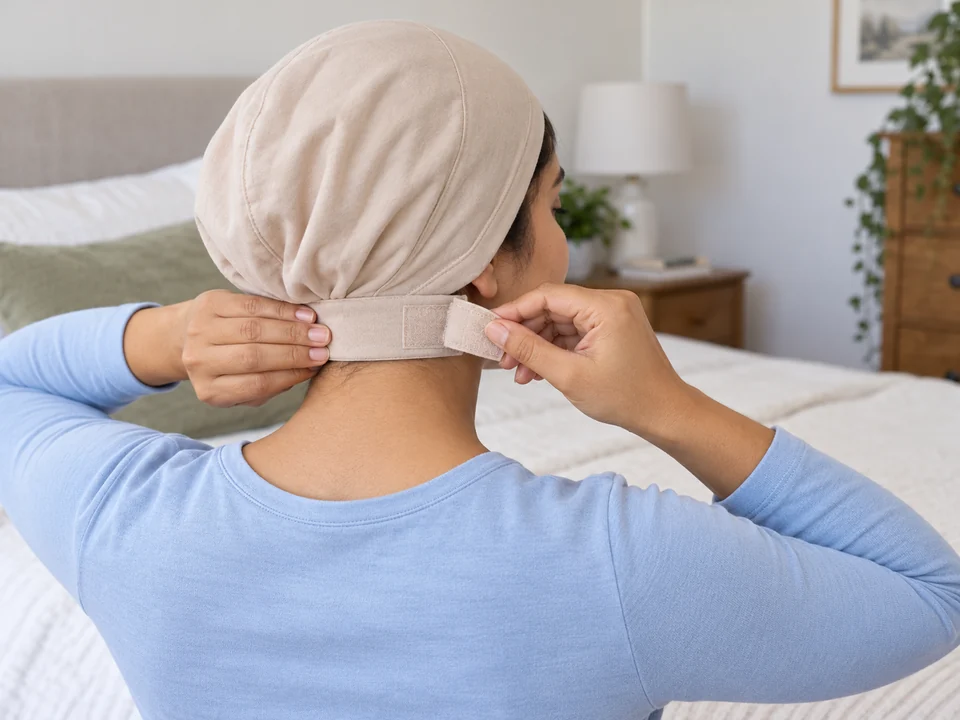
With a band, adjust its fastening
- Skip this step if you have already tied your liner. For an adjustable band, use its own closure instructions.
- For hook-and-loop tabs, keep hair clear, overlap the matching surfaces and press them together. Leave the band comfortable rather than stretching it tight.
- Open and refit the band if it pinches or pulls. A fixed elastic edge has no adjustment; choose another size if it feels tight.
 STEP 7 OF 12
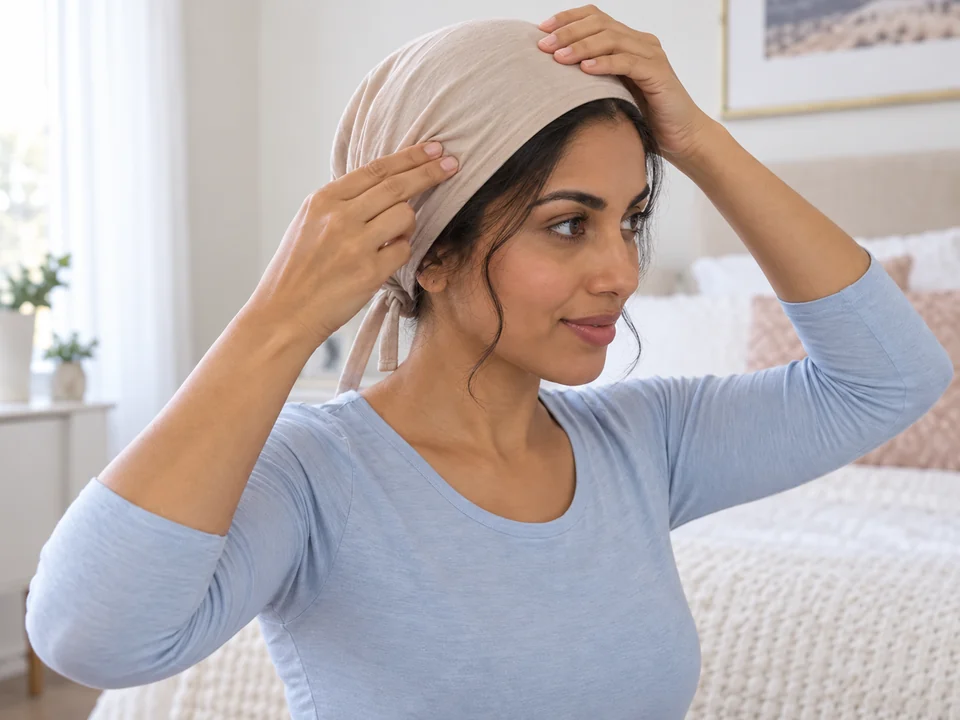
Smooth folds and check the edge
- Steady the cap with one hand. Use the flat pads of your other fingers to smooth folds near your forehead, ears and nape.
- Turn your head and nod. If the cap shifts or pulls, loosen the fastening and refit it before adding the covering.
 STEP 8 OF 12
Place your everyday covering over it
- Lower the covering onto the liner without dragging either layer. Arrange it using the method you normally use for that covering.
- Keep the liner edge flat as you finish. Take the covering back off if you need to straighten a fold underneath.
 STEP 9 OF 12
Check both layers together
- Turn your head, nod and sit as you normally would. Check for pressure near the ears, forehead and any knot.
- Remove and refit the layers if they pull, pinch or bunch. If they still do not work together, change the liner, covering or hairstyle.
 STEP 10 OF 12
Take off the outer covering first
- Use the covering’s usual removal method, releasing its fastenings before lifting it away. Steady the liner if it starts to move too.
- Stop at any catch and release it before lifting farther. Set the outer covering aside.
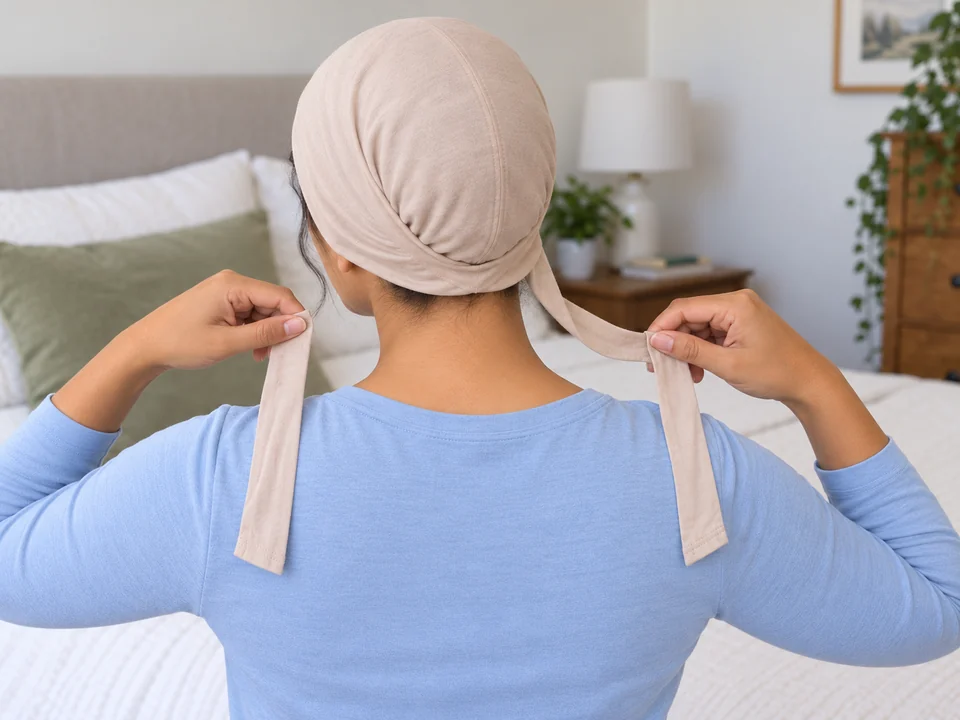 STEP 11 OF 12
Release the liner’s fastening
- For ties, loosen the knot with your fingertips and work each end back through until both tails are free. Avoid pulling against trapped hair.
- For a band, support the cap while you open or loosen its closure. Peel hook-and-loop surfaces apart away from your hair.
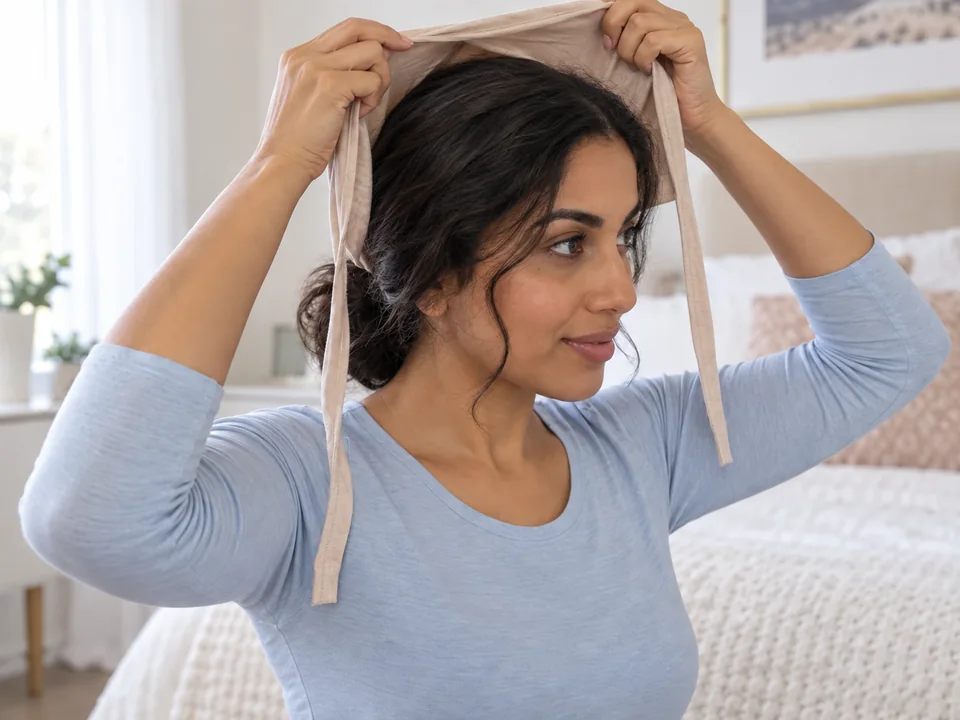 STEP 12 OF 12
Lift the liner clear of your hair
- Hold the relaxed edge with both hands and lift the liner away. Pause and free any hair that catches instead of dragging the fabric through it.
- Set the liner aside if it needs washing. Follow its care directions and let it dry fully before wearing it again.
About 2–5 minutes of handling for a familiar liner: inspect, fit, fasten, check with a simple covering, and later remove both. Hairstyling, complex wrapping and laundering are separate.
You’re done when…
Your hair fits inside without pulling, the fabric lies flat and both layers feel comfortable when you turn and nod. Remove and refit them if discomfort develops later.
Related techniques
Connected steps for your routine.