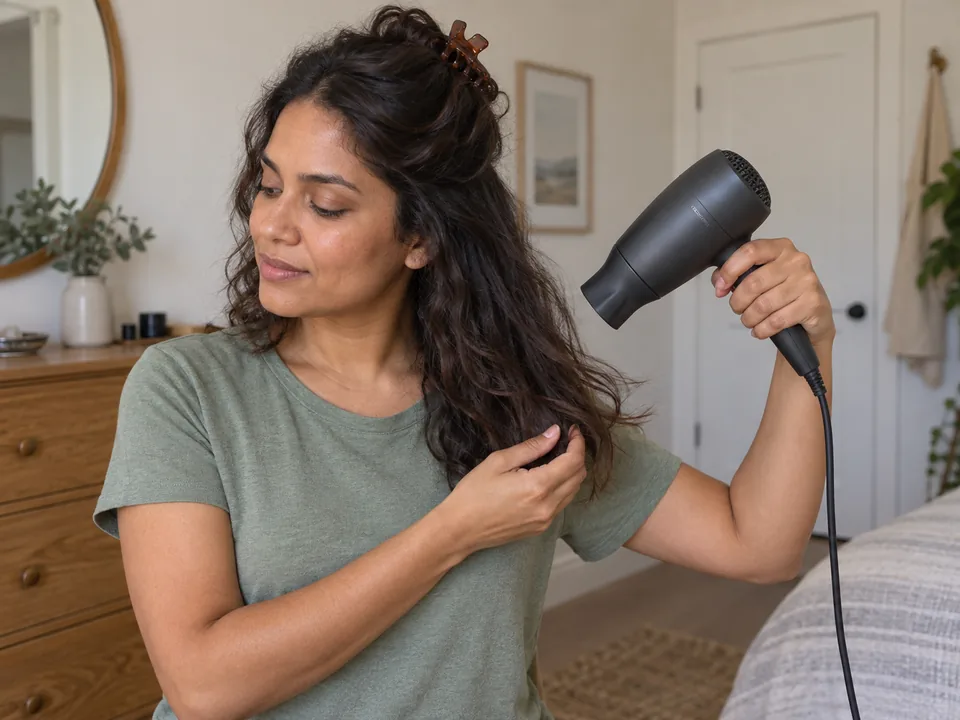
Clean your hair dryer’s removable filter
When your dryer’s own instructions identify a removable filter or filter cage, cleaning that serviceable part clears lint and residue before the next use. Use only the removal, cleaning and refitting method for your exact model.
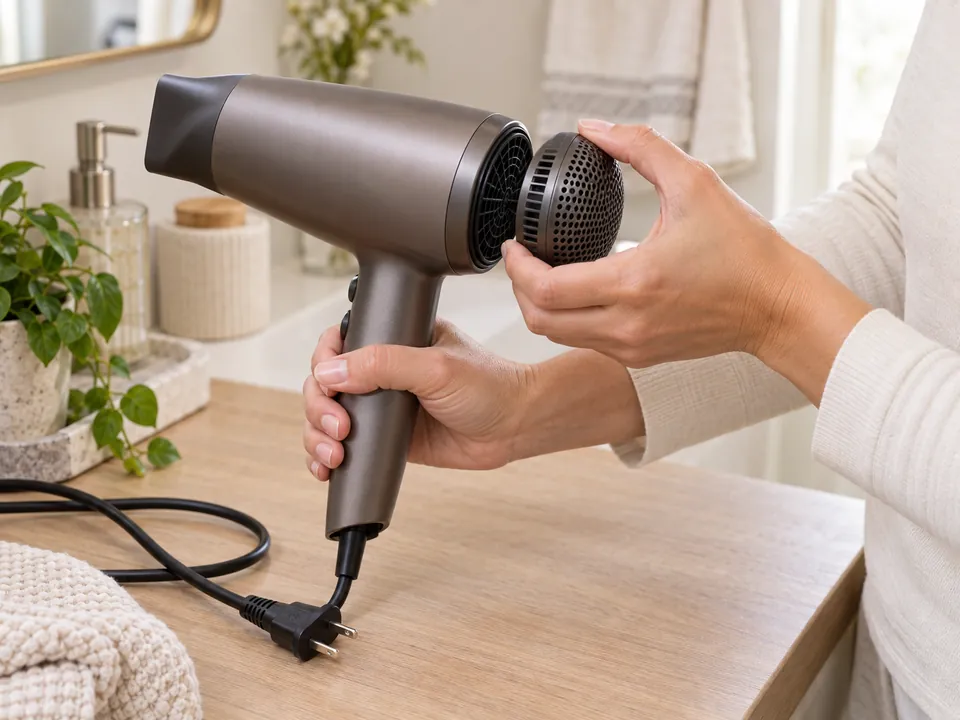
Step by step
- STEP 1 OF 3
Check the manual and make the dryer safe
- Read the dryer’s filter-maintenance page. Confirm that it names a removable part and the exact way to release it.
- Switch off, unplug and let the dryer cool on a dry counter. Keep the plug away from sinks and water.
- With dry hands, hold the handle and release only the named cage or cover in the manual’s direction.
 STEP 2 OF 3
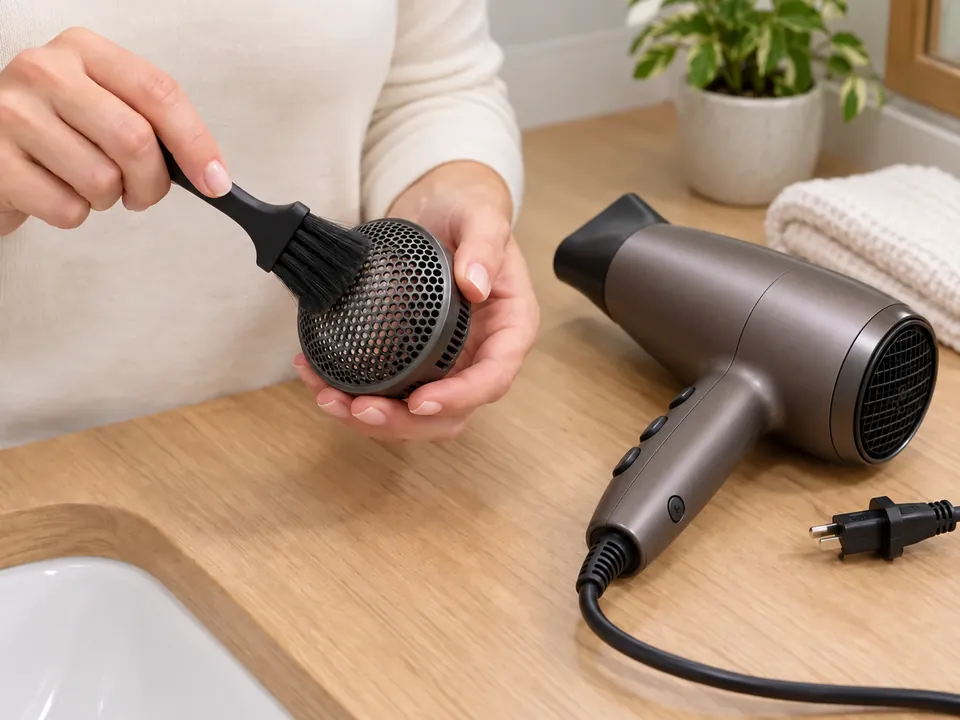
Clear the removable part
- Use only the brush, dry cloth, water or cleaner that the manual permits for that exact part. Do not transfer another dryer’s method.
- Lift lint from the detached cage. Only if the manual permits it, brush or wipe exposed fixed mesh after cage removal; never put a tool through the intake.
- If the manual permits washing the removed cage, complete its rinse and drying instructions before you refit it.
 STEP 3 OF 3
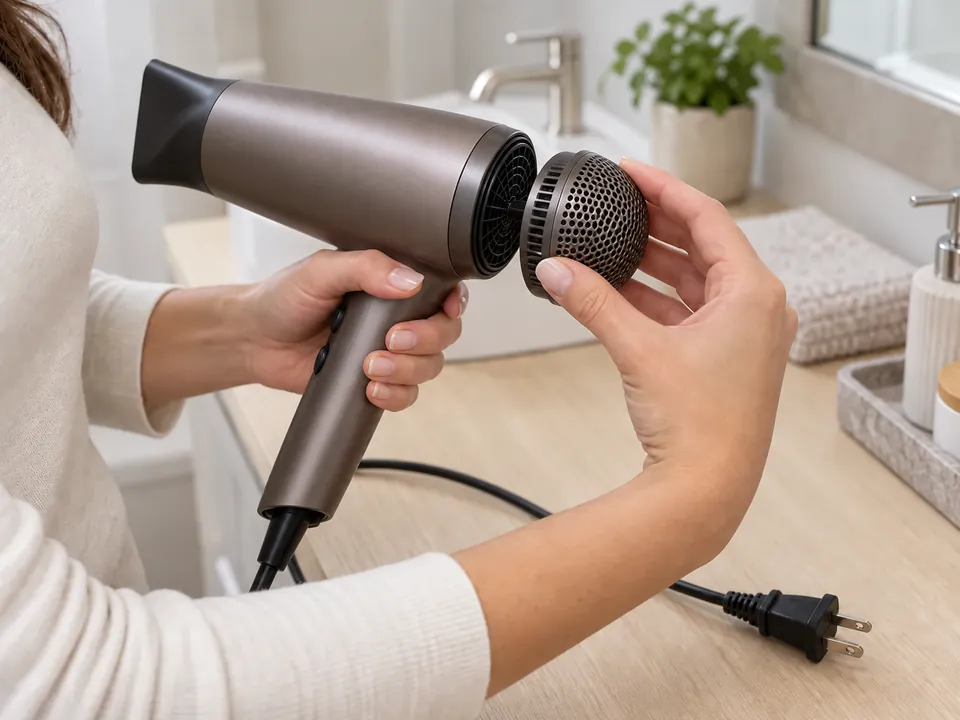
Refit and check the lock
- Line up the clean, dry removable part as the manual shows. Press, slide or twist only until its stated lock or alignment cue is reached.
- Check that the cage or cover sits evenly and does not move loosely. Do not use the dryer without a required filter part.
- Store the unplugged dryer with the cord loose. If the part will not fit, stop and use the maker’s service guidance.
About 2–5 min hands-on for removing, cleaning, refitting and checking the permitted filter part. Add full cool-down before cleaning and any manual-required drying.
You’re done when…
The manual-identified removable part is free of visible lint, completely dry if its manual allowed washing, and locked back in its required position before the dryer is stored or used.
Related techniques
Connected steps for your routine.