Apply a pre-wash bond-care treatment
Use this when your treatment calls for damp hair before shampoo. Apply it to small sections, leave it on for the time on its label, then rinse, shampoo and condition.
Step by step
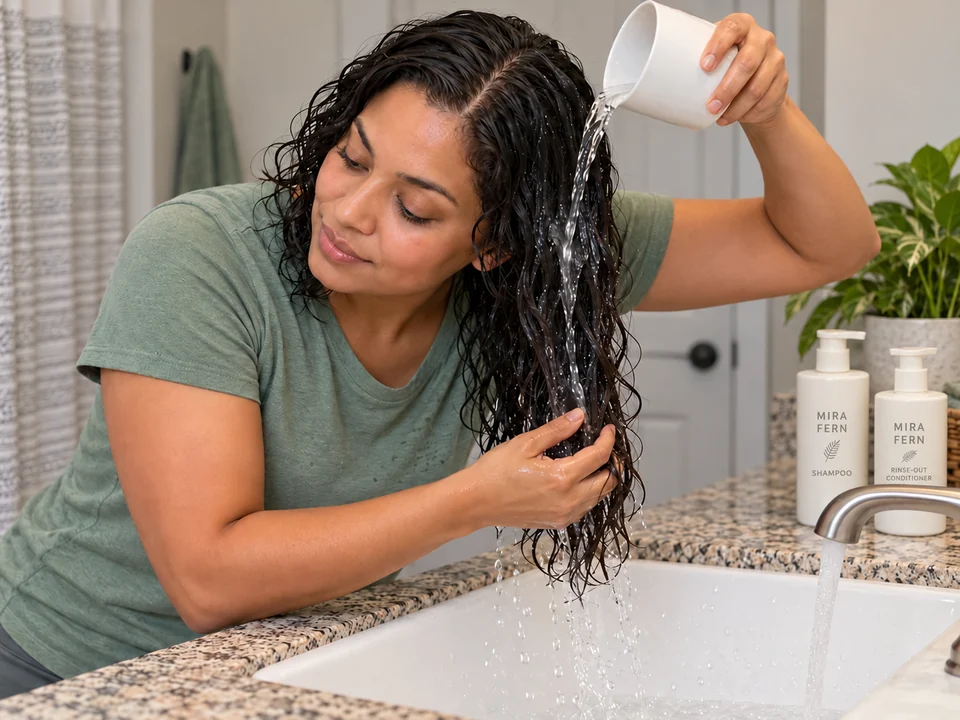 STEP 1 OF 12
Wet the hair through
- Set out the treatment, shampoo, conditioner, towel and timer. Complete any extra preparation required by your treatment before starting this damp-hair sequence.
- Run comfortably warm water through the loose hair. Open the sections with your free hand so the underneath gets wet too.
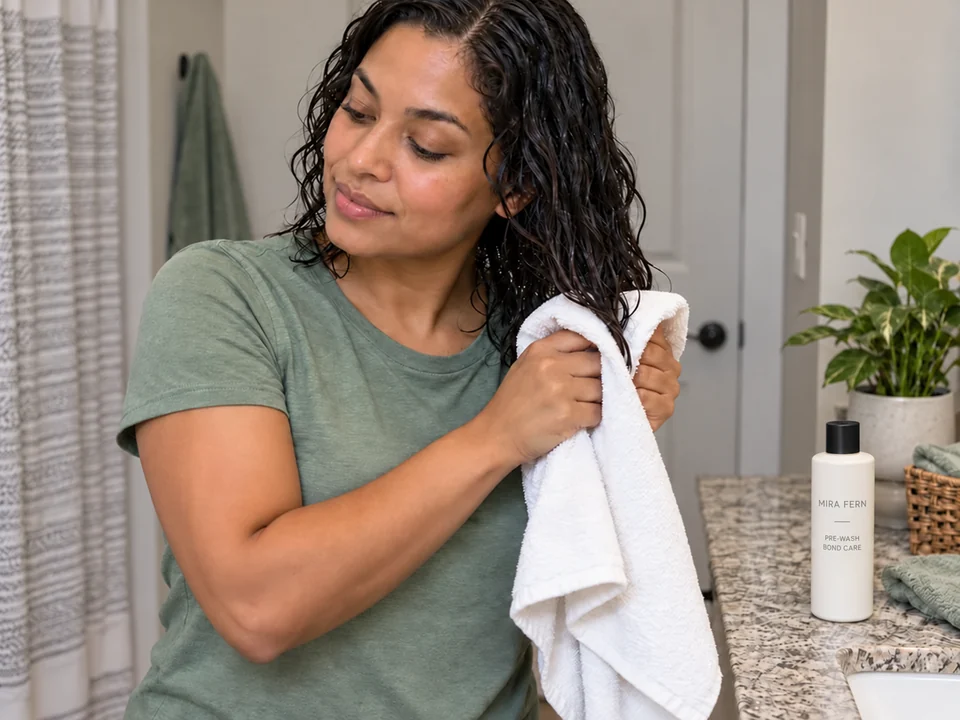 STEP 2 OF 12
Blot away dripping water
- Place a section between folds of a clean towel and press gently. Move to a dry part of the towel as it absorbs water.
- Stop when the hair is damp as your treatment directs. Keep the lengths loose; do not rub or wring them.
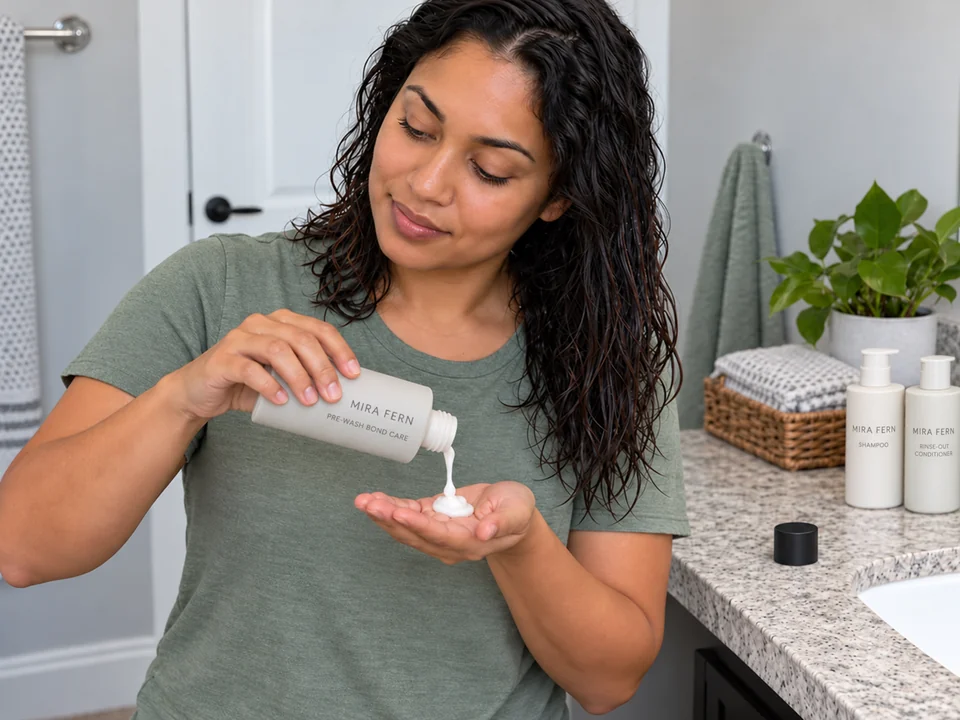 STEP 3 OF 12
Take the directed amount
- With clean hands, dispense the label’s amount into one palm. Put the container down before working with both hands.
- Use the amount for your own hair. The pictured dab shows handling, not a dose to copy.
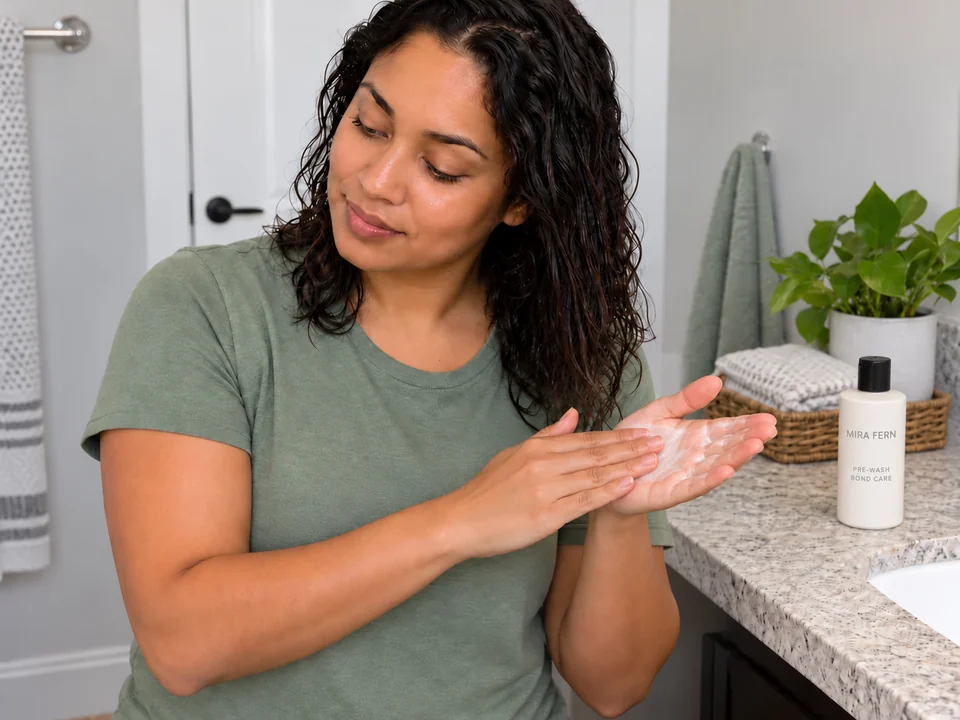 STEP 4 OF 12
Spread the cream over your palms
- Lightly spread the cream across your palms so it does not all land in one thick spot.
- Keep your hands away from the hair until the cream is spread. Do not dilute it or mix another treatment into it.
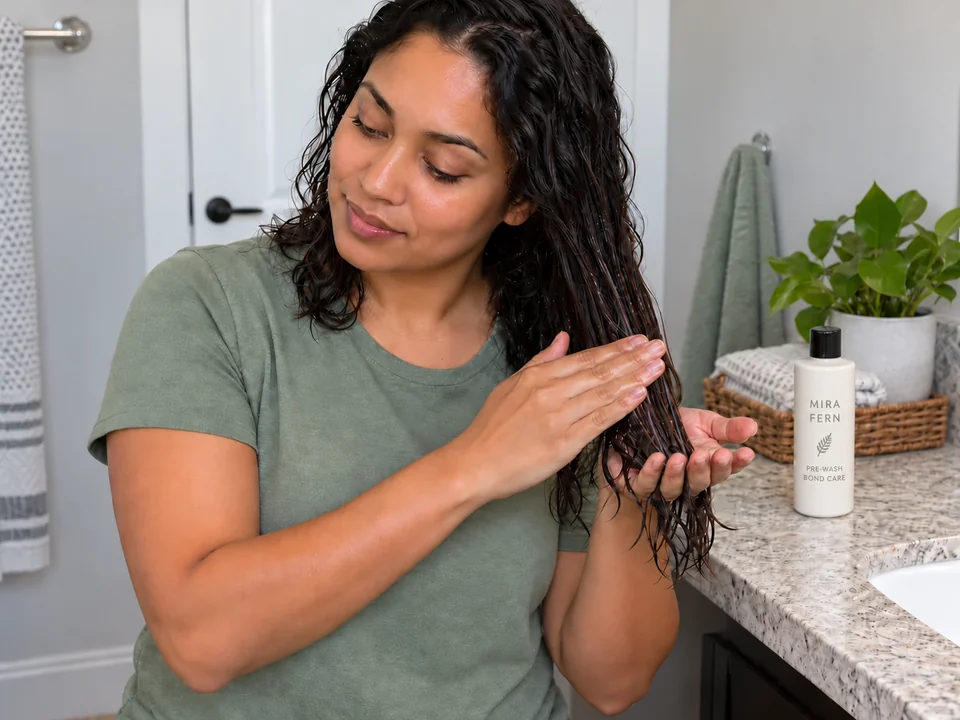 STEP 5 OF 12
Smooth through one section at a time
- Support a small damp section with one hand. Use the other to smooth treatment over the hair in the areas named on the label.
- Gently open the section to reach its inside, then repeat around the head. Stay within the total amount rather than taking a full dose for every section.
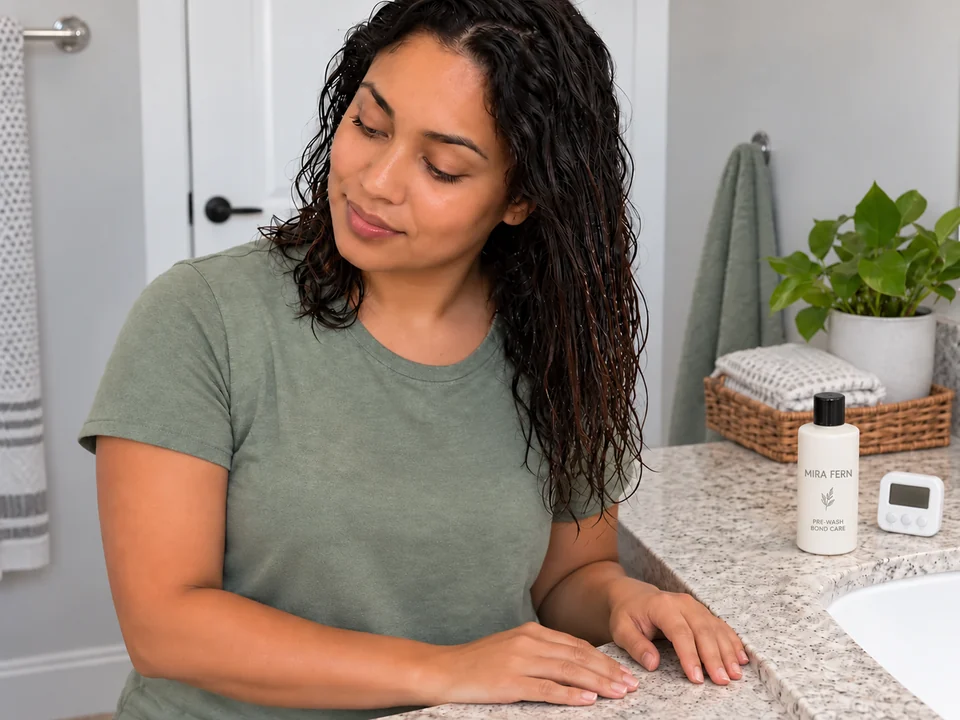 STEP 6 OF 12
Let the treatment sit
- Clean your hands and set a timer for the interval on the treatment label. Leave the treated hair loose while it sits.
- Rinse when that interval is complete. Do not extend it to an overnight treatment or add heat.
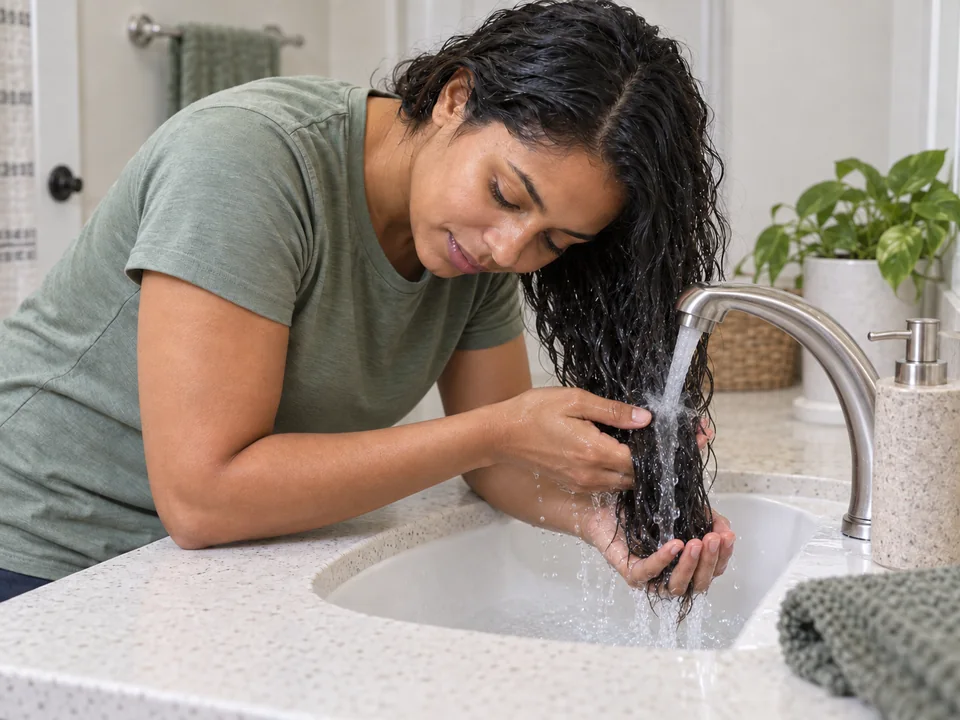 STEP 7 OF 12
Rinse out the treatment
- Run clean water through each treated section. Open it gently with your fingers so water reaches the inside and underneath.
- Continue until the visible treatment coating has rinsed away, then follow the next wash steps. A slippery feel alone is not a reason to keep rinsing indefinitely.
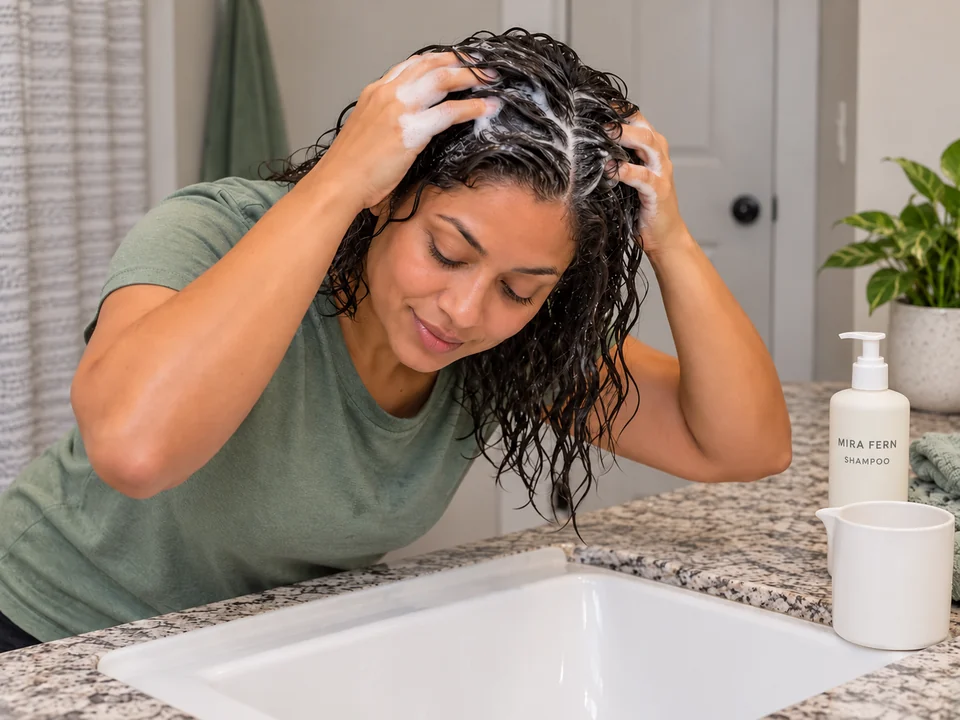 STEP 8 OF 12
Massage shampoo over the scalp
- Put the rinsing cup down. Apply shampoo as directed and use finger pads to work gently around the front, sides, crown and nape.
- Leave the lengths hanging rather than piling and scrubbing them together. Leave the shampoo on only as long as its directions require.
 STEP 9 OF 12
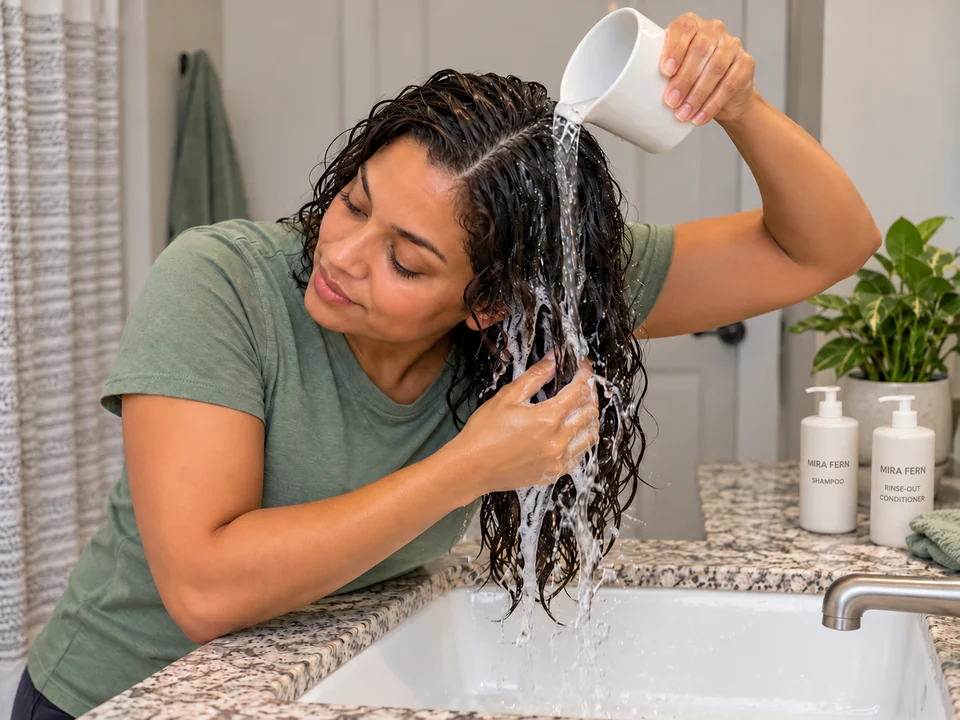
Rinse away the shampoo
- Let clean water flow over each scalp area and down the lengths. Use your free hand to open the hair and reach underneath.
- Check behind the ears and at the nape. Rinse until visible suds are gone; repeat shampooing only if your product directions require it.
 STEP 10 OF 12
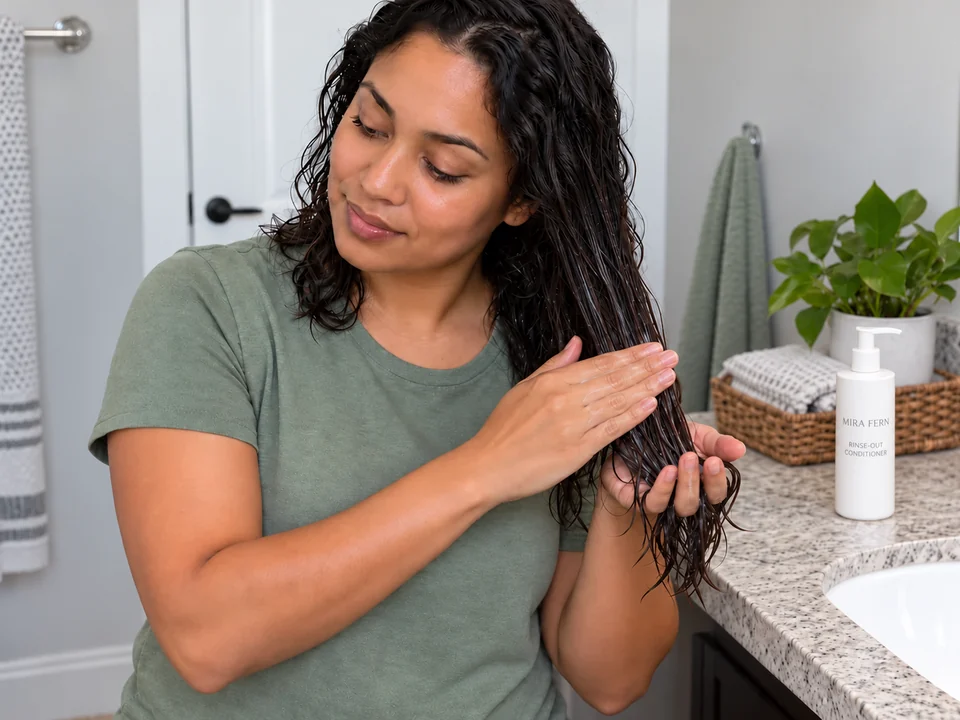
Smooth conditioner through the lengths
- Dispense the conditioner amount on its label, put the bottle down and spread it over your palms.
- Support one wet section with one hand and smooth conditioner down the permitted lengths with the other. Open the section gently to reach the inside.
 STEP 11 OF 12
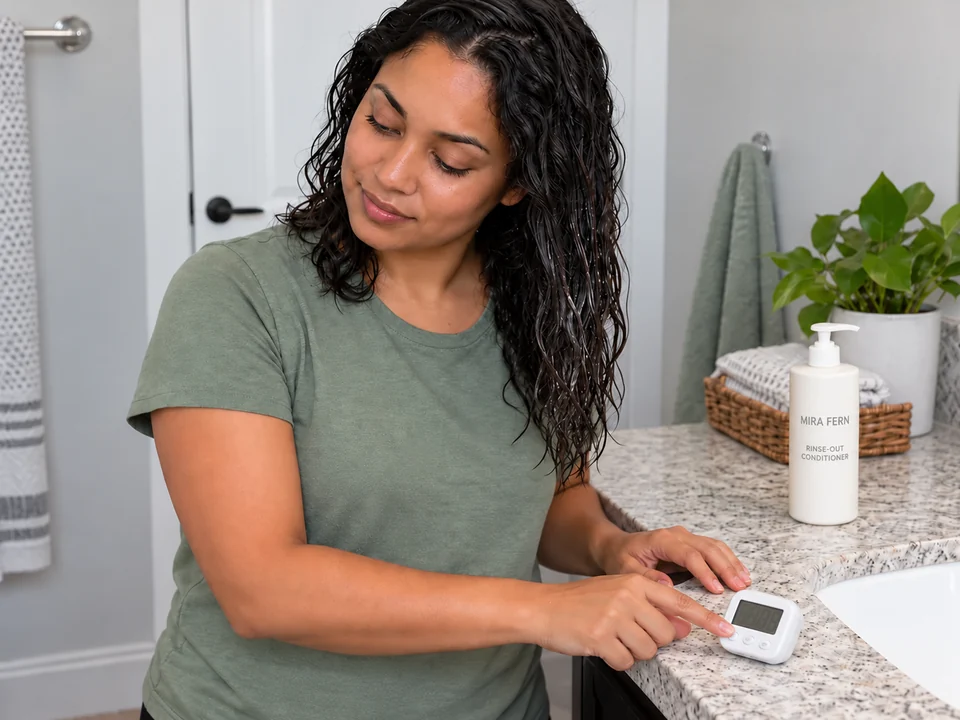
Wait if the conditioner needs time
- Leave the conditioned lengths loose for the time on its label. Turn off the water while waiting.
- Use a clean hand to set the timer if needed. If the conditioner directs an immediate rinse, move straight to the next step.
 STEP 12 OF 12
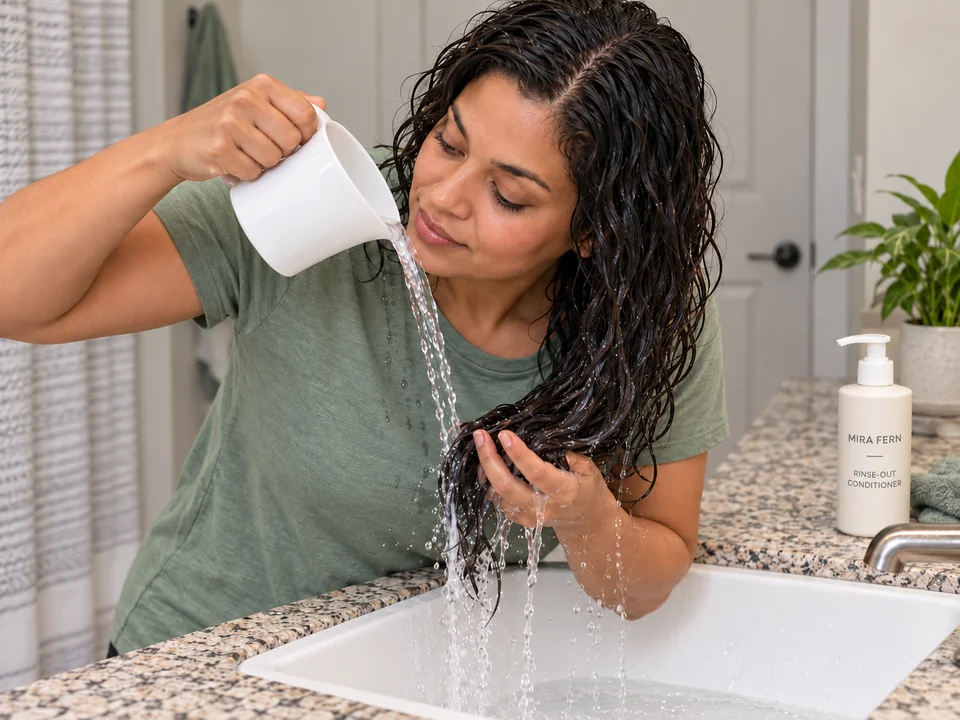
Rinse the conditioner and finish
- Run clean water through the conditioned areas, opening each section gently so the inside rinses too. Rinse as the conditioner directs.
- Let the rinsed lengths hang freely. Close the containers, wash your hands and clear slippery residue from the basin or shower.
About 12–20 minutes hands-on for wetting, blotting, applying treatment, all three rinses, shampooing, conditioning and cleanup. Add both label waits and any extra preparation; drying and styling are separate.
You’re done when…
The treatment, shampoo and rinse-out conditioner have been rinsed away as directed, and the wash area is clear of slippery residue. The wet lengths are ready for gentle blotting and your usual drying routine.
Related techniques
Connected steps for your routine.
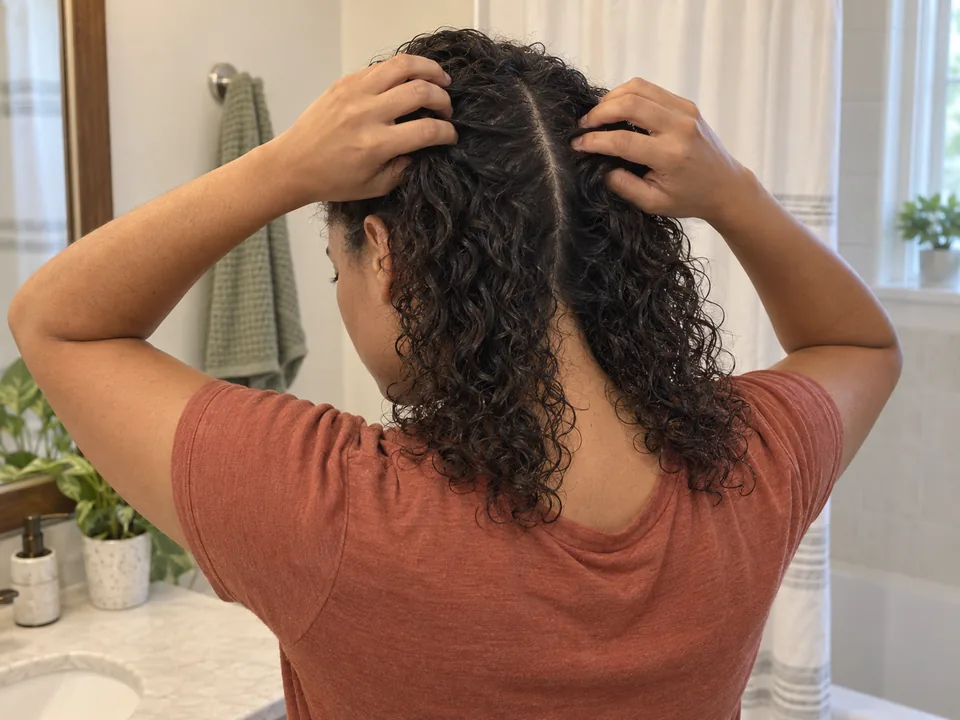
Section your hair for washing and styling
Small, reachable sections help you place treatment through the hair without pulling tangles.
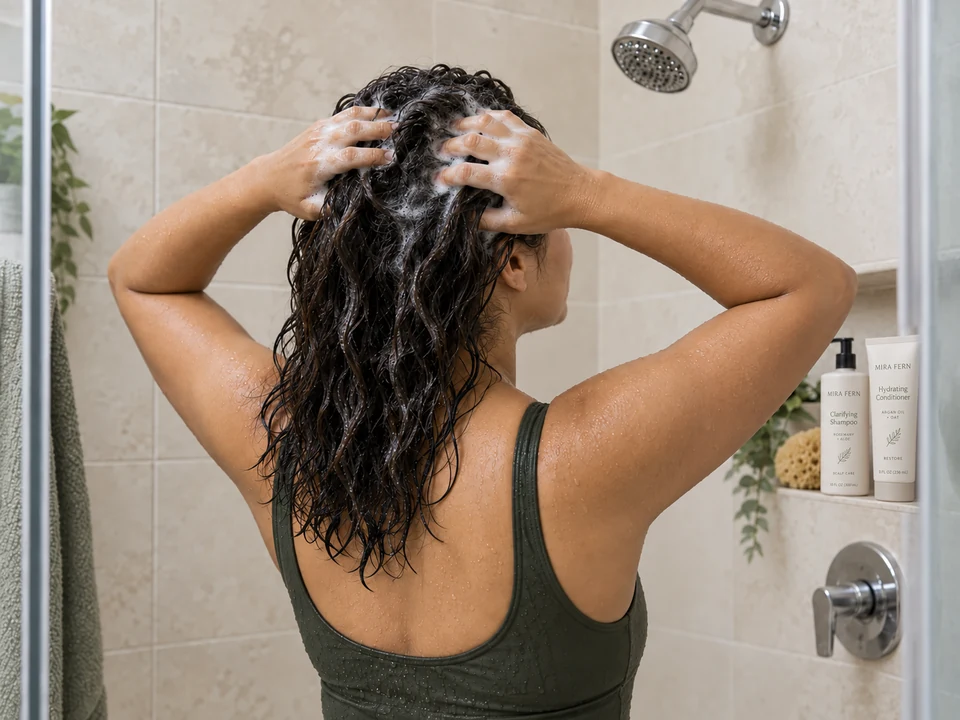
Shampoo your scalp
After rinsing this pre-wash treatment, use gentle scalp shampooing and rinse away the lather.