Rinse and dry a washable clipper guard
Separate the water-safe plastic guard from the powered clipper before cleaning. Check its teeth and attachment after it has dried.
Step by step
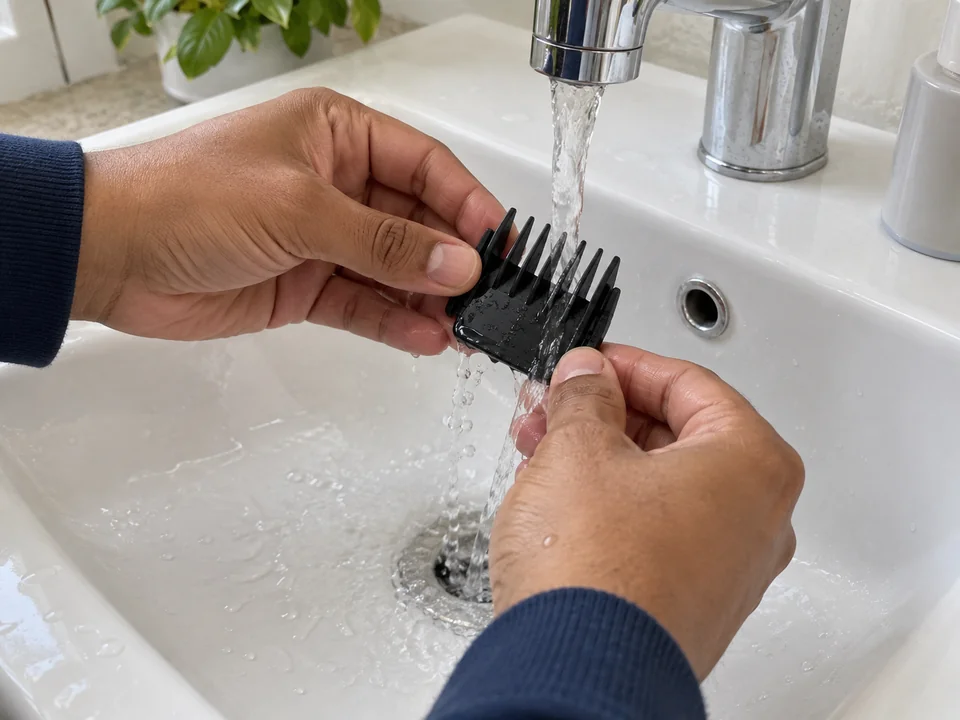 STEP 1 OF 2
Detach and rinse only the guard
- Confirm the guard can be rinsed. Switch off, unplug and disconnect the clipper; remove the guard by its base or release as directed and leave electrical parts away from water.
- Hold the detached guard under comfortably warm running water. Turn it so both faces, spaces between teeth and attachment grooves are cleared of visible hair.
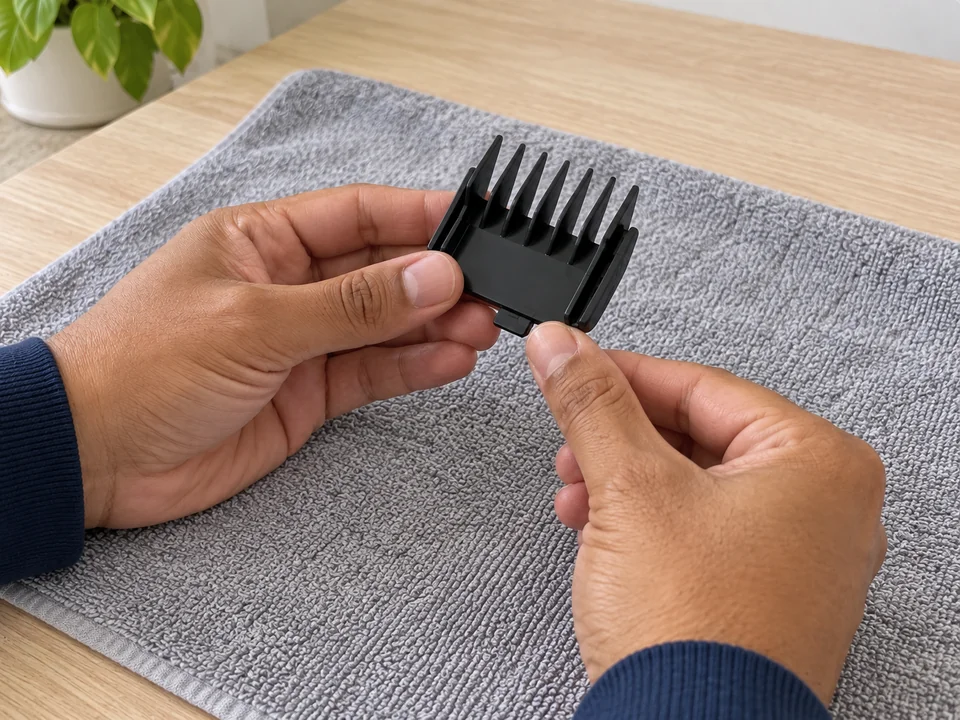 STEP 2 OF 2
Dry, inspect and refit with power off
- Let water drain, then place the guard on a clean dry towel. Allow it to air dry fully, including the grooves; do not use a hair dryer or put it away wet.
- Check for cracked teeth or a damaged latch. With the clipper still off and disconnected, refit the dry intact guard as directed and check its attachment; replace a damaged one.
One guard; drying is additional.
You’re done when…
No visible hair remains between the teeth or in the attachment grooves; the guard is fully dry and its teeth and latch are intact.