Oil hair clipper blades
Use this after cleaning when your clipper’s instructions call for lubrication. Controlled placement keeps the task focused on the blade assembly rather than the motor or handle.
Step by step
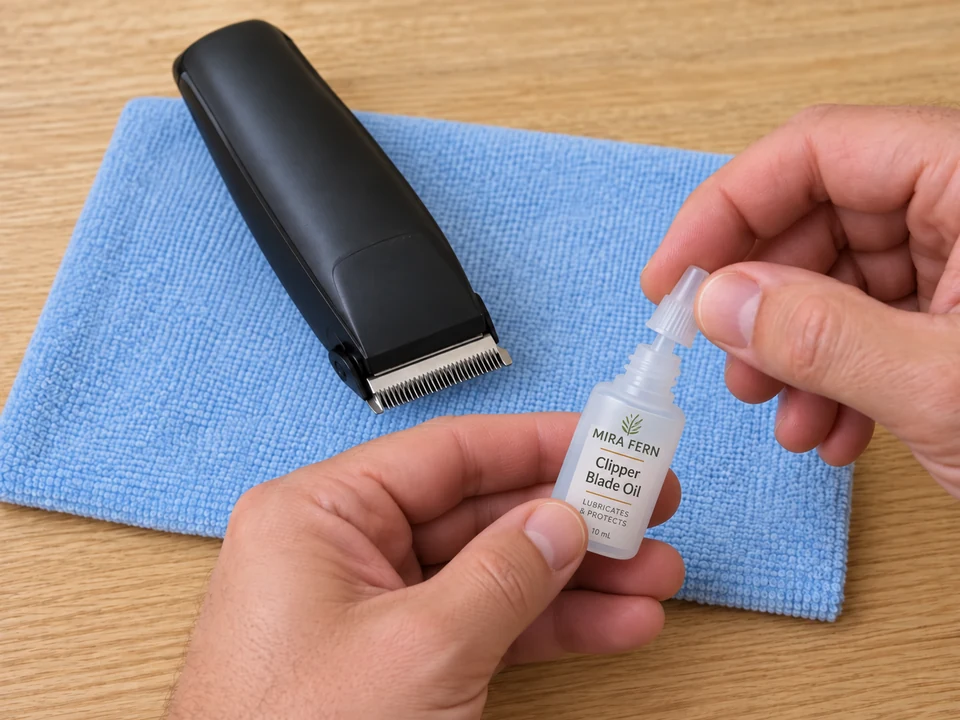 STEP 1 OF 3
Check the oiling instructions
- Start with clean, cool blades. Read the manual for the permitted oil, application points, amount, tool orientation and whether it runs during application.
- Place a clean cloth underneath. Keep fingers behind the cutting teeth and the dispenser clear of the blade edge.
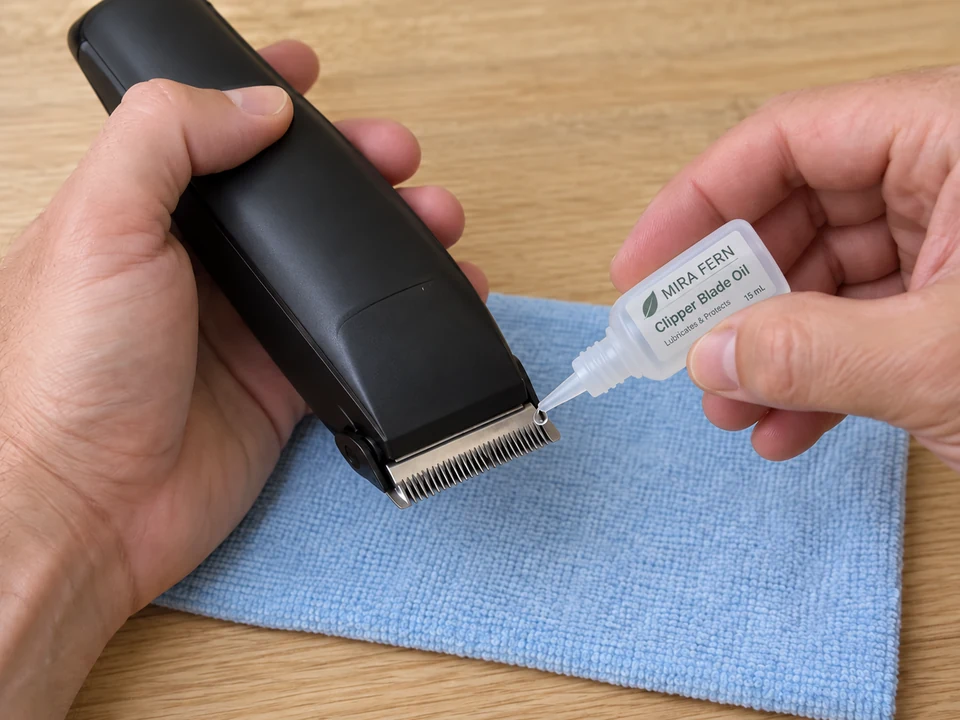 STEP 2 OF 3
Place oil only where directed
- Hold the handle securely and apply the specified amount to the instructed blade contact points. Do not flood the tool or oil its housing openings.
- Set the bottle down. If the manual calls for running the clipper to distribute oil, do so as directed with fingers, cloth and hair clear of the teeth.
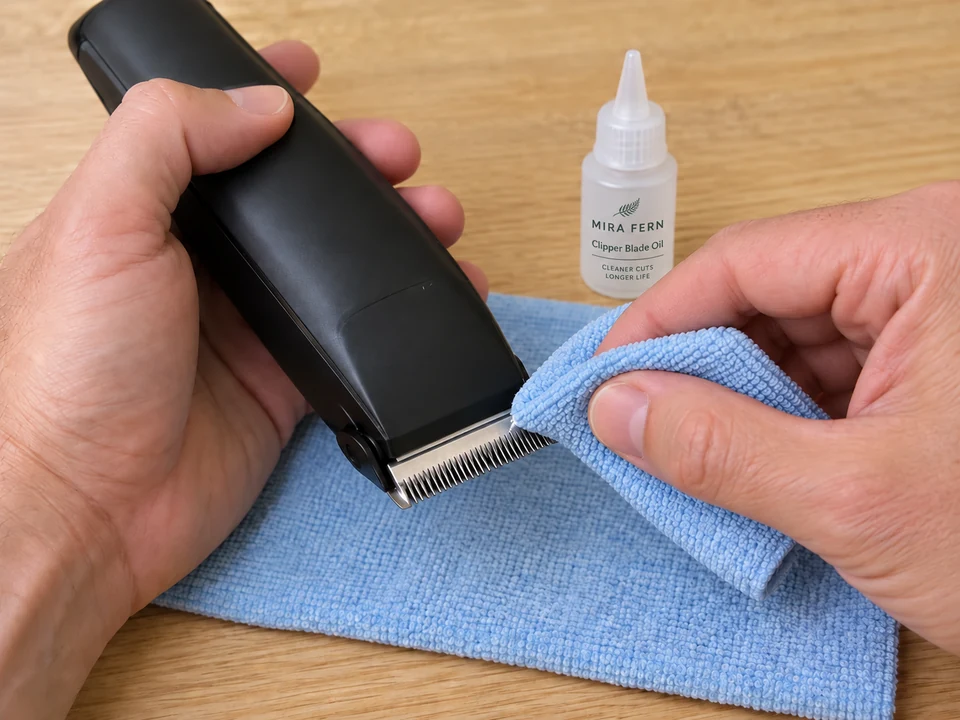 STEP 3 OF 3
Switch off and wipe excess
- Switch the clipper off before wiping. Use the clean cloth to remove visible excess as the manual directs, keeping fingertips away from sharp teeth.
- If ready for storage, disconnect power and fit the blade cover. Close the oil bottle and put both items away in a dry place.
Lubricating one already-clean clipper and wiping excess. Prior cleaning, cooling and any repair are separate.
You’re done when…
The blades have received their directed lubrication and visible excess is wiped away with the tool switched off.