Apply a clear rinse-out gloss
When you want a conditioning shine step without adding color, a verified clear gloss may fit. Check the exact variant: tinted glosses and developer-mixed systems have different directions.
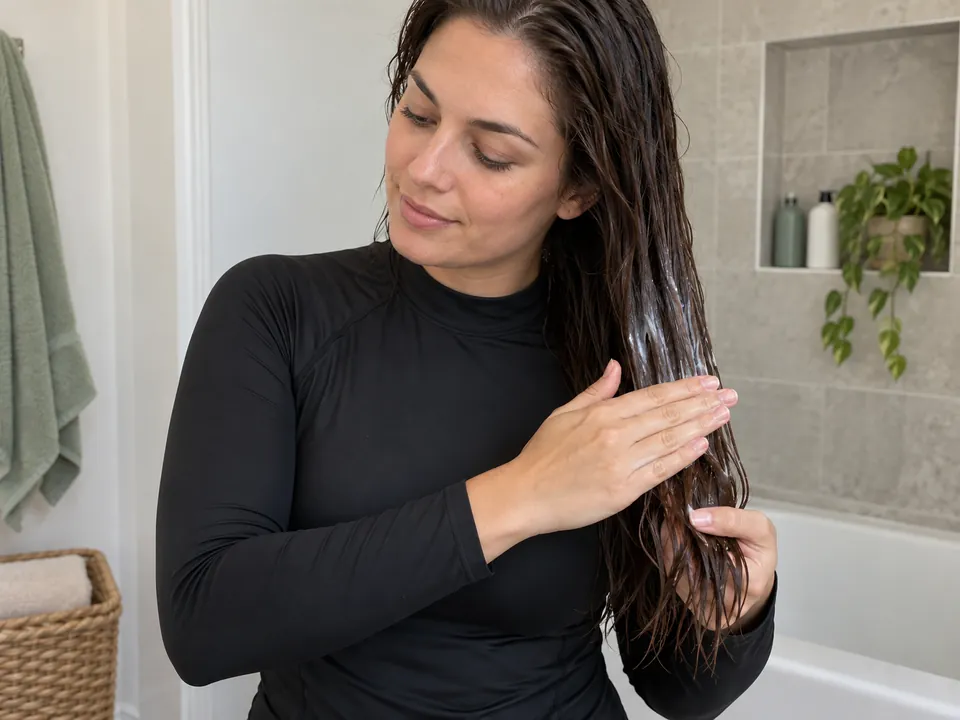
Step by step
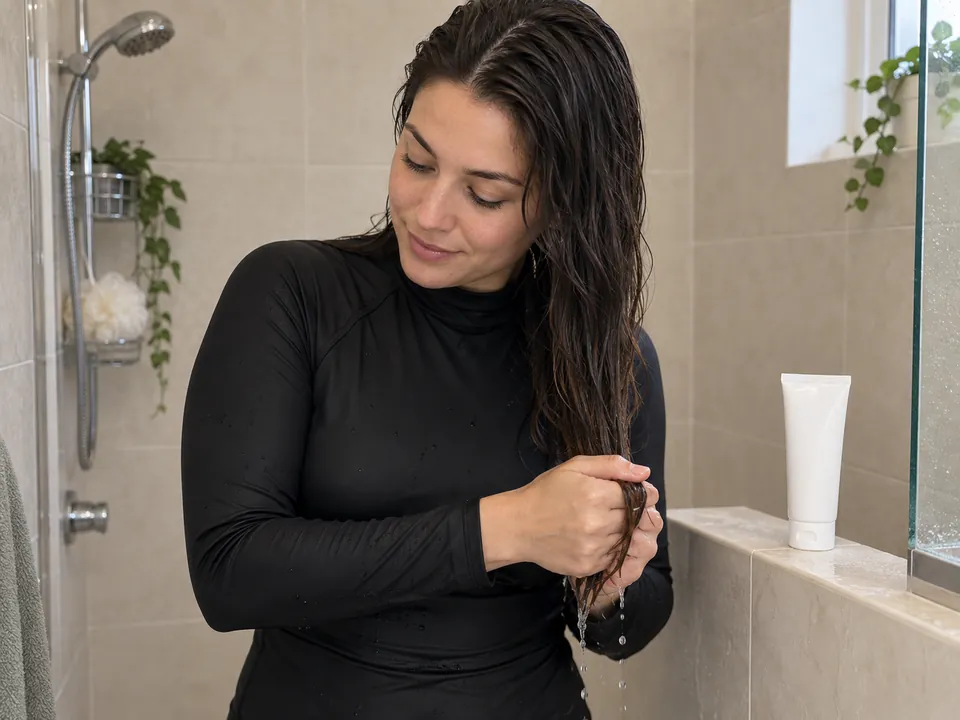 STEP 1 OF 3
Prepare clean damp hair
- Read the full directions and complete any required checks. Shampoo and rinse first if directed, then gently squeeze excess water out.
- Keep hair damp rather than dripping. Put the product and any label-required gloves within reach before applying.
- STEP 2 OF 3
Spread through the permitted lengths
- Apply the labeled amount through reachable sections, supporting each section with one hand and smoothing with the other.
- Stay within the permitted placement. Set the bottle down, then wait only as directed.
- This guide covers unheated use. A product requiring heat or mixing needs its own distinct procedure.
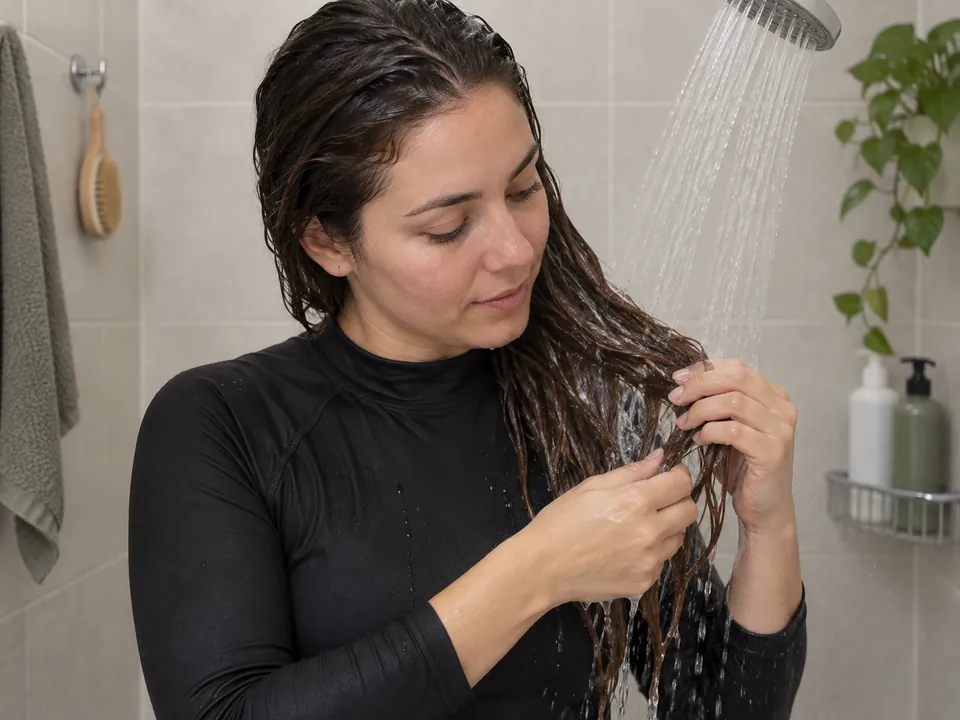 STEP 3 OF 3
Rinse the gloss completely
- At the directed time, rinse thoroughly with comfortable water. Separate loose lengths gently so water reaches the coated sections.
- Blot drips without rubbing and clean the area. Judge the feel after your usual drying; no amount of shine proves repaired damage.
About 8–15 min hands-on for shampooing, blotting, gloss application, rinsing and cleanup. Add the gloss label's contact time and any later drying. Required pre-use tests are separate.
You’re done when…
The gloss is rinsed out as directed, excess water is blotted and the work area is clean.