Adjust styling product amount
If a styler feels heavy or you keep adding more without knowing whether it helps, check one reachable section first. Let the product settle or dry before deciding whether another small addition would improve the finish.
Step by step
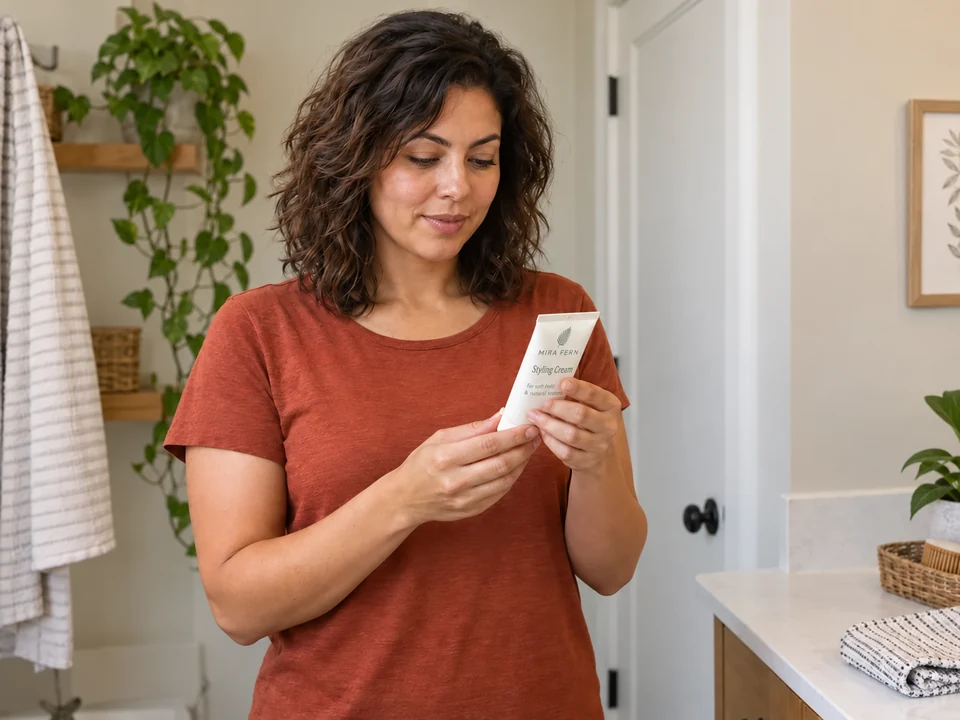 STEP 1 OF 8
Check how the product is used
- Read its amount, hair condition and placement instructions. Use this check only if small additions are allowed on the lengths or ends and no heat is needed.
- Prepare the stated wet, damp or dry hair. Put the product on a reachable counter and start with clean hands.
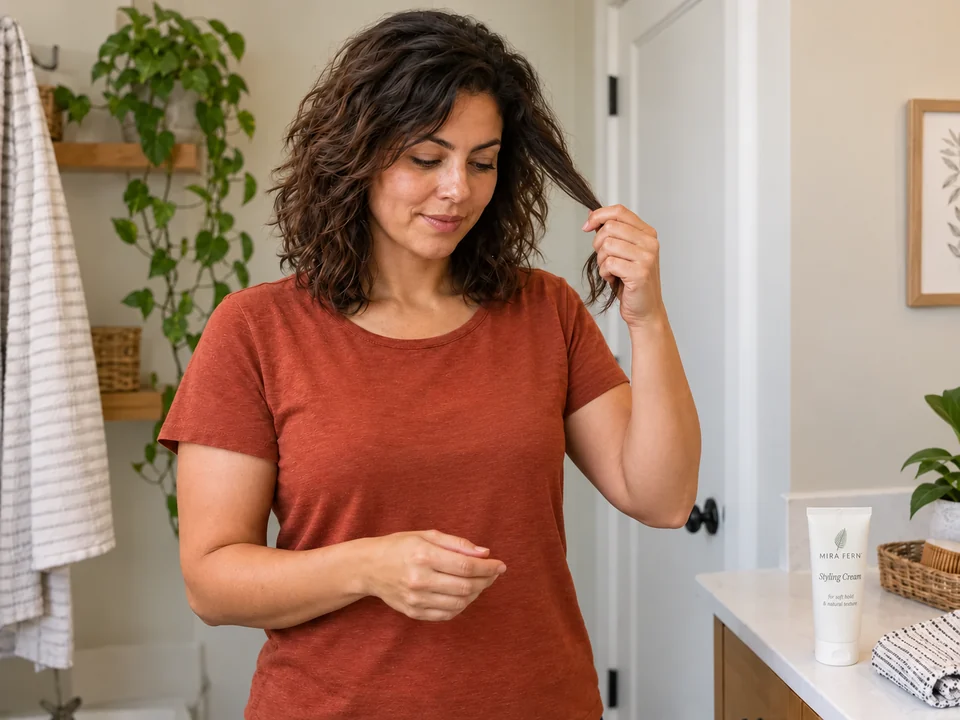 STEP 2 OF 8
Choose one reachable section
- Bring a small front or side section forward without pulling at the roots. Choose an area where you can see and feel the finish.
- Let the section hang while you pick up the product. Keep the other hair loose and out of your hands.
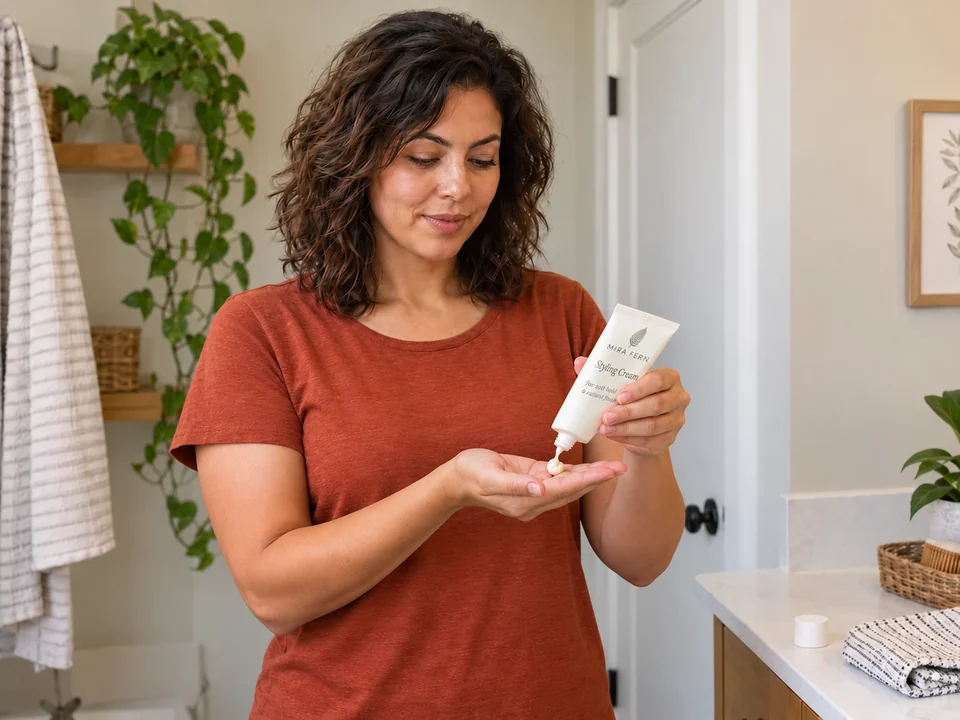 STEP 3 OF 8
Dispense a small starting amount
- Use the product’s directions to choose a small starting amount for the section. Dispense it into your hand if that is how the product is applied.
- Set the container down before working with both hands. Keep track of what you dispensed, such as one pump or a small dab.
 STEP 4 OF 8
Spread it over your hands if required
- For a cream that goes on by hand, rub your palms lightly together to spread the dab before touching your hair.
- Skip this hand-spreading step for a product meant to go directly on hair. Go to applying it to the section using its own directions.
 STEP 5 OF 8
Distribute through the chosen section
- Bring the section forward again. Apply the product over its stated part of the lengths or ends, supporting the hair lightly with your other hand.
- Spread any concentrated patch already there before adding more. Open your hands and let the section hang when it is covered.
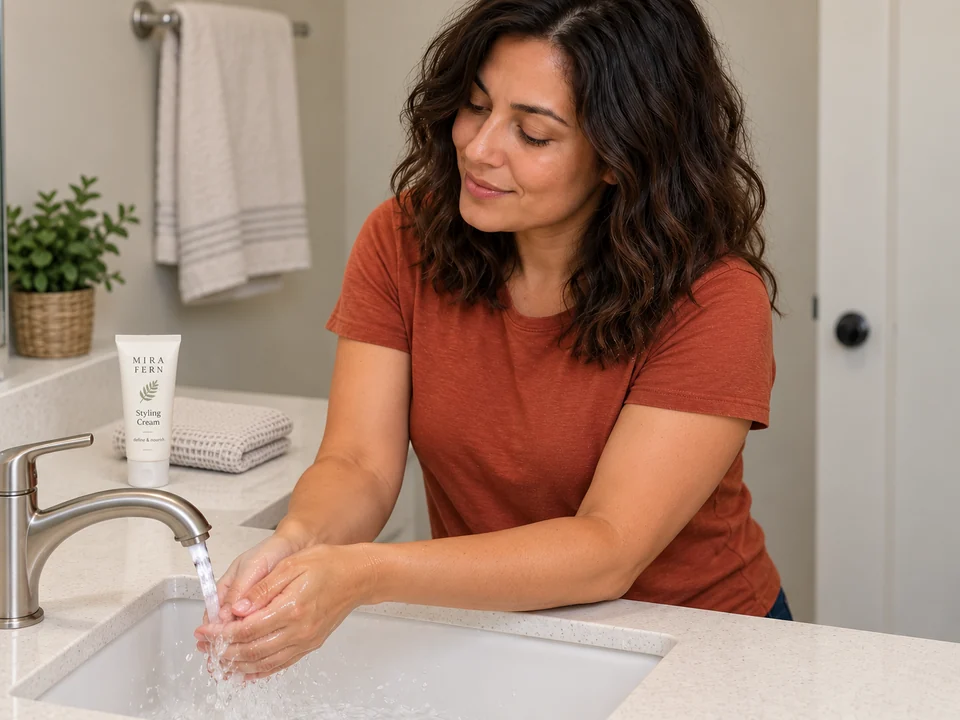 STEP 6 OF 8
Clean your hands while the product settles
- Close the container and store it as directed. Wash product from your hands and dry them.
- Wipe up any product on the counter. Keep wet hands away from a notebook or phone.
 STEP 7 OF 8
Check the finish before adding more
- Wait for any settling or drying the product requires. Then look at and lightly feel the section with clean hands.
- If it feels soft enough or has the control you wanted, stop. If it feels heavy, sticky or coated, use less next time instead of adding more.
 STEP 8 OF 8
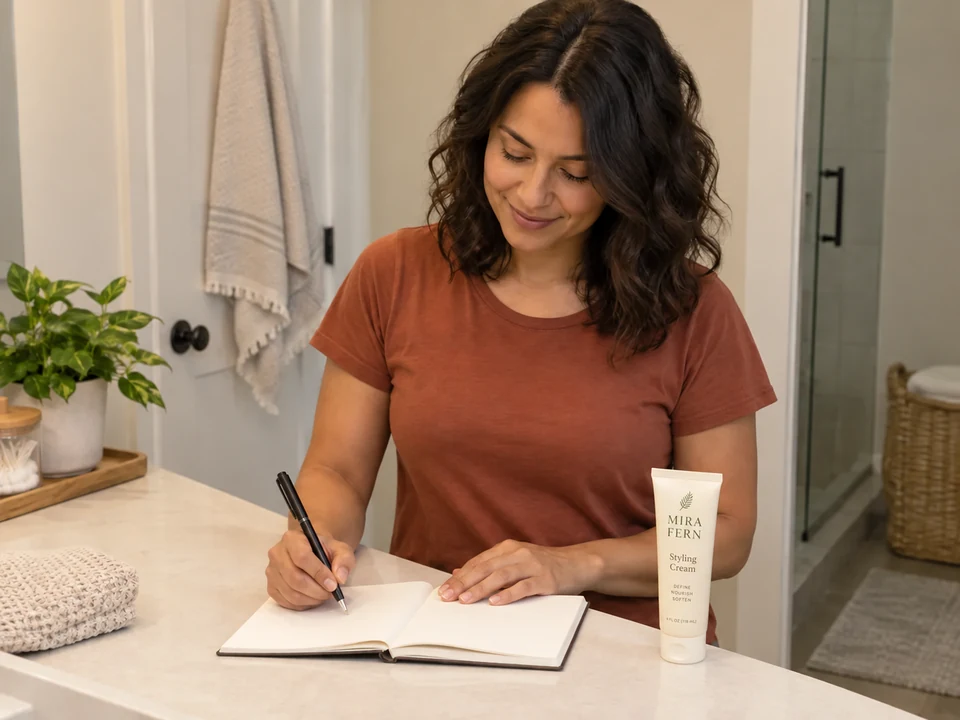
Keep a useful note if you want one
- If you want to repeat the amount, note the product, section size and roughly what you used. Add how the section felt after settling or drying.
- Use that as a starting point next time. The rest of your hair may need different amounts; continue with the product’s normal application method.
About 2–5 minutes hands-on for one section, including preparation and cleanup. Add any settling or drying time. Full-head styling is separate.
You’re done when…
You have checked the section’s settled or dry finish and stopped at a useful amount or the product’s limit. The container is stored and your hands are clean; a note is optional.